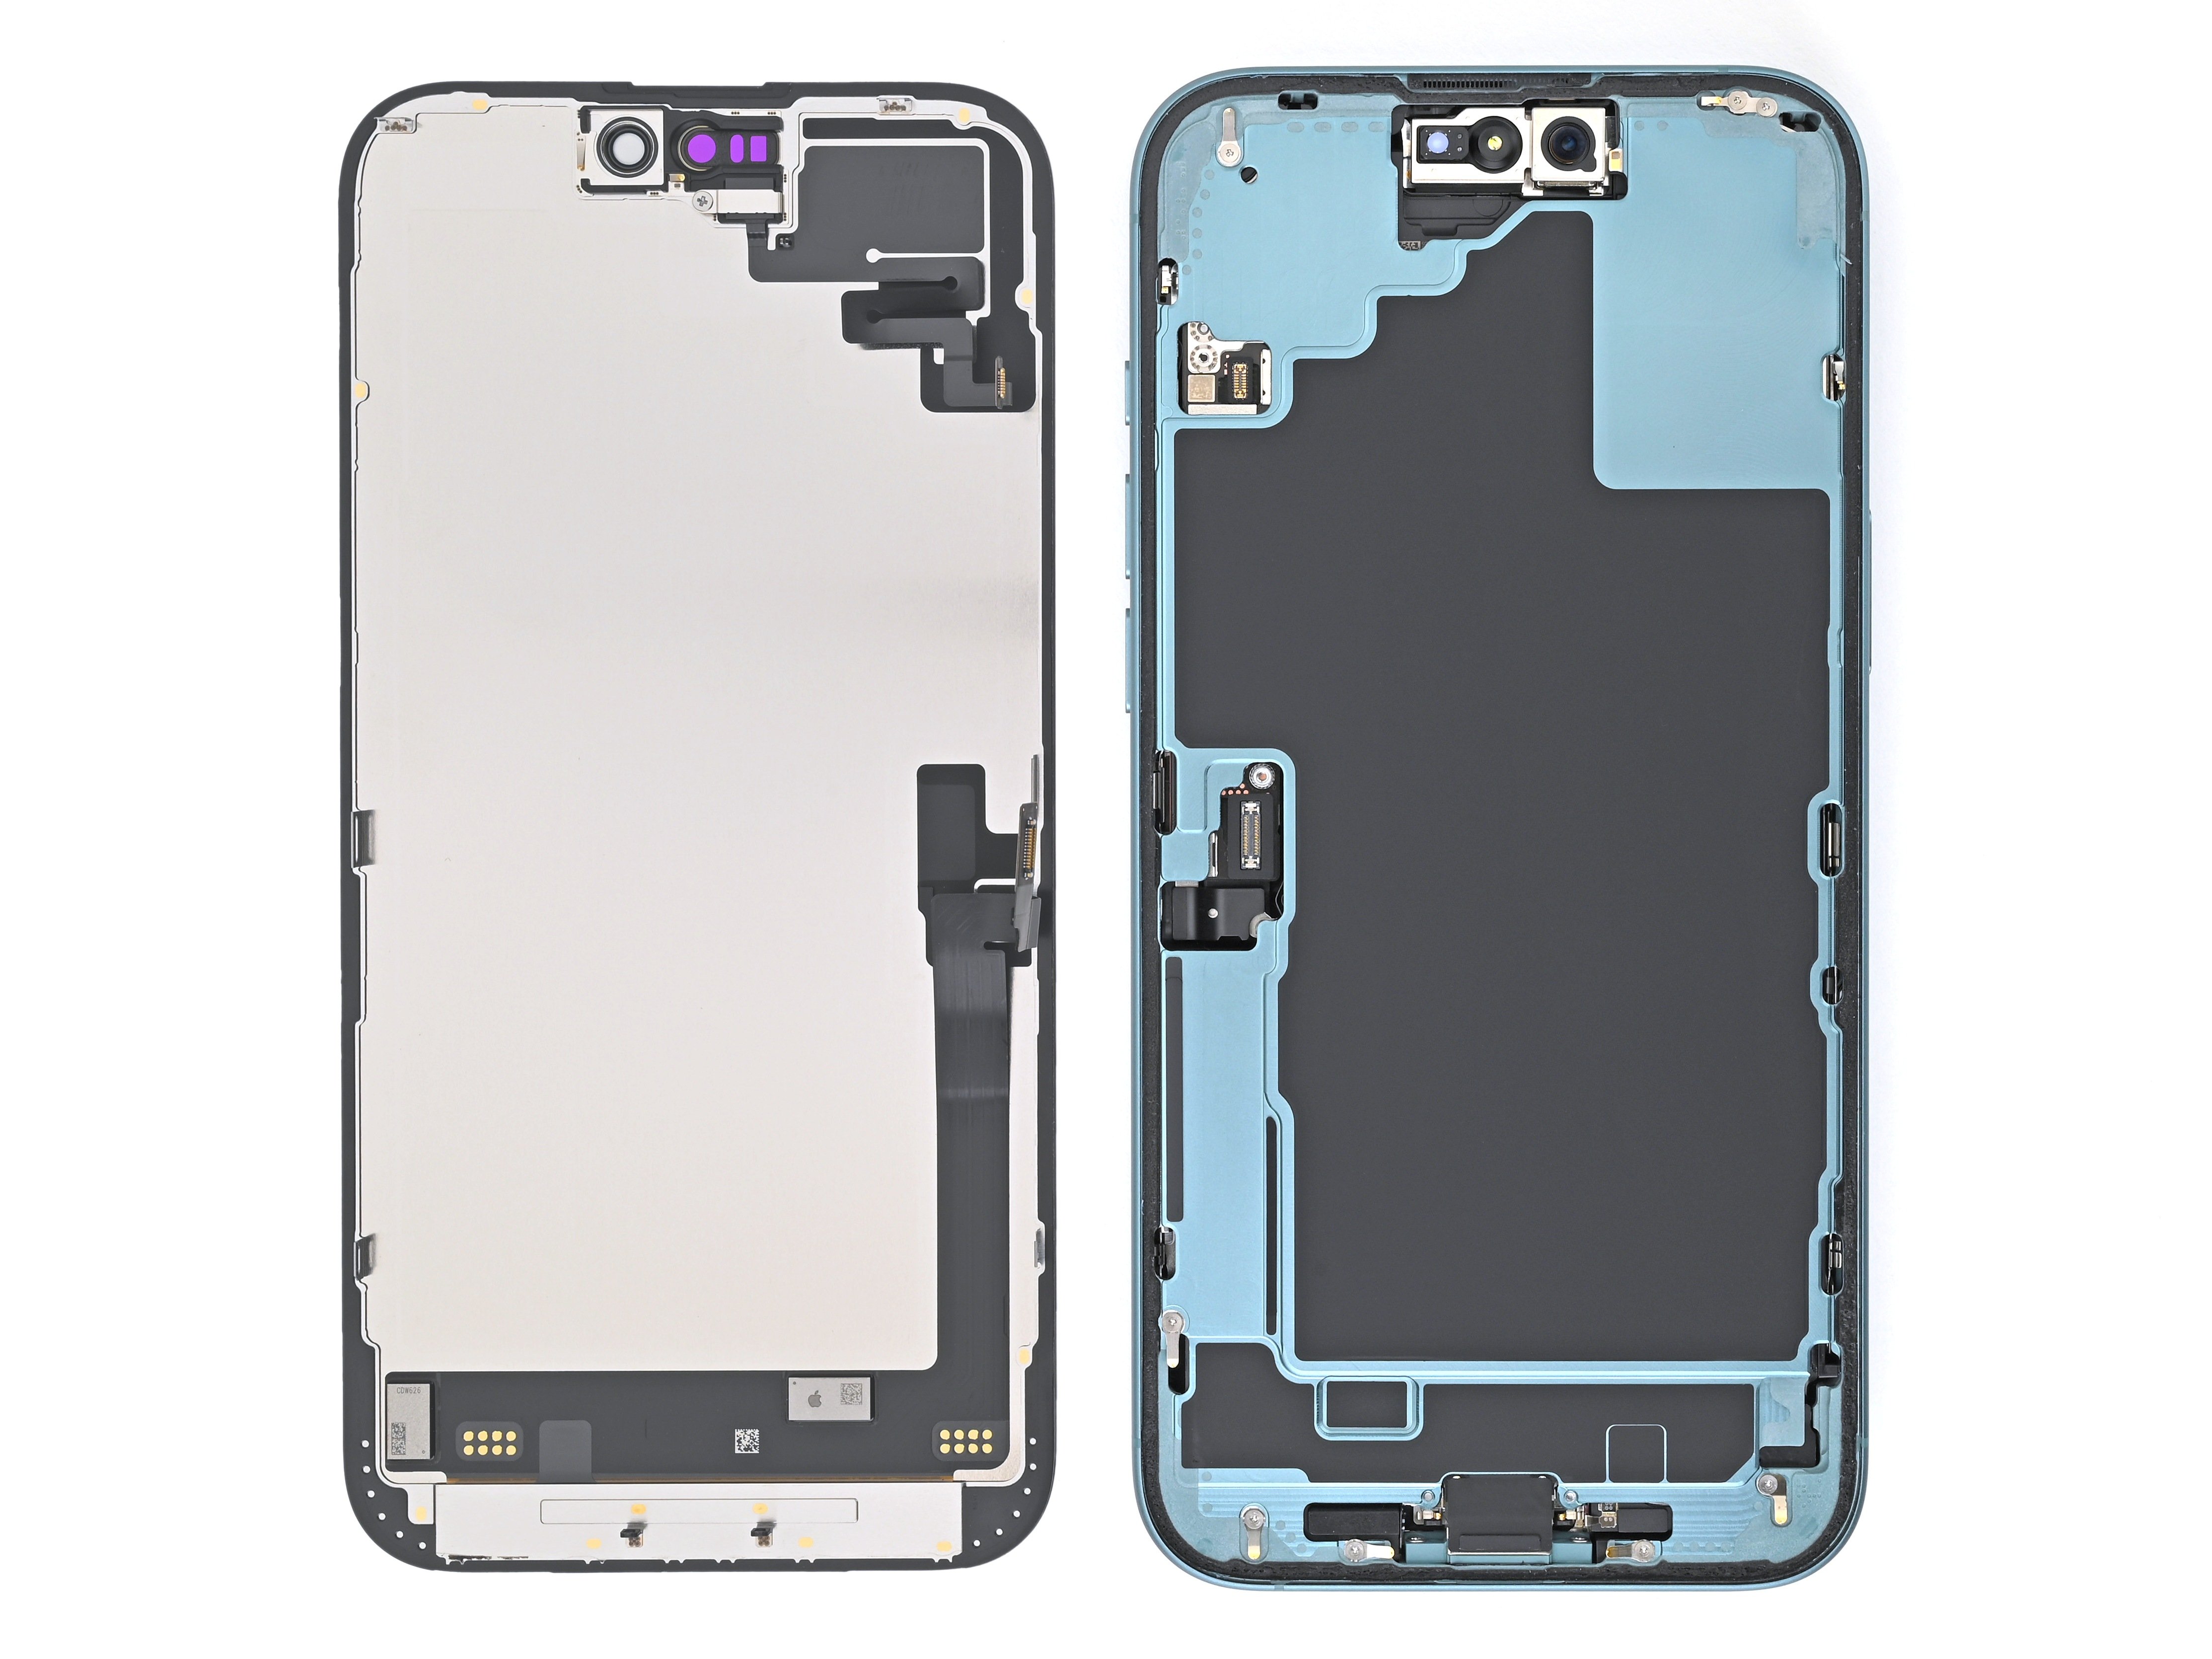
iPhone 16 Plus 5G mmWave Antenna Replacement
Duration: 45 minutes
Steps: 26 Steps
If you're having trouble with your 5G connectivity but Wi-Fi is still working just fine, it might be time to swap out the 5G mmWave antenna in your iPhone 16 Plus. Just a heads-up, this antenna is exclusive to the USA iPhone 16 Plus models (A3082). You'll also need to replace the back glass and grab some 5G mmWave antenna adhesive to wrap things up. If you’re in a pinch, you can use some thin, double-sided tape as a quick stand-in for the specialty adhesive. And as always, if you hit a bump in the road, don't hesitate to schedule a repair.
Step 1


Let your phone’s battery drop below 25% before starting, since a fully charged lithium-ion battery can be a bit of a safety diva.
- Disconnect any cables from your phone—easy does it.
- Press and hold the power button along with either volume button, then swipe to turn your phone off. Simple as that!
Step 2


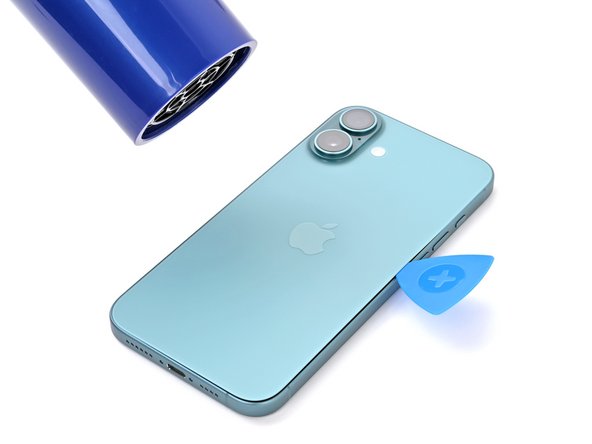
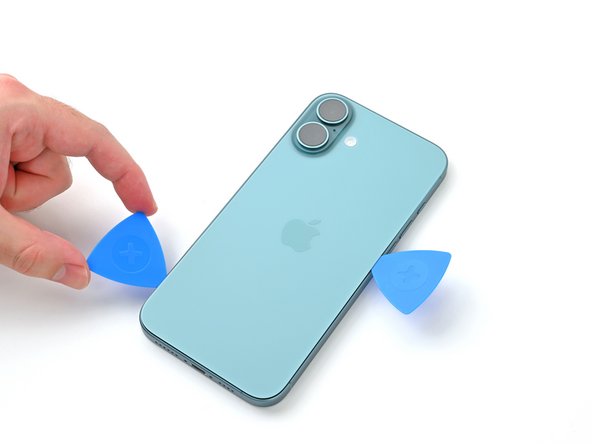
Find a nice, smooth spot near the bottom edge that’s big enough for your suction cup to grab onto. This will give you the perfect starting point for the next steps.
- If your screen or back glass is seriously cracked, grab some packing tape and lay a few strips over the glass. This will protect your hands and make the disassembly process a lot smoother. Safety first, then let’s get this thing fixed!
Tools Used

Step 3

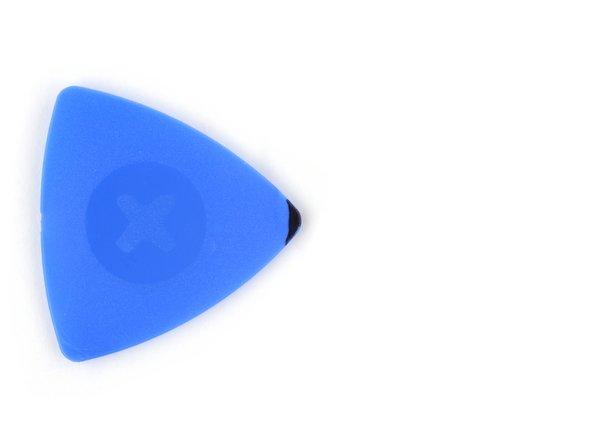
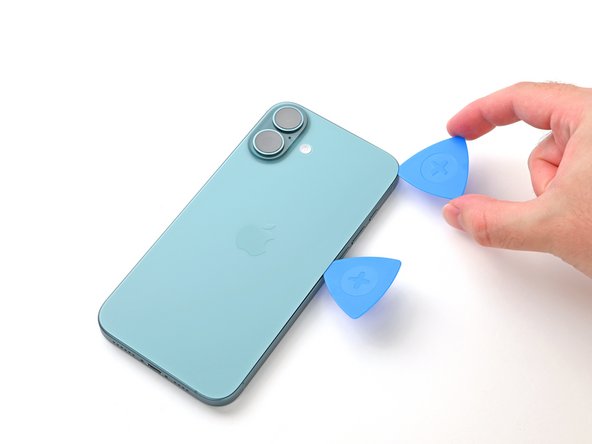
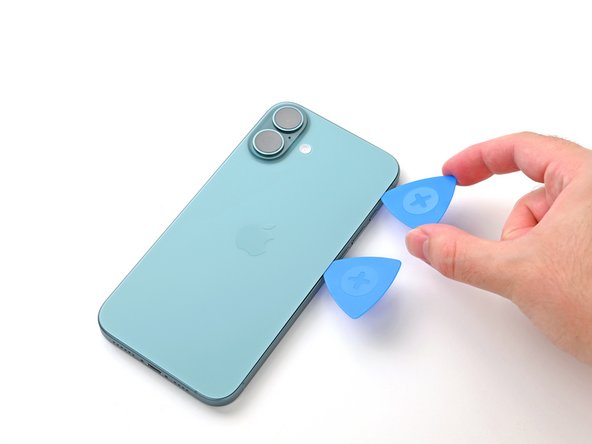
Pushing the pick in too far can lead to some unwanted hardware drama. Mark your pick so you know exactly where to stop.
Feeling extra precise? Mark the other corners with different measurements for a custom fit.
No ruler? No problem. Tape a coin about 3 mm from the tip—now your pick’s got a built-in bumper.
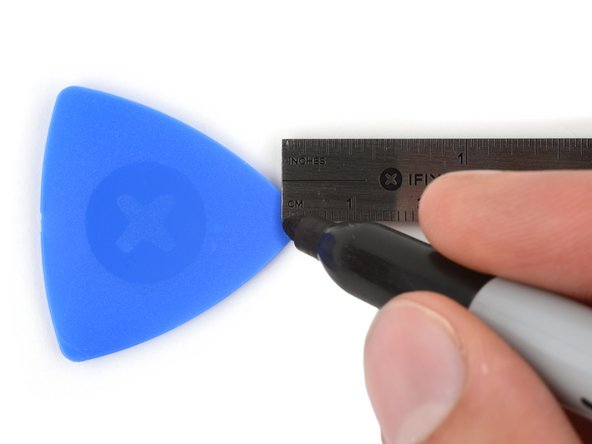
- Take your opening pick, measure out 3 mm from the tip, and give it a stylish mark with a permanent marker.
Step 4
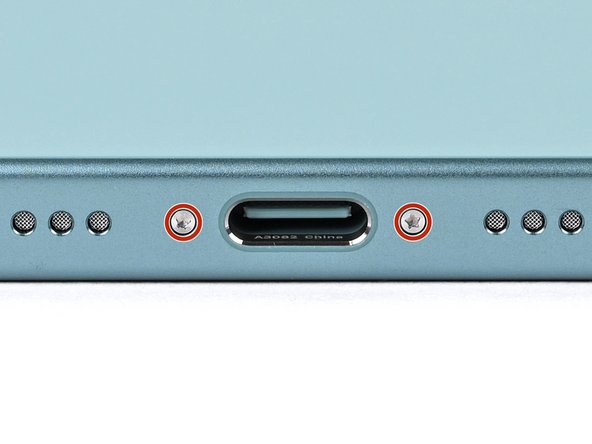

- Grab your trusty P2 pentalobe driver and unscrew the two 7.7 mm screws flanking the USB-C port. Steady hands, you got this!
Step 5


Heads up! Keep the phone from getting too toasty—batteries and heat are a bad mix, so don’t overdo it!
If you're feeling a little crafty, grab a hair dryer or heat gun and gently warm up the bottom edge of the back glass. You’ll know it’s ready when it’s nice and toasty to the touch.
- Grab your heated iOpener and let it chill (well, heat up) on the bottom edge of the back glass for a solid two minutes.
Tools Used


Step 6


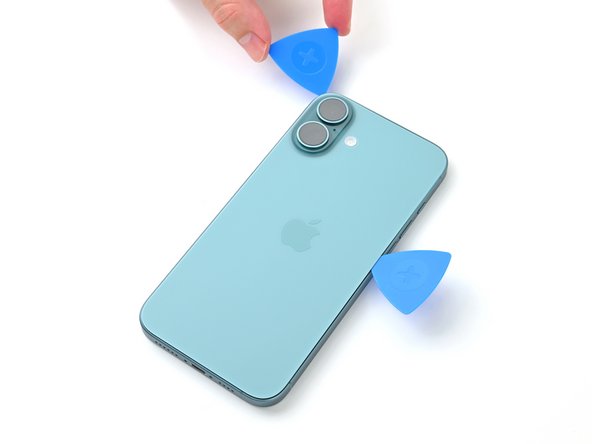
- Grab a suction handle and stick it to the bottom edge of that back glass, right above the USB-C port.
- Give a solid pull on the handle—nice and steady—to open up a little gap between the back glass and the frame.
- Slide the tip of an opening pick into that gap you've created.
Tools Used

Step 7

Heads up! When you’re slicing through the adhesive holding the back glass, keep an eye out for these tricky spots:
- Heads up: There's a sneaky little cable hanging out by the volume up button, connecting the back glass to the phone. Keep your pick away from this area, or you might end up giving it an accidental haircut.
- Spring contacts are chilling all around the phone's edge. When you're working through the steps, don’t shove your pick in deeper than you need to—these contacts aren’t fans of being bent out of shape.
Step 8


Keep your pick no deeper than 5 mm on the bottom edge to protect those delicate spring contacts—easy does it!
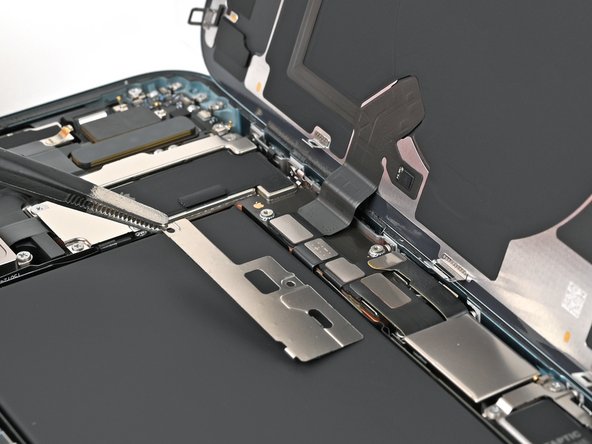
- Gently glide your pick along the bottom edge, wiggling it back and forth to break that stubborn adhesive free.
- Keep your pick snugly in the bottom right corner to stop the adhesive from getting all clingy again.
Step 9


Grab your hair dryer or heat gun and start warming up the back glass. Keep going until it feels nice and toasty to the touch!
- Give the right edge of that back glass a warm hug with a heated iOpener for a solid two minutes.
Tools Used
Step 10


Be careful not to insert your pick more than 5mm along the right edge. Going too deep could damage the spring contacts or ribbon cable, and nobody wants that.
Avoid slicing too close to the volume buttons—you don't want to accidentally cut into the wireless charging or flash cable. Take it slow, you've got this!
- Gently slide your pick around the bottom right corner and work it halfway up the right edge. You’ll hit a little resistance where the back glass is clipped in. No worries, you're on the right track!
- Once you’ve got that pick in place, leave it there to stop the adhesive from sticking back together. It’s like holding the door open while you get ready for the next step!
Step 11

Heat it up with a hair dryer or heat gun until it's nice and toasty to the touch. Just the right amount of warmth to get things going—nothing too crazy, but enough to make the job easier.
- Gently heat up an iOpener and let it work its magic on the left edge of the back glass for about two minutes. It'll loosen things up so you can get to work!
Tools Used
Step 12

Keep your pick shallow—no deeper than 5 mm along the left edge—to keep that spring contact safe and sound.
As you glide through, you’ll feel and hear the delightful little metal clips popping free.
- Pop in your second opening pick right at the bottom edge.
- Gently slide that pick around the bottom left corner, and then along the left edge of the screen to help free the adhesive and release those metal clips.
- Keep that pick stuck in place at the top left corner to stop the adhesive from sealing back up.
Step 13


Grab your hair dryer or heat gun and warm it up until it's comfortably hot to the touch.
- Grab your heated iOpener and park it on the top edge of the back glass, angling it so those volume buttons get some love too. Let it chill there for two minutes.
Tools Used
Step 14

Be careful not to push your pick more than 3 mm along the top edge to keep those spring contacts safe and sound. It's a small step for you, but a big win for your device!
Listen for those satisfying clicks as the top two clips pop right out!
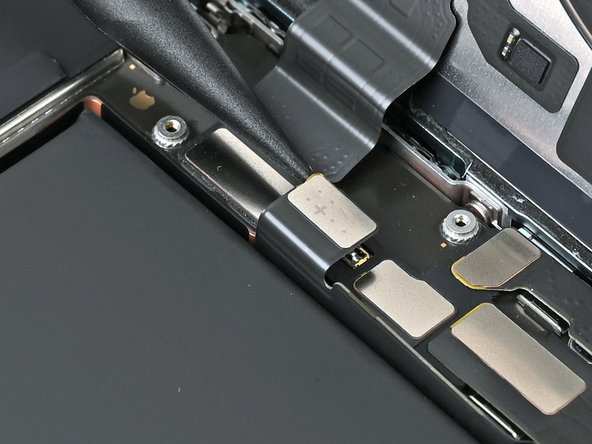
- Gently glide your opening pick along the top edge and wrap it around the top right corner, making your way to the volume up button to break free that adhesive. Let’s get it done!
Step 15


Hold up! Don’t yank the back glass off just yet—it’s still connected by a fragile ribbon cable. Keep cruising through the next steps to take it off safely and soundly.
If the back glass isn’t swinging open like it’s supposed to, don’t force it—take a moment to run your pick around the edges again to spot any sticky adhesive or clips still holding on tight.
Sometimes giving the back glass a little lift before swinging it open helps release those stubborn clips completely.
- Carefully swing the back glass open towards the volume buttons like you're unveiling a secret.
- Prop up the back glass with something sturdy and clean, like a little box, so the cable doesn’t get stressed out.
- Take out the opening picks and set them aside.
Step 16

- Grab a tri-point Y000 driver and use it to take out the two tiny 1.3mm screws holding the middle connector cover in place.
Step 17

Take it easy and watch out for that battery! We don't want any dings or punctures happening here.
- Grab those blunt-nose tweezers or your trusty fingers and give the cover a gentle nudge to the left edge of the phone. Feel that satisfying release as it pops free from the logic board hook!
- Off goes the cover! Easy peasy.
- When it's time to put everything back together, just make sure those hooks are lined up perfectly over their slots on the logic board. Give the cover a little press down and slide it to the right to lock those hooks back in place. You've got this!
Tools Used

Step 18


- Grab your trusty spudger and gently use its tip to lift and disconnect the battery press connector.
- When putting it back together, align the connector just right over its socket and press it down gently with your fingertip or the flat end of the spudger. Start on one side, then move to the other—until you hear that satisfying click! Don’t force it; if it’s being stubborn, just reposition it and give it another go.
Tools Used

Step 19


- Gently use the spudger's point to lift and disconnect the wireless charging coil's press connector.
Tools Used
Step 20

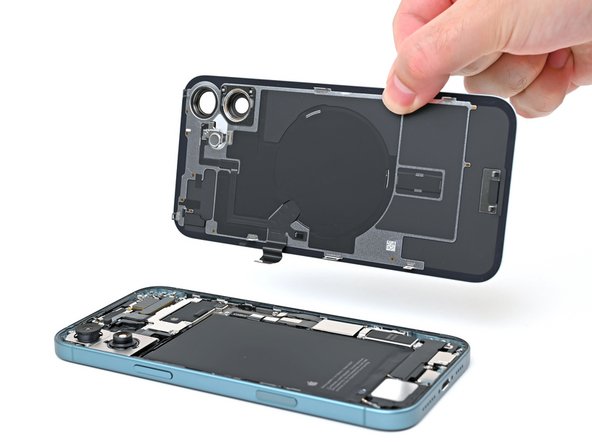
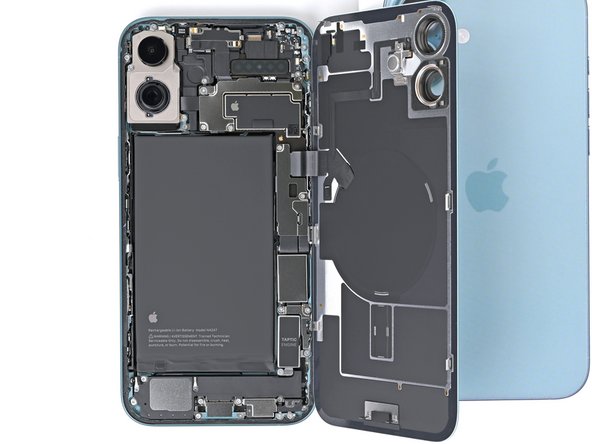
- Gently lift the back glass away from the frame and take it off.
Step 21


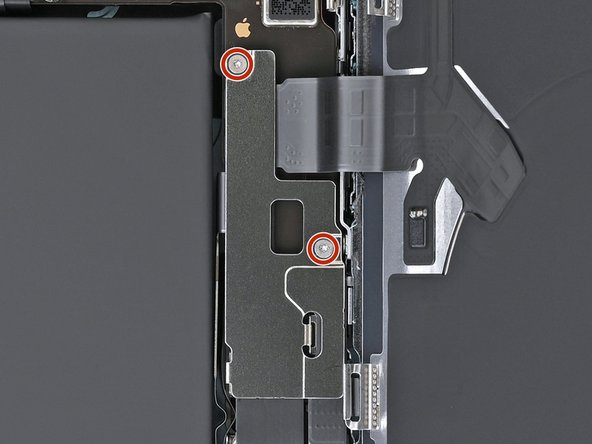
- Time to get this party started! First, let's tackle those screws holding down the upper connector cover:
- You'll need to find two Phillips screws that are 1.4 mm long,
- Then, there's one Phillips screw that's 3.5 mm long,
- And lastly, don't forget about that sneaky 1.0 mm tri-point Y000 screw.
Step 22


- Grab those tweezers or just use your fingers to gently lift off the upper connector cover. You've got this!
Tools Used
Step 23

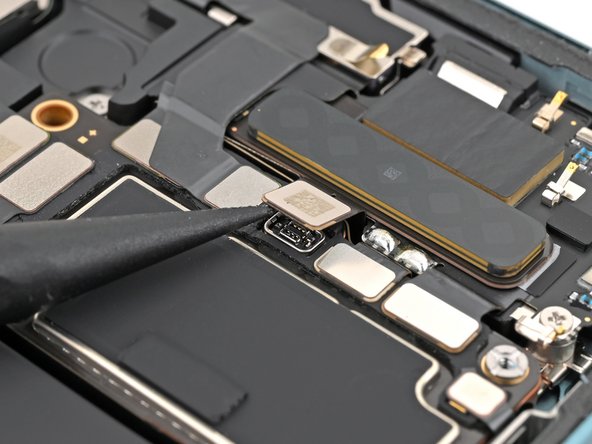
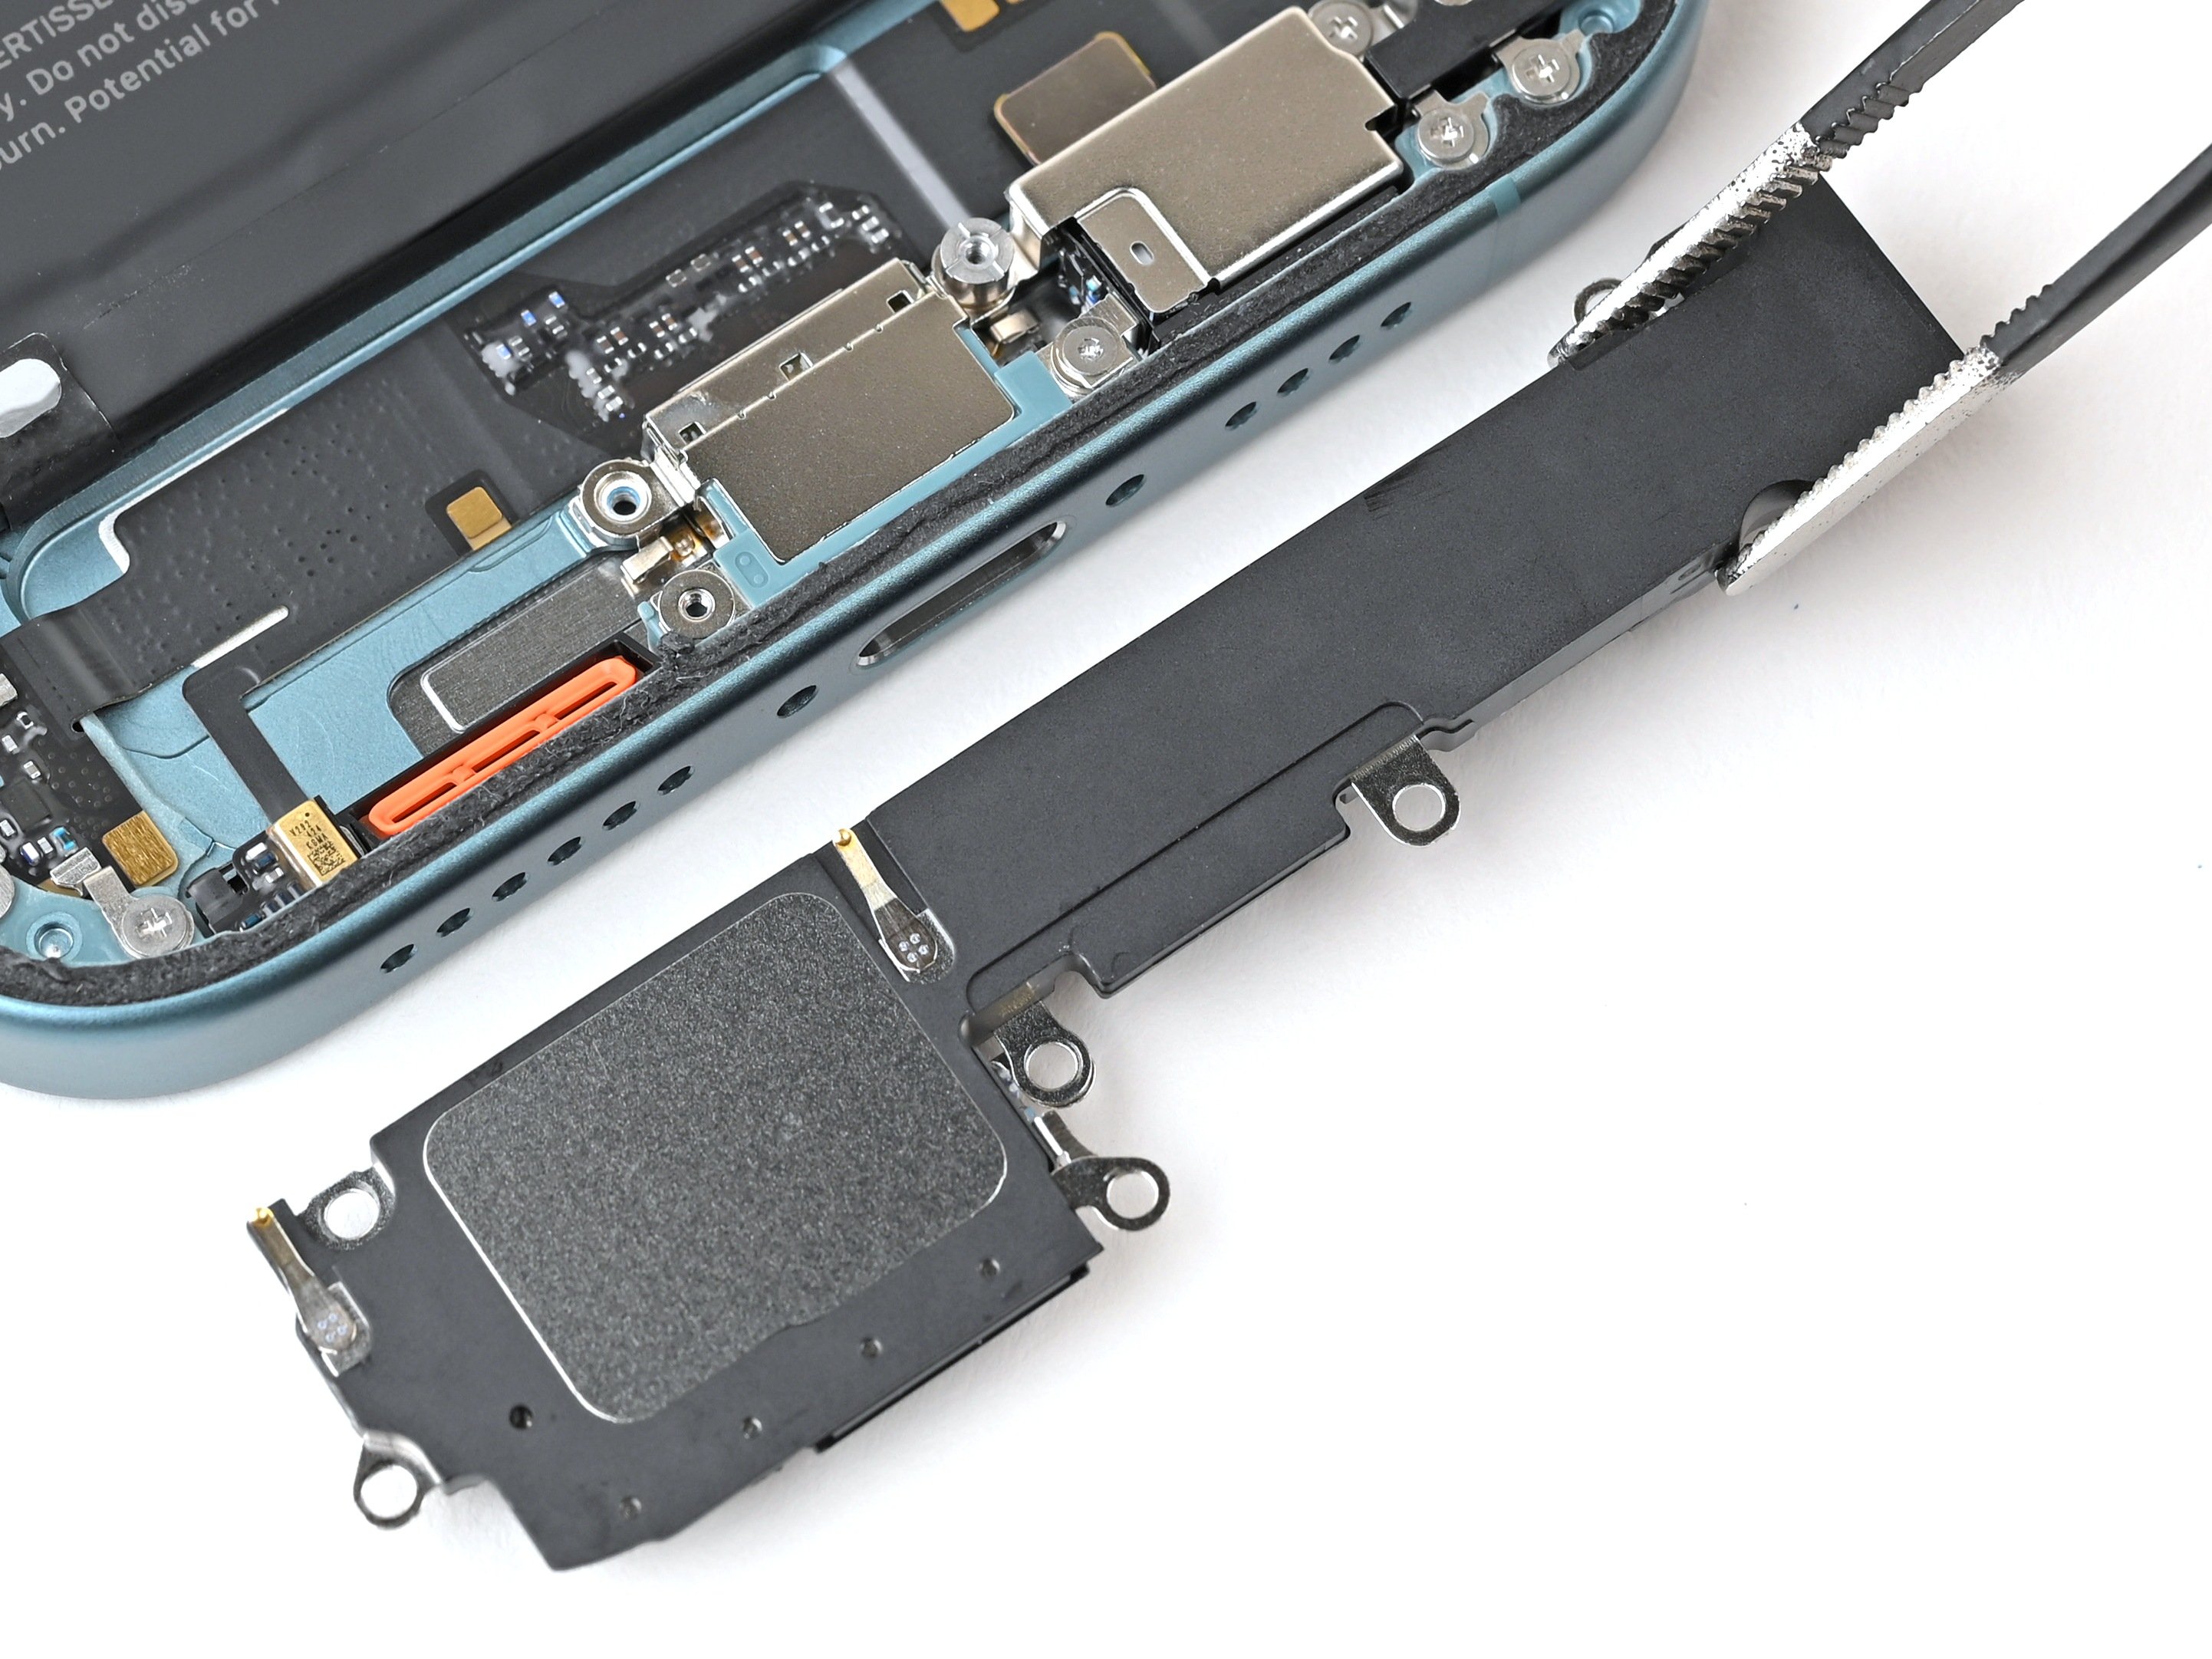
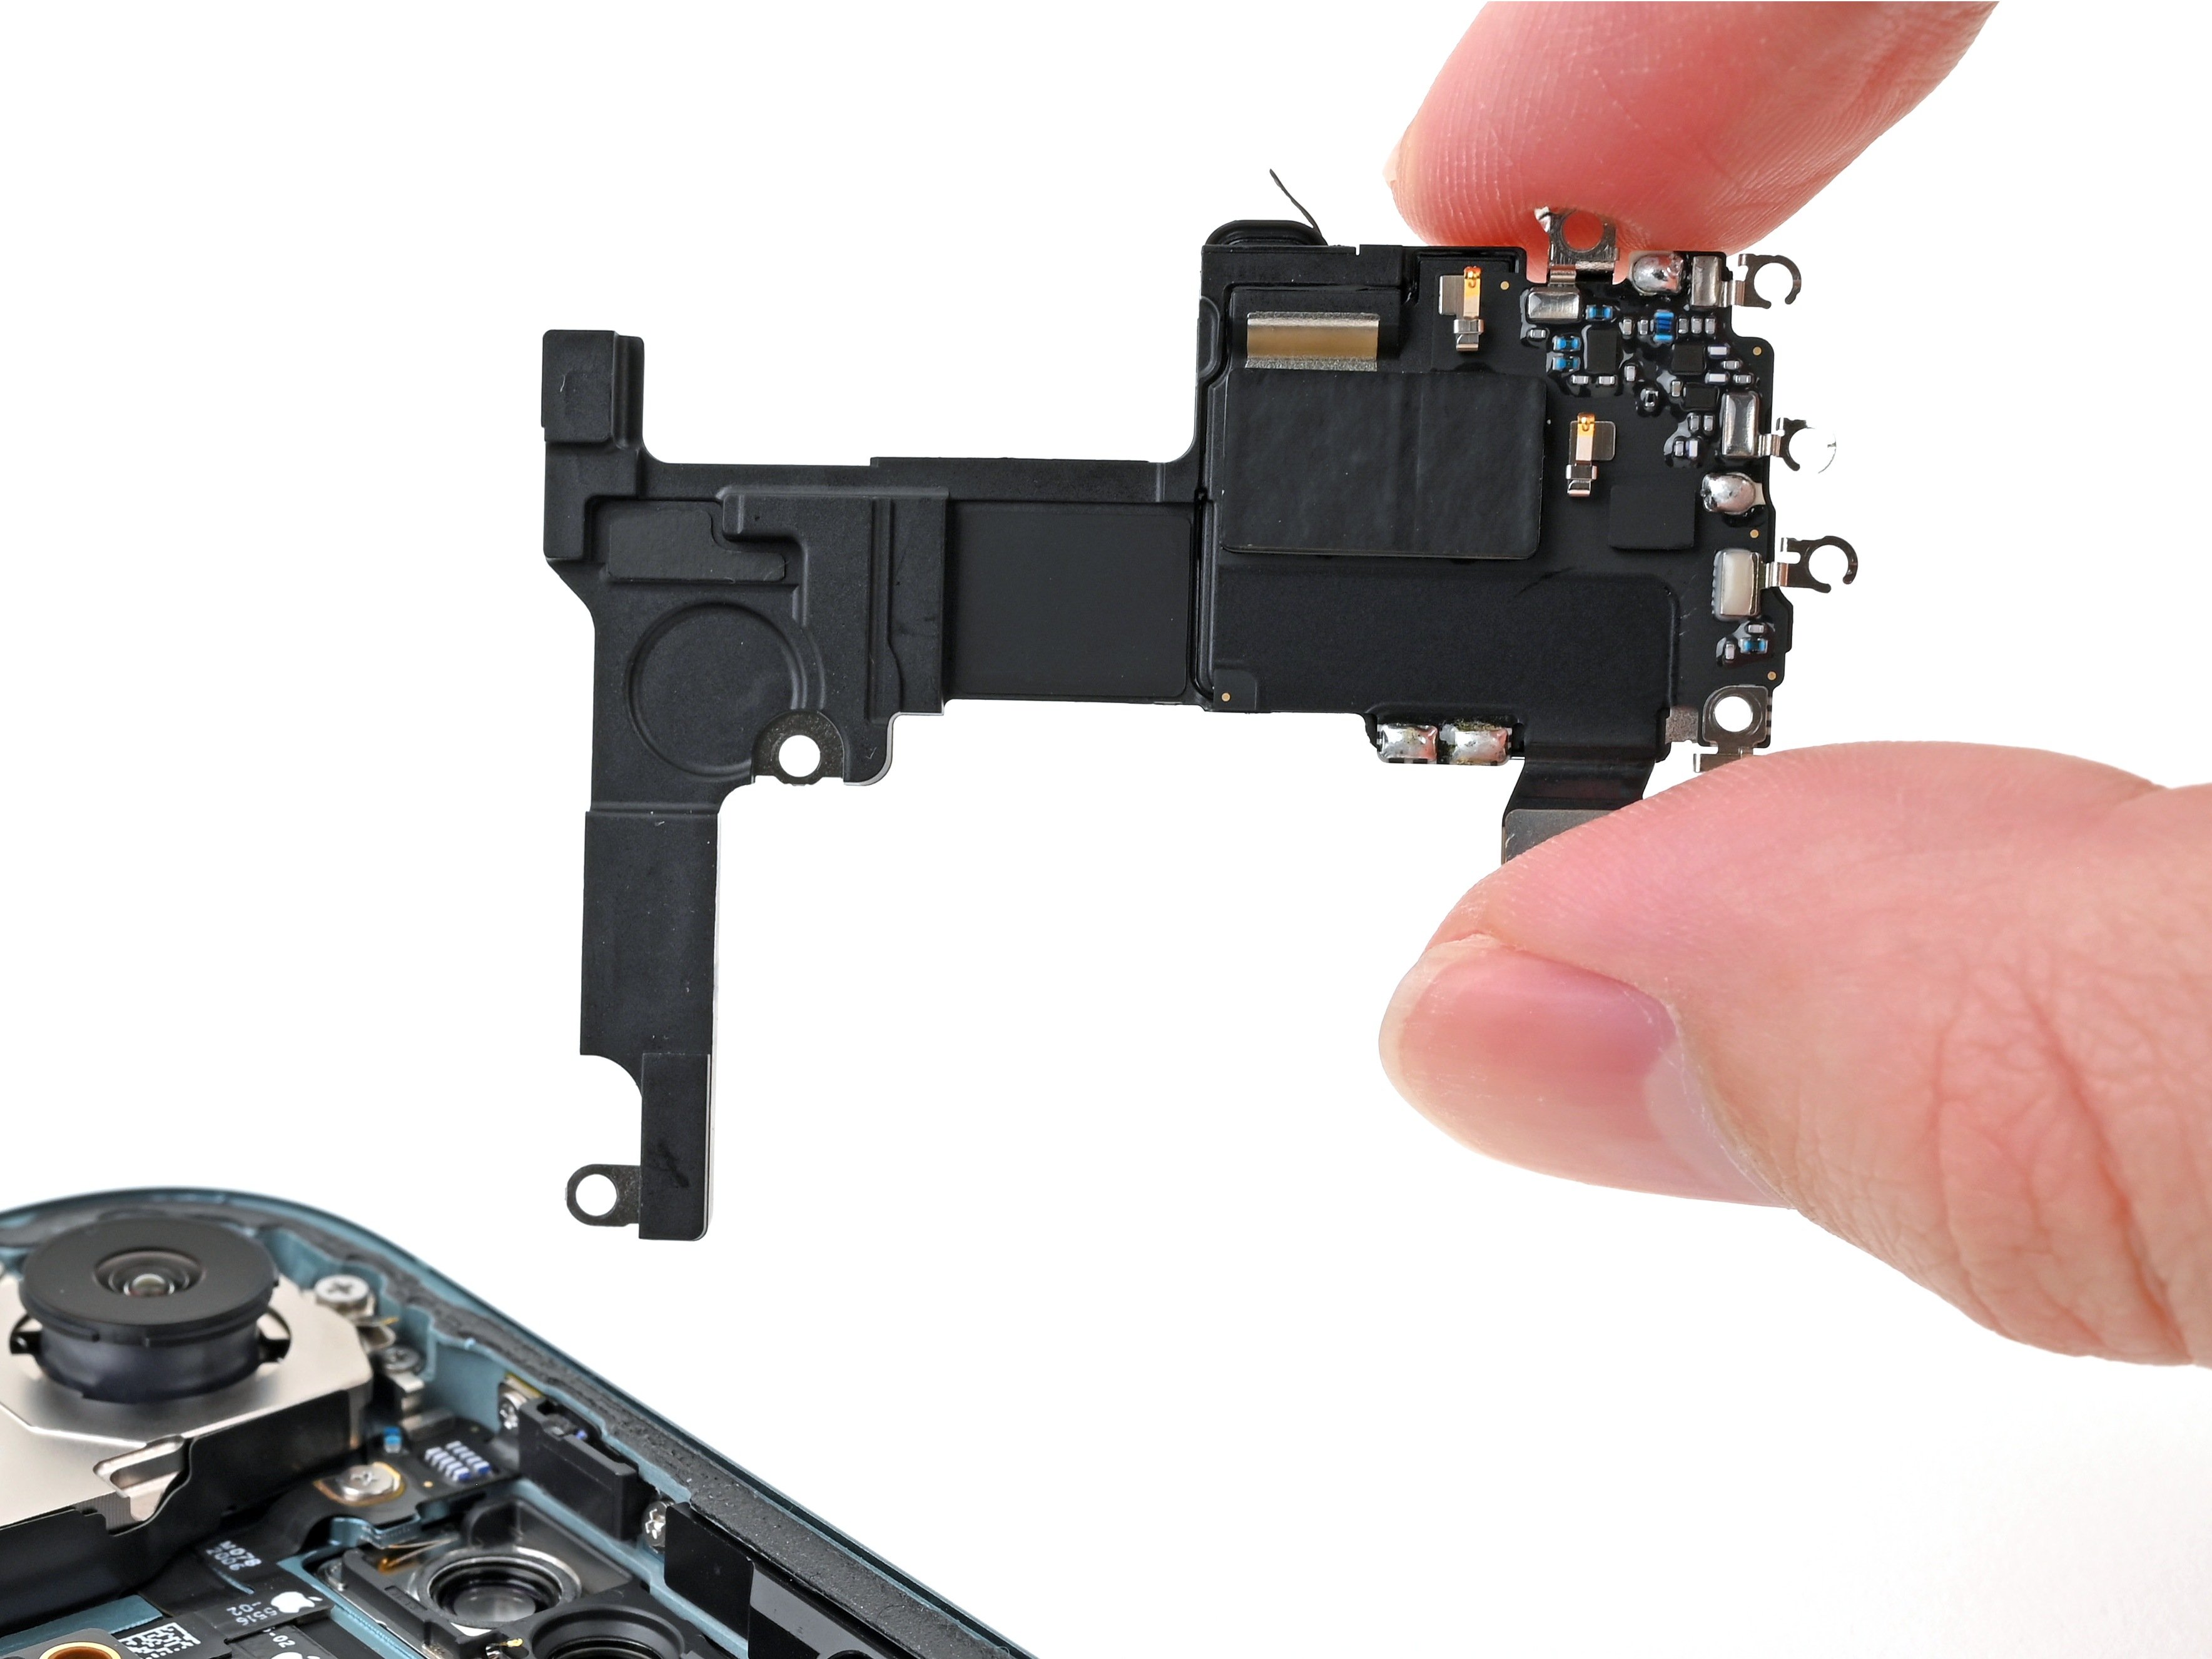
- Grab your spudger and carefully pop up the 5G mmWave antenna connector—just a little nudge, no need to wrestle it.
Tools Used
Step 24
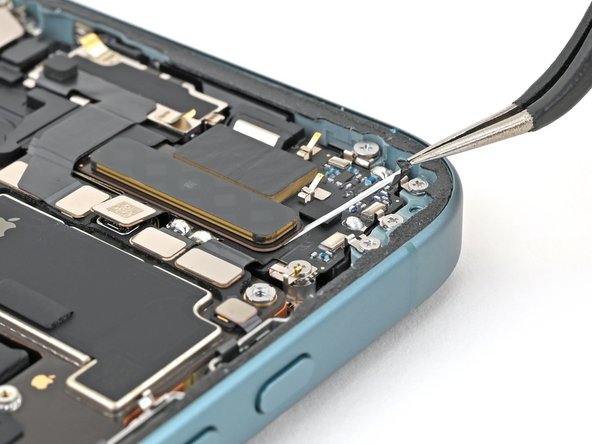

For a better grip, try wrapping the adhesive around the tip of your tweezers and give it a little twist as you pull.
- Grab the stretch-release adhesive pull-tab with your tweezers, it's chilling on the right edge of the 5G mmWave antenna, ready for action.
- Gently tug the adhesive strip out at a low angle. Take your time – let it stretch and peel away slowly, no rush.
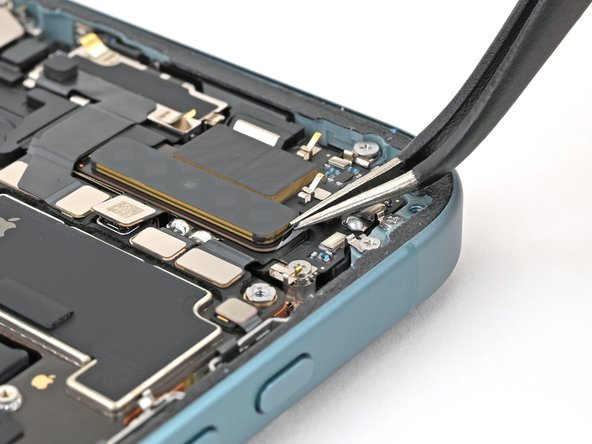
- If the strip decides to break off on you, no worries! Use your tweezers to grab it and keep pulling.
Tools Used
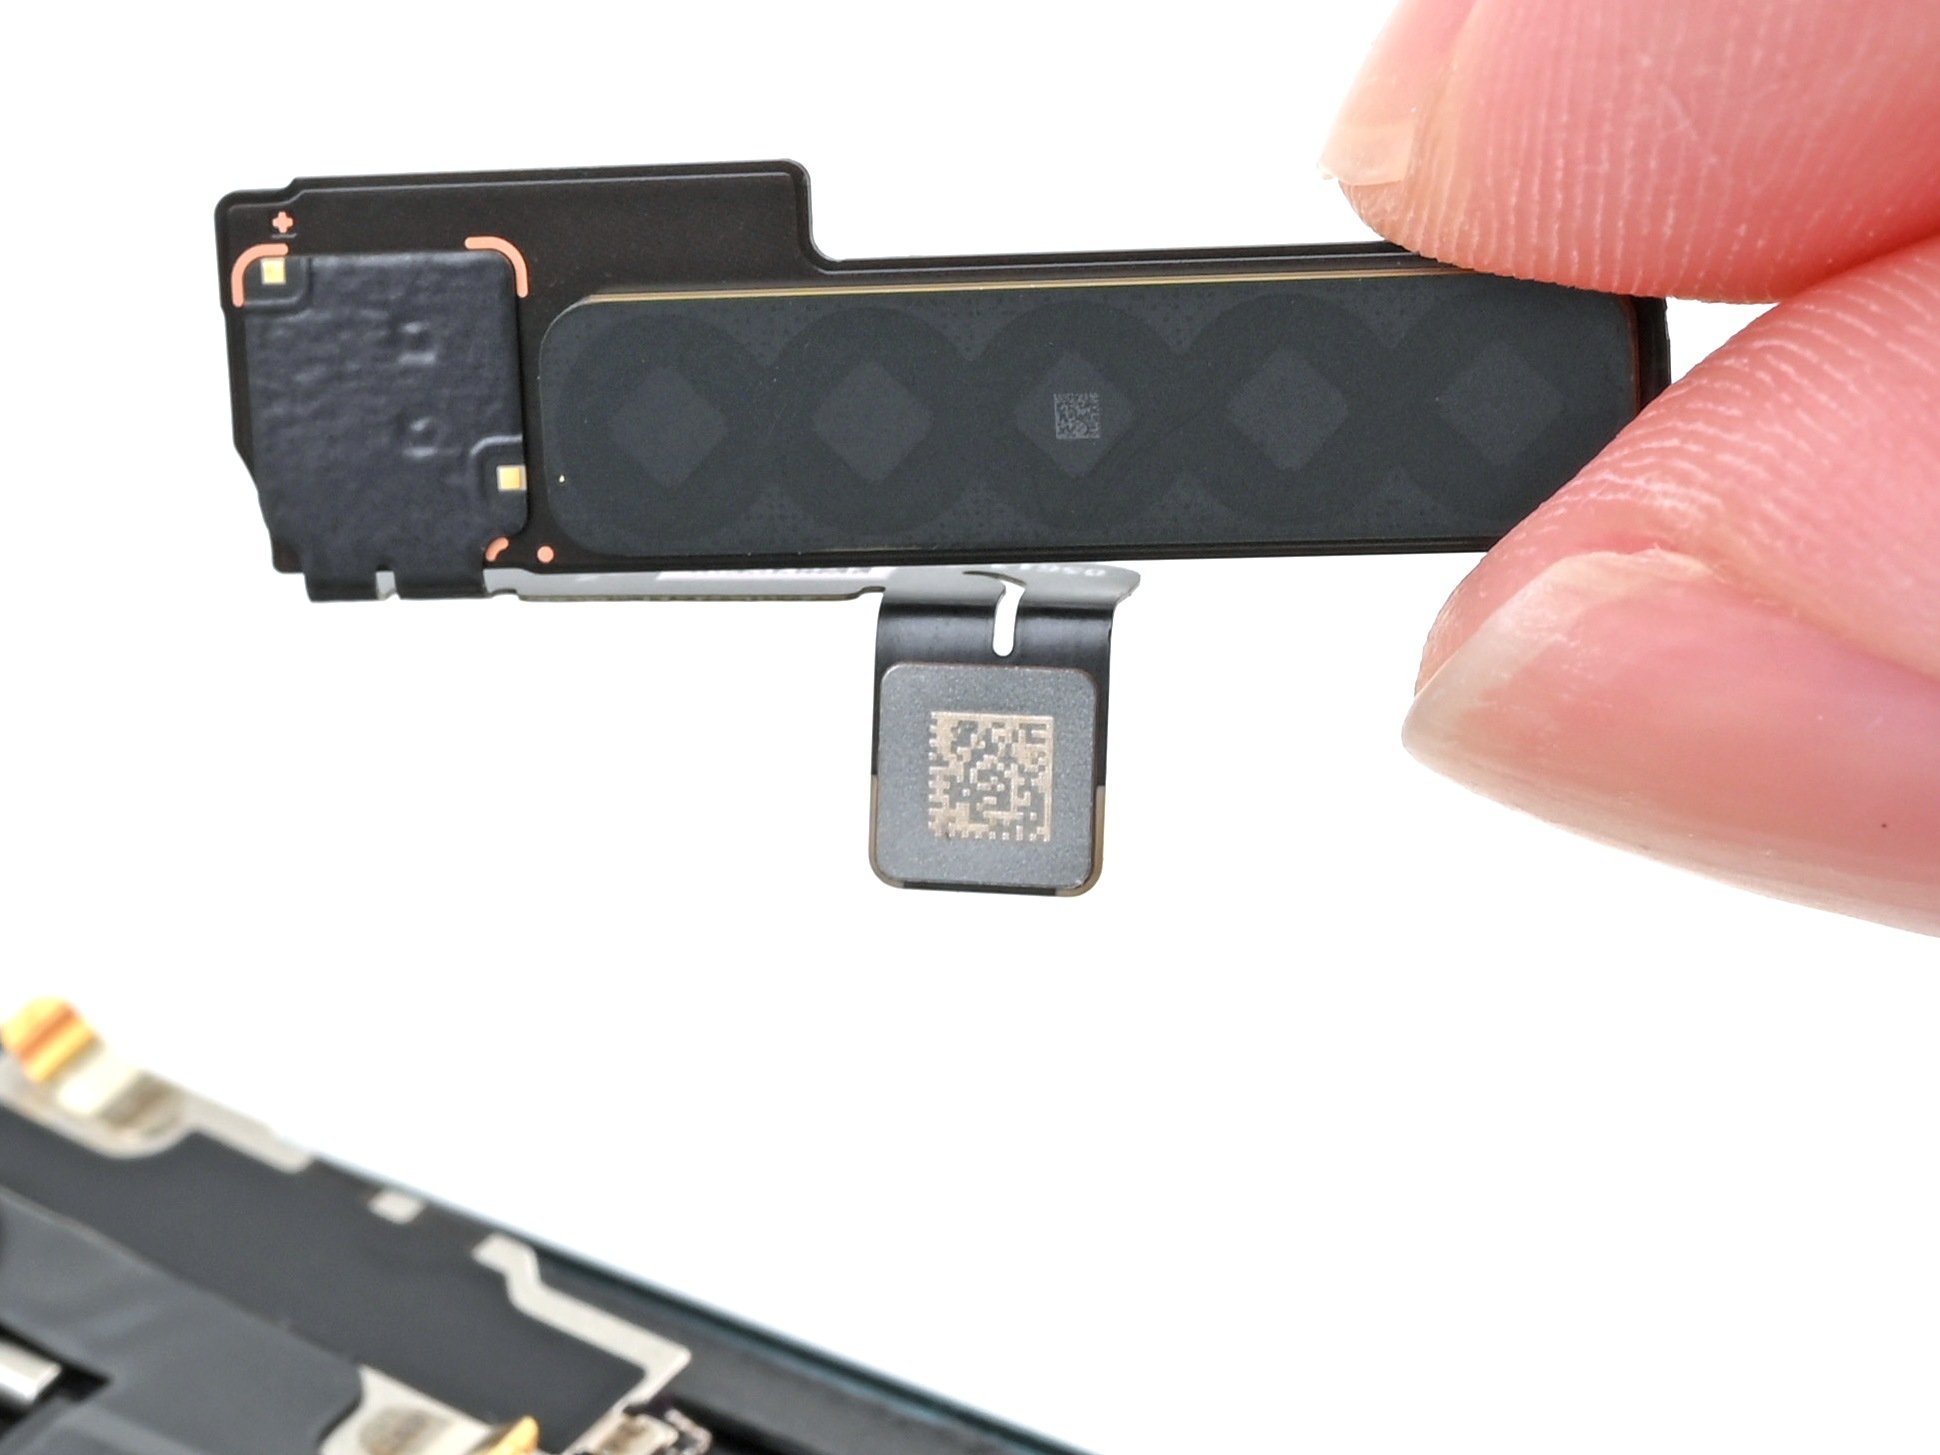
Step 25


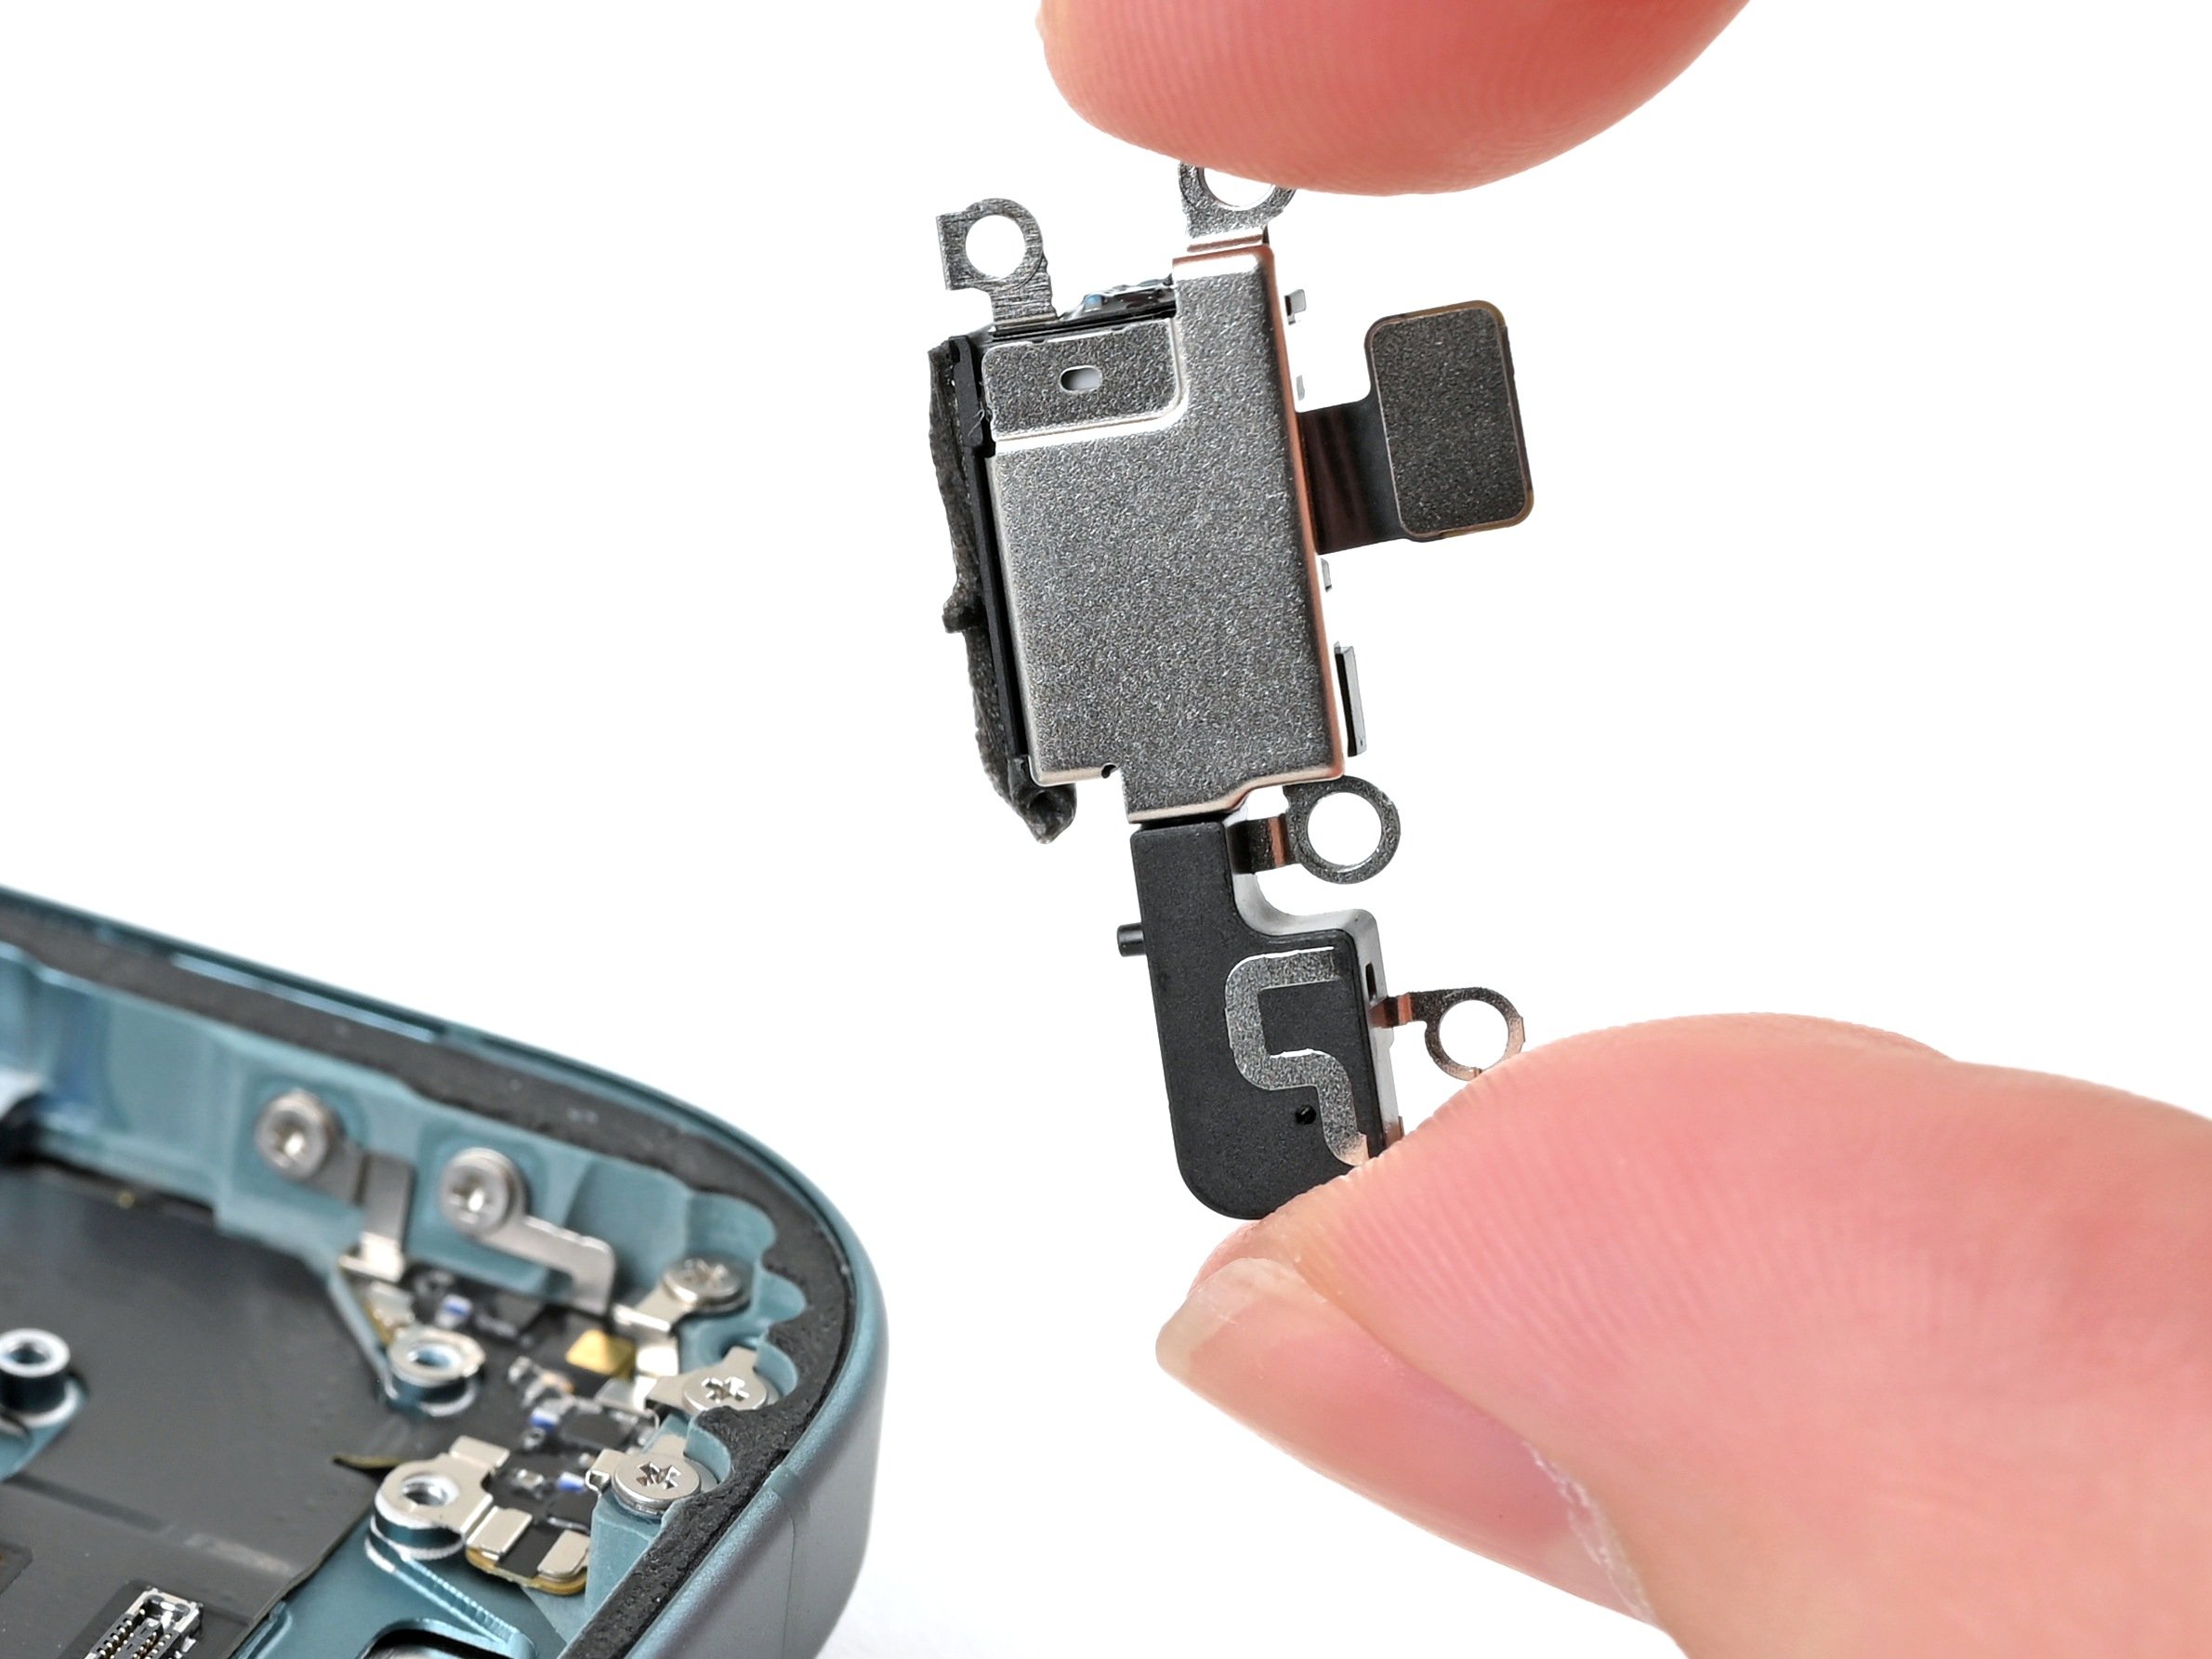
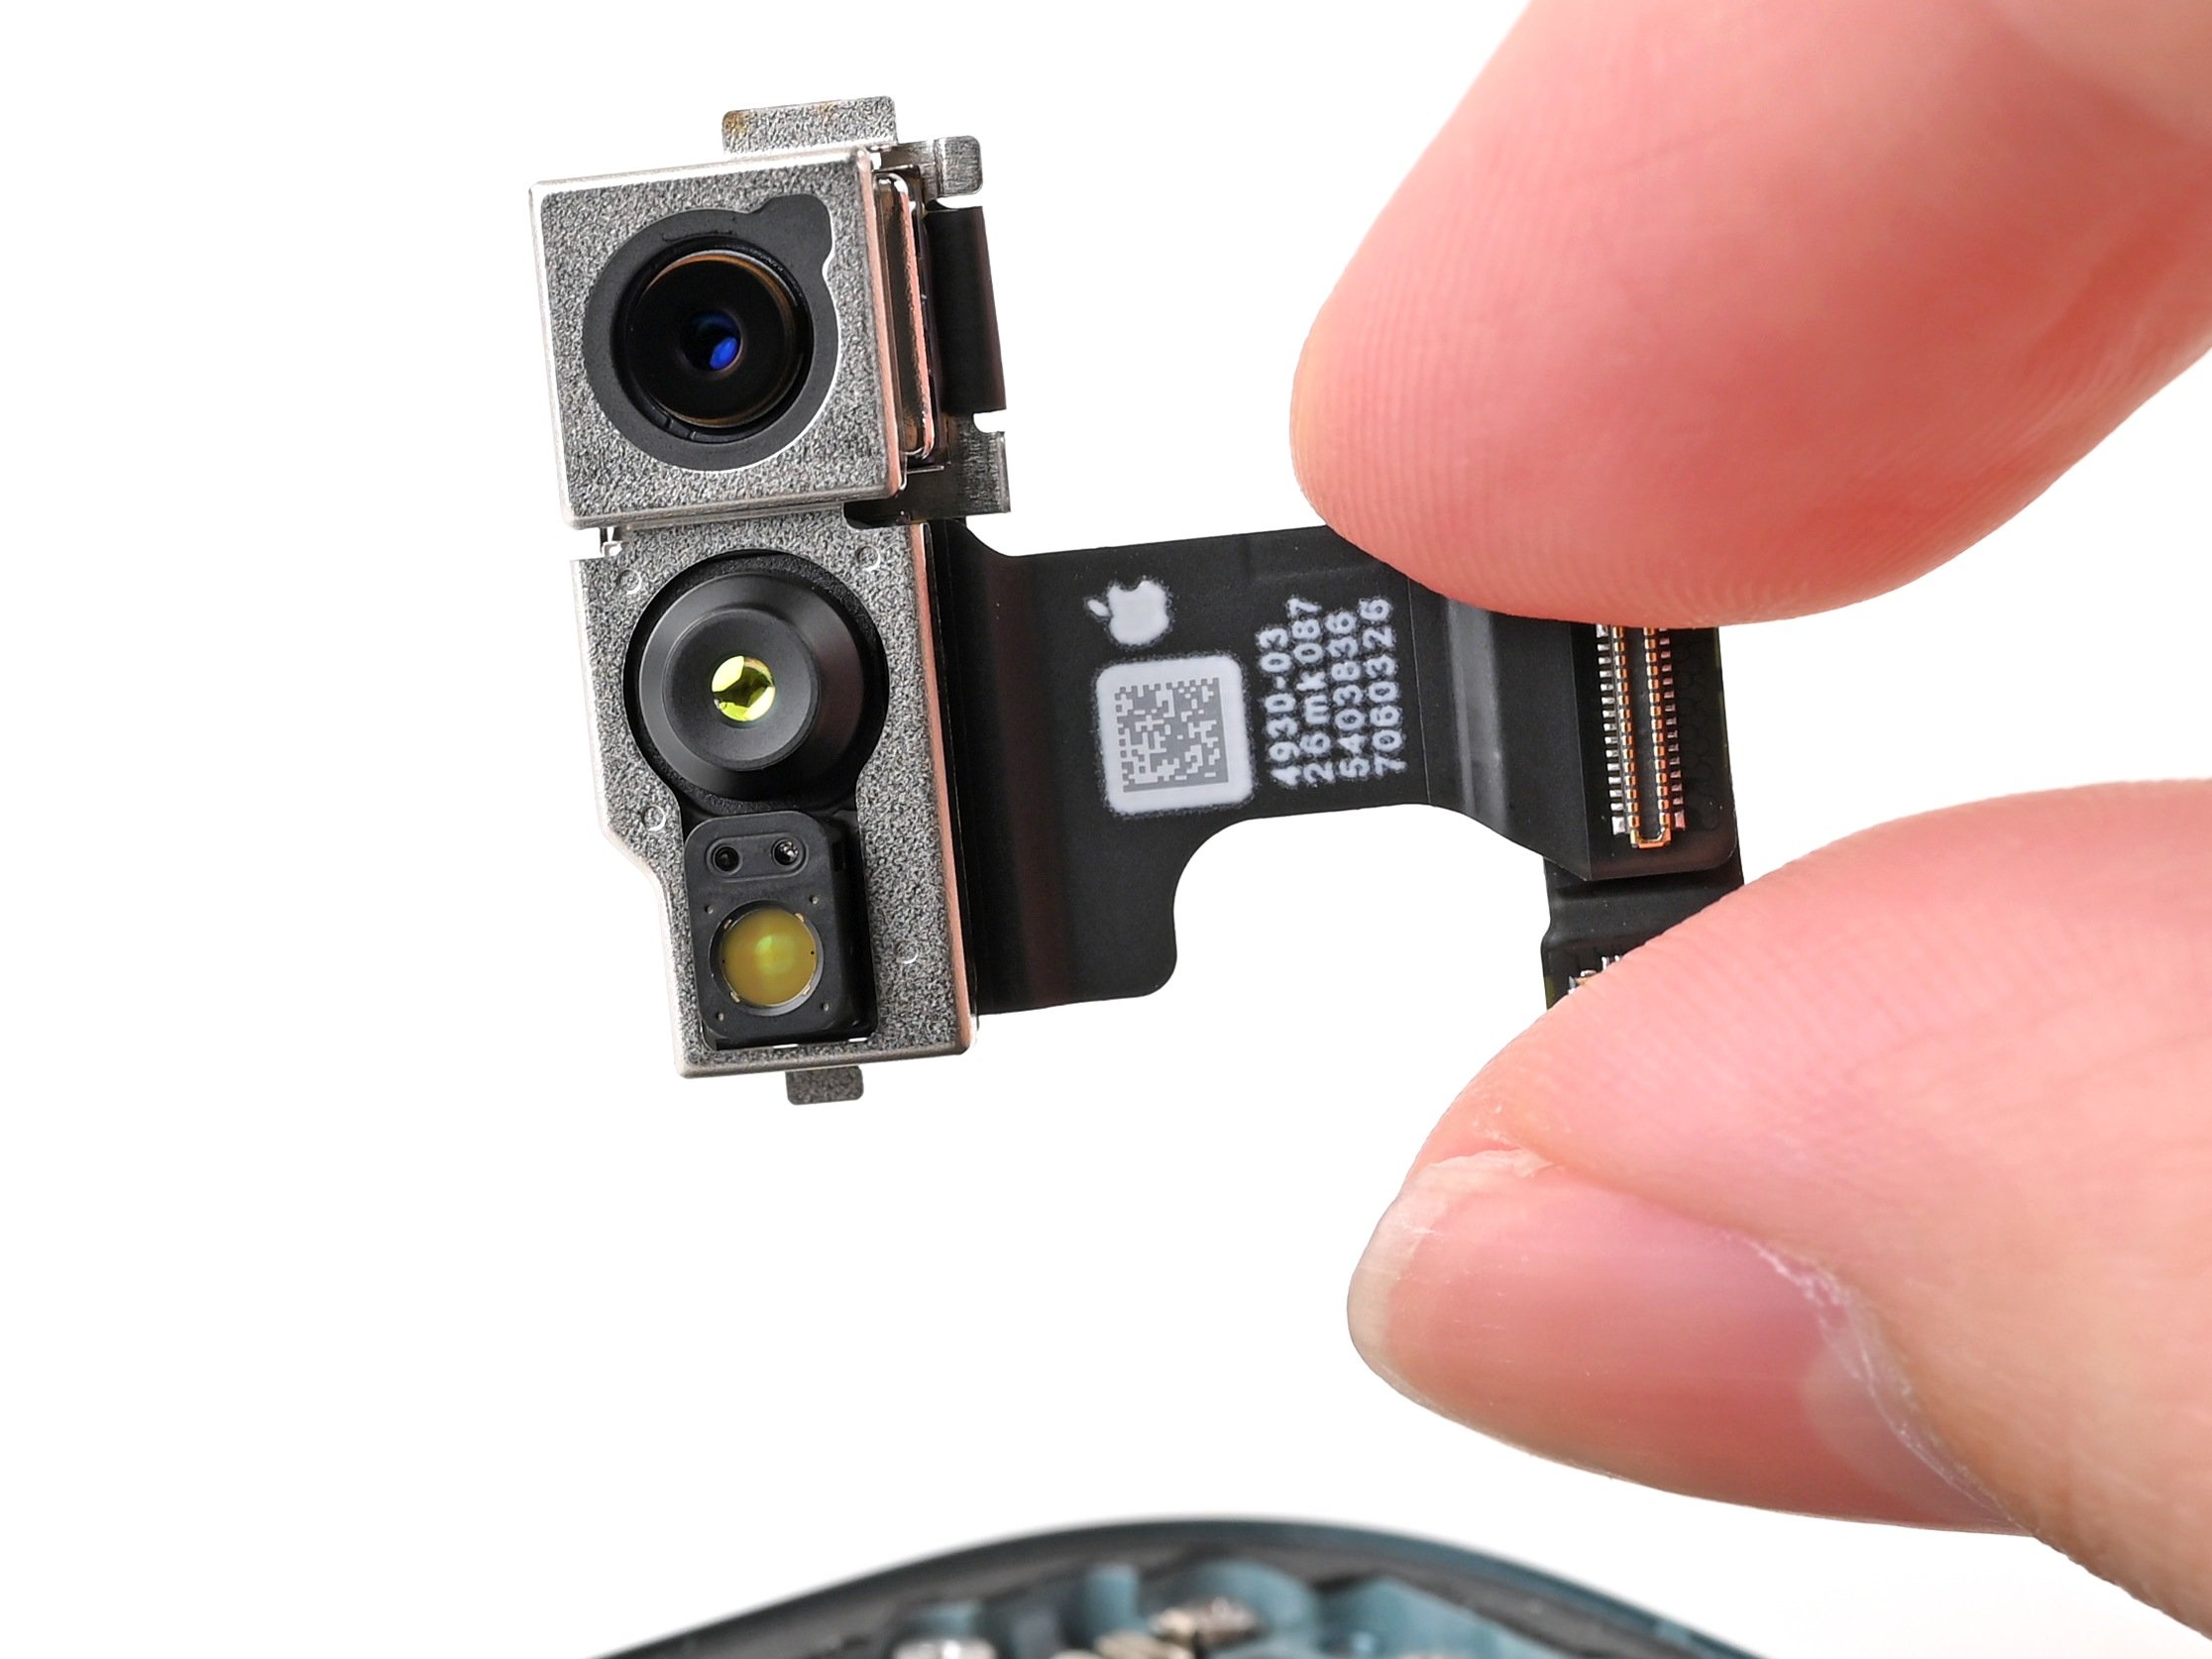
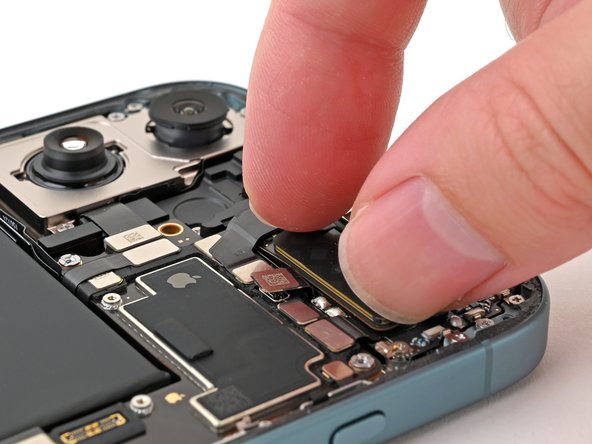
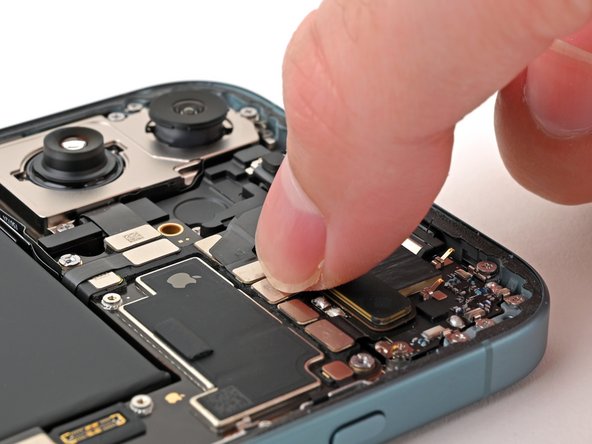
- Gently lift the 5G mmWave antenna away from the earpiece speaker and take it out with care.
Step 26

If your replacement part doesn’t come with fresh adhesive, grab a thin strip of double-sided tape—about 4 mm by 16 mm—to keep that antenna snugly stuck to the earpiece speaker.
- Put your phone back together by retracing these steps in reverse.
- Make sure to recycle your e-waste at an R2 or e-Stewards certified facility.
- If things didn’t quite work out, try some basic troubleshooting or tap into our iPhone 16 Plus Answers Community for tips.
- And if you’re stuck, don’t hesitate to schedule a repair with Salvation Repair.