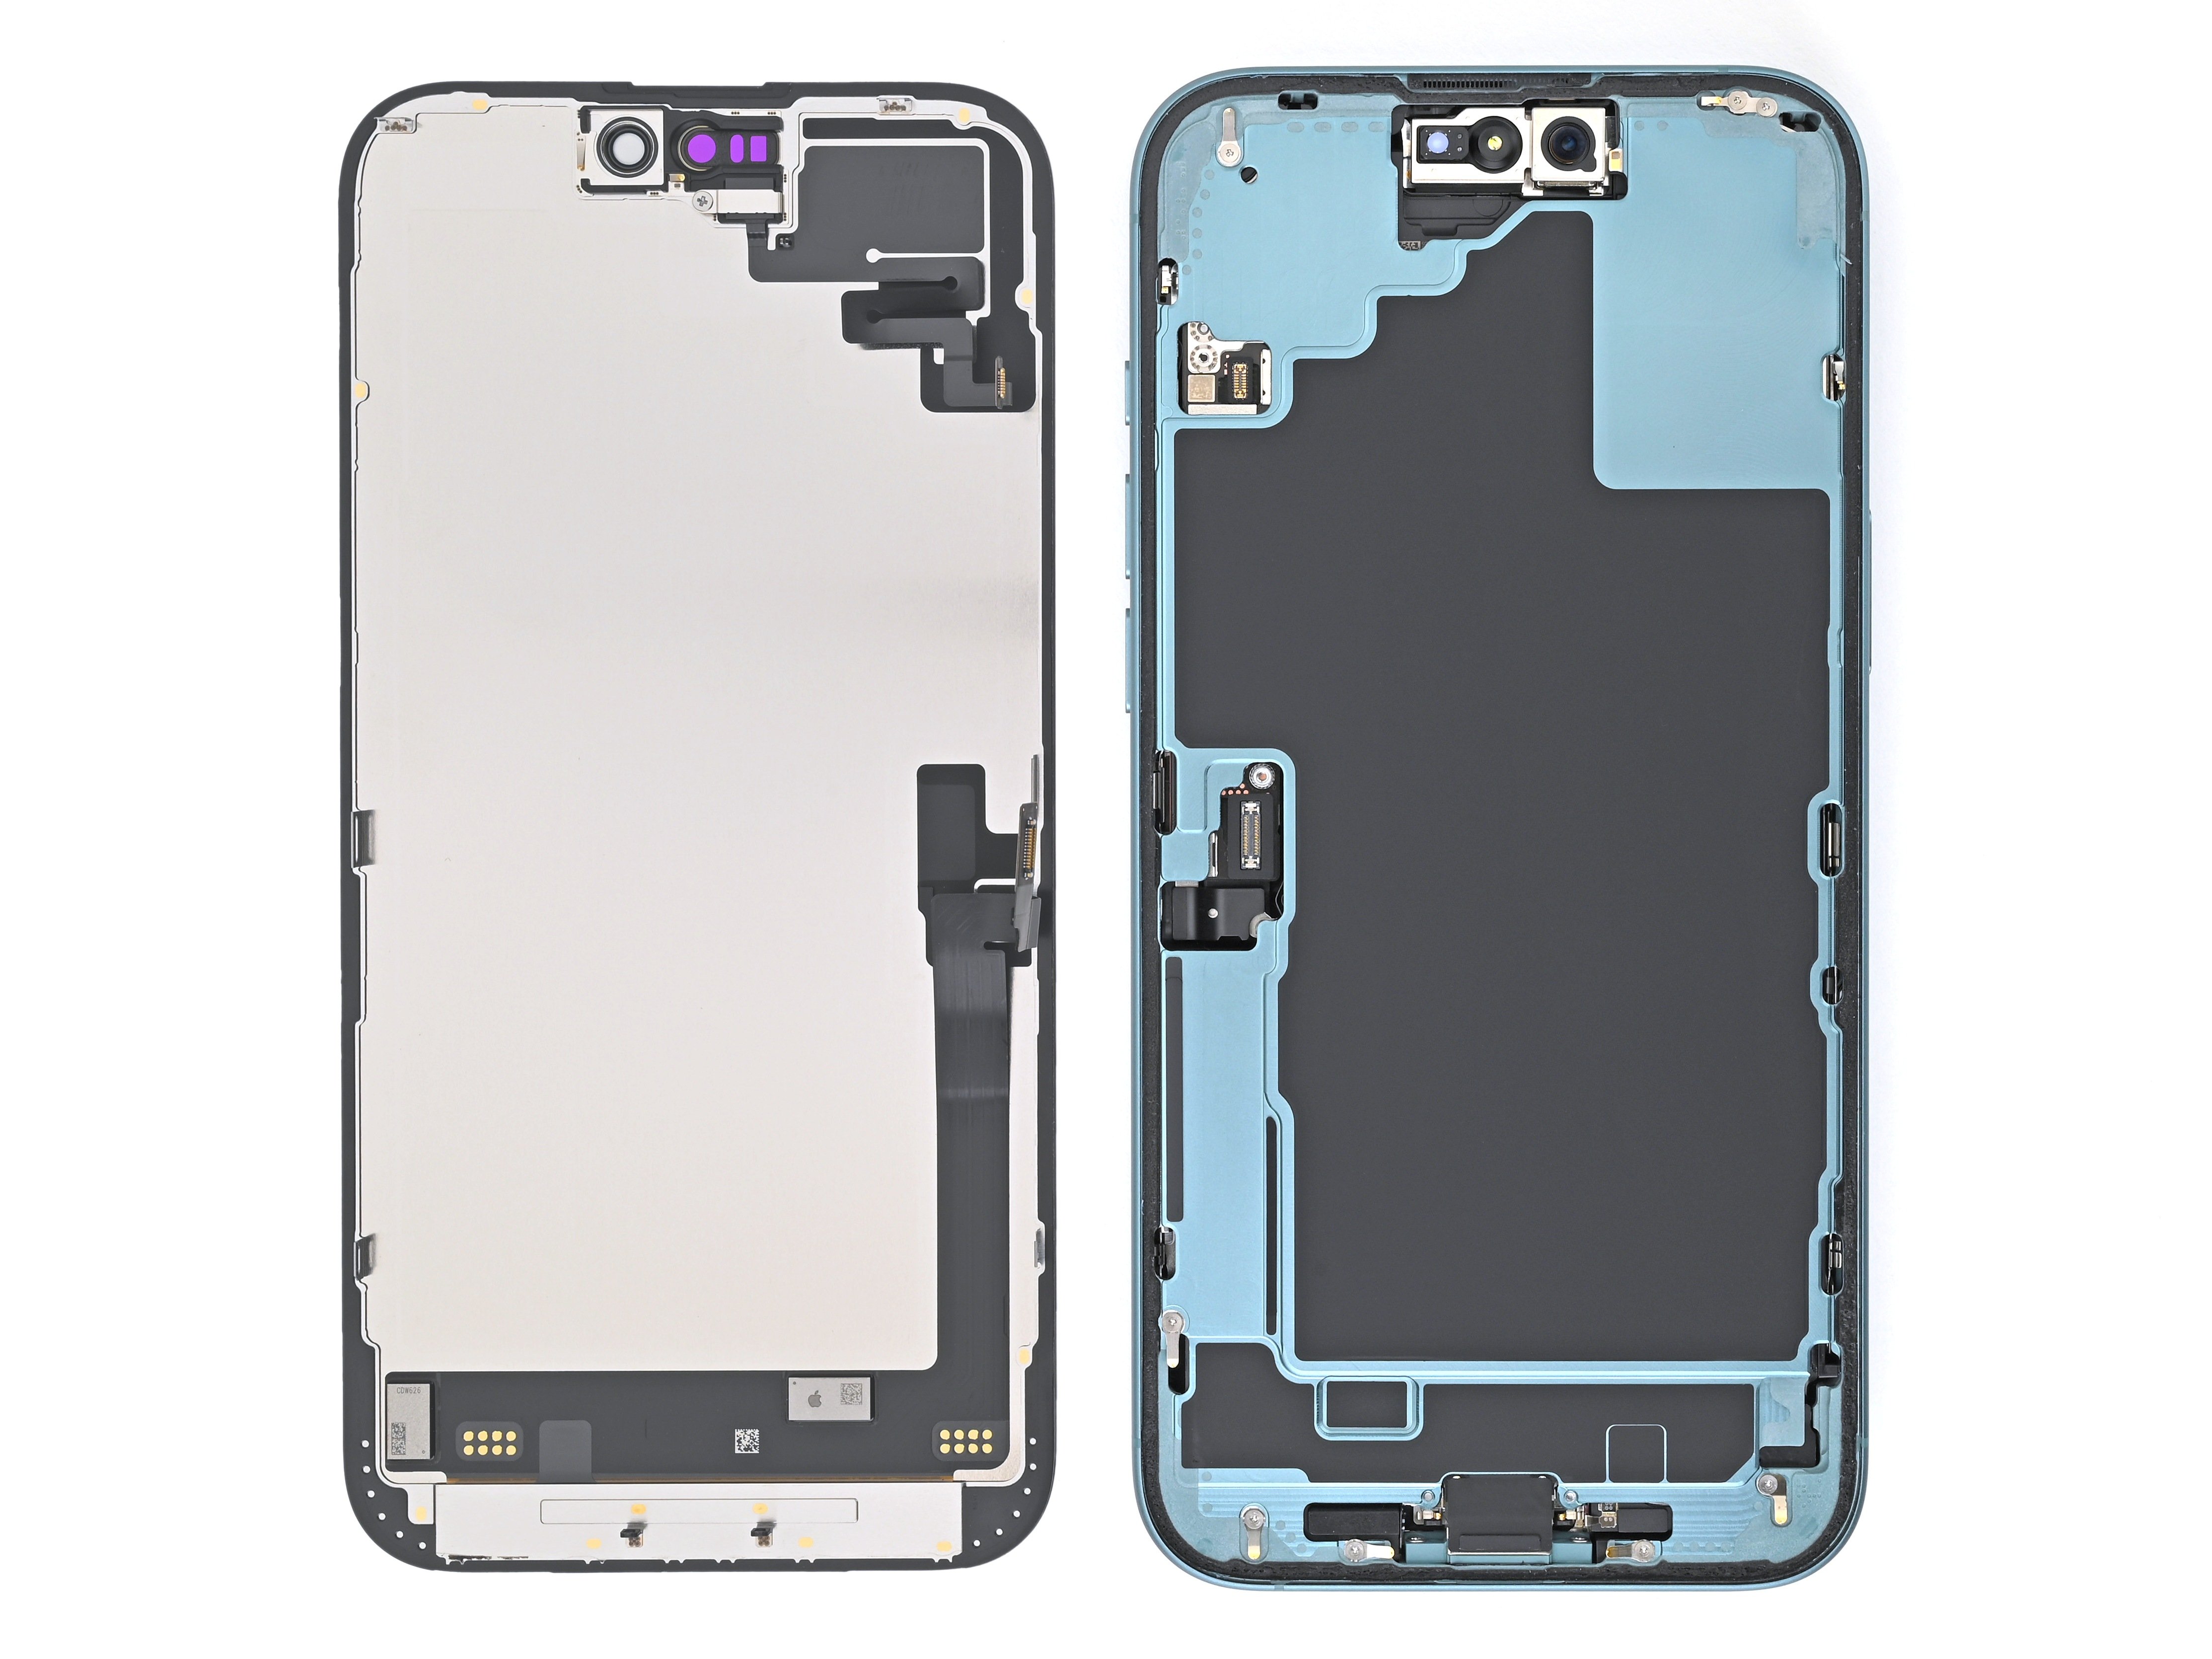
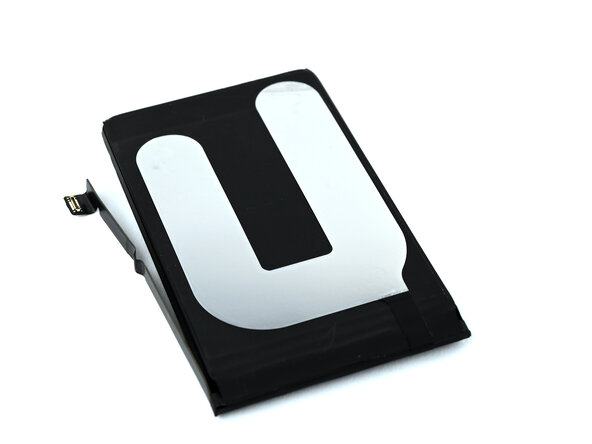
iPhone 16 Plus Battery Replacement
Duration: 45 minutes
Steps: 63 Steps
Make sure you're using a USB-C Power Delivery (PD) power source – it’ll ensure the power you need flows smoothly to get things back on track. If you're stuck or feeling unsure, don't hesitate to schedule a repair for some extra hands-on help.
Ready to give your iPhone 16 Plus a fresh start? This guide will walk you through swapping out the battery. You'll need some replacement back glass and battery adhesive to get this done. If the adhesive isn't included with your new battery, stretch release battery adhesive will do the trick. iPhone batteries are built to last around 18–24 months or about 500 charge cycles while holding 80% of their capacity. If your iPhone’s charging is becoming a bit more frequent or it feels slower than usual, it might be time for a new battery. This repair requires loosening the battery adhesive, which needs a bit of electrical juice to get going. Apple’s manual suggests using a 9V battery for 90 seconds, but feel free to use a power supply or a power bank with a 5–20V output – the time needed for the adhesive to loosen may vary. The guide below uses our VoltClip with a USB-C Power Delivery (PD) power source. You can use the FixHub Portable Power Station, a USB-C PD power brick, or certain laptops and smartphones as your power source. Not every USB-C PD power source supports 12V (the FixHub Portable Power Station does), but if yours doesn’t, no worries – the VoltClip will work at 9V, which is still enough to do the job. If you're using a different method, just follow the steps and adjust the power source usage as needed. After the repair, you might see a warning about your replacement battery or lose access to battery health info, but don’t worry – your new battery will work just fine. Starting from iOS 18.1, both genuine and aftermarket batteries are supported for battery health. After the repair, run Repair Assistant to reset the battery metrics. A few images in this guide show the regular iPhone 16, so there may be some small differences, but don't stress – it won’t affect the process.
Step 1


Let your phone's battery drop below 25%. A fully charged lithium-ion battery might get a little too eager and cause some safety concerns.
- Disconnect any cables hanging out of your phone—let’s give it some space.
- Press and hold the power button along with either volume button, then swipe to shut down your phone. Time for a quick nap!
Step 2


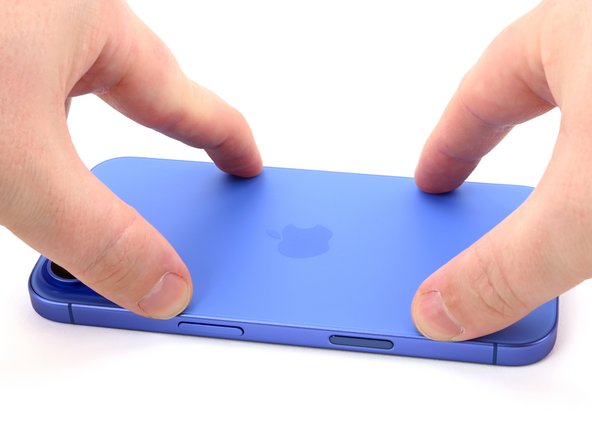
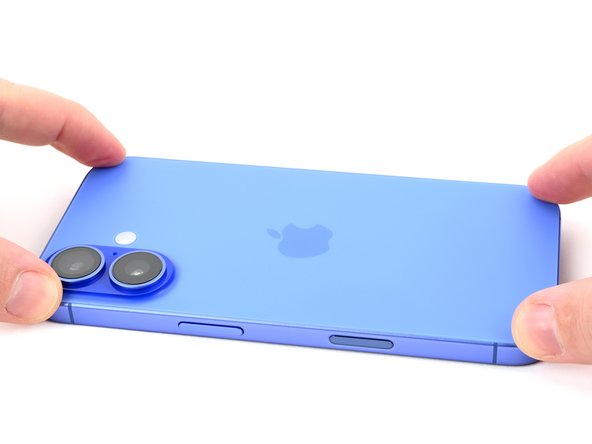
Find a smooth spot near the bottom edge that's large enough for a suction cup to stick to.
- If your screen or back glass is super cracked, grab some packing tape and lay a few strips over the glass. This'll help keep things in place and make your life a little easier during disassembly. Safety first, always!
Tools Used

Step 3

If you push the opening pick in too deep, you might accidentally mess up your device. To avoid that, mark your pick so you know exactly how far to go.
Feel free to mark the other corners of your pick with different measurements for extra precision.
Another cool trick: tape a coin to your pick about 3 mm from the tip to act as a built-in depth guide.
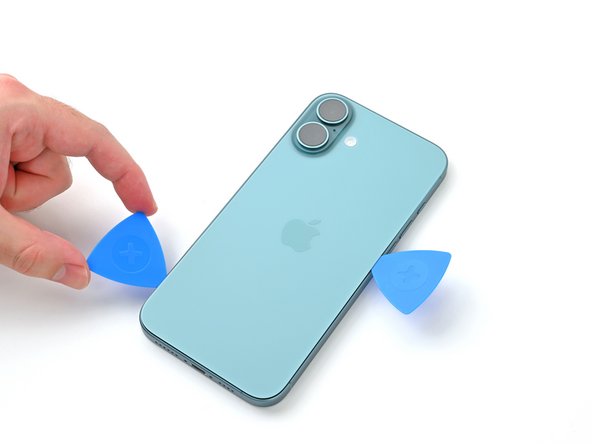
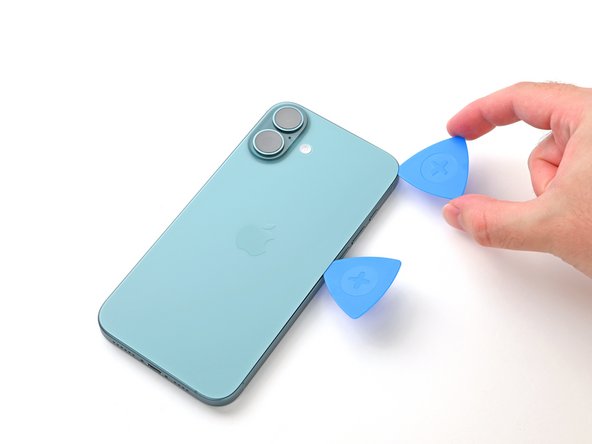
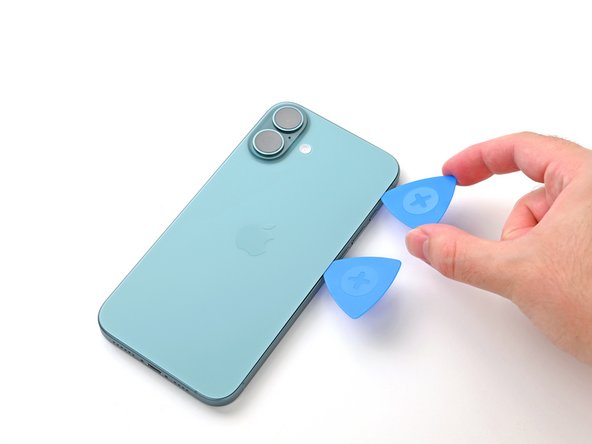
- Grab an opening pick and measure about 3 mm from the tip. Give it a little mark with a permanent marker so you know where to start. You're doing great!
Step 4
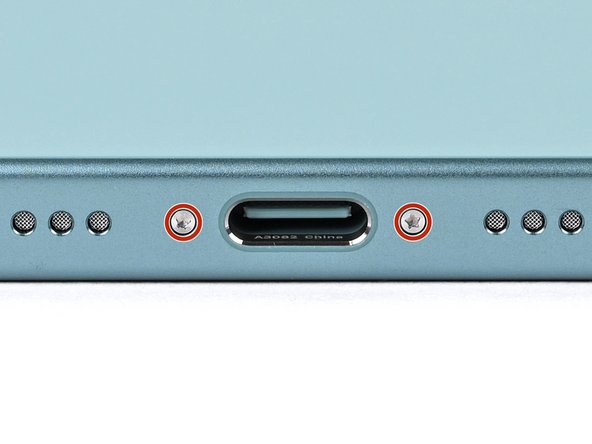

- Grab a P2 pentalobe driver and use it to take out the two 7.7 mm screws sitting on each side of the USB-C port.
Step 5


Make sure to keep the heat in check—too much can harm the battery, and we definitely don't want that!
You could also grab a hair dryer or heat gun and warm up the bottom edge of the back glass until it feels nice and toasty to the touch.
- Warm up the bottom edge of the back glass with a heated iOpener for about two minutes.
Tools Used


Step 6


- Stick a suction handle smack dab on the bottom edge of the back glass, right above the USB-C port.
- Give the handle a solid, steady pull to pop a little gap between the back glass and the frame.
- Slide the tip of your opening pick into that gap like a pro.
Tools Used

Step 7

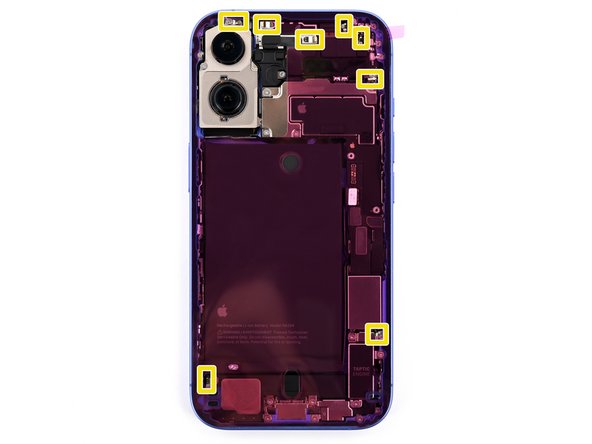
As you slice through the adhesive holding the back glass in the next steps, keep an eye out for a few tricky spots!
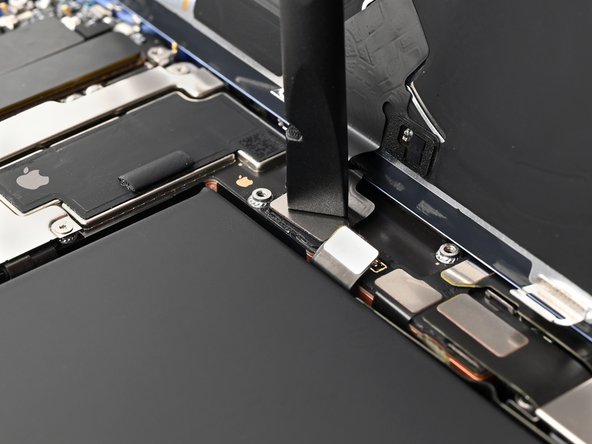
- Be careful when you're working around the back glass—there’s a fragile cable hiding right next to the volume up button. Keep your pick clear of this area to avoid any accidental snips.
- There are spring contacts scattered all around the phone's edge. Make sure not to push your pick in too far in any step, as you don’t want to risk bending these delicate contacts.
Step 8


Keep your pick on the surface! Don’t go deeper than 5 mm on the bottom edge, or you might accidentally tango with the spring contacts. Let's keep everything intact, shall we?
- Give that pick a little shimmy along the bottom edge to loosen up the adhesive.
- Let your pick hang out in the bottom right corner—it’ll keep the sticky stuff from getting back together.
Step 9


Grab your hair dryer or heat gun and gently warm up the back glass until it feels nicely toasty under your fingers.
- Heat up your iOpener and place it gently on the right edge of the back glass for about two minutes. This will help soften things up so you can tackle the next steps with ease!
Tools Used
Step 10


Keep your pick no deeper than 5 mm along the right edge to dodge any damage to those delicate spring contacts and ribbon cable.
Avoid slicing near the volume buttons to keep the wireless charging and flash cable safe and sound.
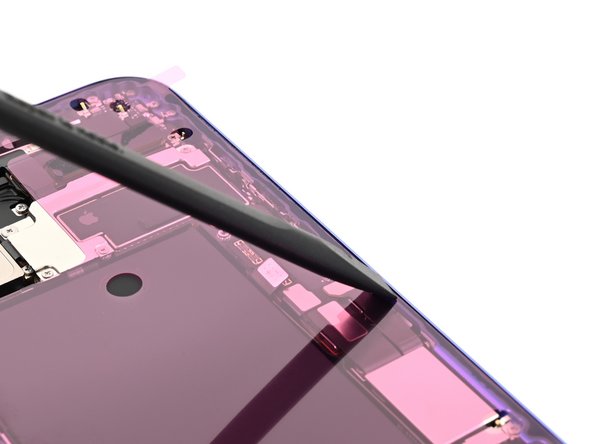
- Gently slide your pick around the bottom right corner and continue along the right edge until you hit a solid stop where the back glass is clipped in.
- Keep that pick in place to stop the adhesive from sealing back up.
Step 11

Grab your hair dryer or heat gun and warm it up until it feels nice and toasty to the touch.
- Take your trusty iOpener and apply it to the left edge of the back glass for a solid two minutes. Give it time to work its magic and loosen things up!
Tools Used
Step 12

Hey there! Just a quick heads up: keep that pick no deeper than 5 mm along the left edge to protect the spring contact. We want your repair to go smoothly, so let's avoid any surprises!
As you glide along, you'll feel those metal clips pop loose—it's a satisfying little click each time!
- Pop in a second pick at the bottom edge—like you're dealing cards at a tech casino.
- Glide that pick around the bottom left corner, then cruise up the left edge to loosen up the adhesive and free those stubborn metal clips.
- Let the pick chill at the top left corner so the adhesive doesn’t sneakily stick itself back together.
Step 13


Use a hair dryer or heat gun and warm it up until it's comfortably hot to the touch.
- Warm up that iOpener and give the top edge of the back glass a little love, making sure to angle it just right to hit those volume buttons. Keep it cozy for two minutes and let the magic happen!
Tools Used
Step 14

Keep your pick at a safe distance! Don’t push it deeper than 3mm along the top edge to avoid messing with the delicate spring contacts.
You’ll know the top two clips have popped free when you hear and feel a satisfying little click!
- Glide your opening pick along the top edge, swing around the top right corner, and cruise over to the volume up button to loosen up that sticky adhesive.
Step 15


Hold up! Don’t yank the back glass off just yet—it’s still hanging on by a super delicate ribbon cable. Keep following the next steps to get it off safely without any drama.
If the back glass isn’t swinging open like it’s supposed to, don’t force it—take a chill moment and run your pick around the edges again to spot any sticky adhesive or clips holding it back.
Sometimes you’ll need to gently lift the back glass a bit before swinging it open to fully free those sneaky clips.
- Carefully swing the back glass open towards the volume buttons, like you're opening a treasure chest.
- Support the back glass with a clean, sturdy object (think small box or something similar) so the cable doesn't take a nap it doesn't deserve.
- Now, go ahead and remove those opening picks like you're wrapping up the first half of a game.
Step 16

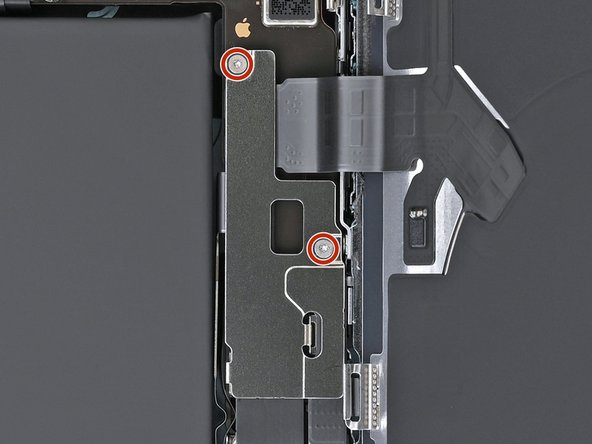
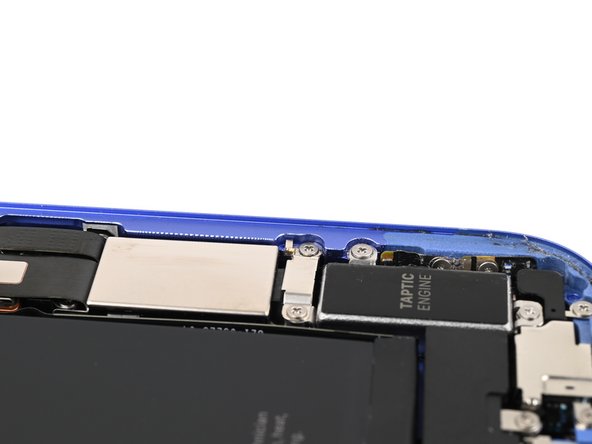
- Grab your trusty tri-point Y000 driver and unscrew the two 1.3mm screws holding that middle connector cover in place. A little twist and you’re good to go!
Step 17

Heads up: avoid poking or denting the battery while working on this step.
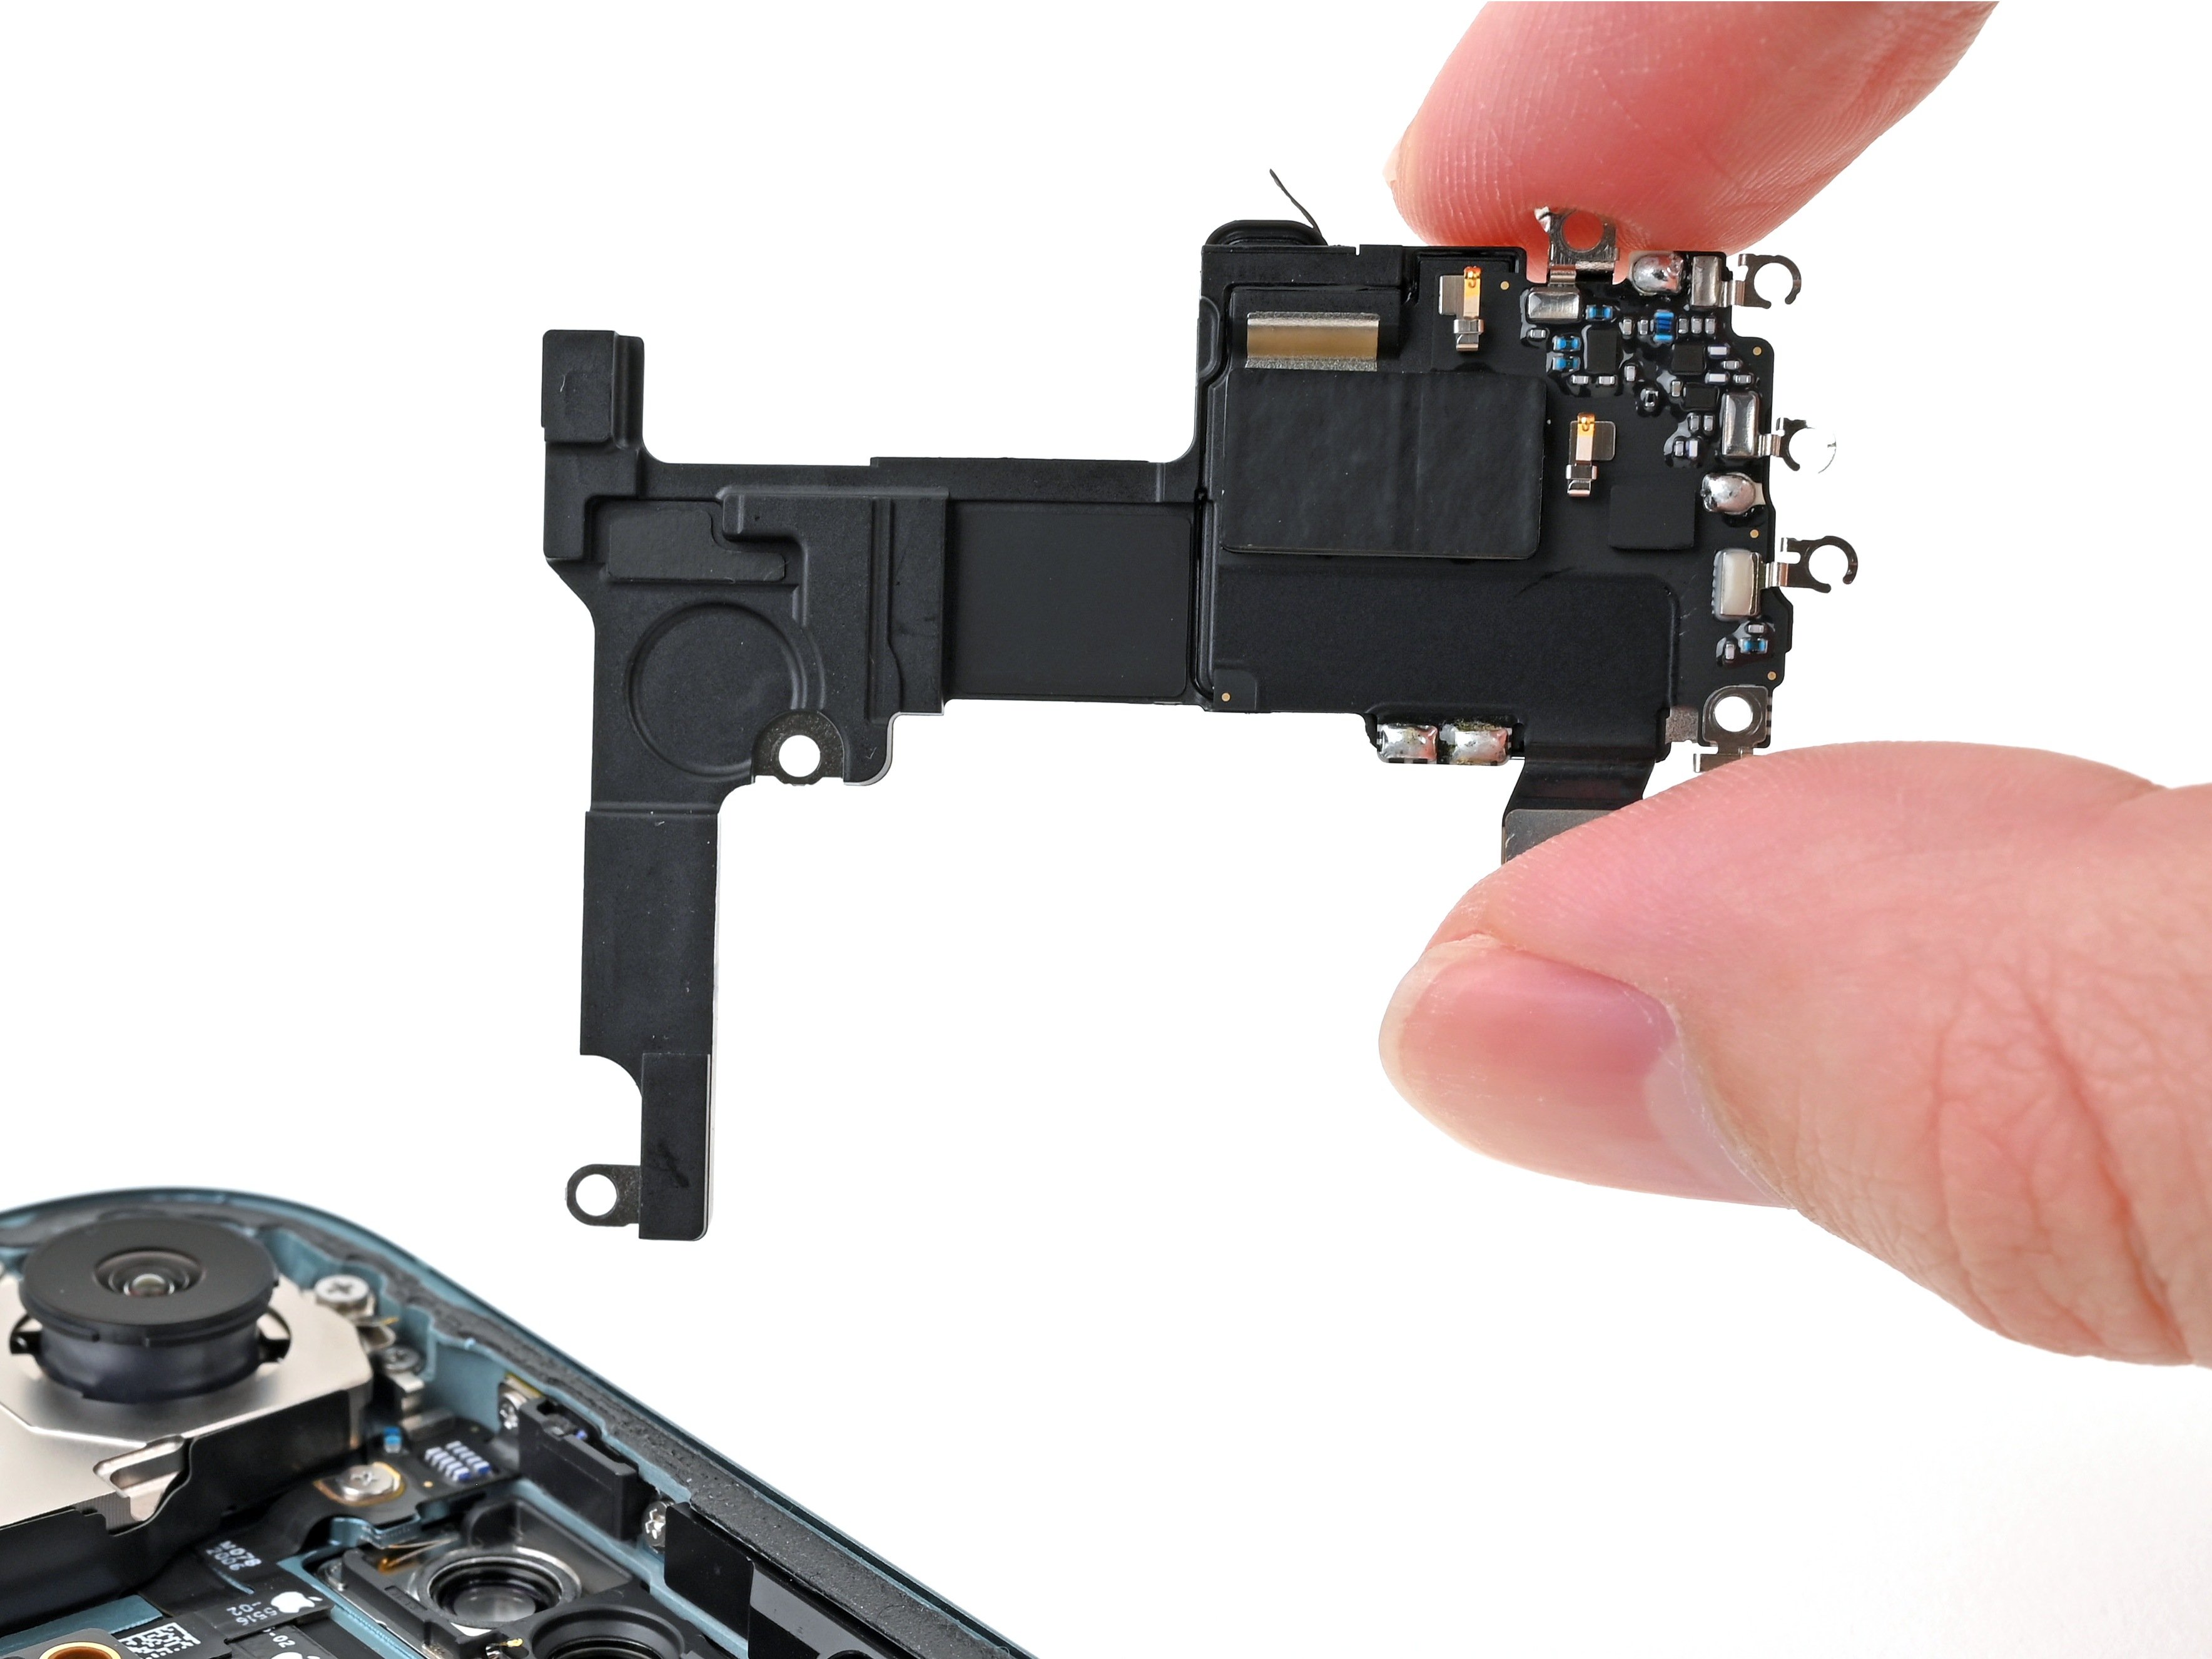
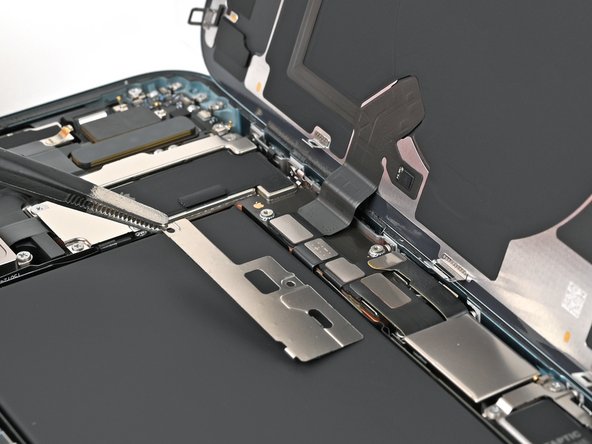
- Grab those blunt-nose tweezers or just use your fingers to gently nudge the cover to the left edge of your phone, letting it pop free from its cozy home on the logic board.
- Carefully lift off the cover.
- When it's time to put everything back together, make sure those hooks are lined up perfectly over their slots on the logic board. Then, press down on the cover and slide it to the right to lock those hooks back in place.
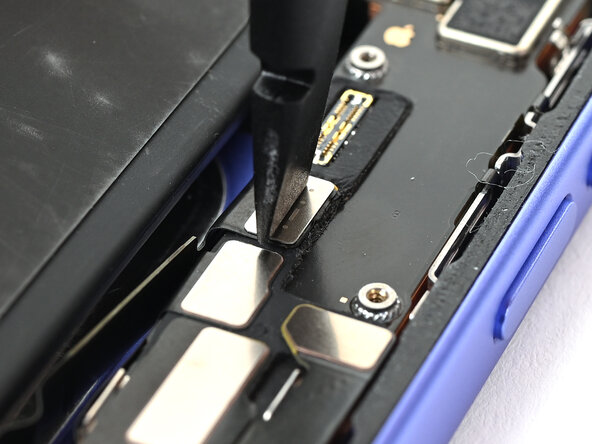
Step 18


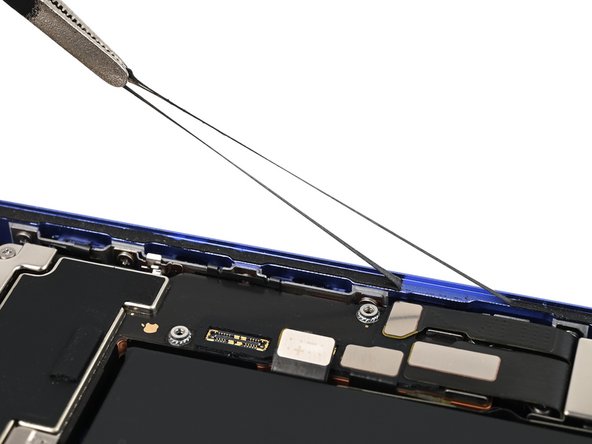
- Grab your trusty spudger and use the pointy end to gently pop up that battery press connector. No need to rush—just a little nudge does the trick.
- When you’re putting things back together, line the connector up over its socket like you’re setting it up for a smooth landing. Press down with your fingertip or the flat end of the spudger—one side, then the other—until you hear that satisfying click. If it’s being stubborn, don’t force it; just reposition and try again.
Tools Used

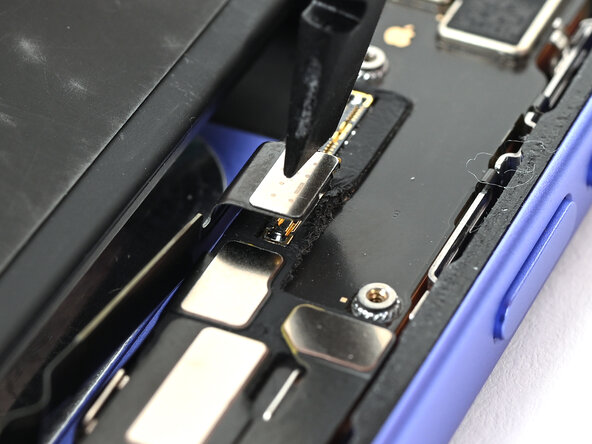
Step 19


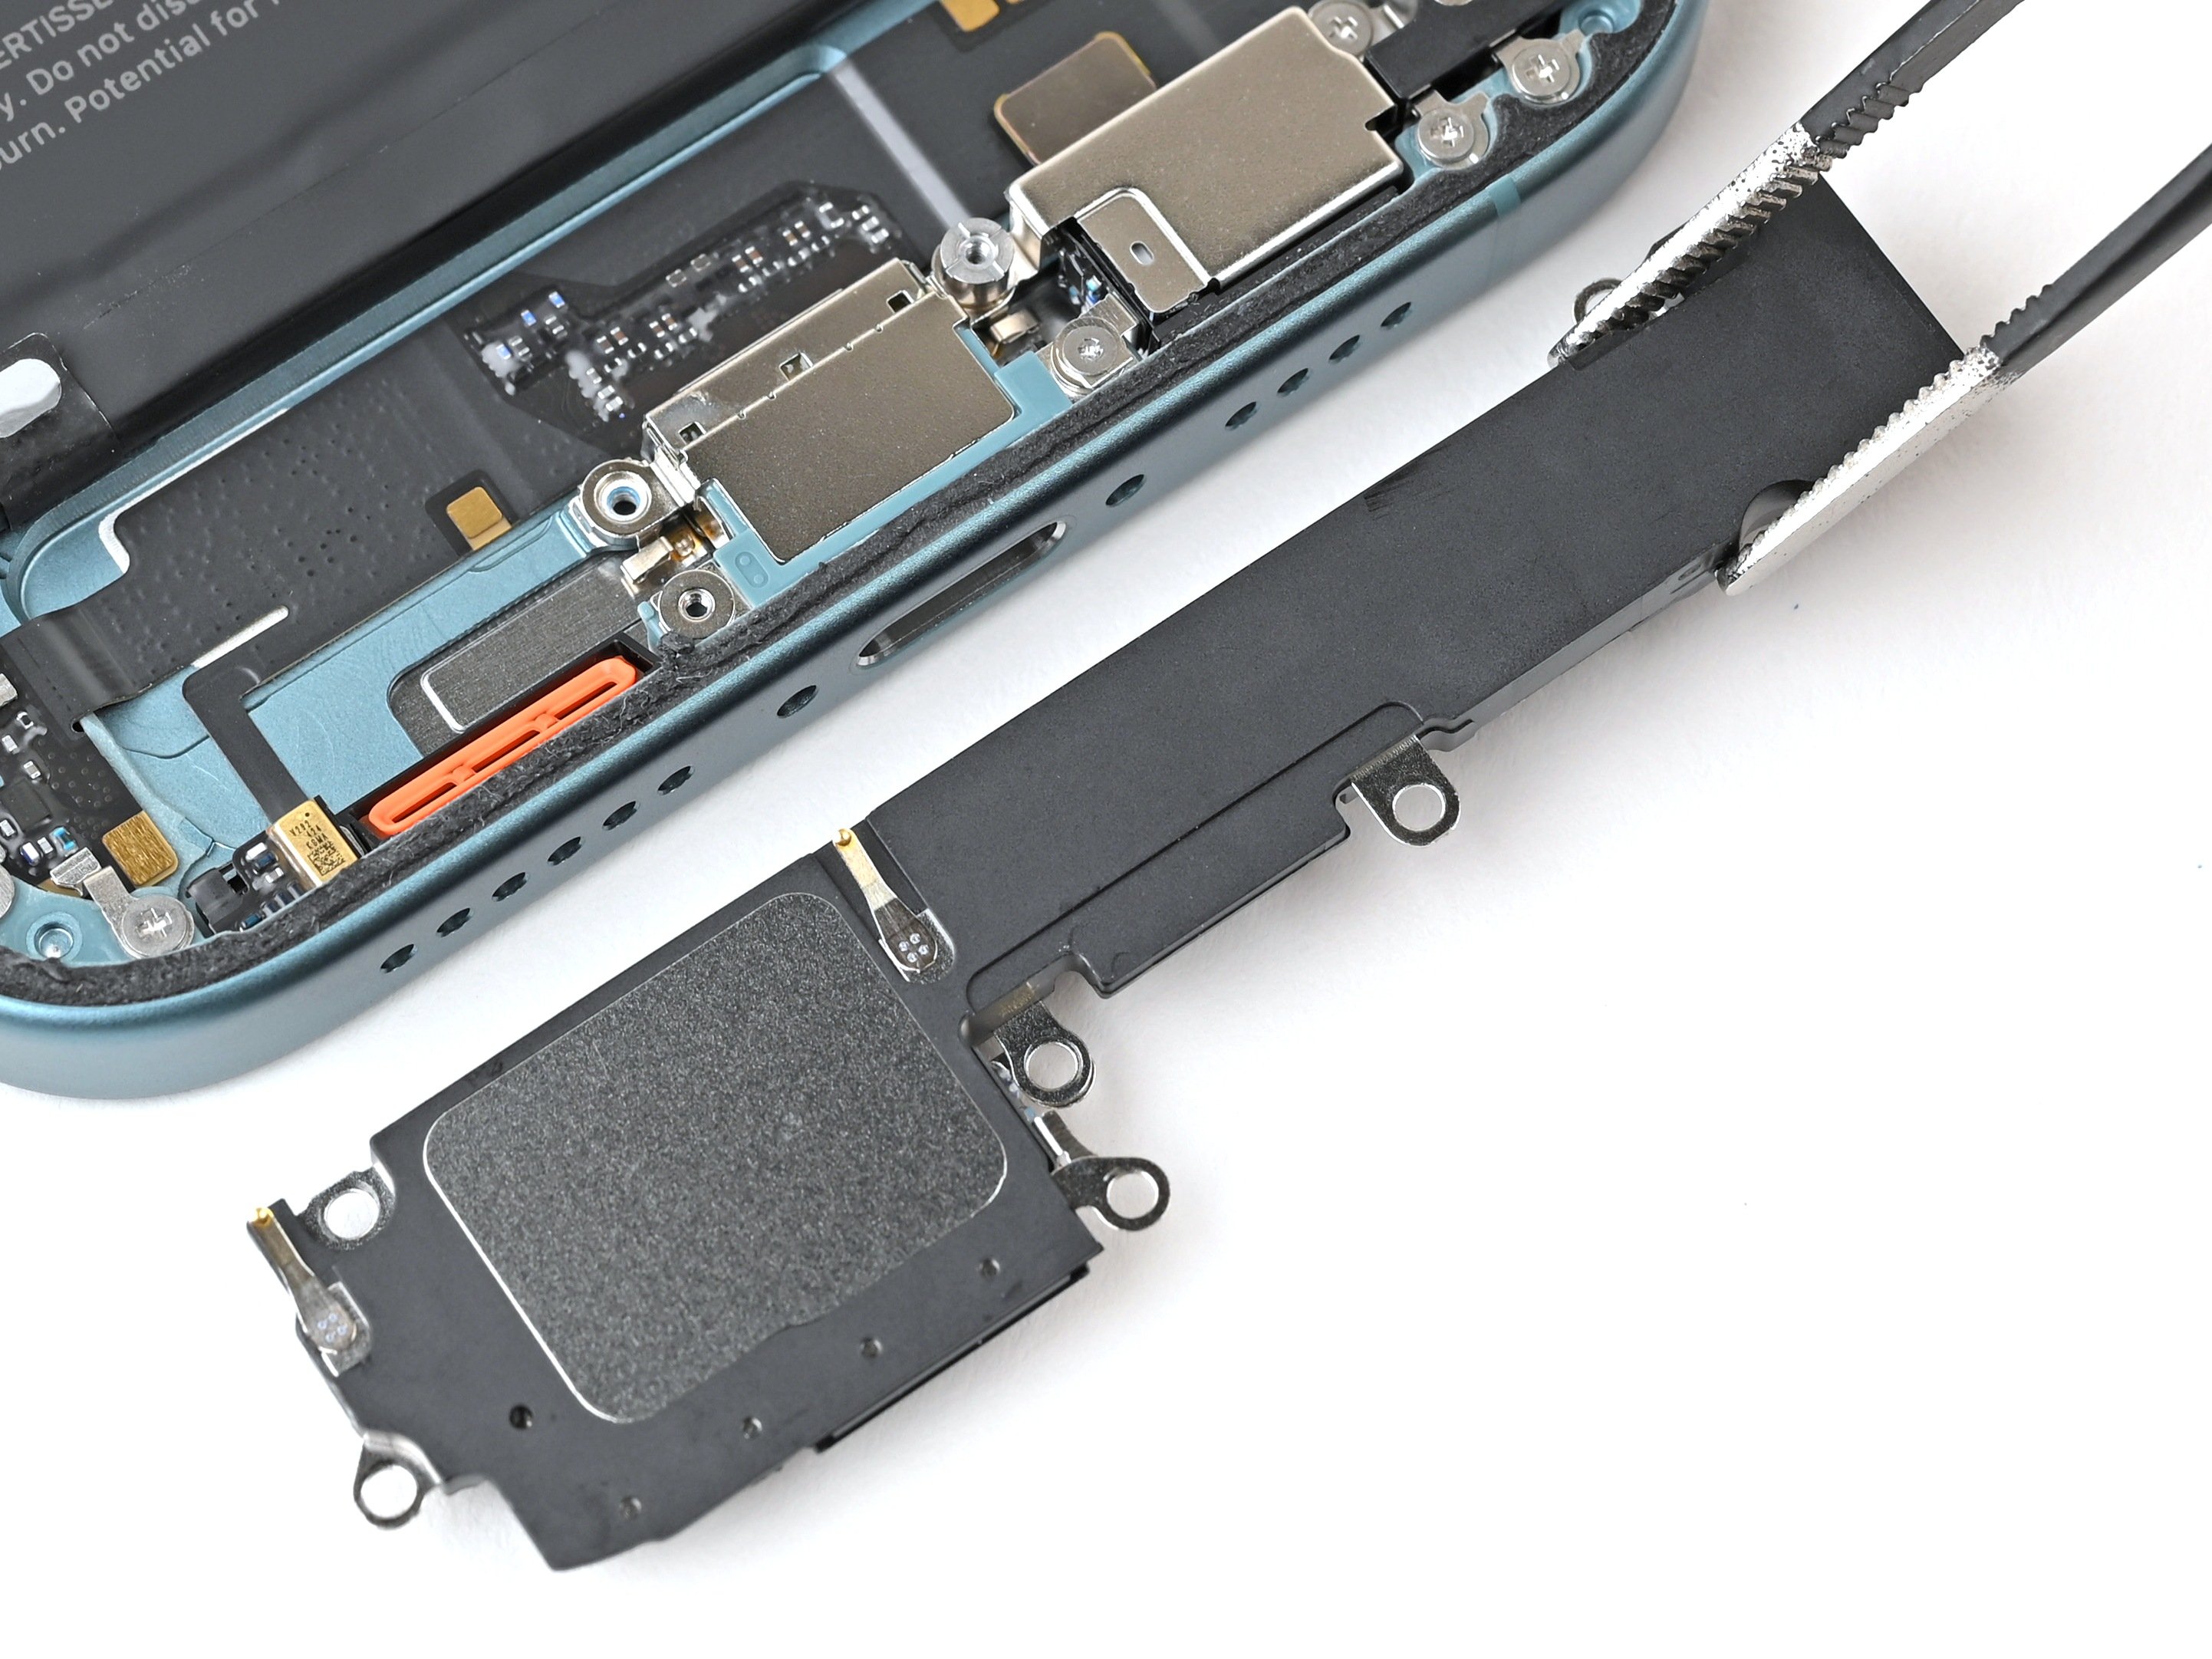
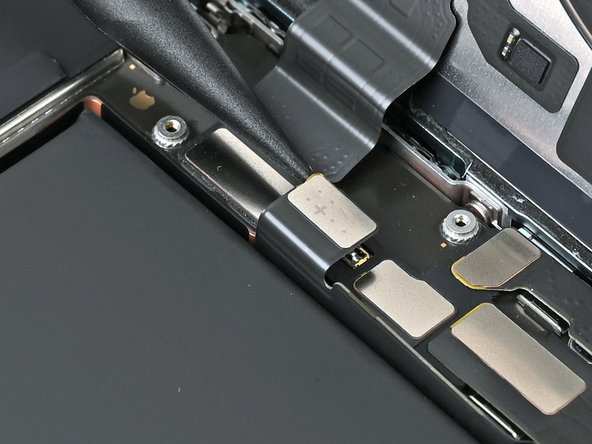
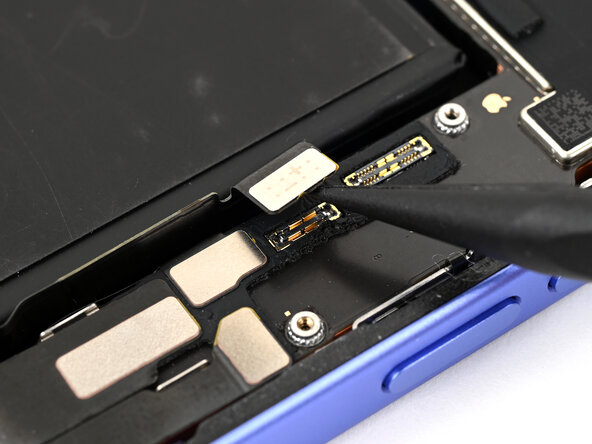
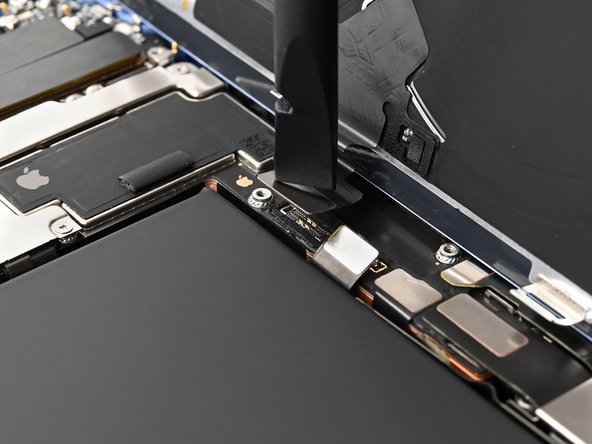
- Gently use the pointy end of a spudger to lift and unplug the wireless charging coil press connector.
Tools Used
Step 20

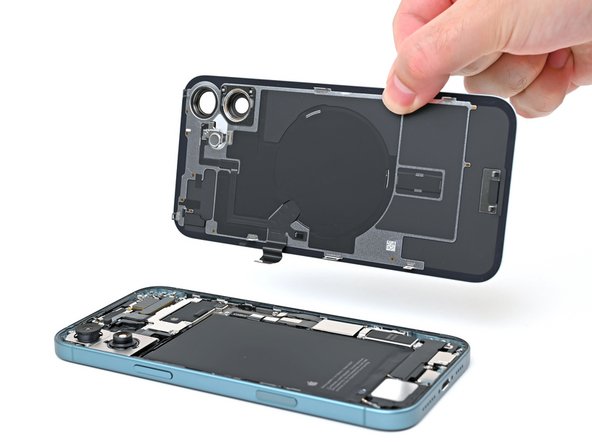
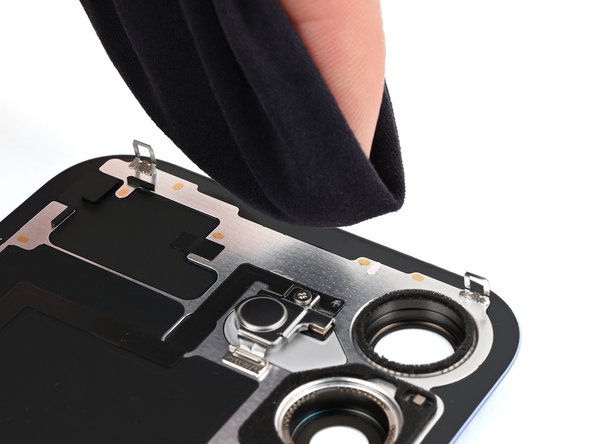
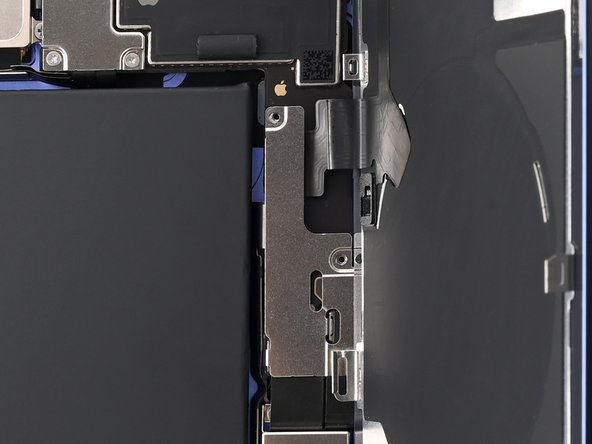
- Gently pop the back glass off the frame and take it away.
Step 21


Hold off on connecting the VoltClip to any power source for now. Those loose alligator clips can get a little too cozy with each other and create an unwanted electrical short. Better safe than sorry!
- Connect the VoltClip’s barrel plug into the USB-C elbow with a smooth twist.
Tools Used

Step 22

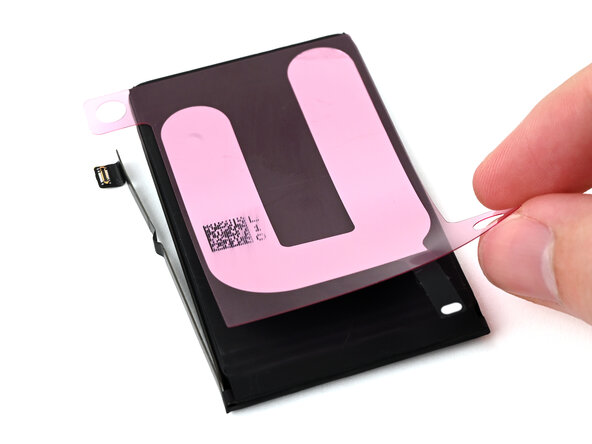
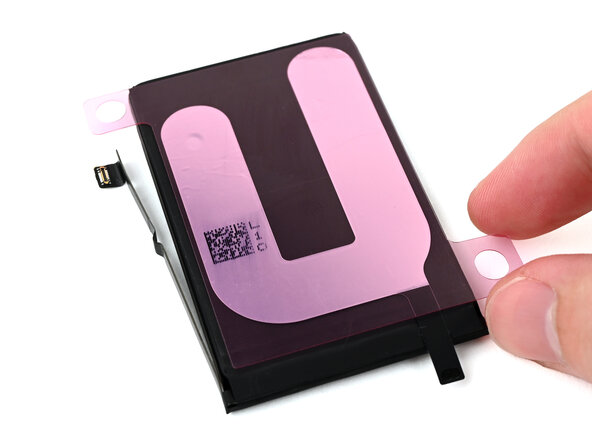
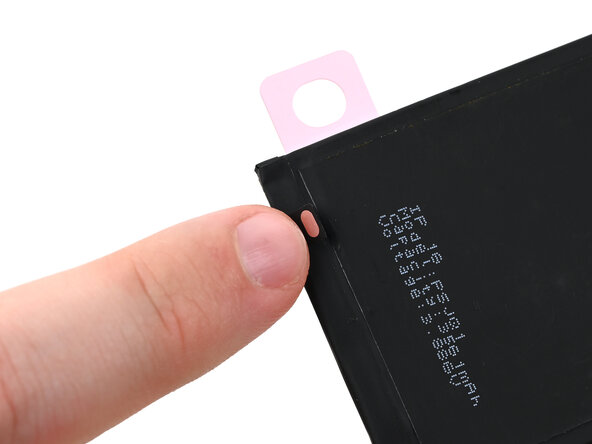
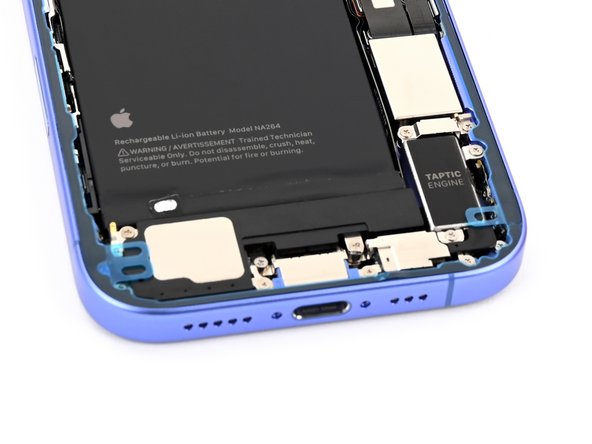
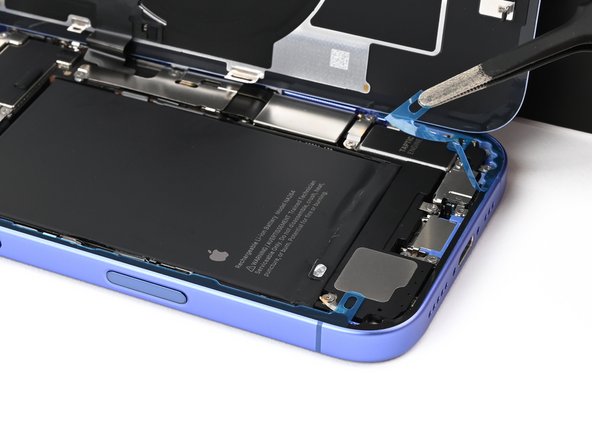
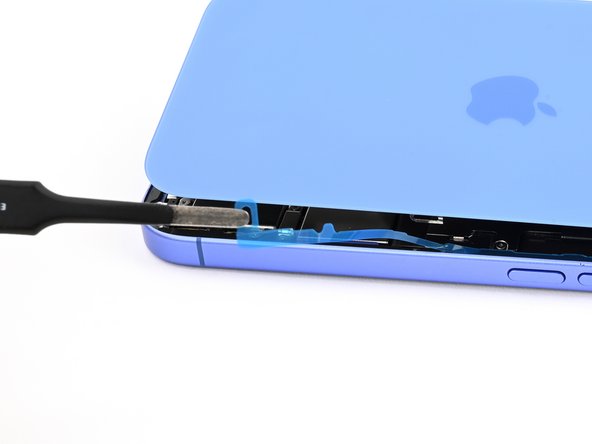
- Gently slide a clean fingernail or an opening pick under the silver tab at the bottom edge of the battery to lift it up.
Step 23
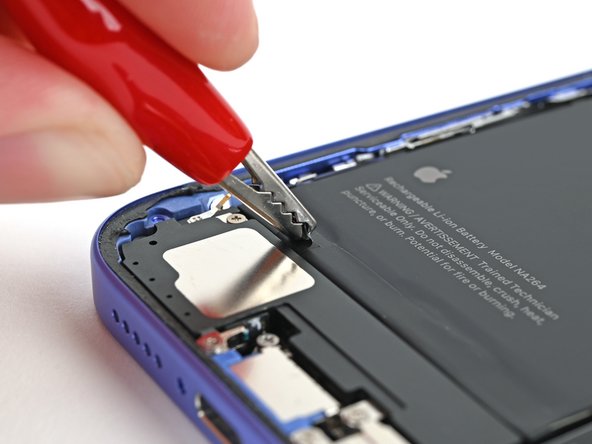

- Clip the red alligator to the shiny silver spot on the battery. Easy does it—no wrestling required!
Step 24
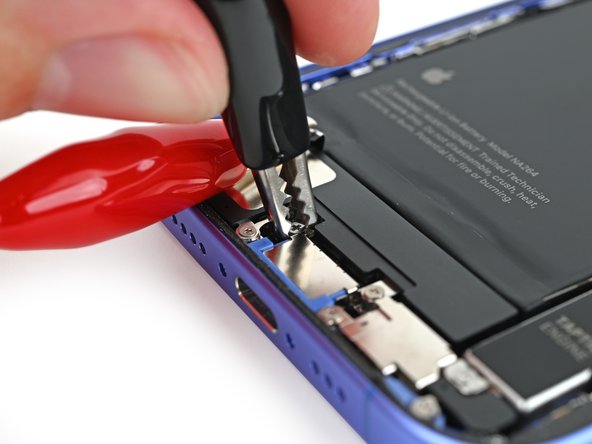
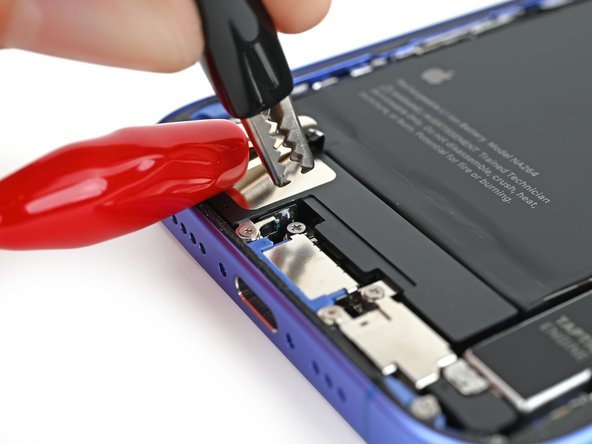

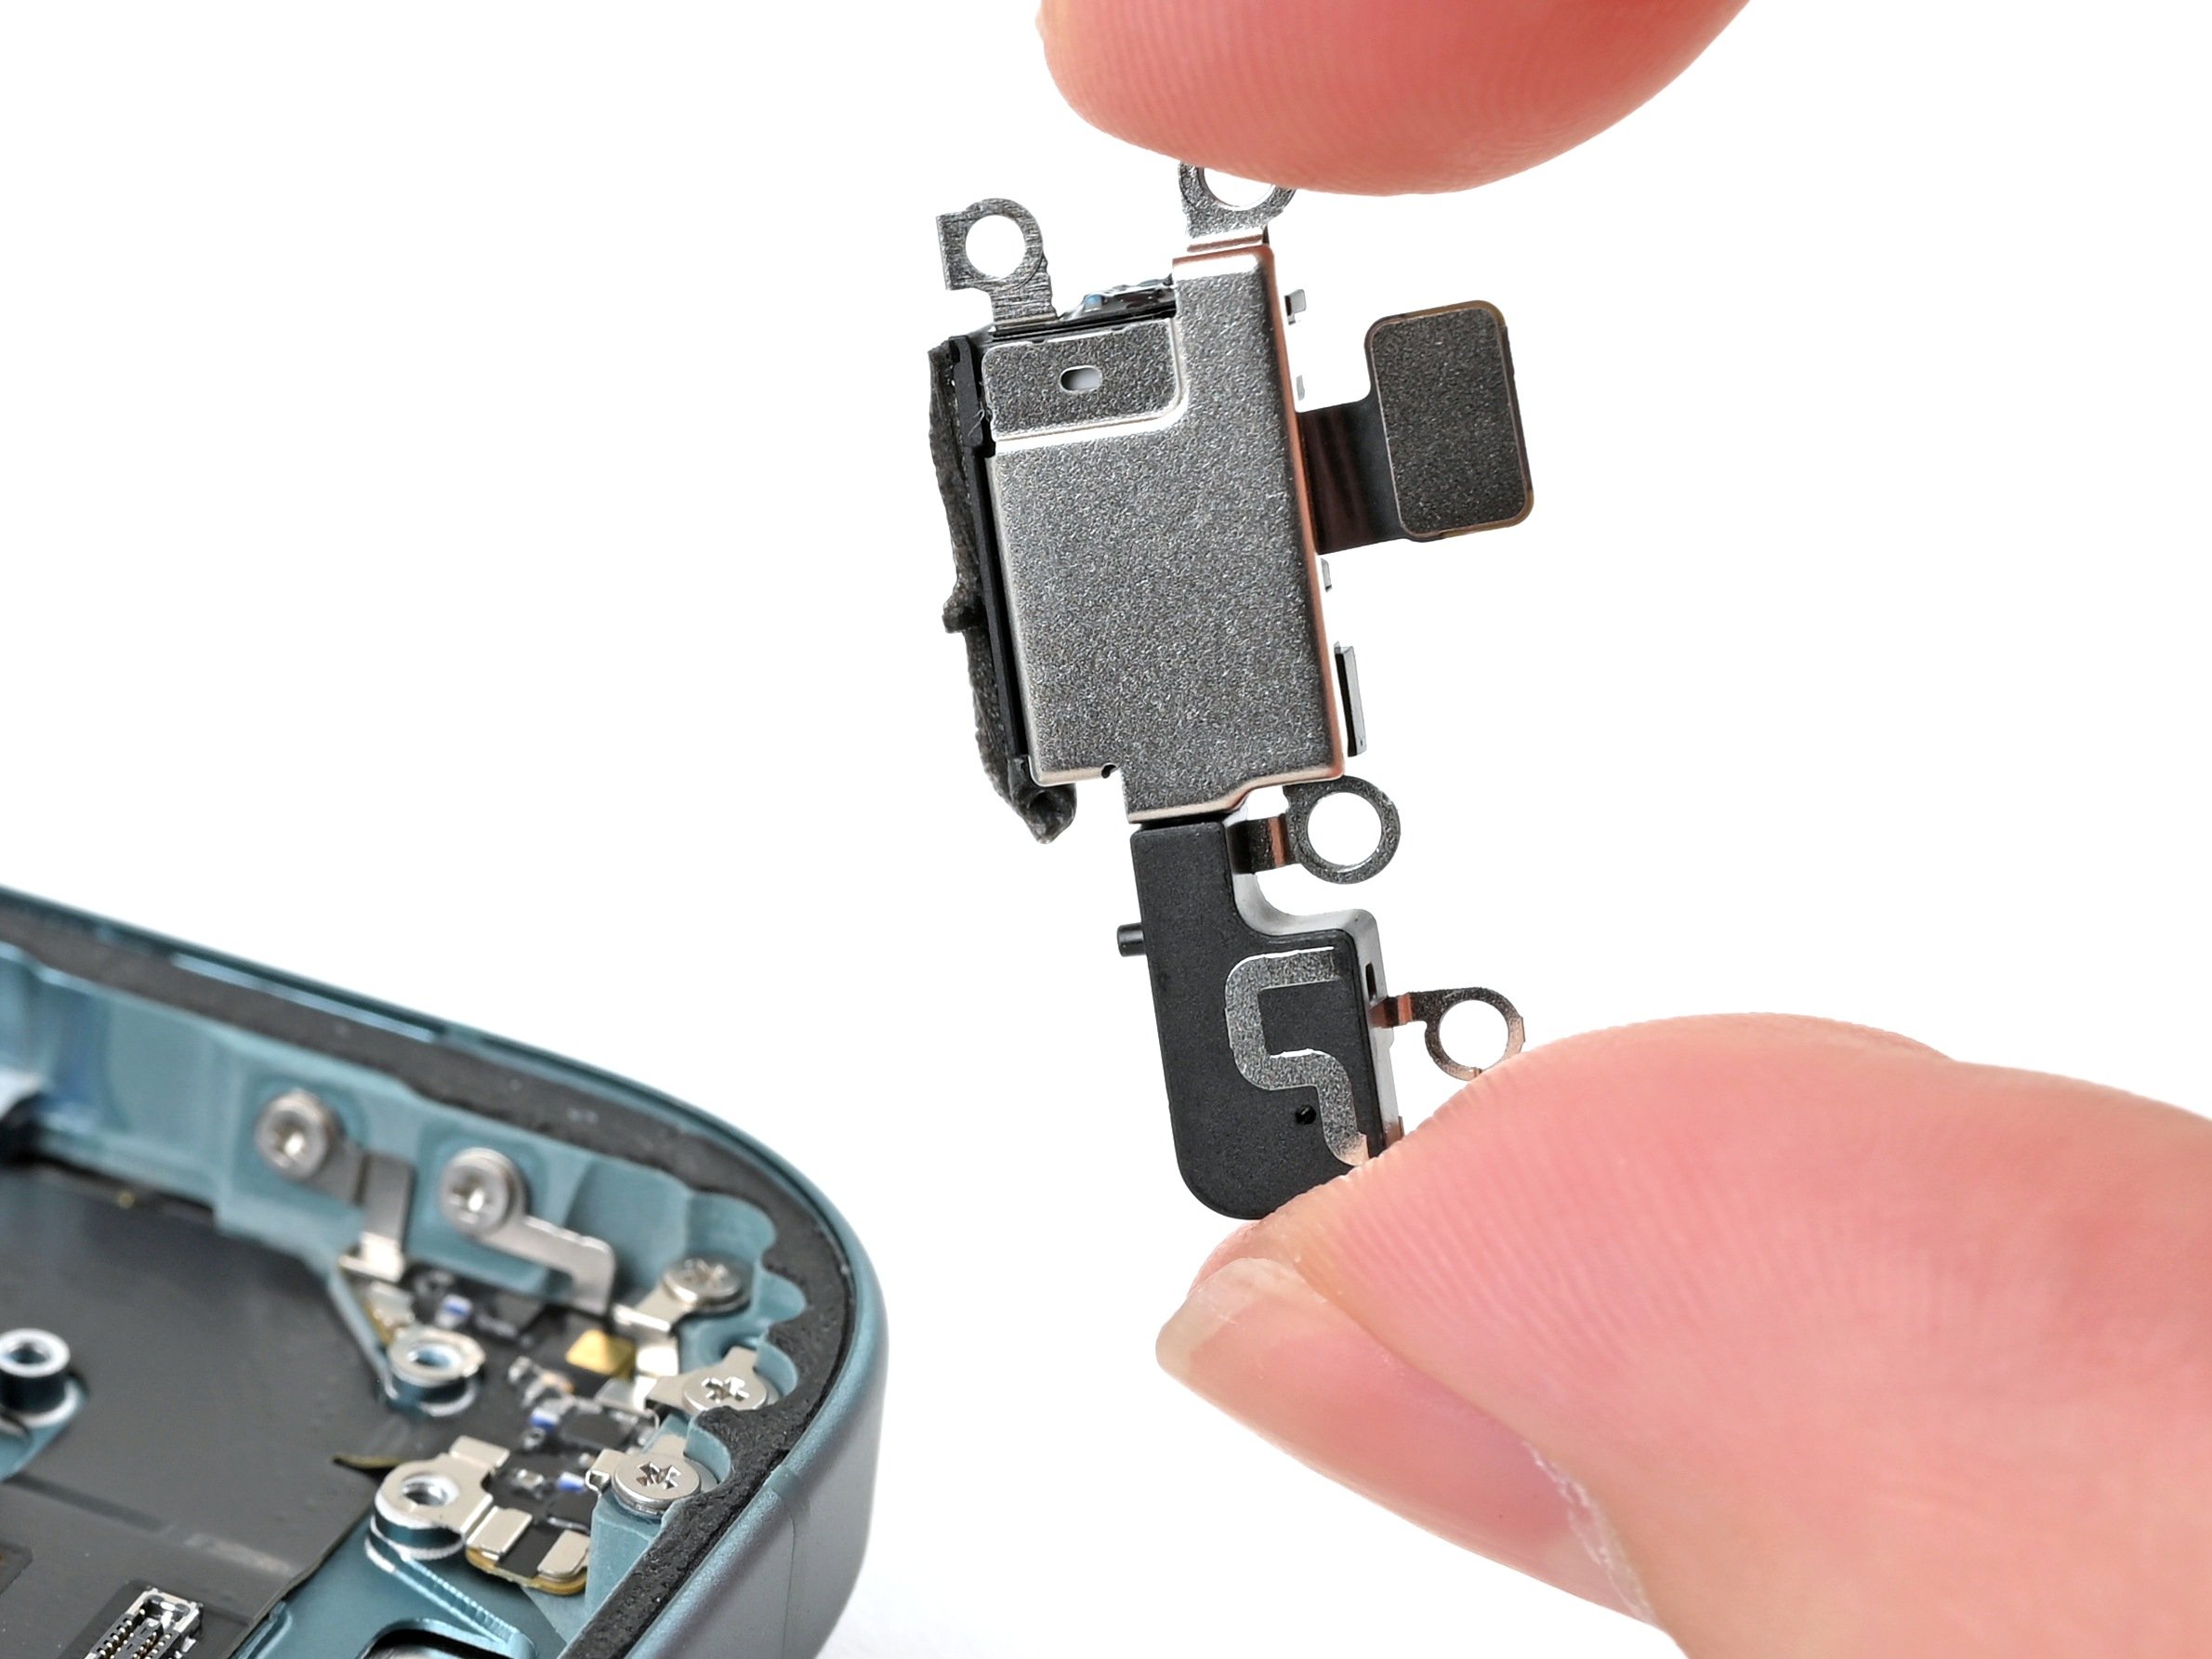
- Clip the black alligator onto the grounding screw—think of it as giving your device a stylish safety accessory.
Step 25


- Keep that red alligator clip away from any random metal bits—no accidental sparks, please.
- Plug in your USB-C cable to the elbow adapter and chill for about 90 seconds while the adhesive decides to loosen up.
Step 26


- Unplug the USB-C cable from the elbow, then pop off those alligator clips. Easy does it!
Step 27


By this point, your adhesive should be nice and loose! If your battery is still playing hard to get, reconnect the VoltClip for another minute and give it another shot.
Feeling adventurous? You can also grab a suction handle to gently pull the battery out. But if it's still being stubborn, don't force it—just reconnect the VoltClip for a minute and try again.
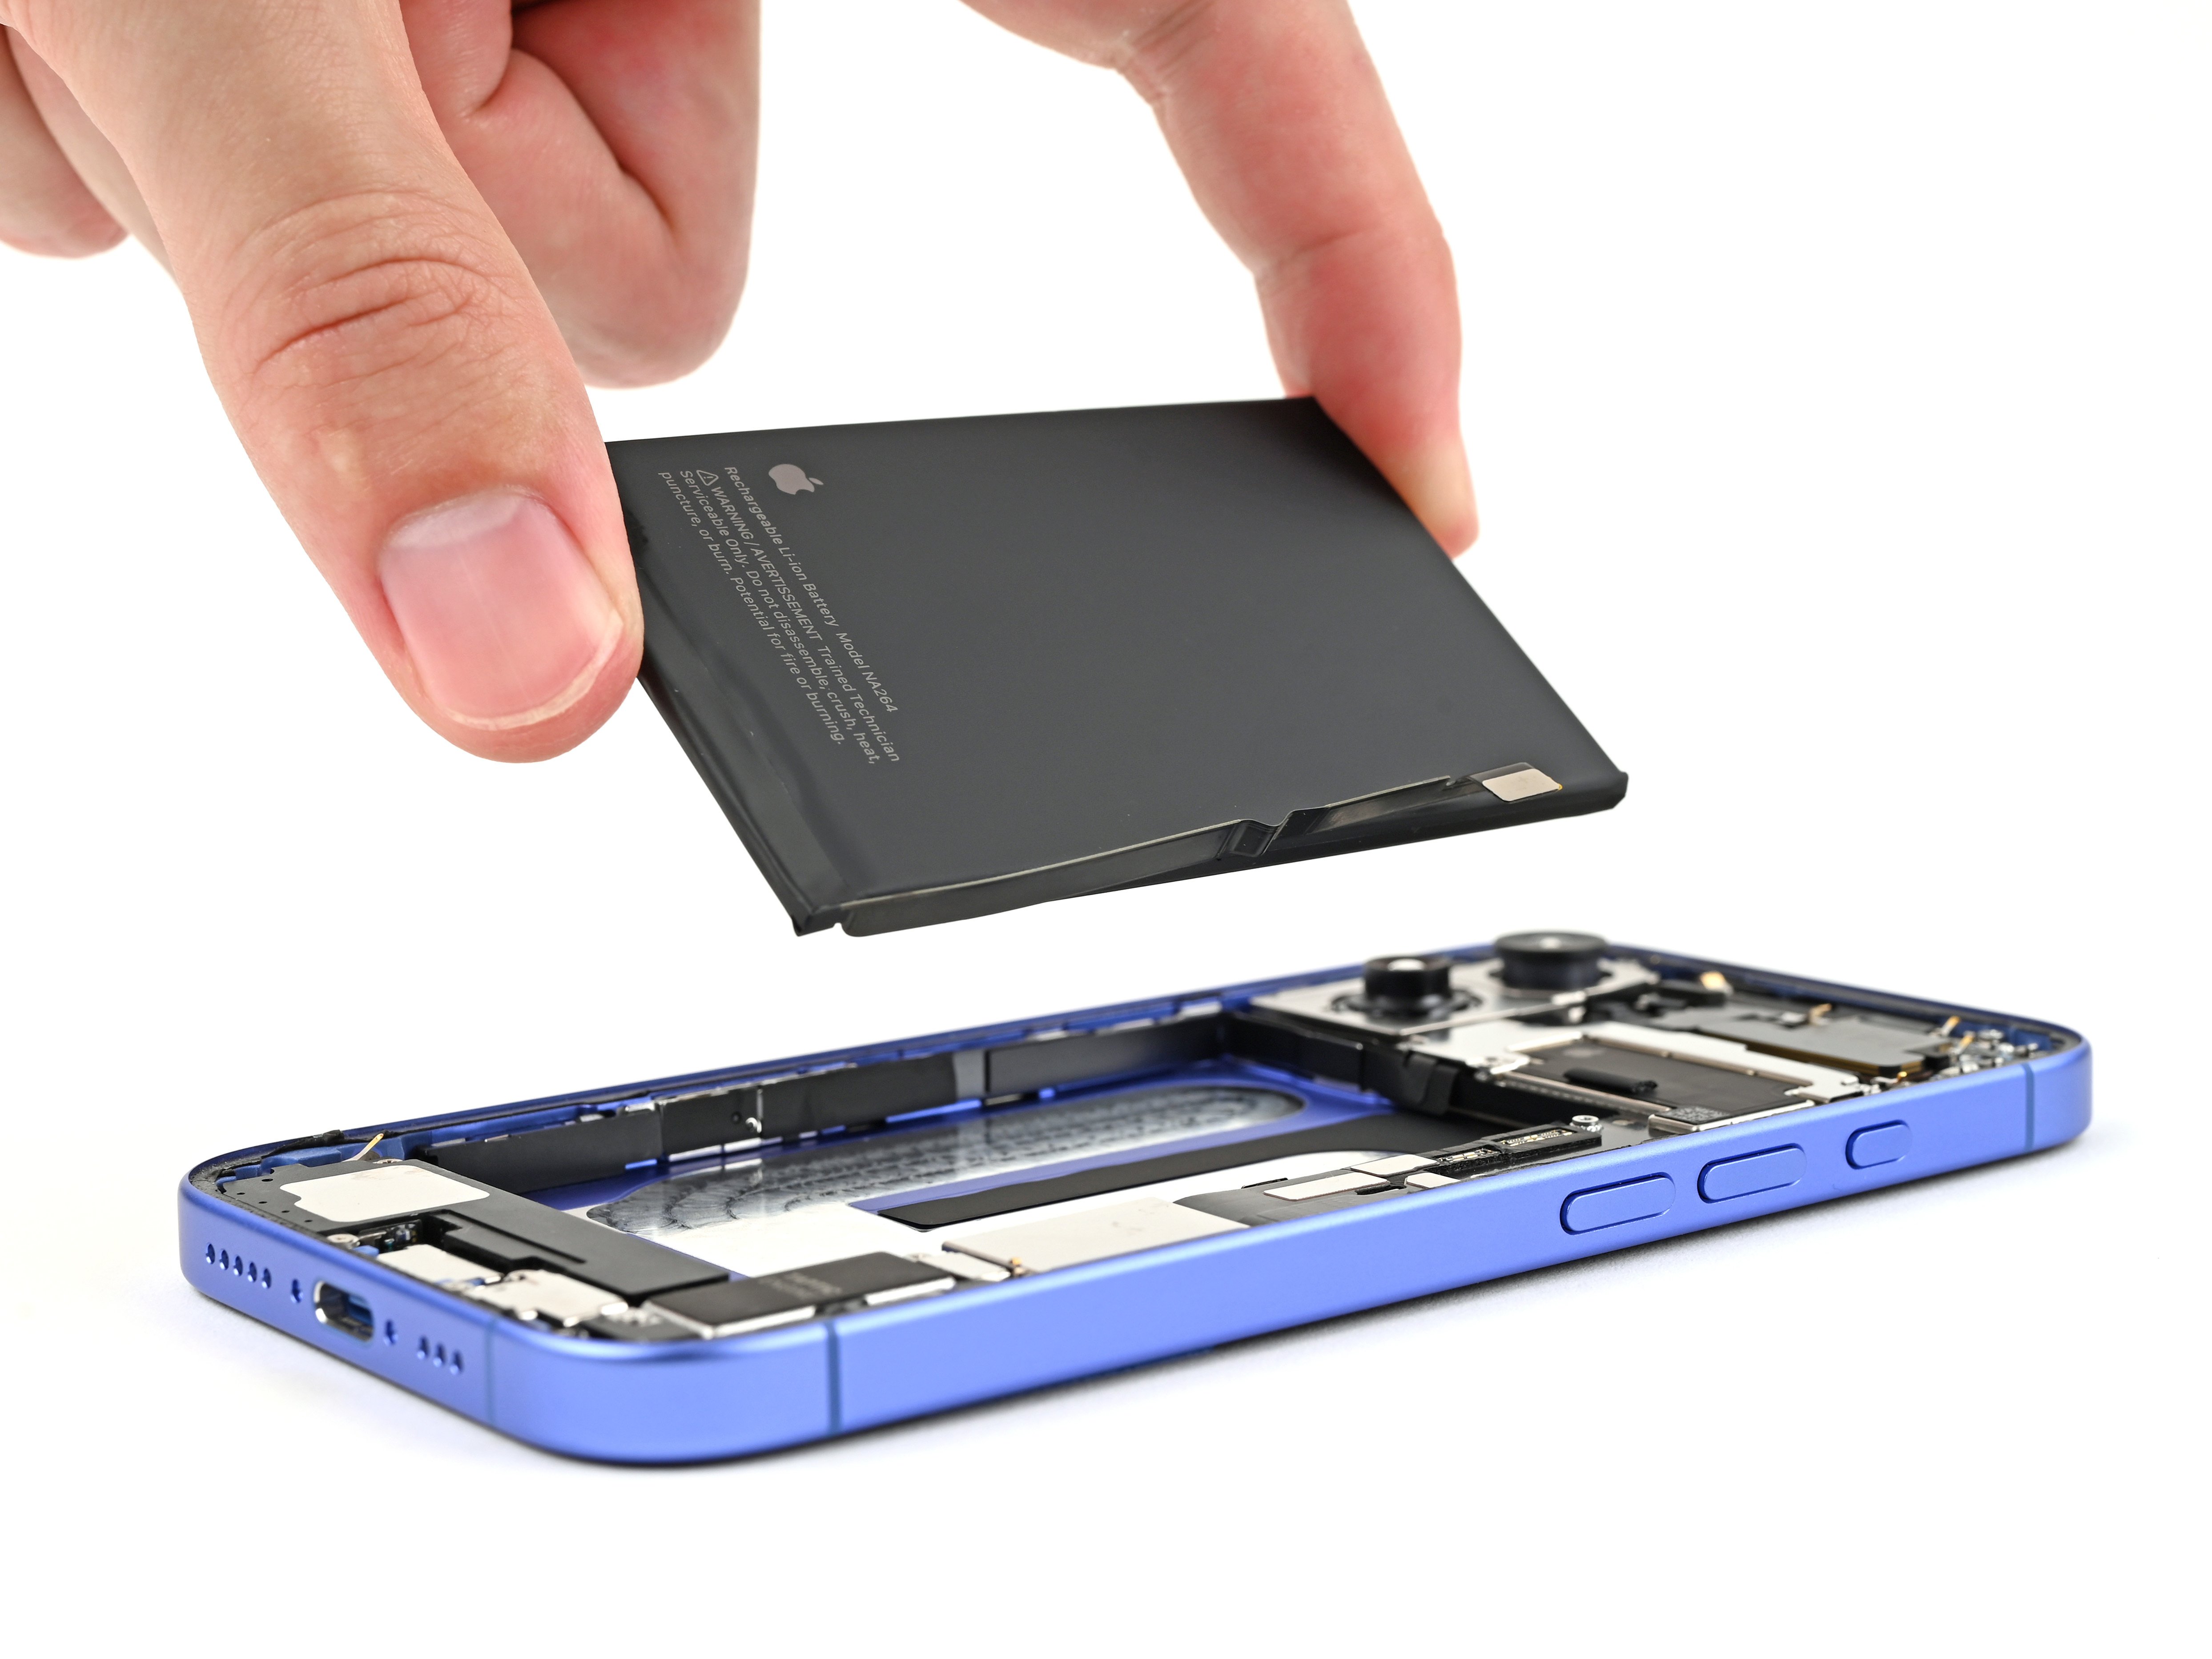
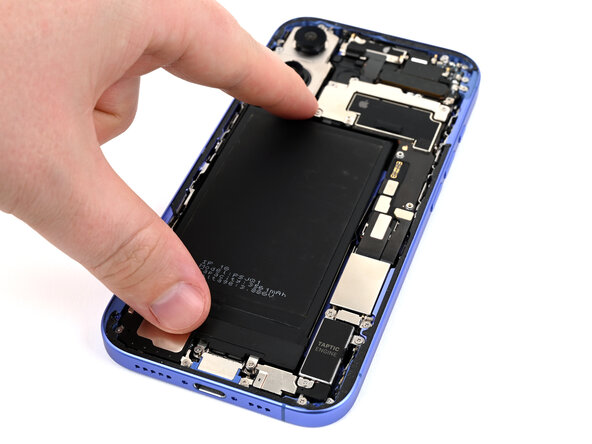
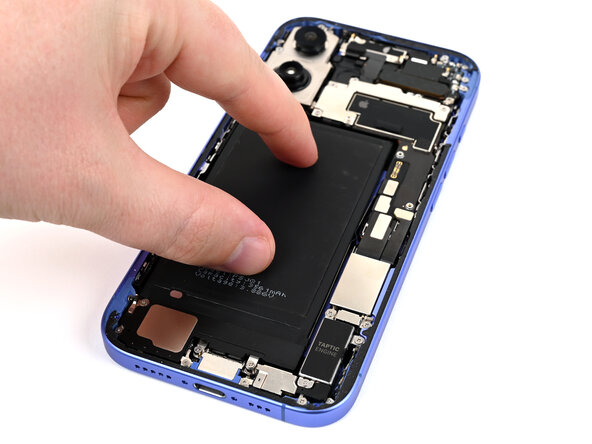
- Grab that shiny silver tab with confidence and gently lift the battery out of its cozy frame.
Tools Used
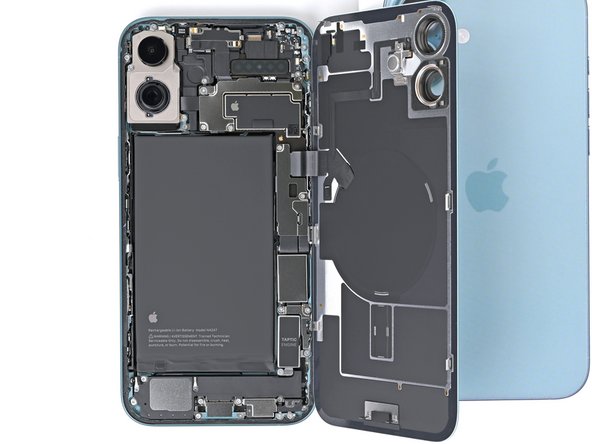
Step 28

Nice work taking your iPhone apart! Next up: putting it all back together.
Your iPhone model might look a little different in some photos, but the reassembly steps are spot on for your device.
Step 29

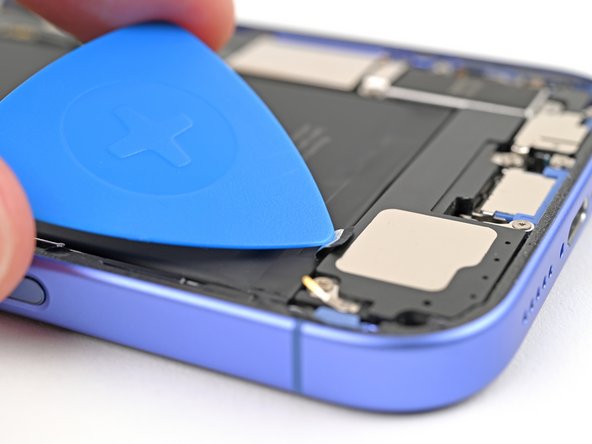
- Grab a trusty pair of tweezers and gently lift away any stubborn chunks of battery adhesive stuck to the iPhone frame. You've got this!
Step 30


- Grab some coffee filters or a lint-free cloth along with high-concentration (>90%) isopropyl alcohol, and gently wipe away any leftover battery adhesive from the iPhone frame. Easy cleanup for a fresh start!
Step 31


If your battery already has the adhesive attached, feel free to skip this step and the next four—it’s already taken care of!
Your adhesive might look a bit different or have different backing papers, but no worries, it works the same way.
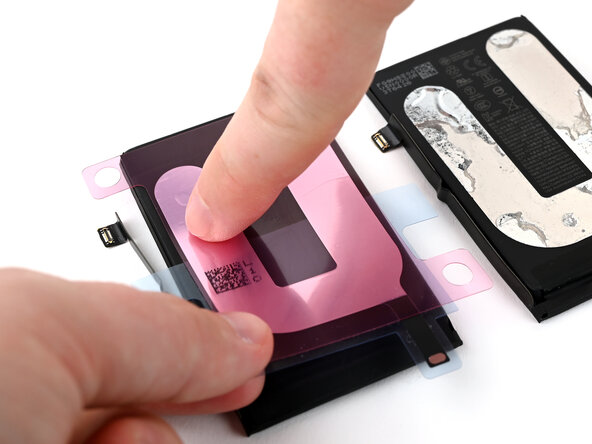
- Put the old battery next to the new one, with the sticky side facing up. Line up the new adhesive on the new battery so you know exactly how it should go.
- If your adhesive on the battery has two layers, peel off the top one.
- If your adhesive only has one layer, go ahead and peel it off.
Step 32
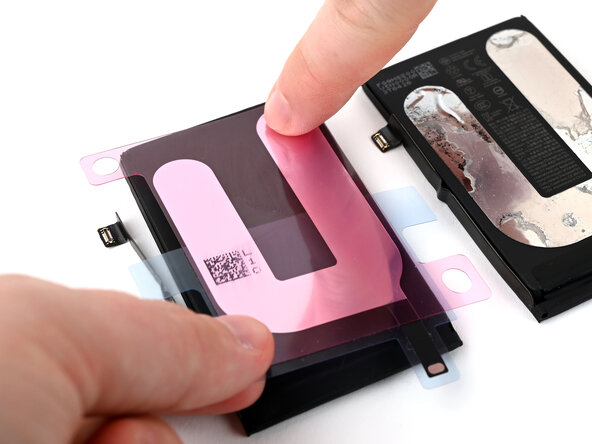

If things look a little off, just gently lift the adhesive and give it another go. No big deal!
- Keep the old battery close by so you can line up the new adhesive just right—then gently press the new adhesive onto the new battery with your finger.
- Take a moment to compare how the new adhesive sits compared to the old one.
- Once you're happy with the alignment and it matches the old adhesive perfectly, press down firmly to secure it to the battery.
Step 33


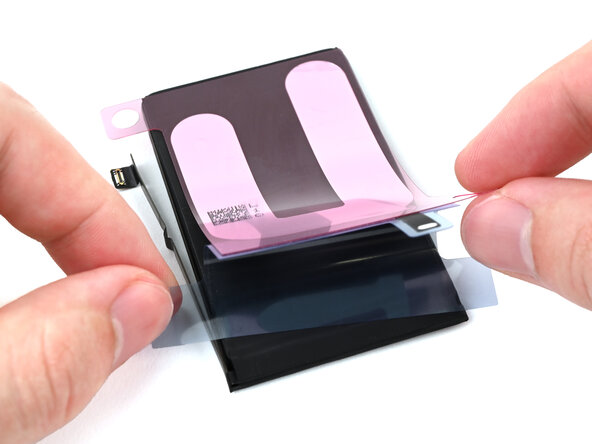
- If the adhesive still has the bottom liner attached to the battery-side, peel it off now. It’s time to free that sticky surface!
Step 34
- Gently place the adhesive on the battery and give it a firm press to secure it in position.
Step 35

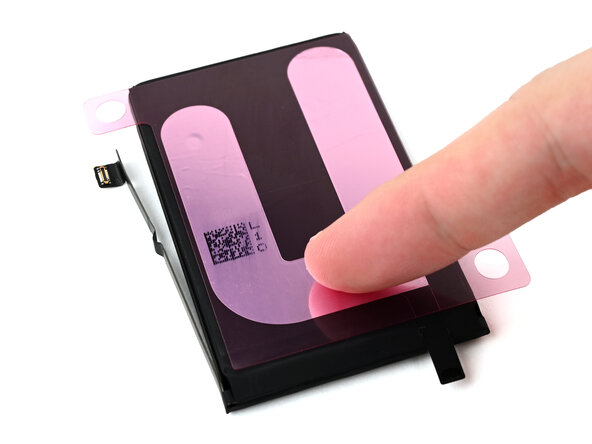
- Gently grab the conductive tab and fold it around to the front of the battery. Press it down carefully to secure it in place.
Step 36


- Gently remove the iPhone-side liner from the battery adhesive.
Step 37

- Hold the battery just above its spot in the iPhone, but don’t drop it in just yet.
- To make sure everything clicks into place, gently use a spudger or your finger to press the battery connector into position.
Tools Used
Step 38

- With the battery ready to go, gently place it back into its cozy spot in the iPhone.
- Give it a little nudge with your fingers to make sure it's snug as a bug in a rug.
Step 39

- Pop the battery connector loose with a spudger or your finger—this keeps your iPhone safe while you finish putting everything back together.
Tools Used
Step 40


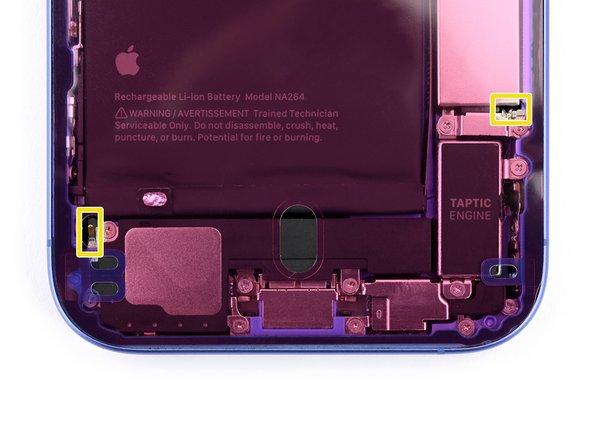
Watch out for those spring contacts while you give the frame a good clean—let's keep them intact and happy!
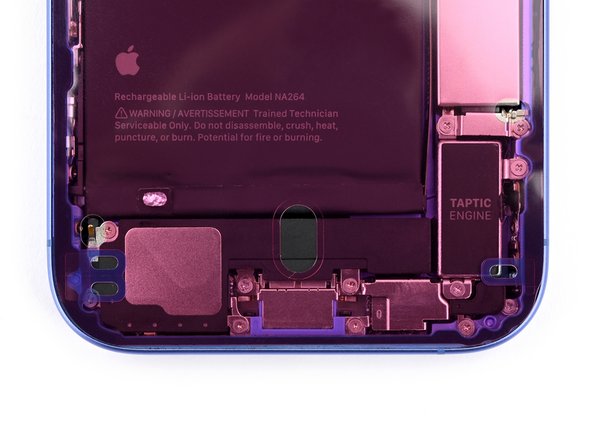
Now’s a good time to check your repair skills before locking everything down. Plug in the battery and back glass, fire up your phone, and see if it’s behaving. If all’s well, shut it down, unplug the battery and back glass, and keep going.
Sticky leftover adhesive is a pain, and it loves leaving gunk behind. If it’s stubborn, give it a little heat with a hair dryer or heat gun to help loosen things up.
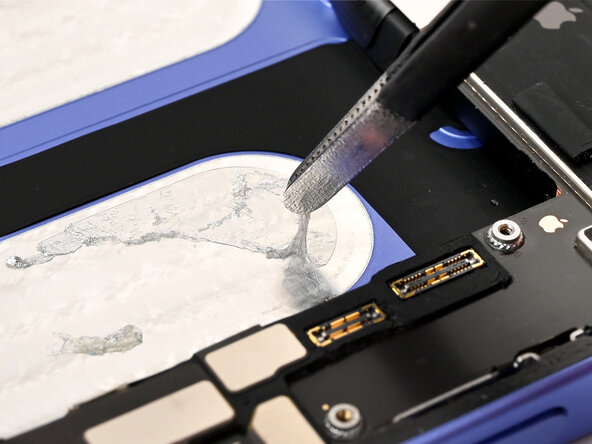
- Grab your spudger and use its sharp tip to press down and roll that adhesive until you can snag it with a pair of tweezers. You've got this!
Tools Used
Step 41

- Grab your tweezers and gently lift that sticky adhesive off the phone.
- Keep at it—repeat the process until every last bit of adhesive is gone.
Step 42


Any leftover gunk could mess with your iPhone’s seal. Give that frame a good, thorough clean!
- Take a microfiber or lint-free cloth and wrap it around the end of a spudger. Add a few drops of high-concentration isopropyl alcohol (over 90%) to the cloth.
- Gently wipe along the perimeter of the frame in one direction to clean off any leftover adhesive.
- Give it a few minutes to let any excess alcohol evaporate before moving on.
Tools Used
Step 43

If you're not planning to reuse that back glass, feel free to breeze right past this step!
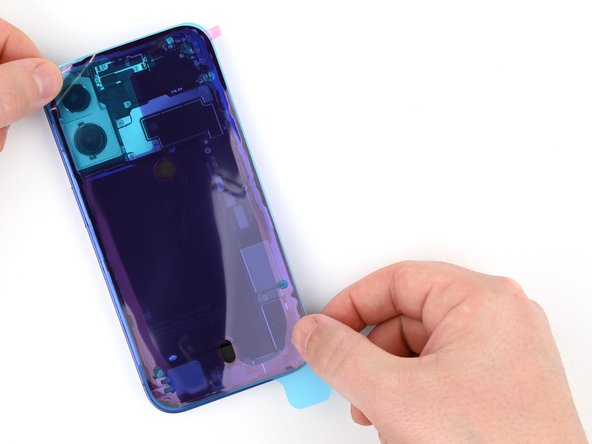
- Grab a microfiber or lint-free cloth, add a few drops of high-strength isopropyl alcohol (90% or higher), and give the edge of the back glass a good wipe-down to get it ready for fresh adhesive action.
- Notice any bent clips on the back glass? No worries—gently nudge them back into shape with your fingers.
Step 44

The color of the liner and the position of the pull tabs may vary depending on your adhesive, but don't stress – it's all part of the process!
- Place your new adhesive on the frame, making sure the larger blue liner is facing down and the pull tab is in the bottom-right corner—it's like a little treasure map!
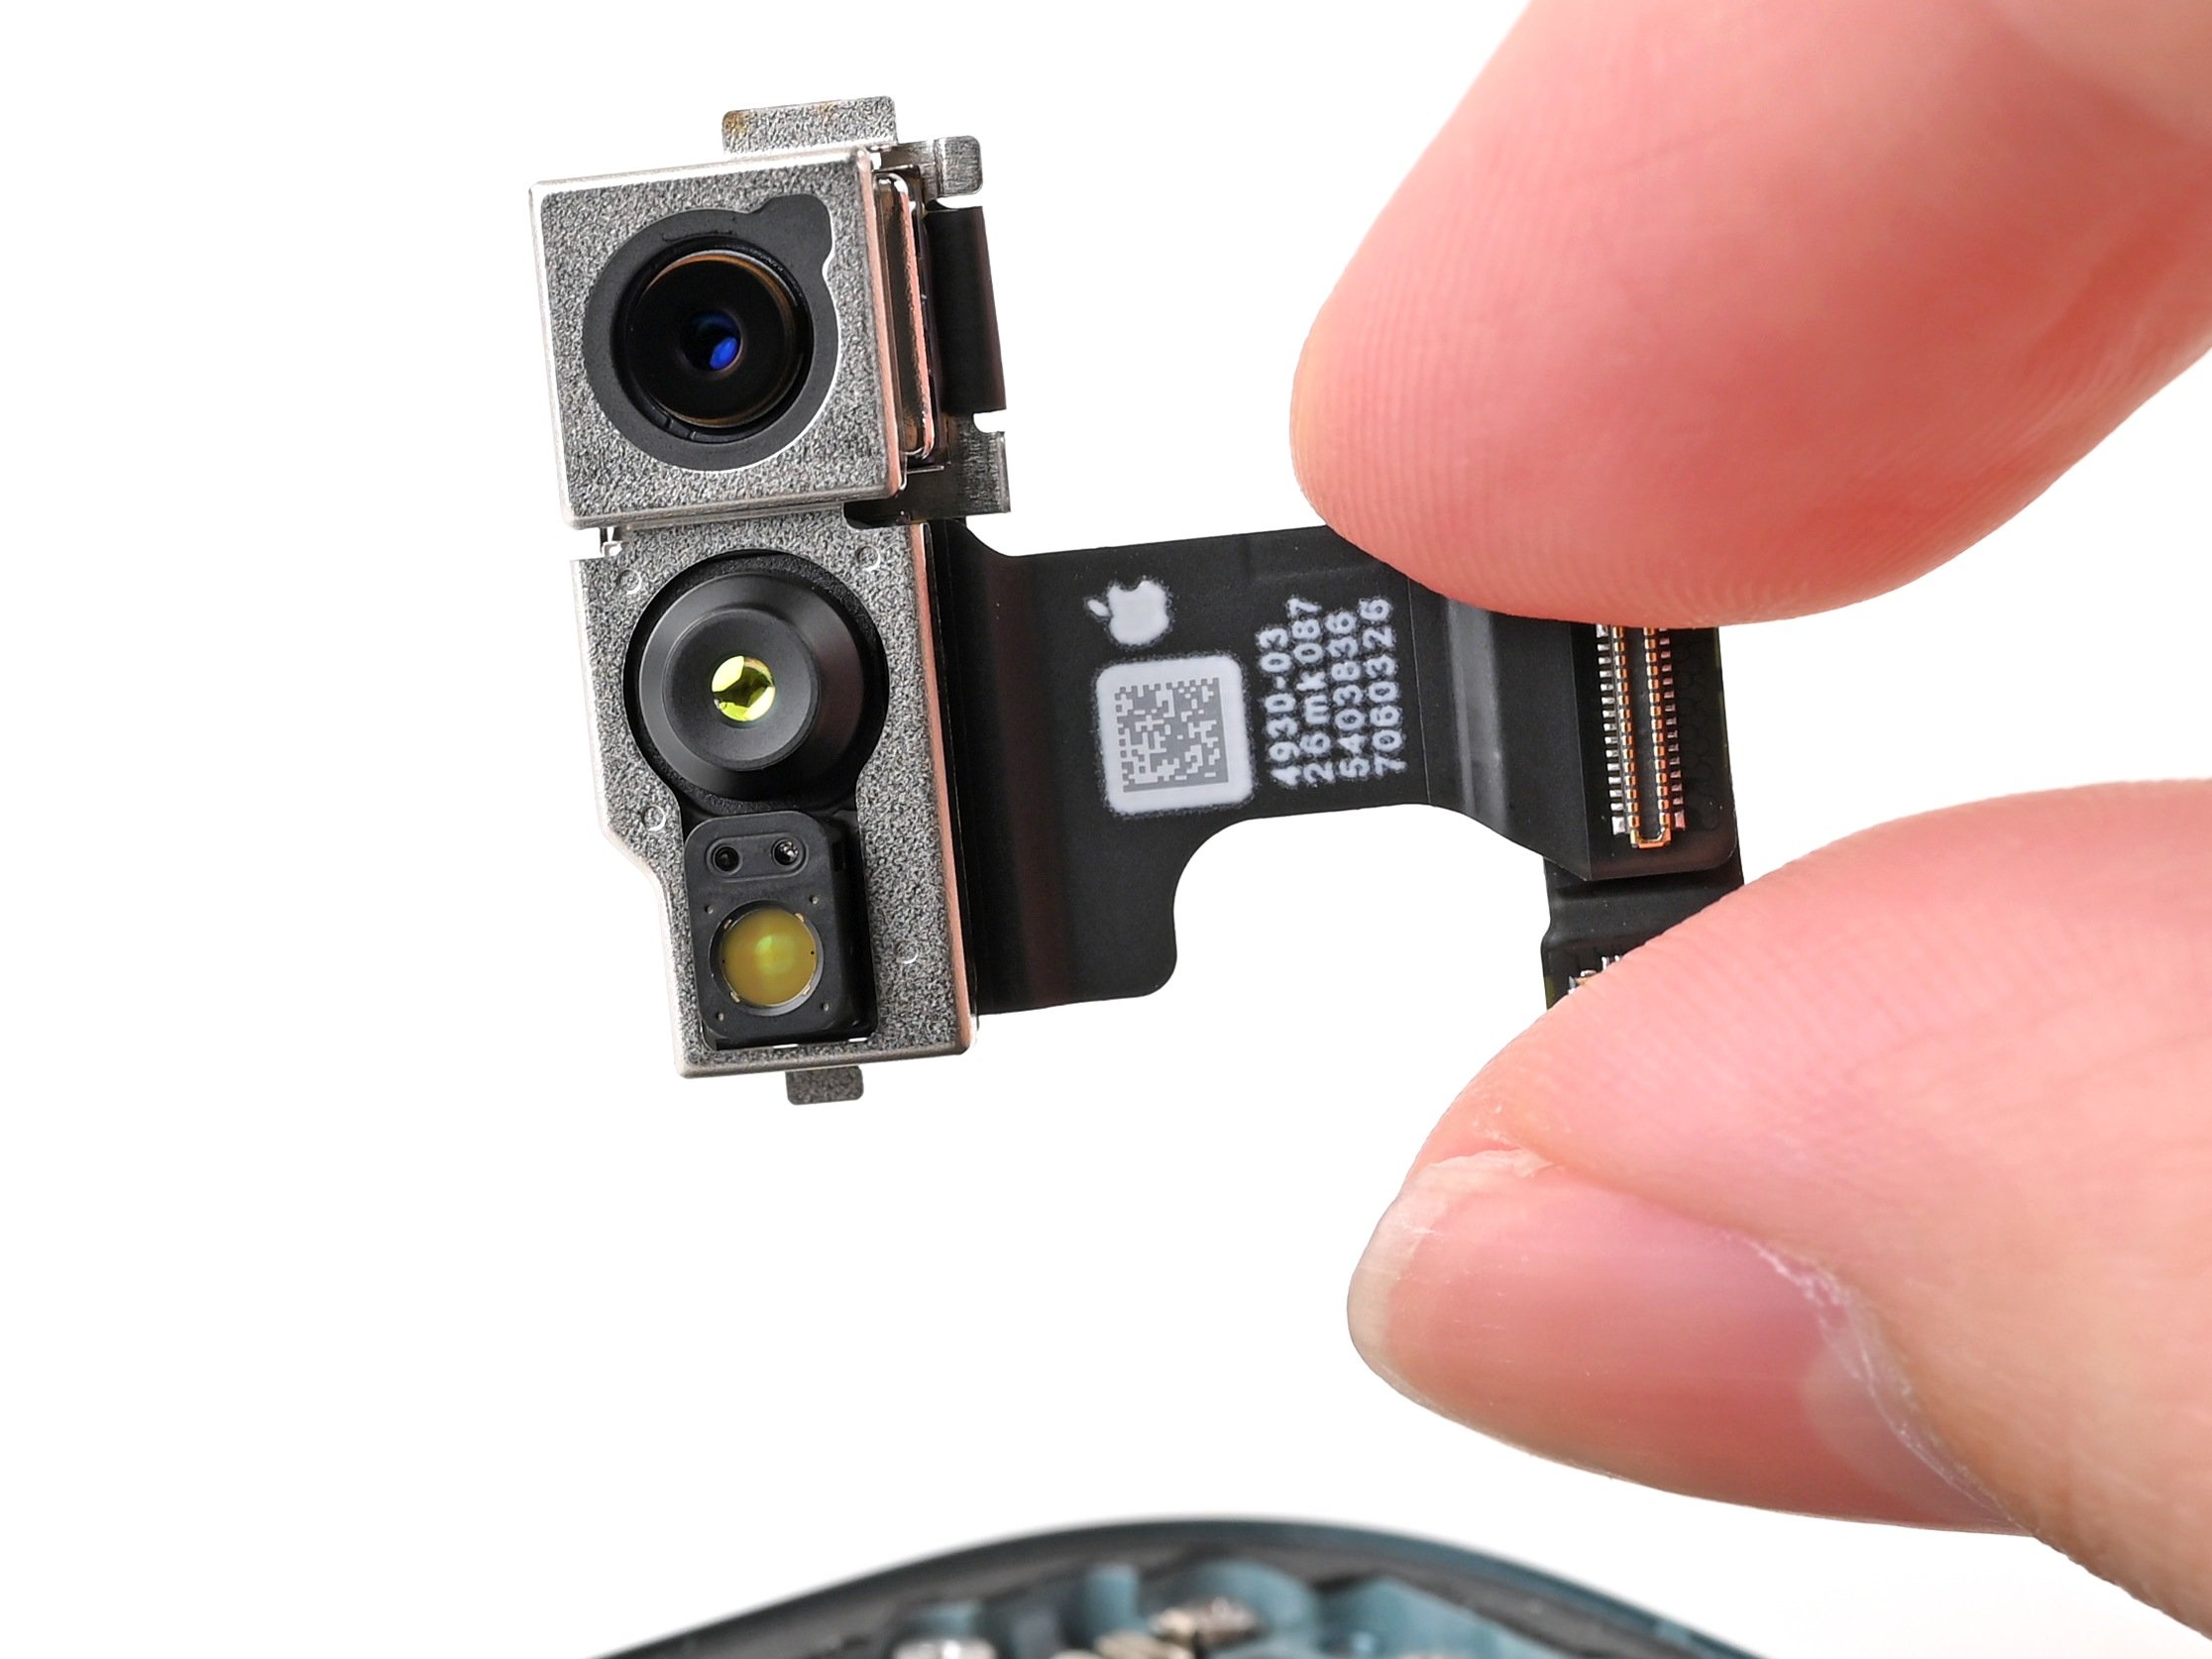
- Align the adhesive using the camera cutout and the notches along the edges as your trusty guides to get everything just right.
Step 45

- Start by gently pulling the tab to peel back the adhesive liner from the bottom. Just a little bit to get it going—no need to fully remove it just yet.
Step 46

Once the adhesive is set, there's no turning back—you'll have to remove it and start fresh with new adhesive.
- Keep that blue liner tucked out of the way and line up the adhesive with the bottom edge of your iPhone.
- Gently set the bottom edge of the adhesive into its groove in the frame, making sure the iPhone's spring contacts match up perfectly with their cutouts in the liner.
Step 47


If you line up the bottom edge of the adhesive just right, the sides and top will naturally fall into place. If it's off a bit, no worries—just peel it off and try again with fresh adhesive.
If the adhesive isn't lining up and you don't have a spare, you can temporarily reassemble your iPhone and use it as usual, but keep in mind your phone won't be as water-resistant until you replace that adhesive.
- Keep peeling that back liner off the adhesive while gently pressing it down into place along the edges of the iPhone's frame. You've got this!
Step 48

- Grab the flat side of your spudger and gently press the adhesive all the way around the frame, like you’re sealing in that fresh phone magic.
- Watch out for those spring contacts peeking through the pink liner, or you’ll have a little surprise you didn’t order!
Tools Used
Step 49


- Grab that little pull tab in the top-right corner and give it a gentle tug to peel away the pink adhesive liner. You've got this!
Step 50

Your pull tabs might be in slightly different spots, but no worries—just follow the flow and you'll be good to go!
- After taking off the top liner, you should spot three slim liners sitting on the adhesive, each with a pull tab near the bottom edge.
- If those pull tabs are playing hide and seek, you might have accidentally removed the thin liners in the last step. If the adhesive looks clean and lined up nicely, feel free to move on—just try not to touch the sticky surface until you're ready to put on the back glass.
Step 51

- Lean the back glass up along the right edge of your iPhone, propping it securely with a box or any sturdy object you’ve got nearby to keep the screen steady.
- Gently use the flat end of a spudger or your finger to reconnect the charging coil press connector.
Tools Used
Step 52


- Gently use the flat side of a spudger or your finger to connect the battery. Keep it light and easy, just like connecting the dots—except these dots happen to power your device.
Tools Used
Step 53


The connector cover has a couple of nifty hooks that slide right into the slots on the logic board, making it a breeze to secure everything in place.
- Place the connector cover on your phone, making sure the hooks are just a tad to the left of their slots on the logic board. We're almost there!
- Now, gently press down and to the right with your finger until those hooks snugly slide into their spots. You're doing great!
Step 54

- Grab your tri-point Y000 driver and pop in the two tiny 1 mm screws to secure the middle connector cover. Easy does it!
Step 55


As you peel away the liners in this step, the adhesive will be fully revealed. Keep an eye out and make sure nothing gets near that sticky stuff!
- Grab those nifty blue tabs and gently peel off the liners from the bottom, left, and top edges of your iPhone. Just hold off on the right edge liner for now – it’s not ready to party yet!
Step 56

- Carefully hover the back glass above the phone, making sure it doesn't touch the sticky adhesive, while you prepare to tackle that last liner on the right edge of the phone.
- Grab some tweezers or just use your fingers to peel away that final liner along the right edge of the phone. You've got this!
Step 57

- Hold the back glass above your phone and line it up nicely with the frame.
- Gently set the glass down onto the frame and press until the clips snap into place.
- Go around the edges and give a little press to make sure every clip is happy and secure.
Step 58


- Warm up the edges of the back glass with an iOpener, hair dryer, or heat gun until it feels nice and toasty to the touch to get that adhesive ready to stick.
- Give the edges a good, firm press all around to help everything bond snugly.
- If you’ve got screen vise clamps, now’s the time to use them to lock in that adhesive. If not, no worries—keep going for some other ways to keep the back glass secure.
Tools Used
Step 59


To get an even squeeze on your iPhone and make sure the back glass sticks tight to the frame, remember to work around that camera bump.
If your original box is MIA, no worries—just skip this step and try another way.
- Grab the lid from your iPhone box and set it down on a flat surface.
- Place your iPhone screen-side-up inside the lid, making sure the camera bump fits snugly in its little spot.
- Find something about the size of your iPhone but taller than the box’s sides. Stack that on top of your phone, then pile on a few heavy things.
- Let the weight do its thing for at least thirty minutes. If your heavy stuff is on the lighter side, give it more time—overnight is even better.
Step 60


No original iPhone box? No worries! Just cruise through the next three steps for an alternative way to get that back glass pressed down evenly.
- Lay your iPhone face down gently on a soft, flat spot to keep it cozy and safe.
- Stick some tape on the back glass to keep that shiny finish looking sharp.
Step 61
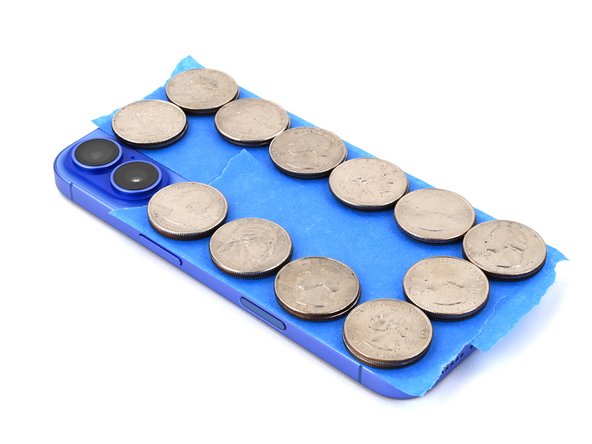

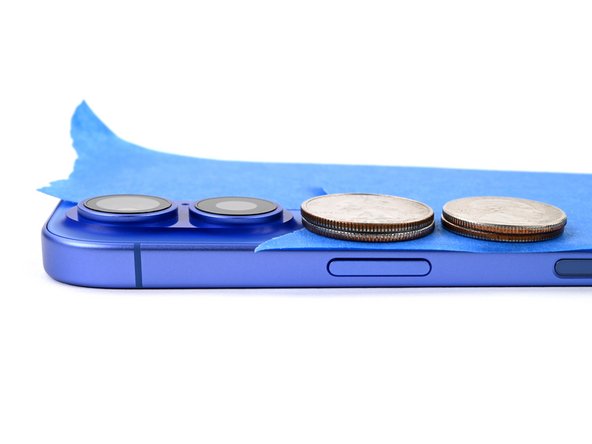
- Stack two layers of coins or anything about the same thickness on the tape along the edges of the back glass.
- Spread the coins out evenly and make sure they’re at least as thick as the camera bump.
Step 62

The coins might leave a mark on the bottom object, so it's best to avoid using anything important or valuable here!
- Grab a few books or any other heavy objects lying around and stack them on top of your iPhone. The more, the merrier!
- Let those objects chill on your iPhone for at least 30 minutes. If you’re using lighter stuff, it might need a bit more time. Ideally, let it rest overnight for maximum effect.
Step 63


- Grab a P2 pentalobe driver and carefully screw in the two 7.7 mm screws on each side of the charging port. Make sure they're snug, but don't overdo it!