iPhone 16 Plus Microphone Replacement
Duration: 45 minutes
Steps: 30 Steps
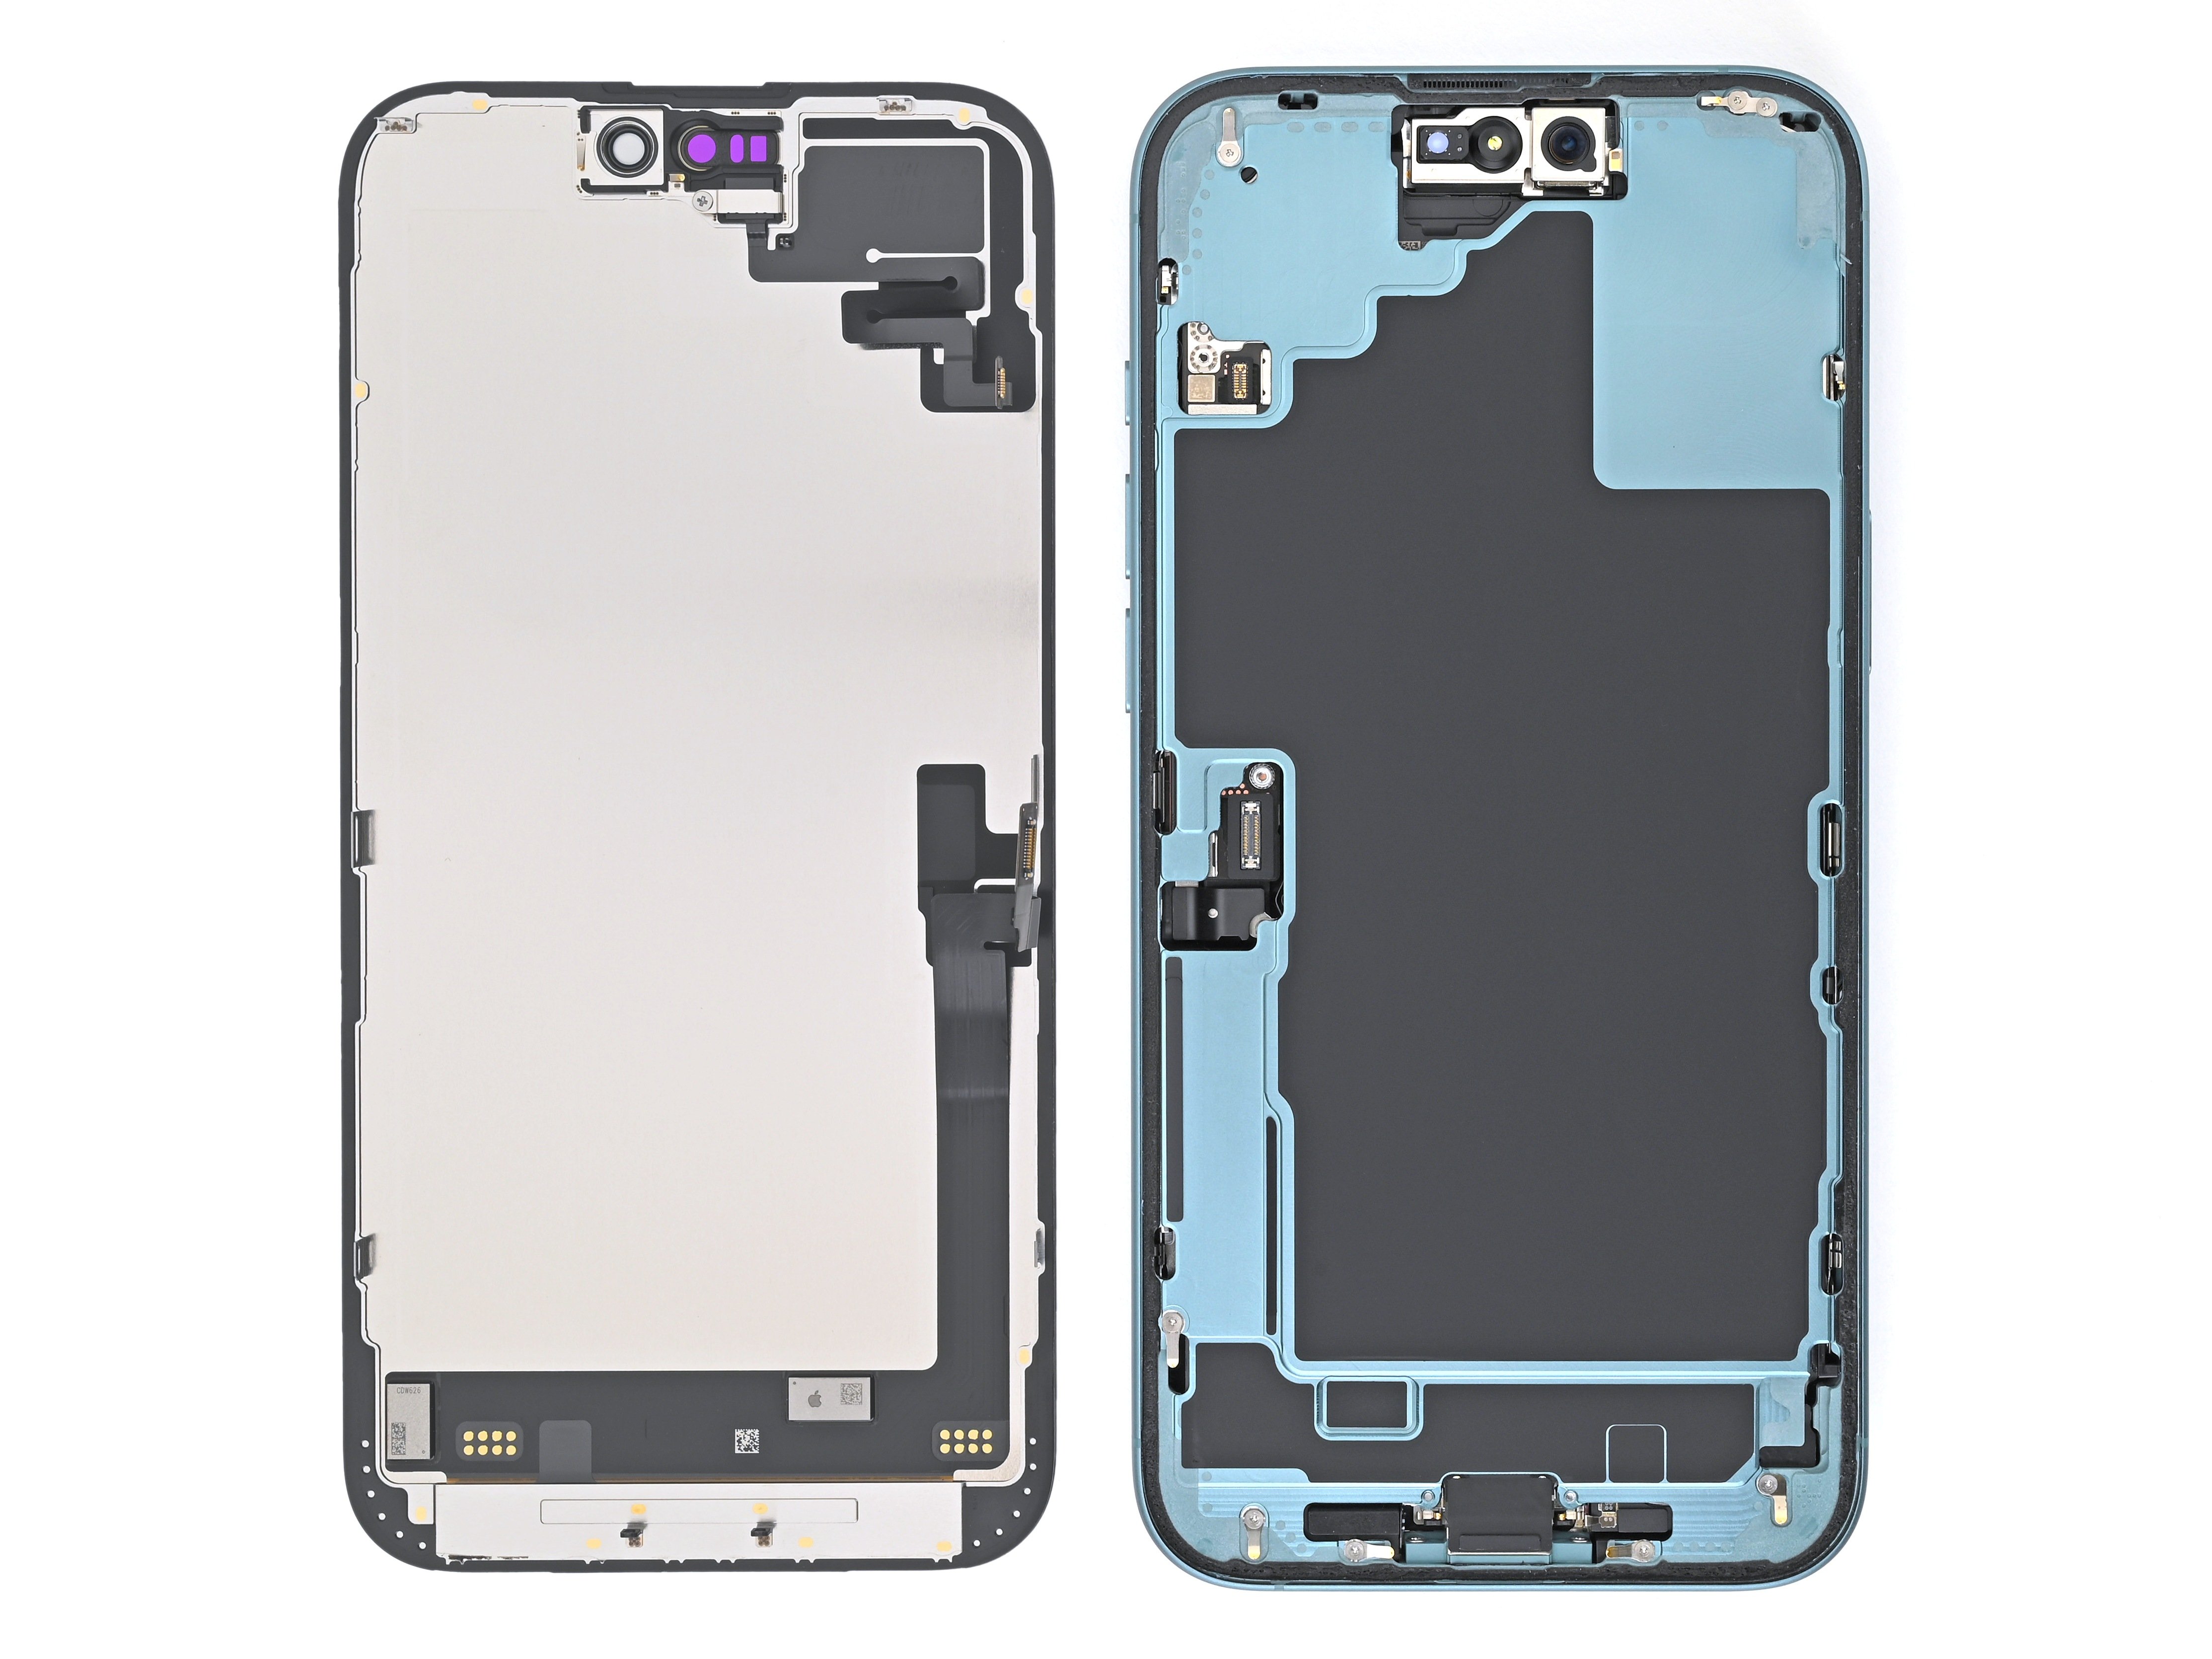
Time to give your iPhone 16 Plus a voice makeover! If people keep saying you sound like a robot or your phone just doesn’t want to hear you, the main microphone might be the culprit. Your iPhone's got three mics—this guide tackles the primary one, which you can swap out on its own. The other two hang out with the charging port and the power button assemblies. Heads up: you'll need fresh back glass adhesive to seal things up when you're done. If things get wild, you can always schedule a repair.
Step 1


Let your phone’s battery drop below 25% before getting started—charged lithium-ion batteries can be a bit of a troublemaker when it comes to safety.
- First things first—disconnect any cables from your phone, so it can breathe a little.
- Now, press and hold both the power and volume buttons, then swipe to power down. You're almost there!
Step 2


Find a nice, flat spot near the bottom edge where your suction cup can get a good grip—no bumps allowed!
- Got a screen or back glass looking like it survived a rock concert? Layer some packing tape over the cracks—your fingers will thank you, and taking things apart gets way less risky.
Tools Used

Step 3
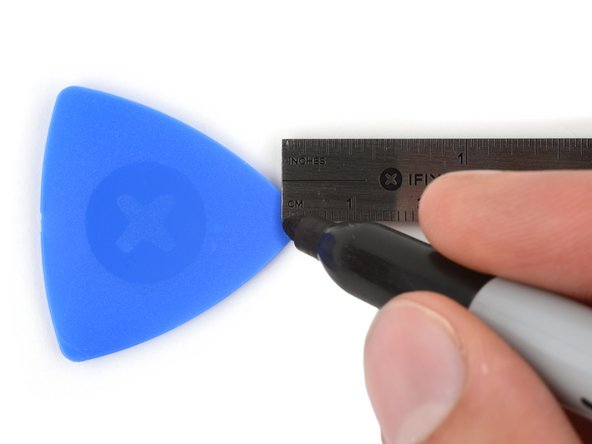

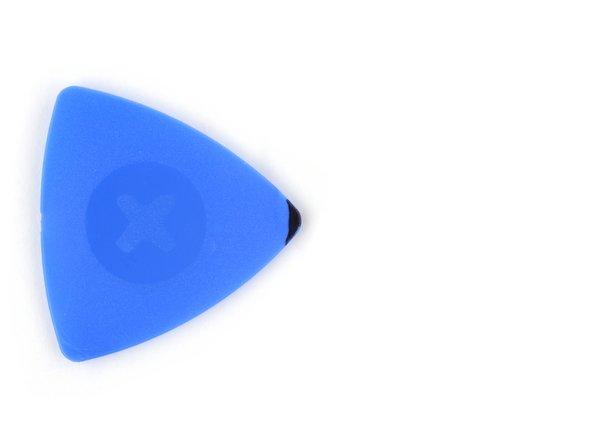
If you push your opening pick in too deep, it might cause some damage—let’s avoid that! Mark your pick to keep things safe and sound.
Feel free to mark other corners of your pick with different measurements for extra precision.
Or, for a quick hack, tape a coin to your pick about 3 mm from the tip to keep your depth in check.
- Grab your trusty permanent marker and measure out 3 mm from the tip. Give that opening pick a little mark to guide you on your repair adventure!
Step 4
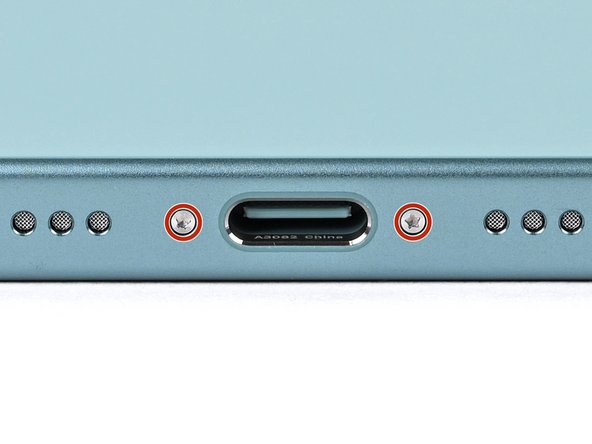

- Grab your trusty P2 pentalobe driver and carefully take out the two 7.7 mm screws flanking the USB-C port. Keep them safe!
Step 5


Heads up! Don’t crank up the heat too much—the battery isn’t a fan of high temperatures and can get damaged easily.
Or, if you’re feeling adventurous, grab a hair dryer or heat gun and warm up the bottom edge of the back glass until it’s nice and toasty.
- Place a heated iOpener on the bottom edge of the back glass and let it work its magic for two minutes.
Tools Used


Step 6


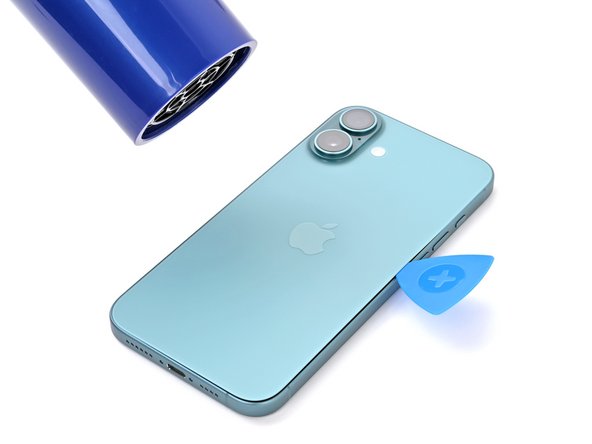
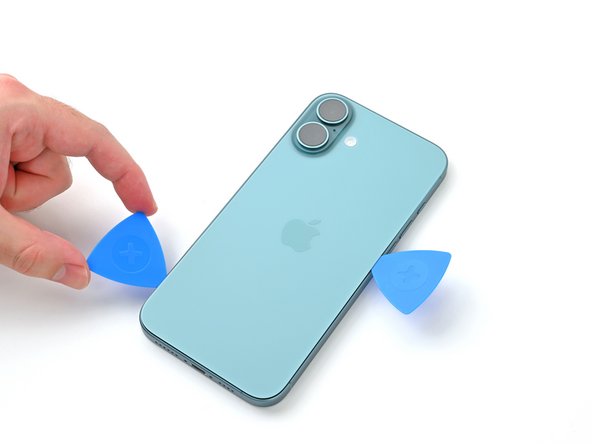
- Stick the suction handle right on the bottom edge of the back glass, just above that handy USB-C port.
- Give the handle a solid, steady pull to open up a little gap between the back glass and the frame.
- Slide the tip of your opening pick into that gap and get ready to work your magic.
Tools Used

Step 7

As you carefully slice through the adhesive holding the back glass, watch out for these sensitive spots:
- Watch out for a fragile cable linking the back glass to the phone, tucked right next to the volume up button. Keep your pick away from this spot to avoid slicing it like a pro chef with a butter knife.
- Around the phone's edges, you'll find several spring contacts hanging out. Be gentle and don’t push your pick in deeper than each step suggests, or you might bend these little guys out of shape.
Step 8


Keep your pick shallow—no more than 5 mm deep along the bottom edge—to steer clear of those delicate spring contacts.
- Gently slide your pick back and forth along the bottom edge to loosen that stubborn adhesive.
- Keep your pick wedged in the bottom right corner so the adhesive doesn’t sneak back together.
Step 9


Warm up the back glass using a hair dryer or heat gun until it feels nice and toasty to the touch.
- Warm up the right edge of the back glass with a heated iOpener for about two minutes—you're loosening things up so the next steps go smoother.
Tools Used
Step 10


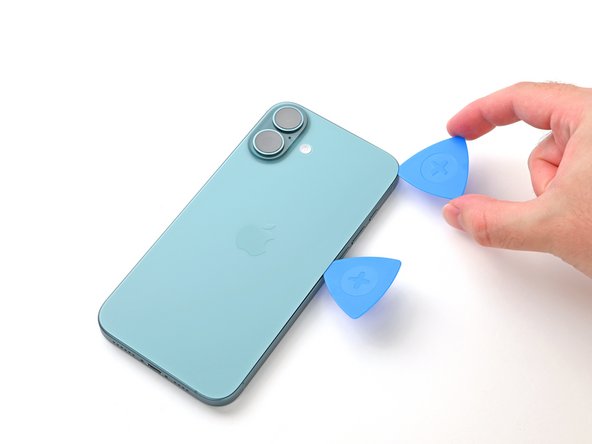
Keep your pick to a maximum of 5 mm deep along the right edge—no need to go deeper and risk messing with the spring contacts and ribbon cable. Your device will thank you!
Steer clear of slicing near the volume buttons to keep that wireless charging and flash cable happy and unharmed. Let's keep everything working smoothly!
- Glide your pick around the bottom right corner, then cruise halfway up the right side—stop when you hit a stubborn clip holding the back glass hostage.
- Leave your pick hanging out there to keep the sticky stuff from sneaking back together.
Step 11

Grab your hair dryer or heat gun and warm things up until it feels nice and toasty to the touch.
- Place a warm iOpener on the left side of the back glass and let it work its magic for two minutes.
Tools Used
Step 12

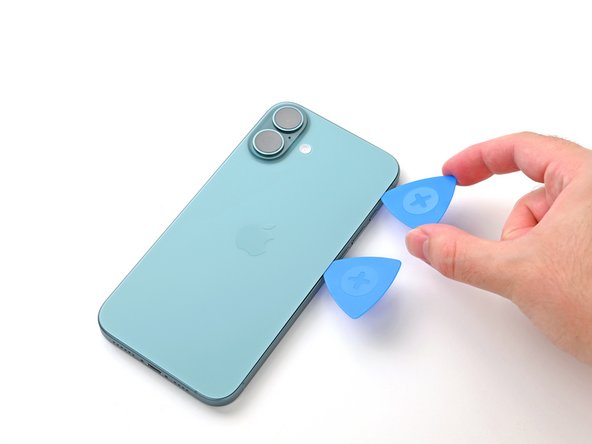
Hey there! Just a friendly reminder: keep your pick no deeper than 5 mm along the left edge to keep that spring contact safe and sound!
You’ll feel those metal clips pop free—like your device is giving a little cheer for you as you go.
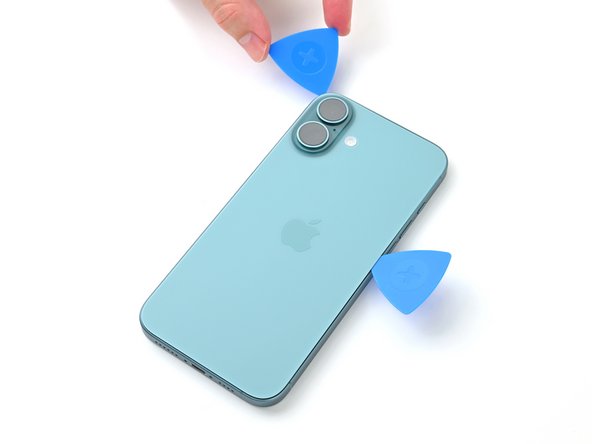
- Place your second opening pick at the bottom edge—let’s get this started.
- Gently slide that pick around the bottom left corner and down the left side of the screen. This will help break the adhesive seal and release those pesky metal clips.
- Keep that pick in place at the top left corner to stop the adhesive from sticking back down. You’ve got this!
Step 13


Grab your trusty hair dryer or heat gun and crank up the heat until it feels nice and warm to the touch!
- Grab your heated iOpener and let it hang out on the top edge of the back glass—it should cover the volume buttons too. Give it a couple of minutes to work its magic.
Tools Used
Step 14

Hey there! Just a friendly reminder to keep your pick to a depth of no more than 3 mm along the top edge. We want to avoid any mishaps with those delicate spring contacts! You've got this!
Get ready to hear and feel a satisfying click as the top two clips pop free—like little high-fives from your device!
- Glide your opening pick along the top edge and swing it around the top right corner, stopping at the volume up button—just like tracing a funky little path—to loosen up that stubborn adhesive.
Step 15


Hold up! Don't yank the back glass off just yet—it's still connected by a fragile ribbon cable. Let's take it step by step to carefully remove it without any trouble.
If the back glass isn't popping open easily, don't stress! Just go back around the edges with your pick and check if any adhesive or clips are holding things up.
You might need to give the back glass a little lift before swinging it open to let those clips fully let go.
- Carefully swing the back glass open toward the volume buttons—like opening a tiny, shiny door.
- Prop up the back glass with something clean and sturdy, like a small box, so the cable doesn’t get squished.
- Take out the opening picks and give yourself a little high five.
Step 16

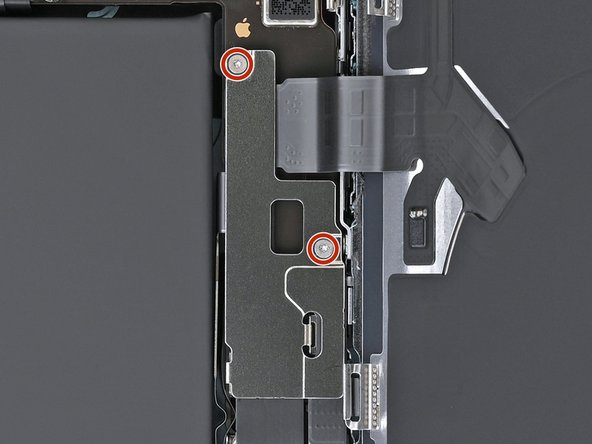
- Grab your tri-point Y000 driver and unscrew those two tiny 1.3 mm-long screws holding down the middle connector cover.
Step 17

Watch out — no poking, prodding, or denting the battery here! Keep it safe and sound.
- Grab some blunt-nose tweezers or just use your fingers to gently slide the cover towards the left edge of the phone, freeing its hook from the logic board slot.
- Take the cover off and set it aside.
- When putting it back together, line up the hooks with their slots on the logic board, press the cover down, then slide it to the right edge to lock everything back in place.
Tools Used

Step 18


- Grab your trusty spudger and gently pop up the battery press connector. It’s like giving your device a little high five—no wrestling moves needed.
- When you’re putting things back together, make sure the connector sits nicely on its socket. Press down with your finger or the flat end of your spudger: one side, then the other, until you hear that satisfying click. Skip the brute force—if it’s not going in, just adjust and try again.
Tools Used

Step 19


- Grab your trusty spudger and gently pop up the wireless charging coil connector. It's like giving your device a high five—quick and satisfying!
Tools Used
Step 20

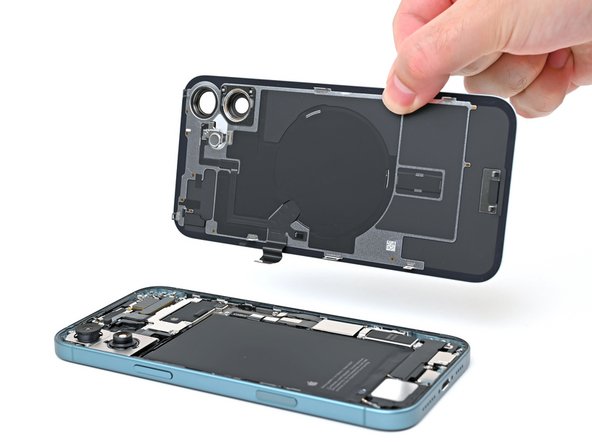
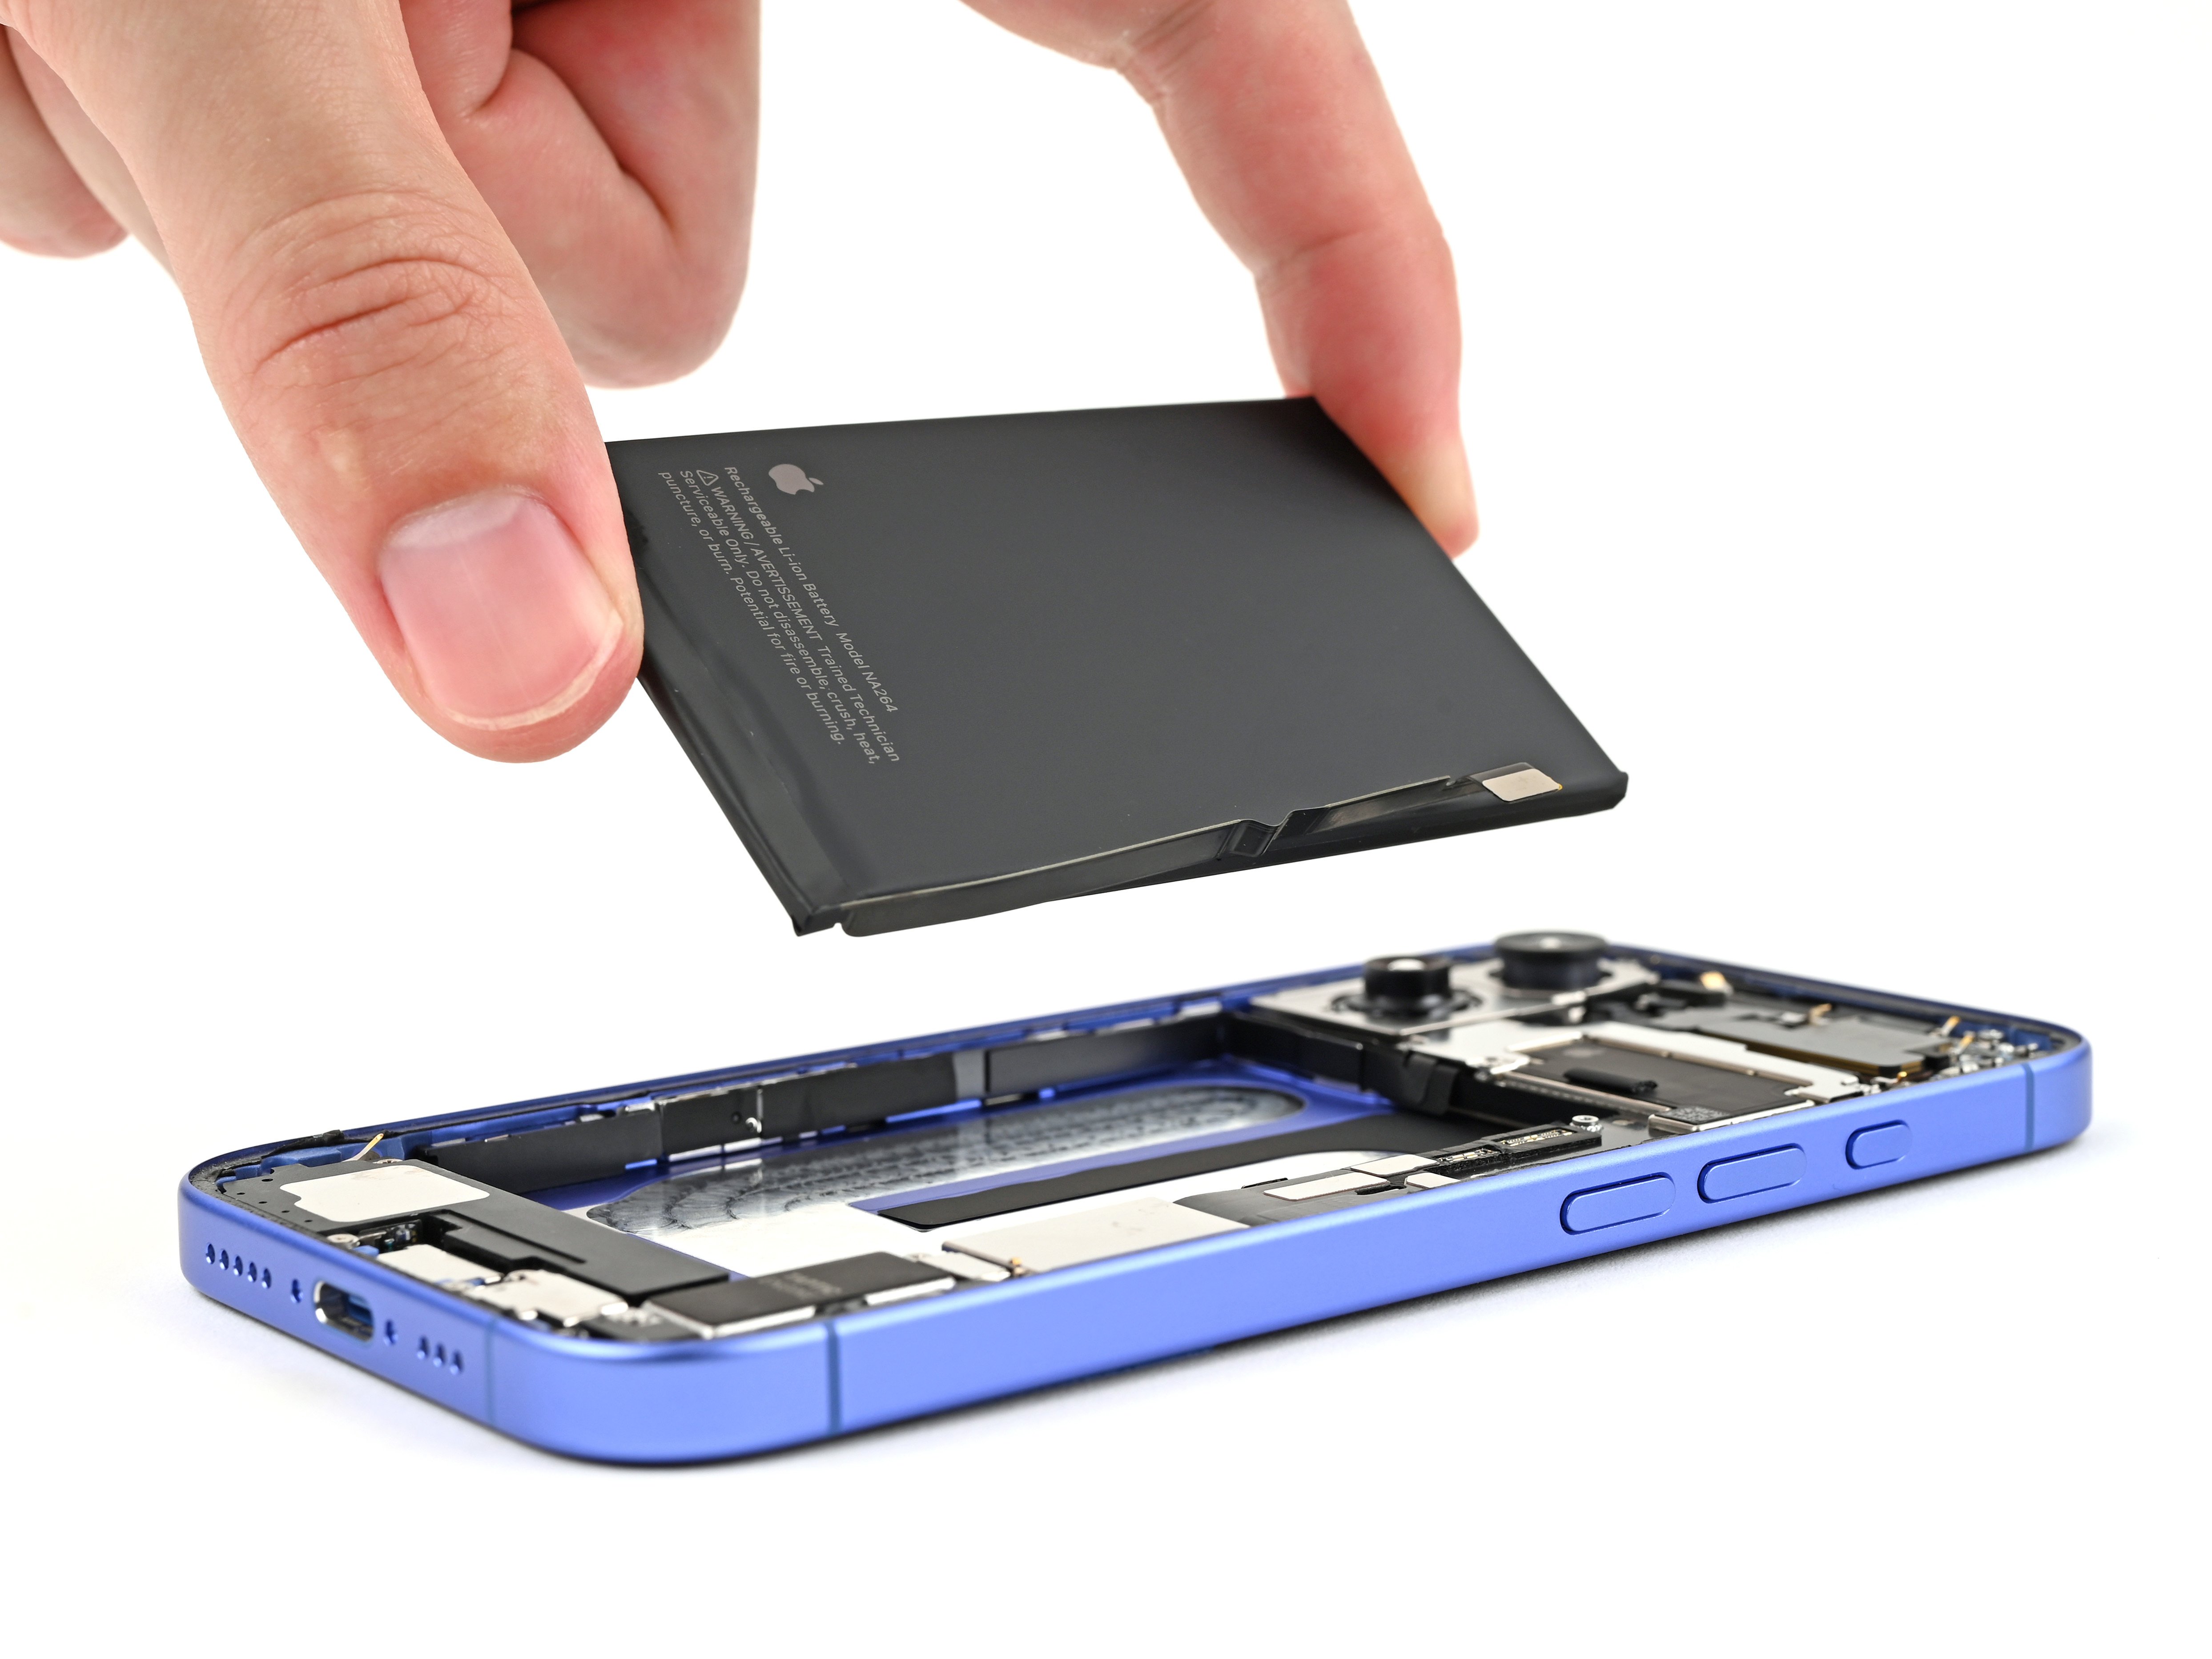
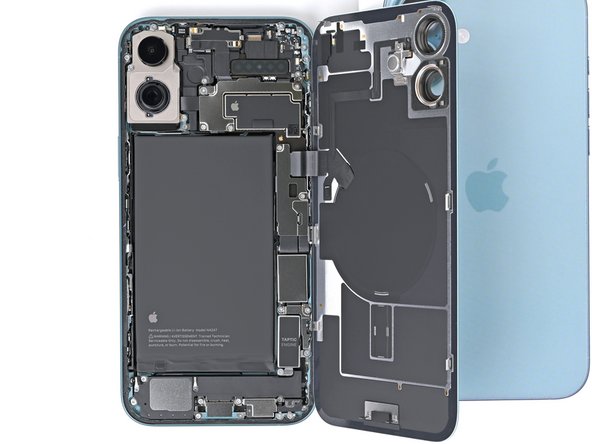
- Gently lift the back glass off the frame and set it aside. Easy does it – no need to rush!
Step 21

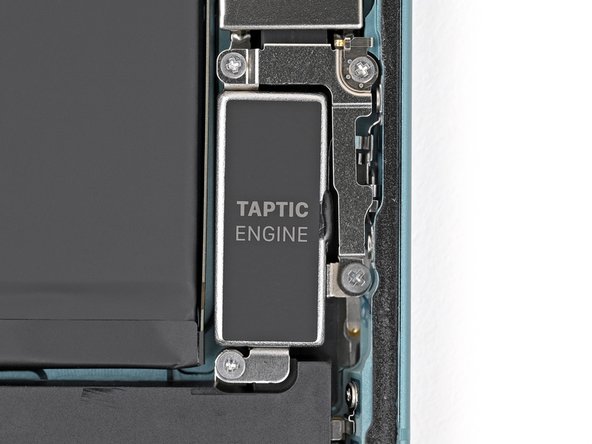
- Grab your Phillips screwdriver and take out the three screws holding down the Taptic Engine bracket:
- Two screws are 1.9 mm long
- One screw is 2.1 mm long
Step 22
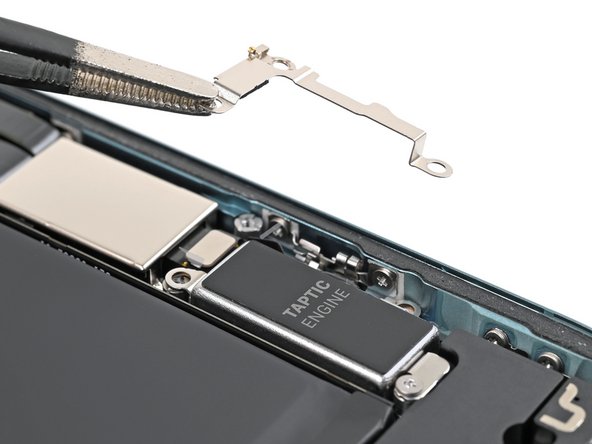

- Grab your tweezers (or just use your fingers) and lift out the Taptic Engine bracket like you own the place.
Tools Used
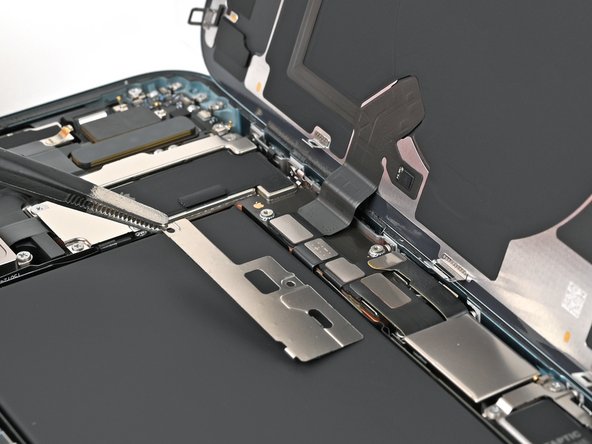
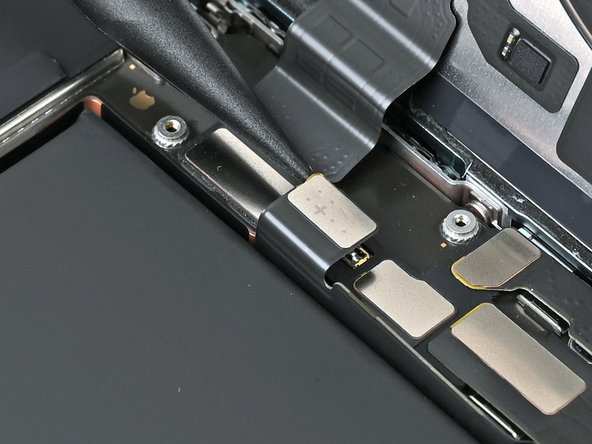
Step 23
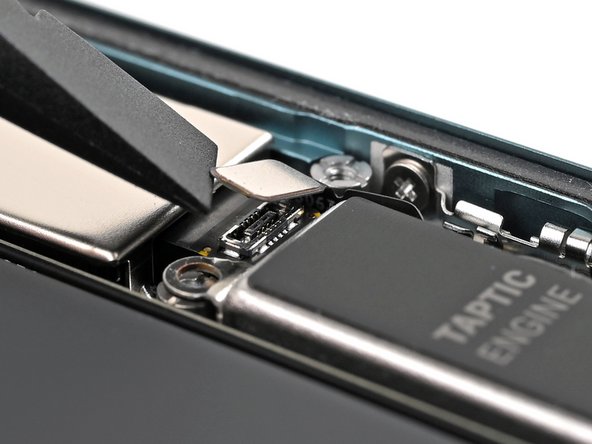

- Gently slide the flat end of your spudger under the Taptic Engine press connector and lift it up to disconnect. Easy does it!
Tools Used
Step 24
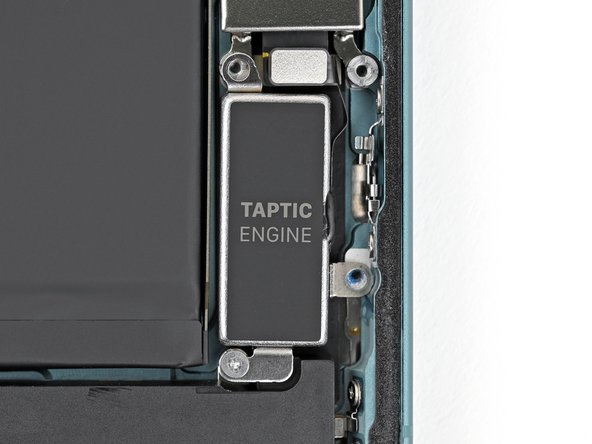

- Grab your Phillips screwdriver and carefully take out the 1.8 mm screw holding down the Taptic Engine.
Step 25

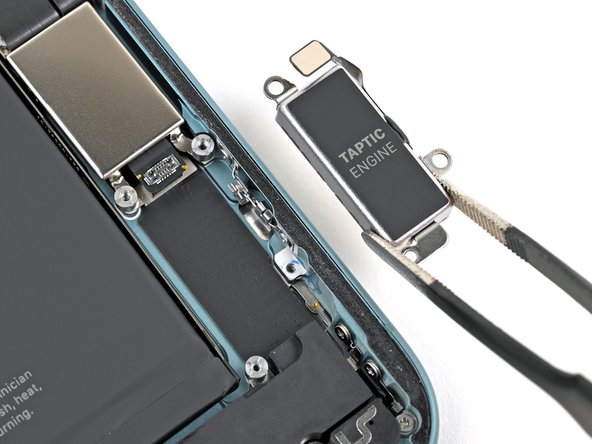
- Grab some blunt-nose tweezers (or just use your fingers—no judgment!) and lift out the Taptic Engine.
Tools Used
Step 26

Handle that battery with care – don’t let your screwdriver get too cozy with it! A little bump or puncture could cause some serious trouble.
No standoff driver? No problem! You can use a thin flathead driver instead, just make sure you don't strip the shallow notches on the screw heads—those tiny grooves are trickier than they look.
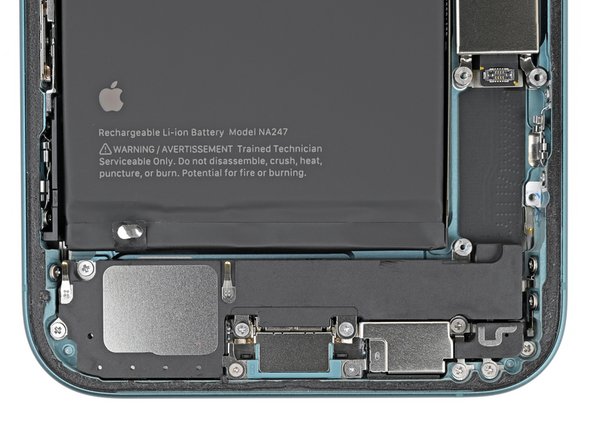
- Grab your Phillips screwdriver and take out the four screws holding the loudspeaker in place. Easy does it!
- Switch to your tri-point Y000 screwdriver and remove the little 1.3 mm screw that's locking down a grounding contact and the loudspeaker.
- Now, it's time for the standoff screwdriver—pop out the chunky 3.4 mm screw securing the loudspeaker.
- You'll find three screws each measuring 1.5 mm—line them up and send them out.
- And finally, don't miss the single 3.0 mm screw hanging out on its own!
Tools Used

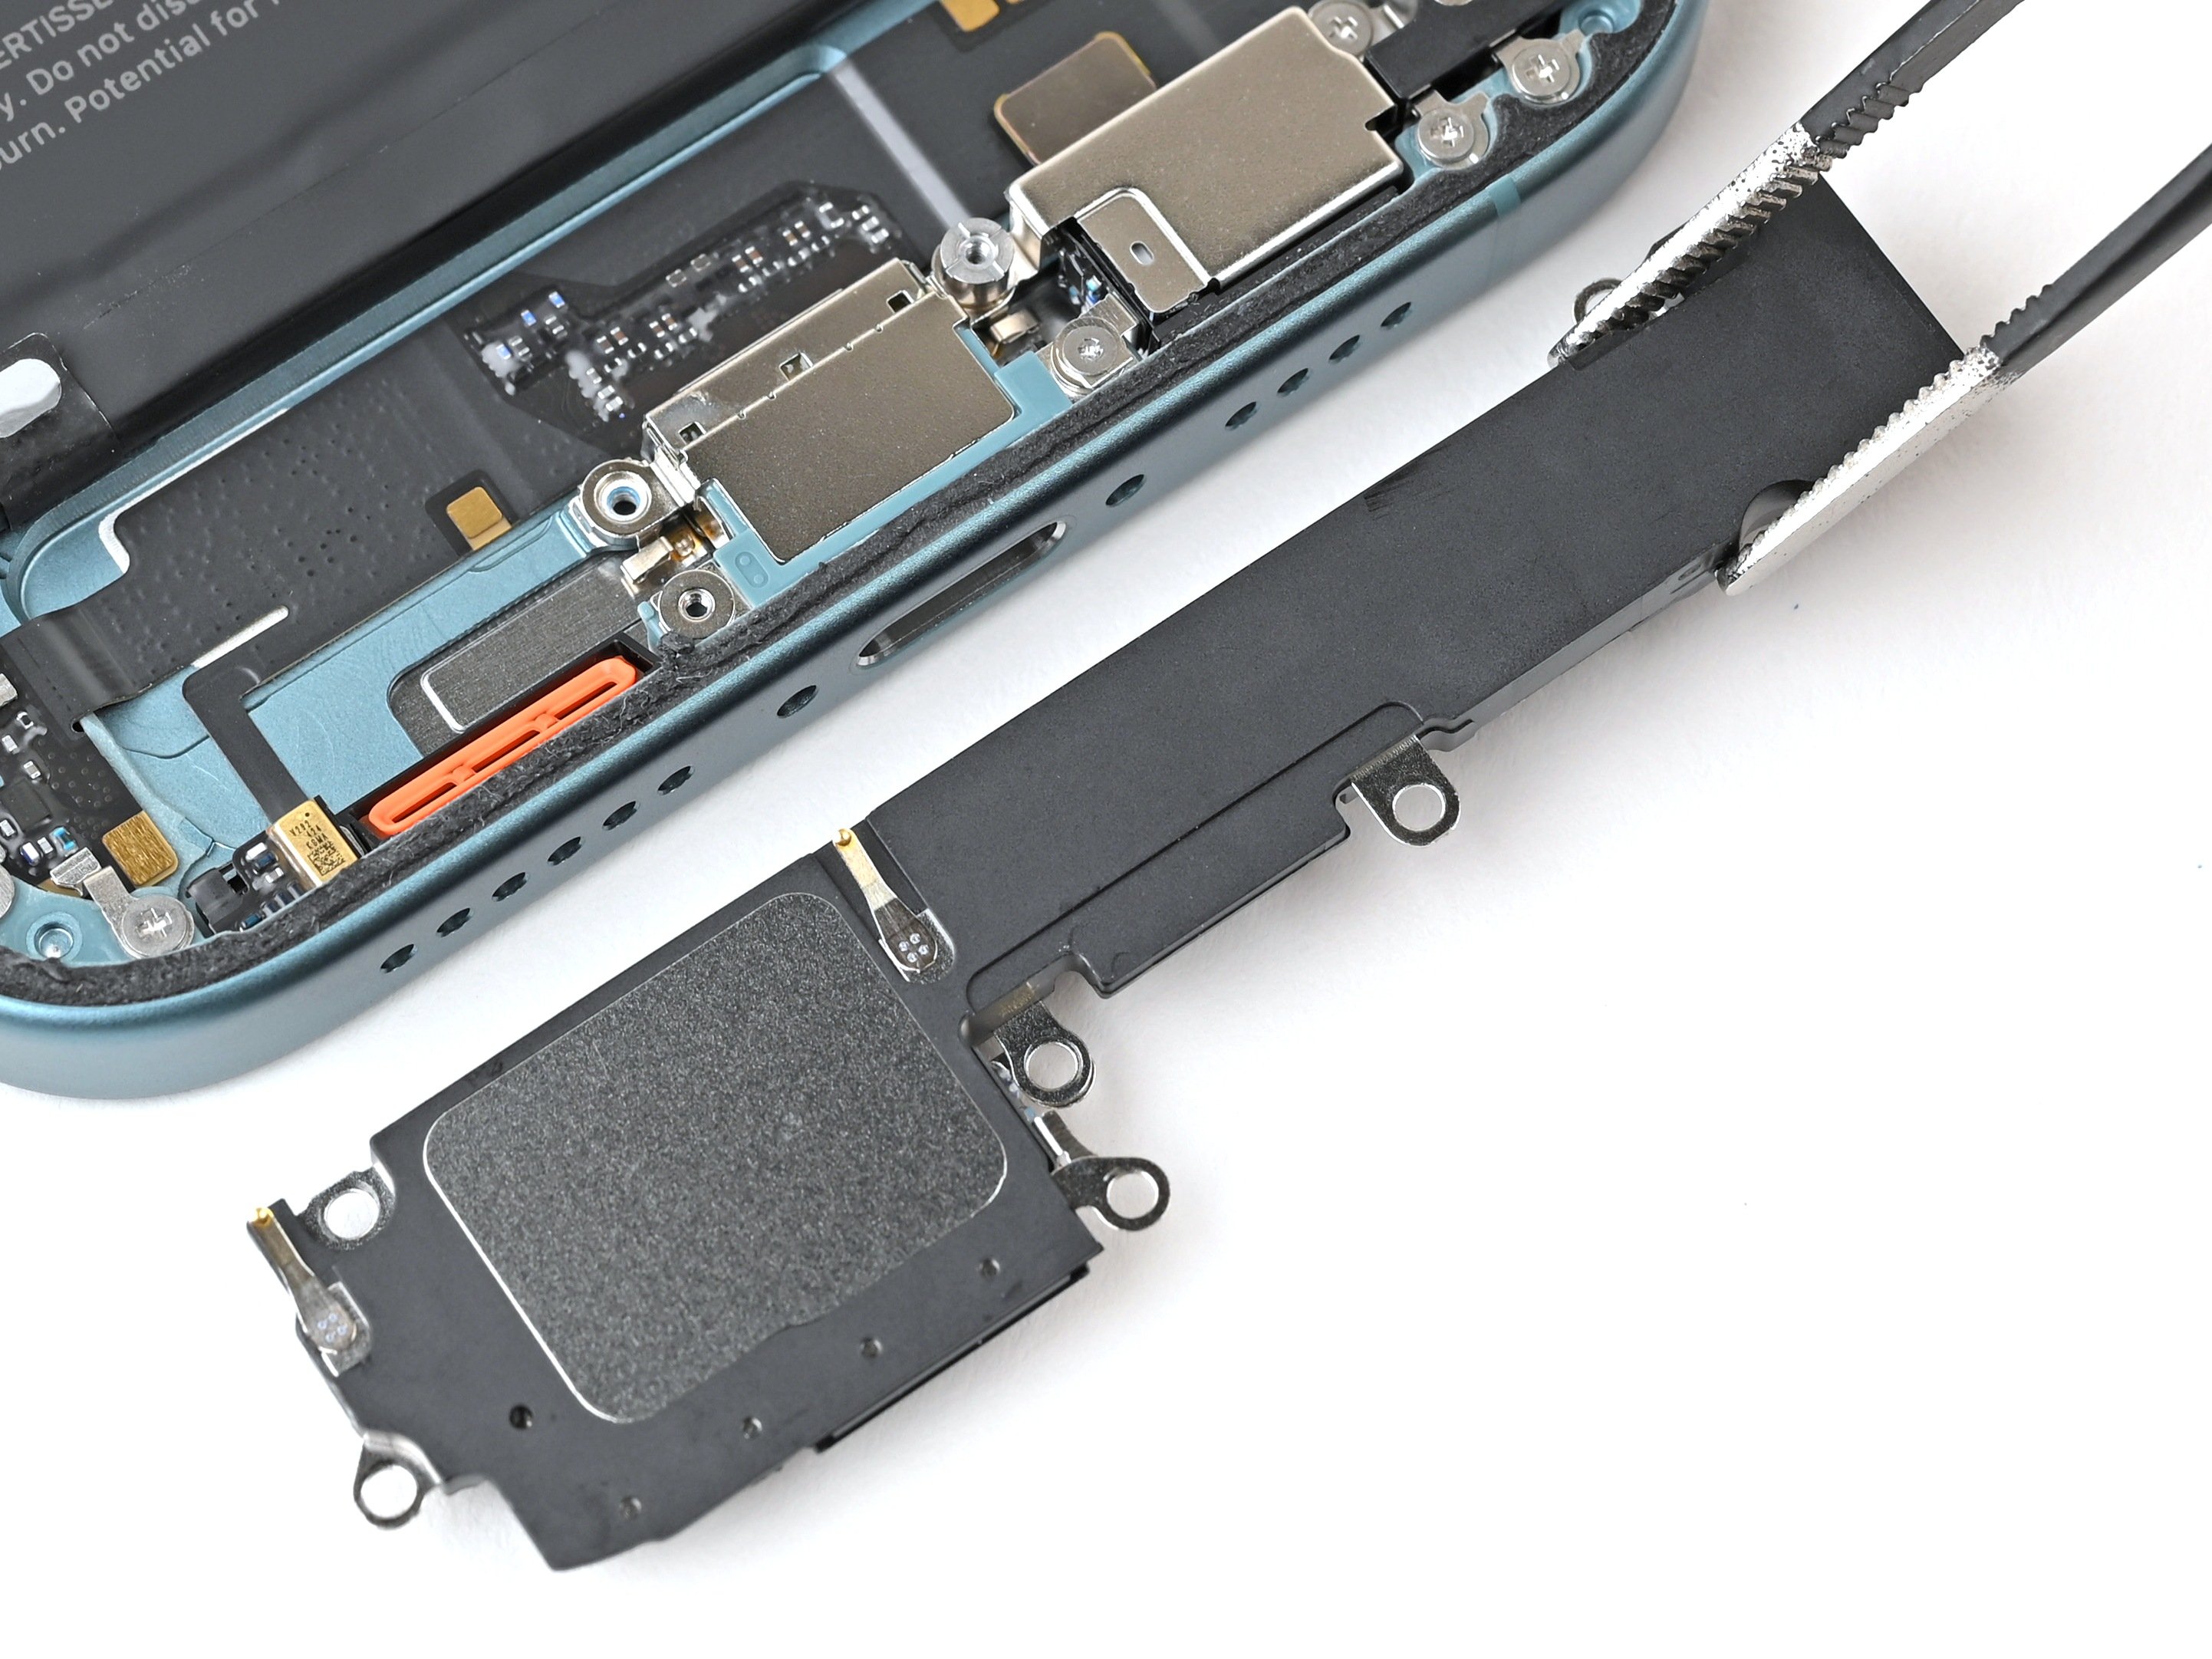
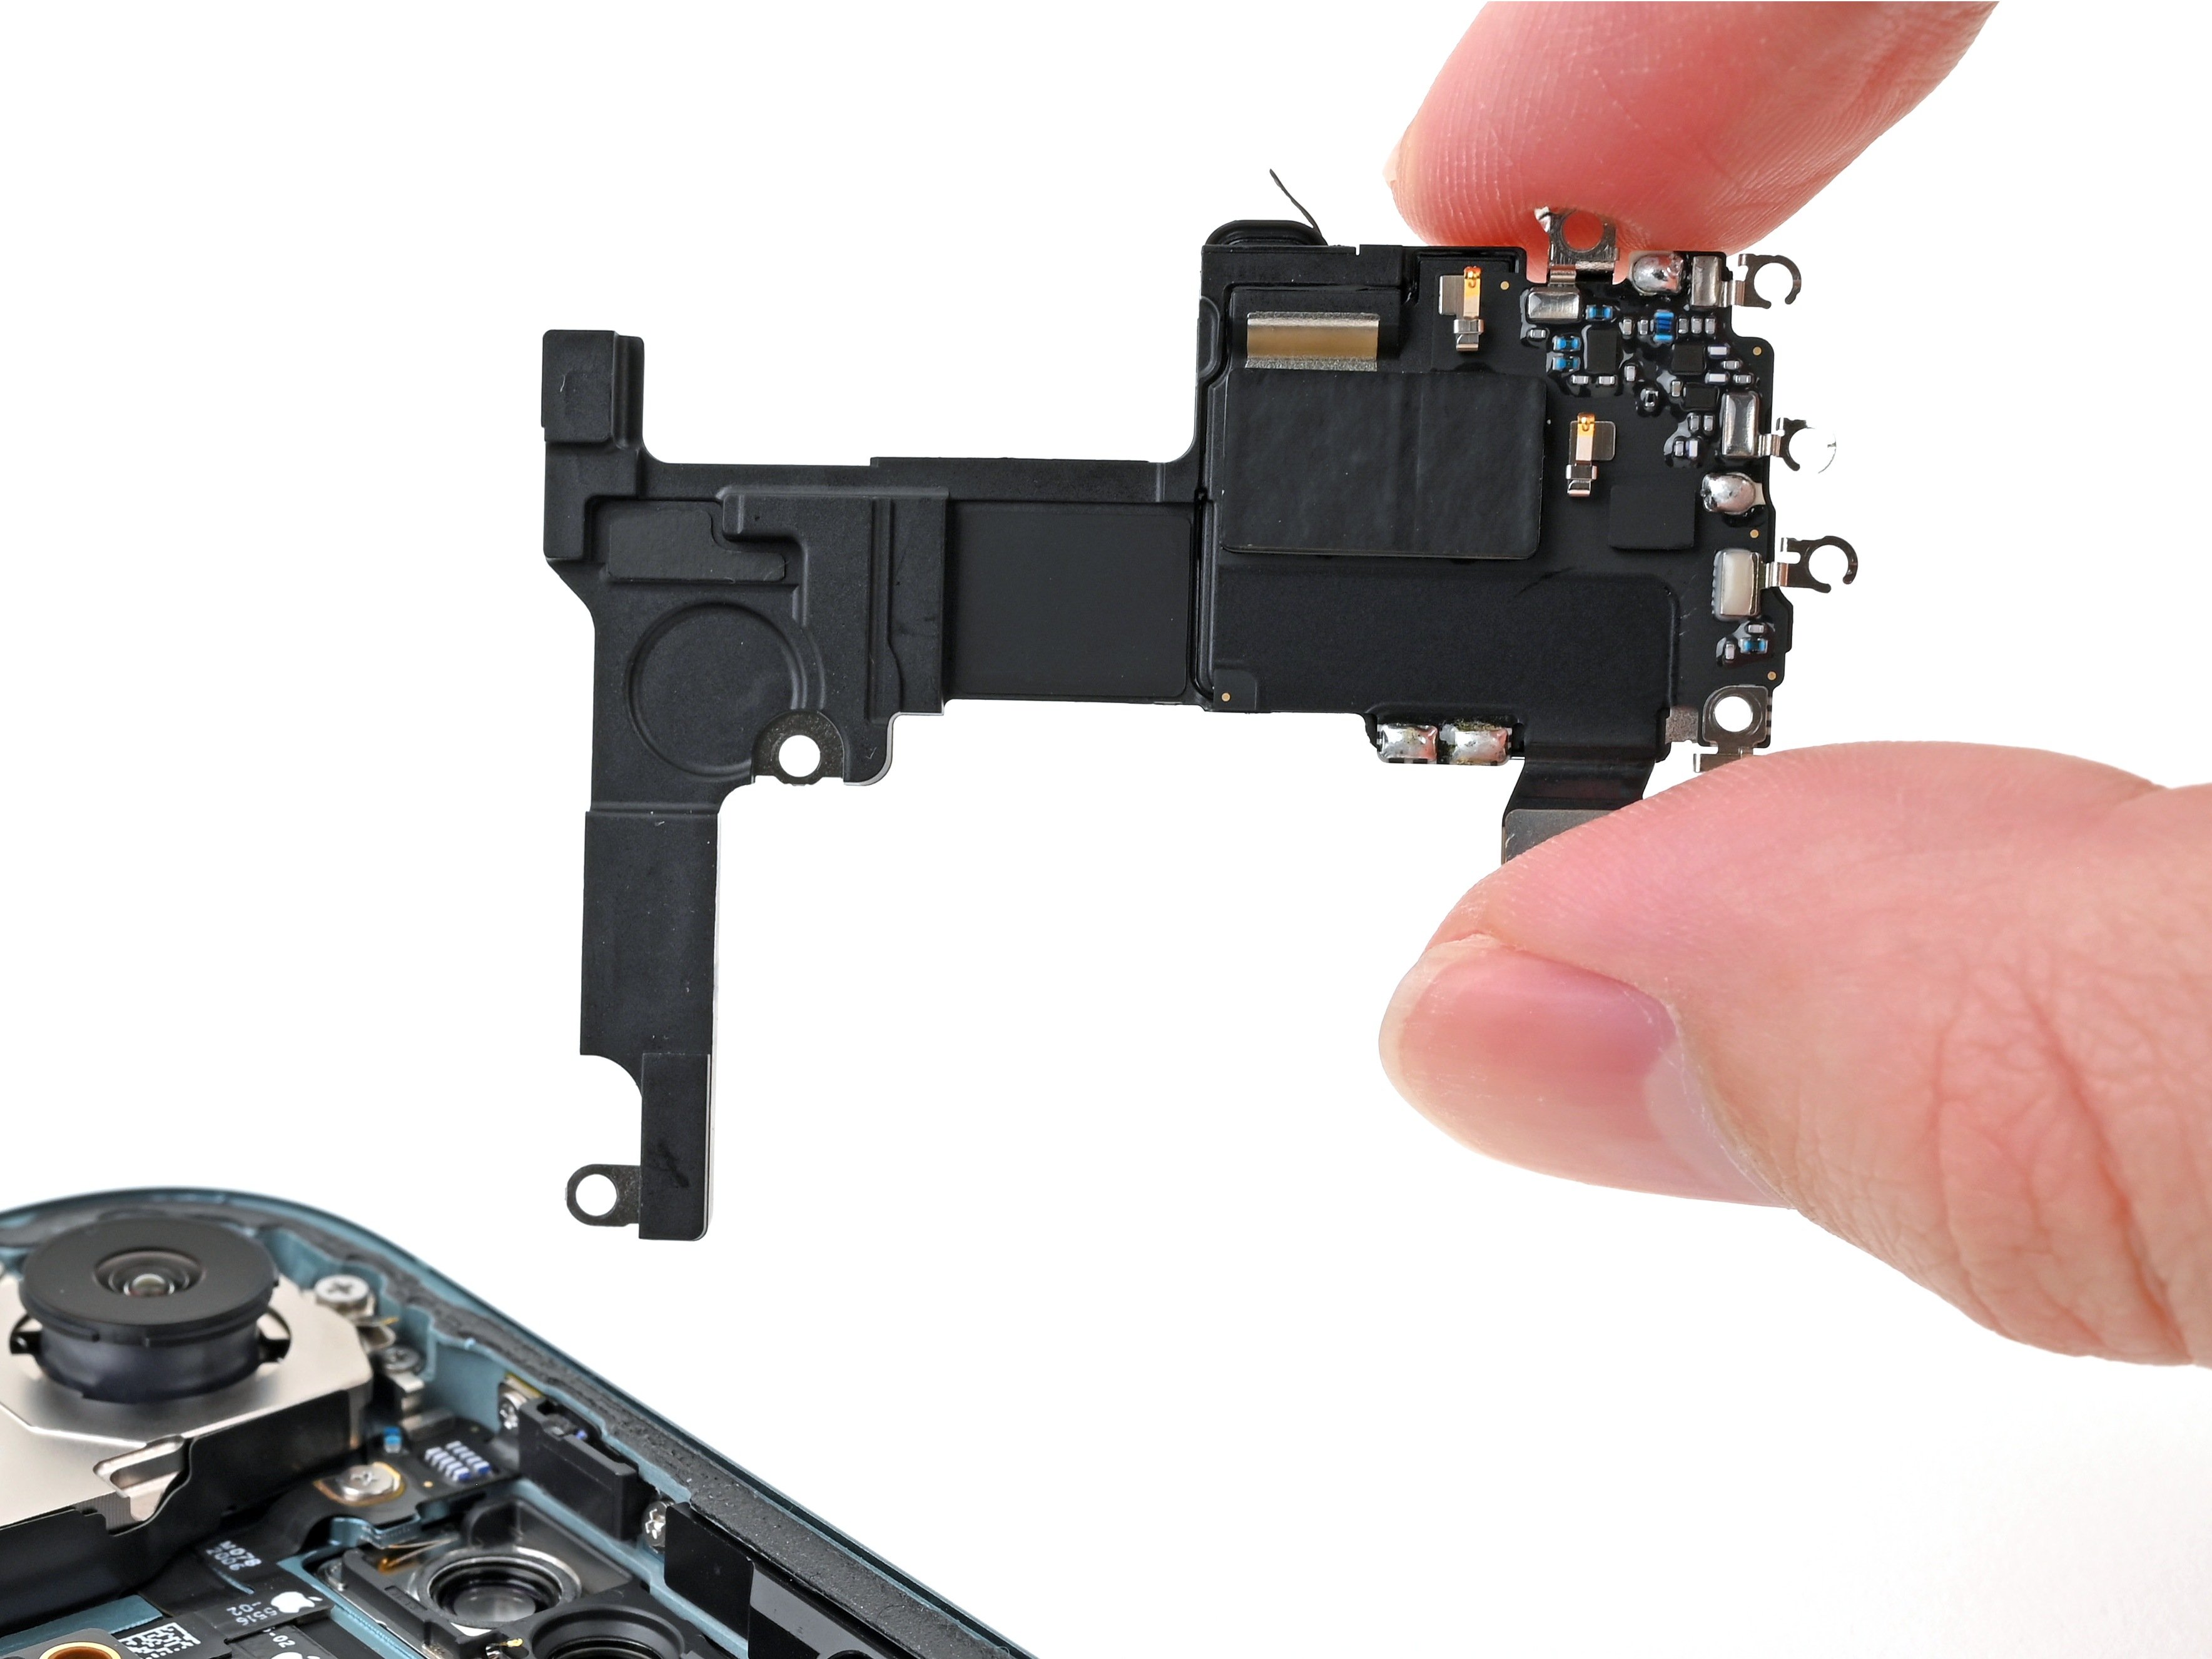
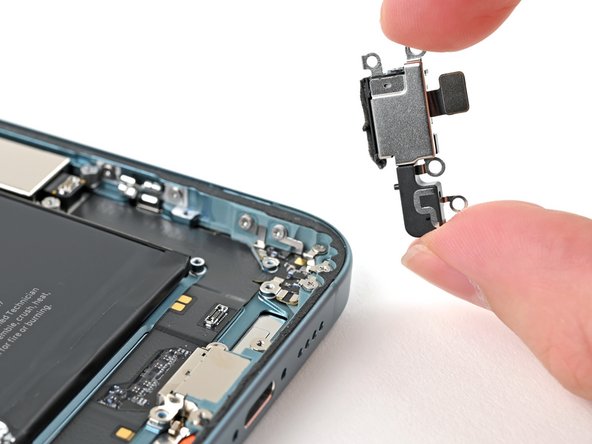
Step 27
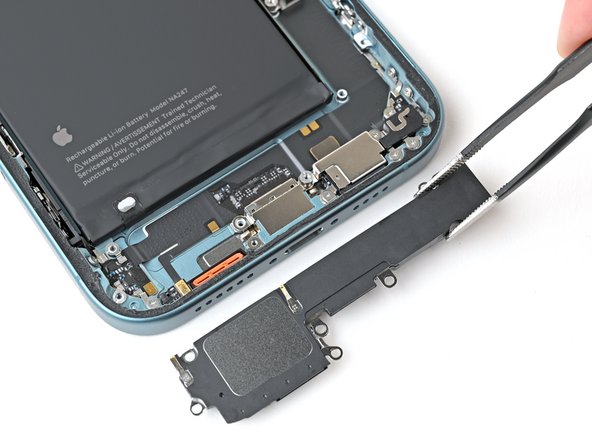

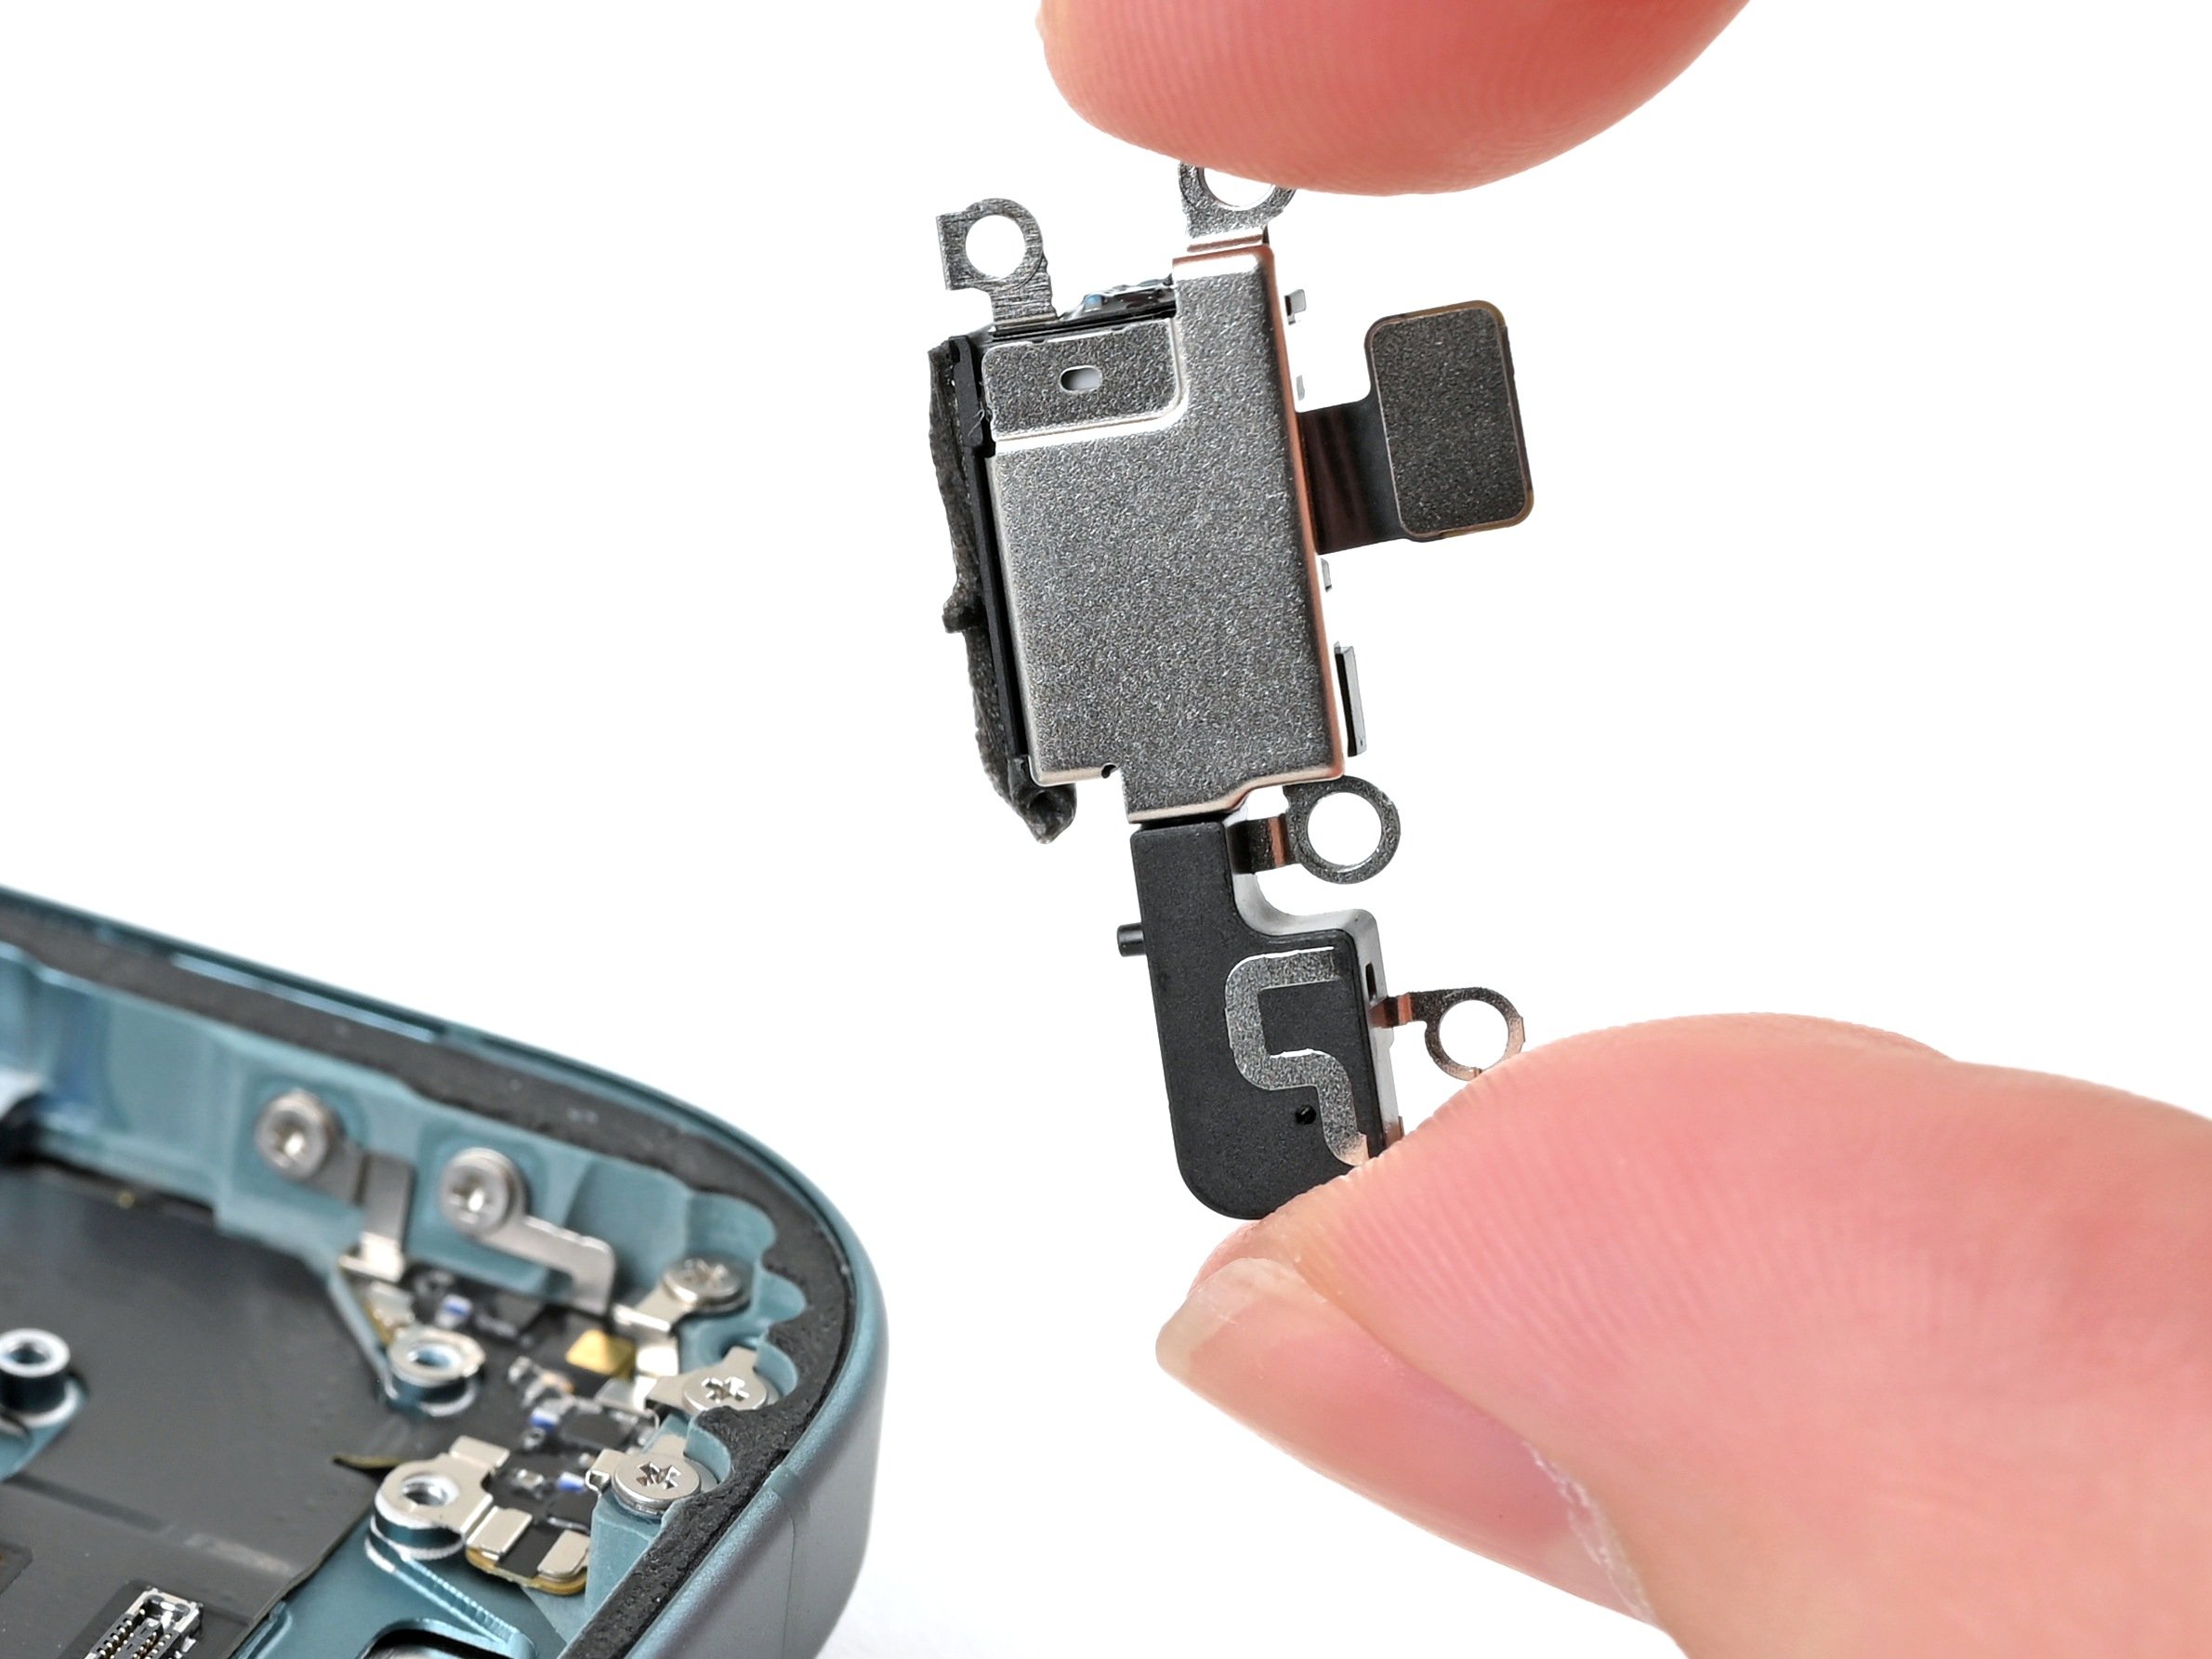
- Lift out the loudspeaker and set it aside like the VIP it is.
Step 28
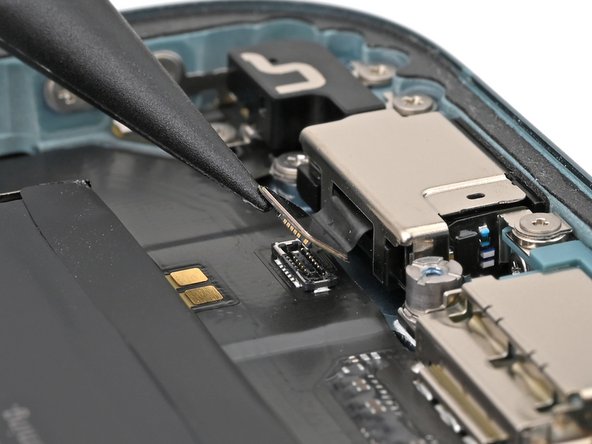

Avoid prying on the battery—if it gets hurt, it might just throw a little fire party!
- Gently use the tip of a spudger to lift up and unplug the microphone's press connector.
Tools Used
Step 29

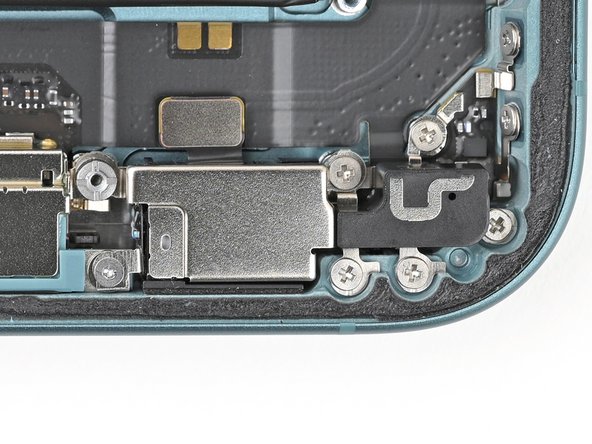
- Let’s get those screws out of the way so we can access the microphone! Start with these four little guys:
- One standoff screw that's 3.3 mm long—easy peasy!
- One tri-point Y000 screw measuring 1.3 mm—don’t lose it!
- One Phillips screw that's 1.5 mm long—just the right size!
- And finally, one more Phillips screw that's 1.3 mm long—you're almost there!
Step 30
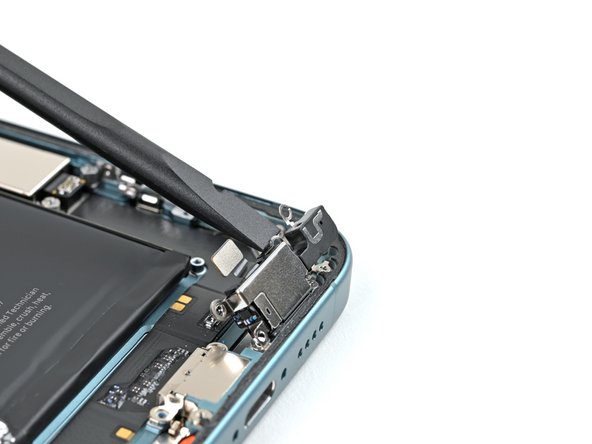

Hey there! Avoid poking at the battery, as it might just throw a little tantrum and catch fire if damaged. Let's keep things cool and safe, alright?
The microphone is firmly attached to the bottom edge of the phone like it's trying to stick around for a while! If it decides it doesn't want to play along, a bit of gentle heat can do wonders. You can use an iOpener, hair dryer, or heat gun—just keep it to a nice warm touch since we don't want to give the battery any heat-induced headaches!
- Time to put your phone back together—just follow the steps backwards and you’re golden.
- Got old parts? Give them a second life by dropping them off with an R2 or e-Stewards certified recycler.
- If things aren’t working out, give some basic troubleshooting a go, or reach out to our iPhone 16 Plus Answers community for a hand.
- Need a rescue? You can always schedule a repair and let the pros take over.