iPhone 16 Plus Screen Replacement
Duration: 45 minutes
Steps: 19 Steps
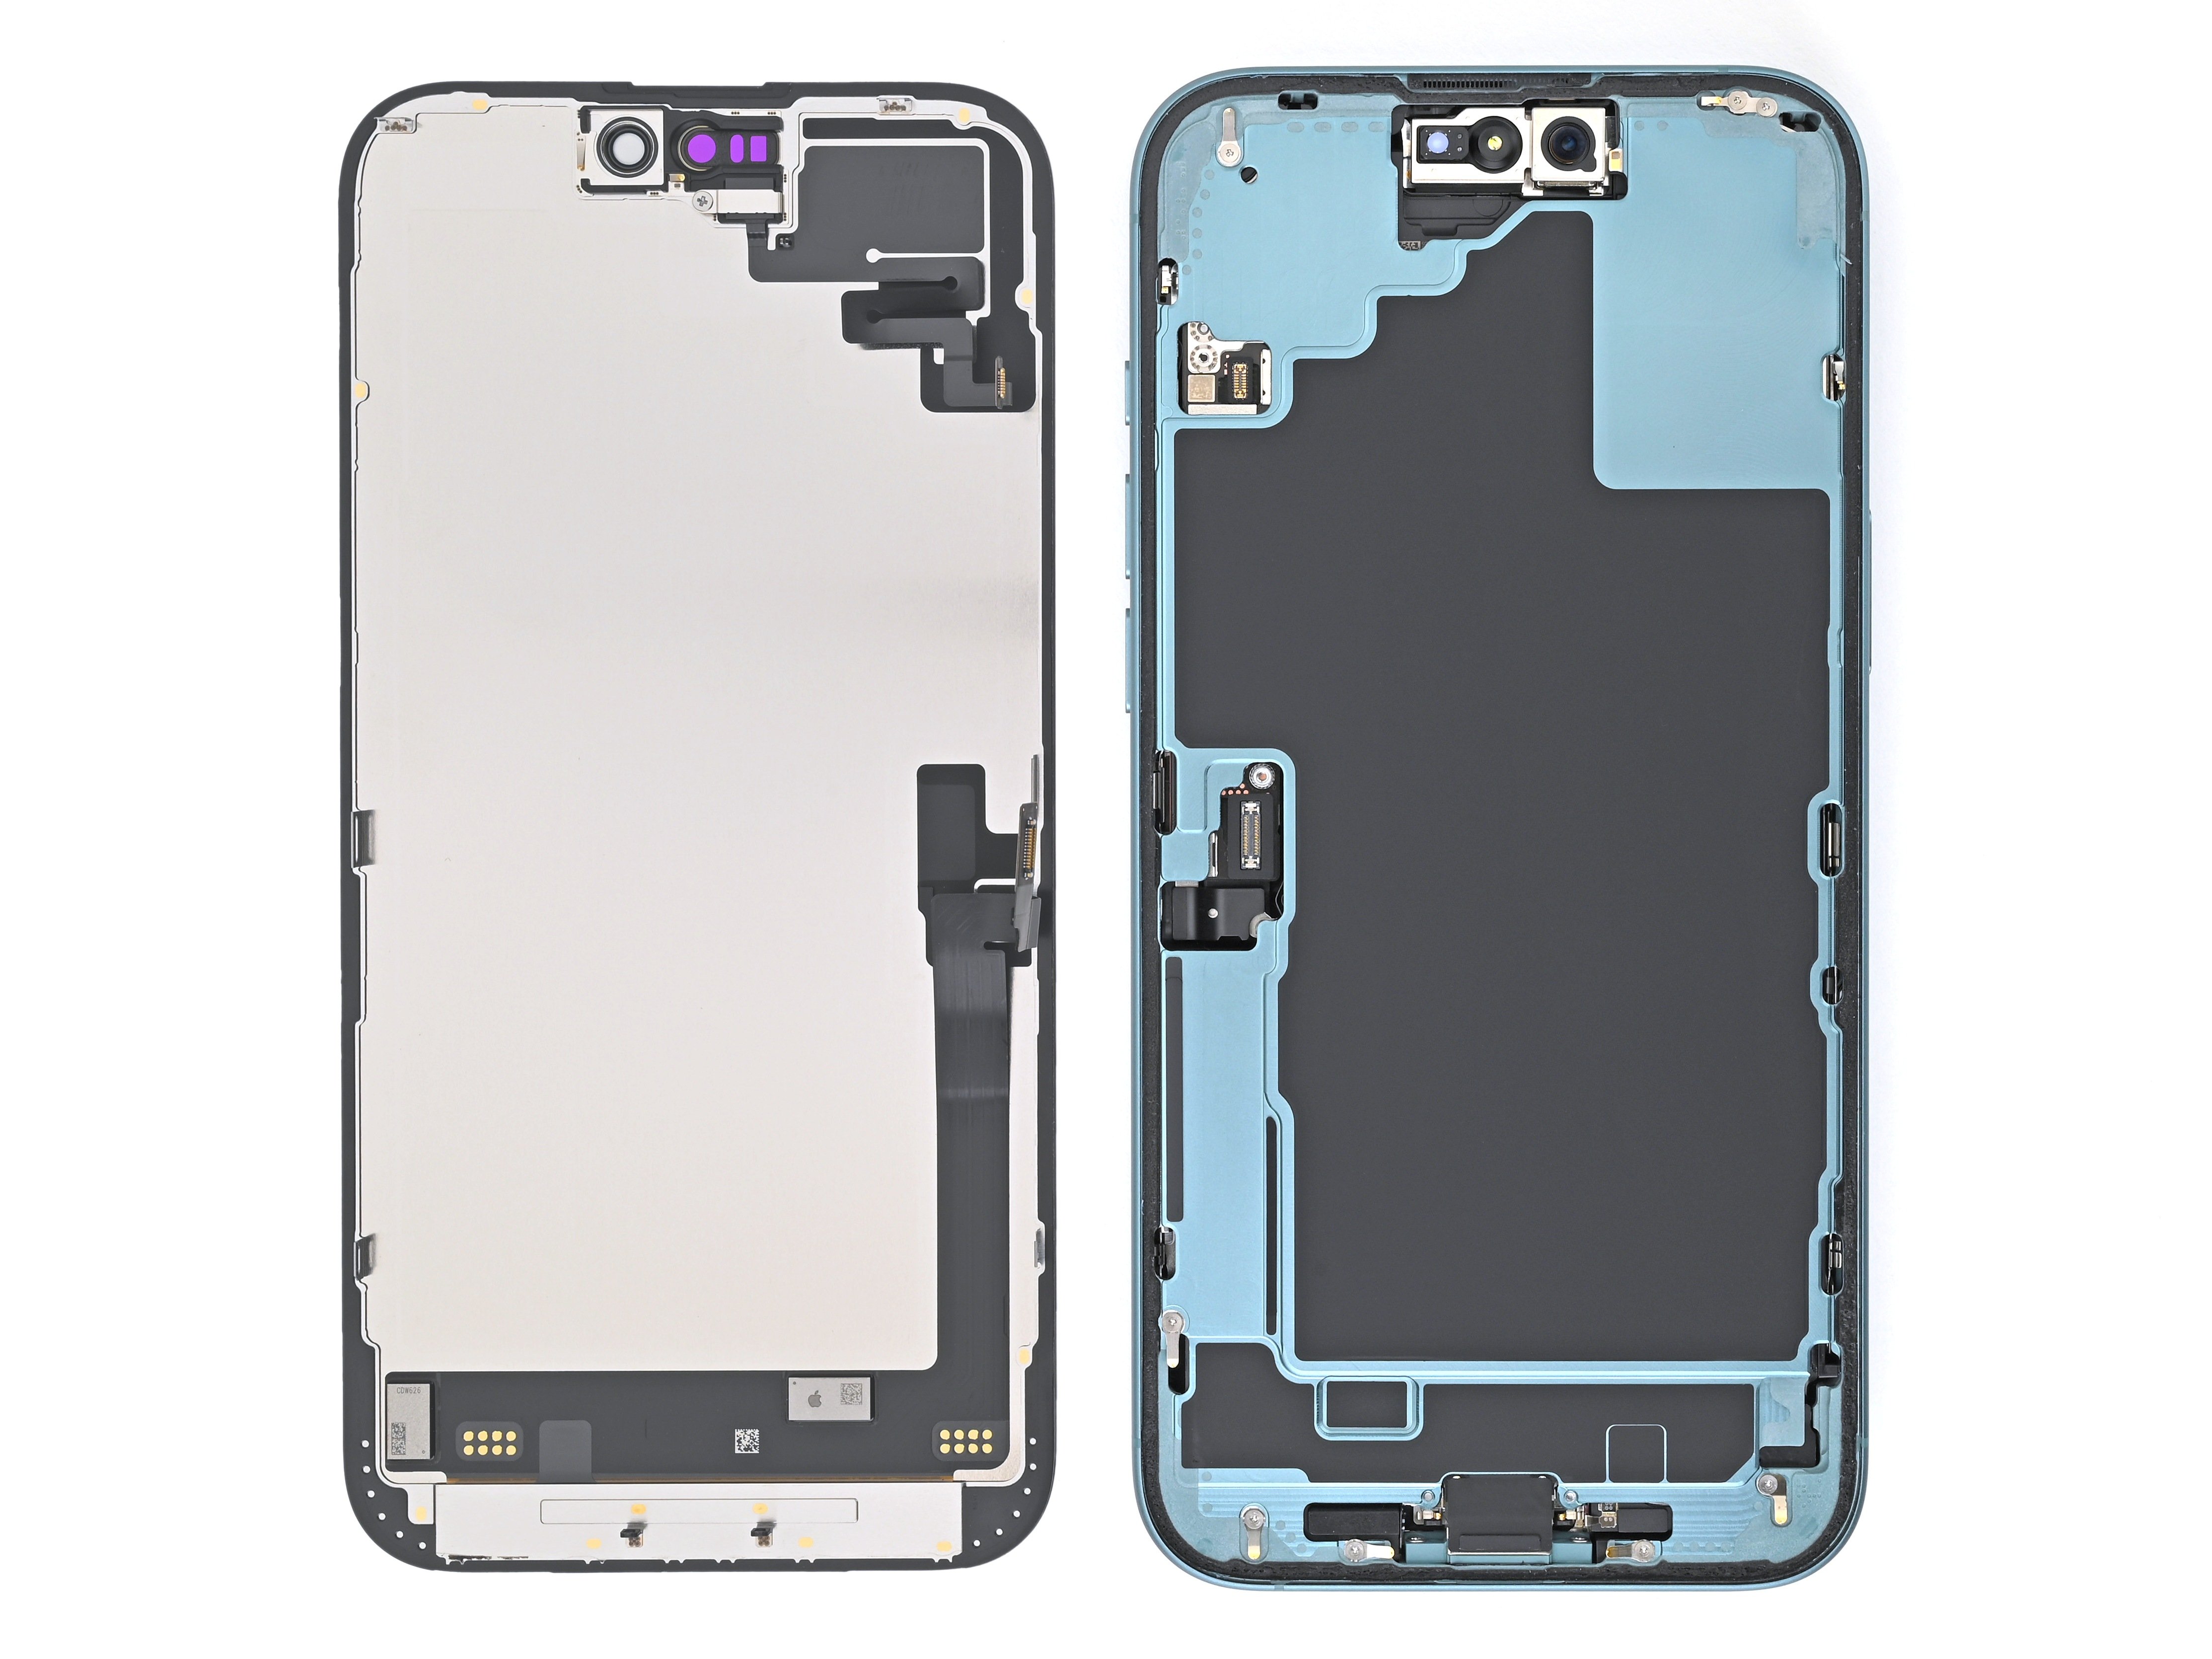
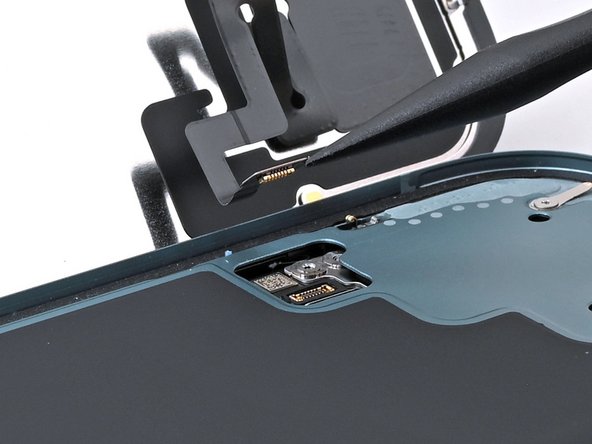
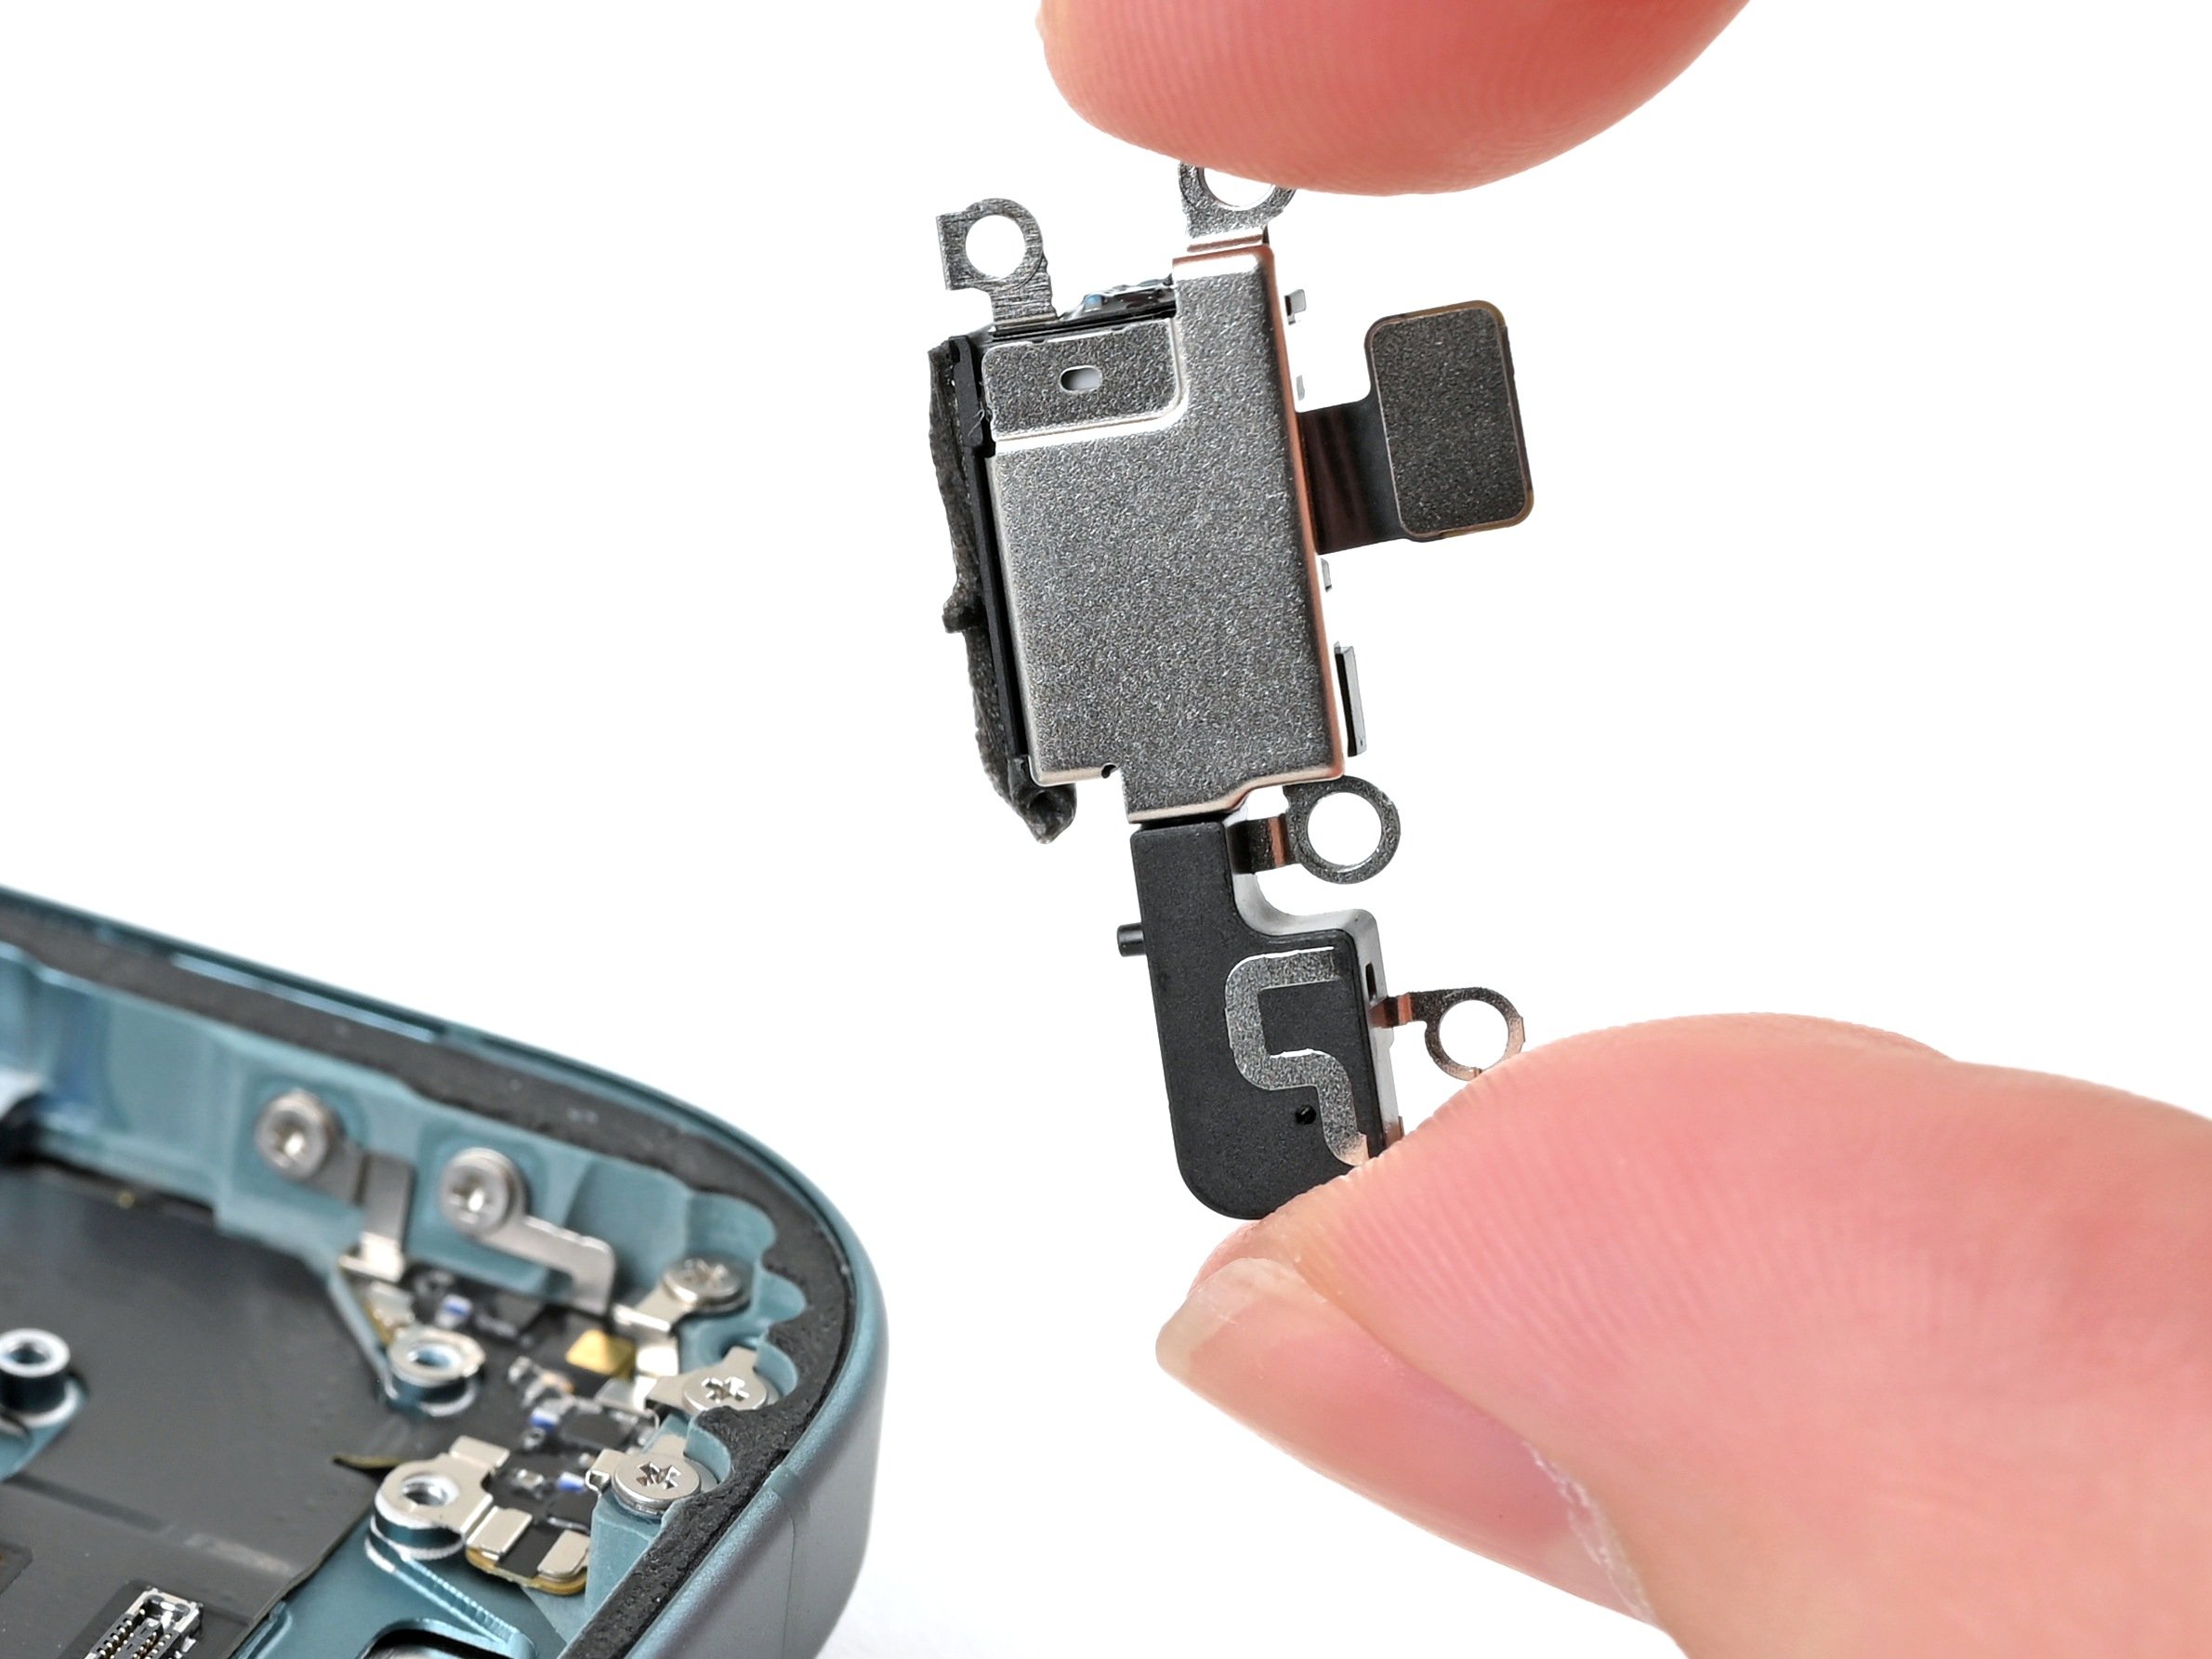
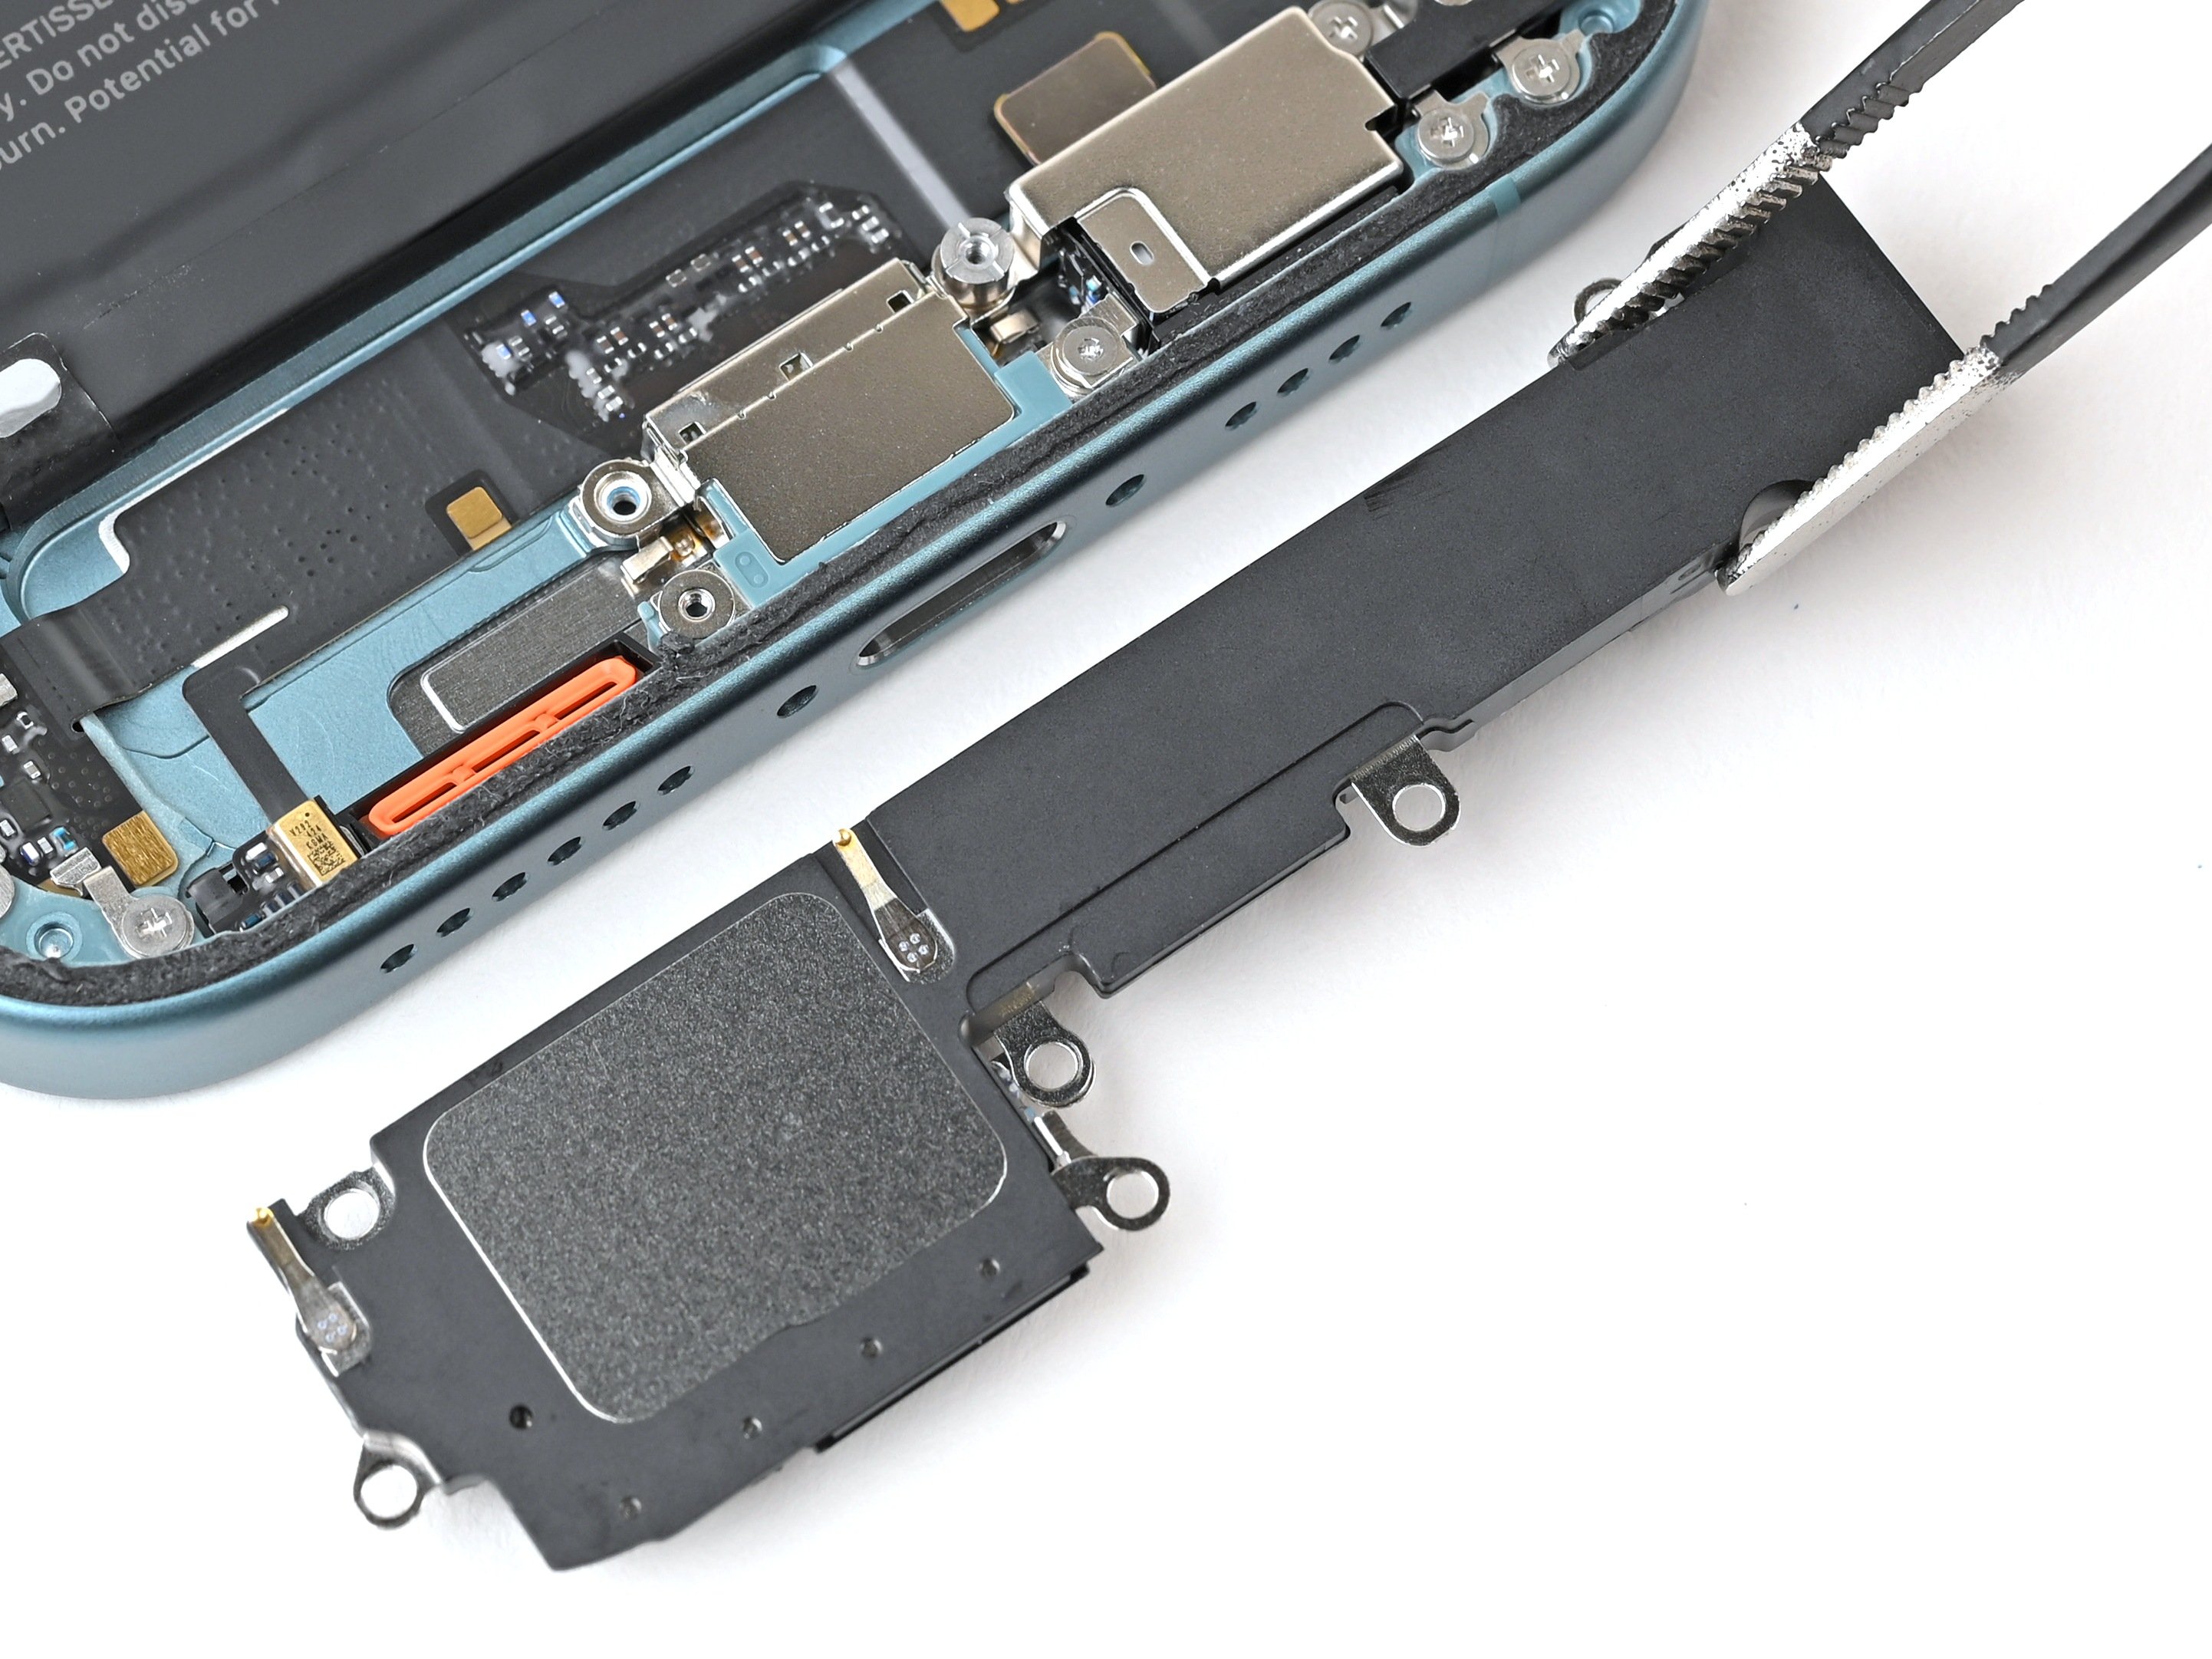
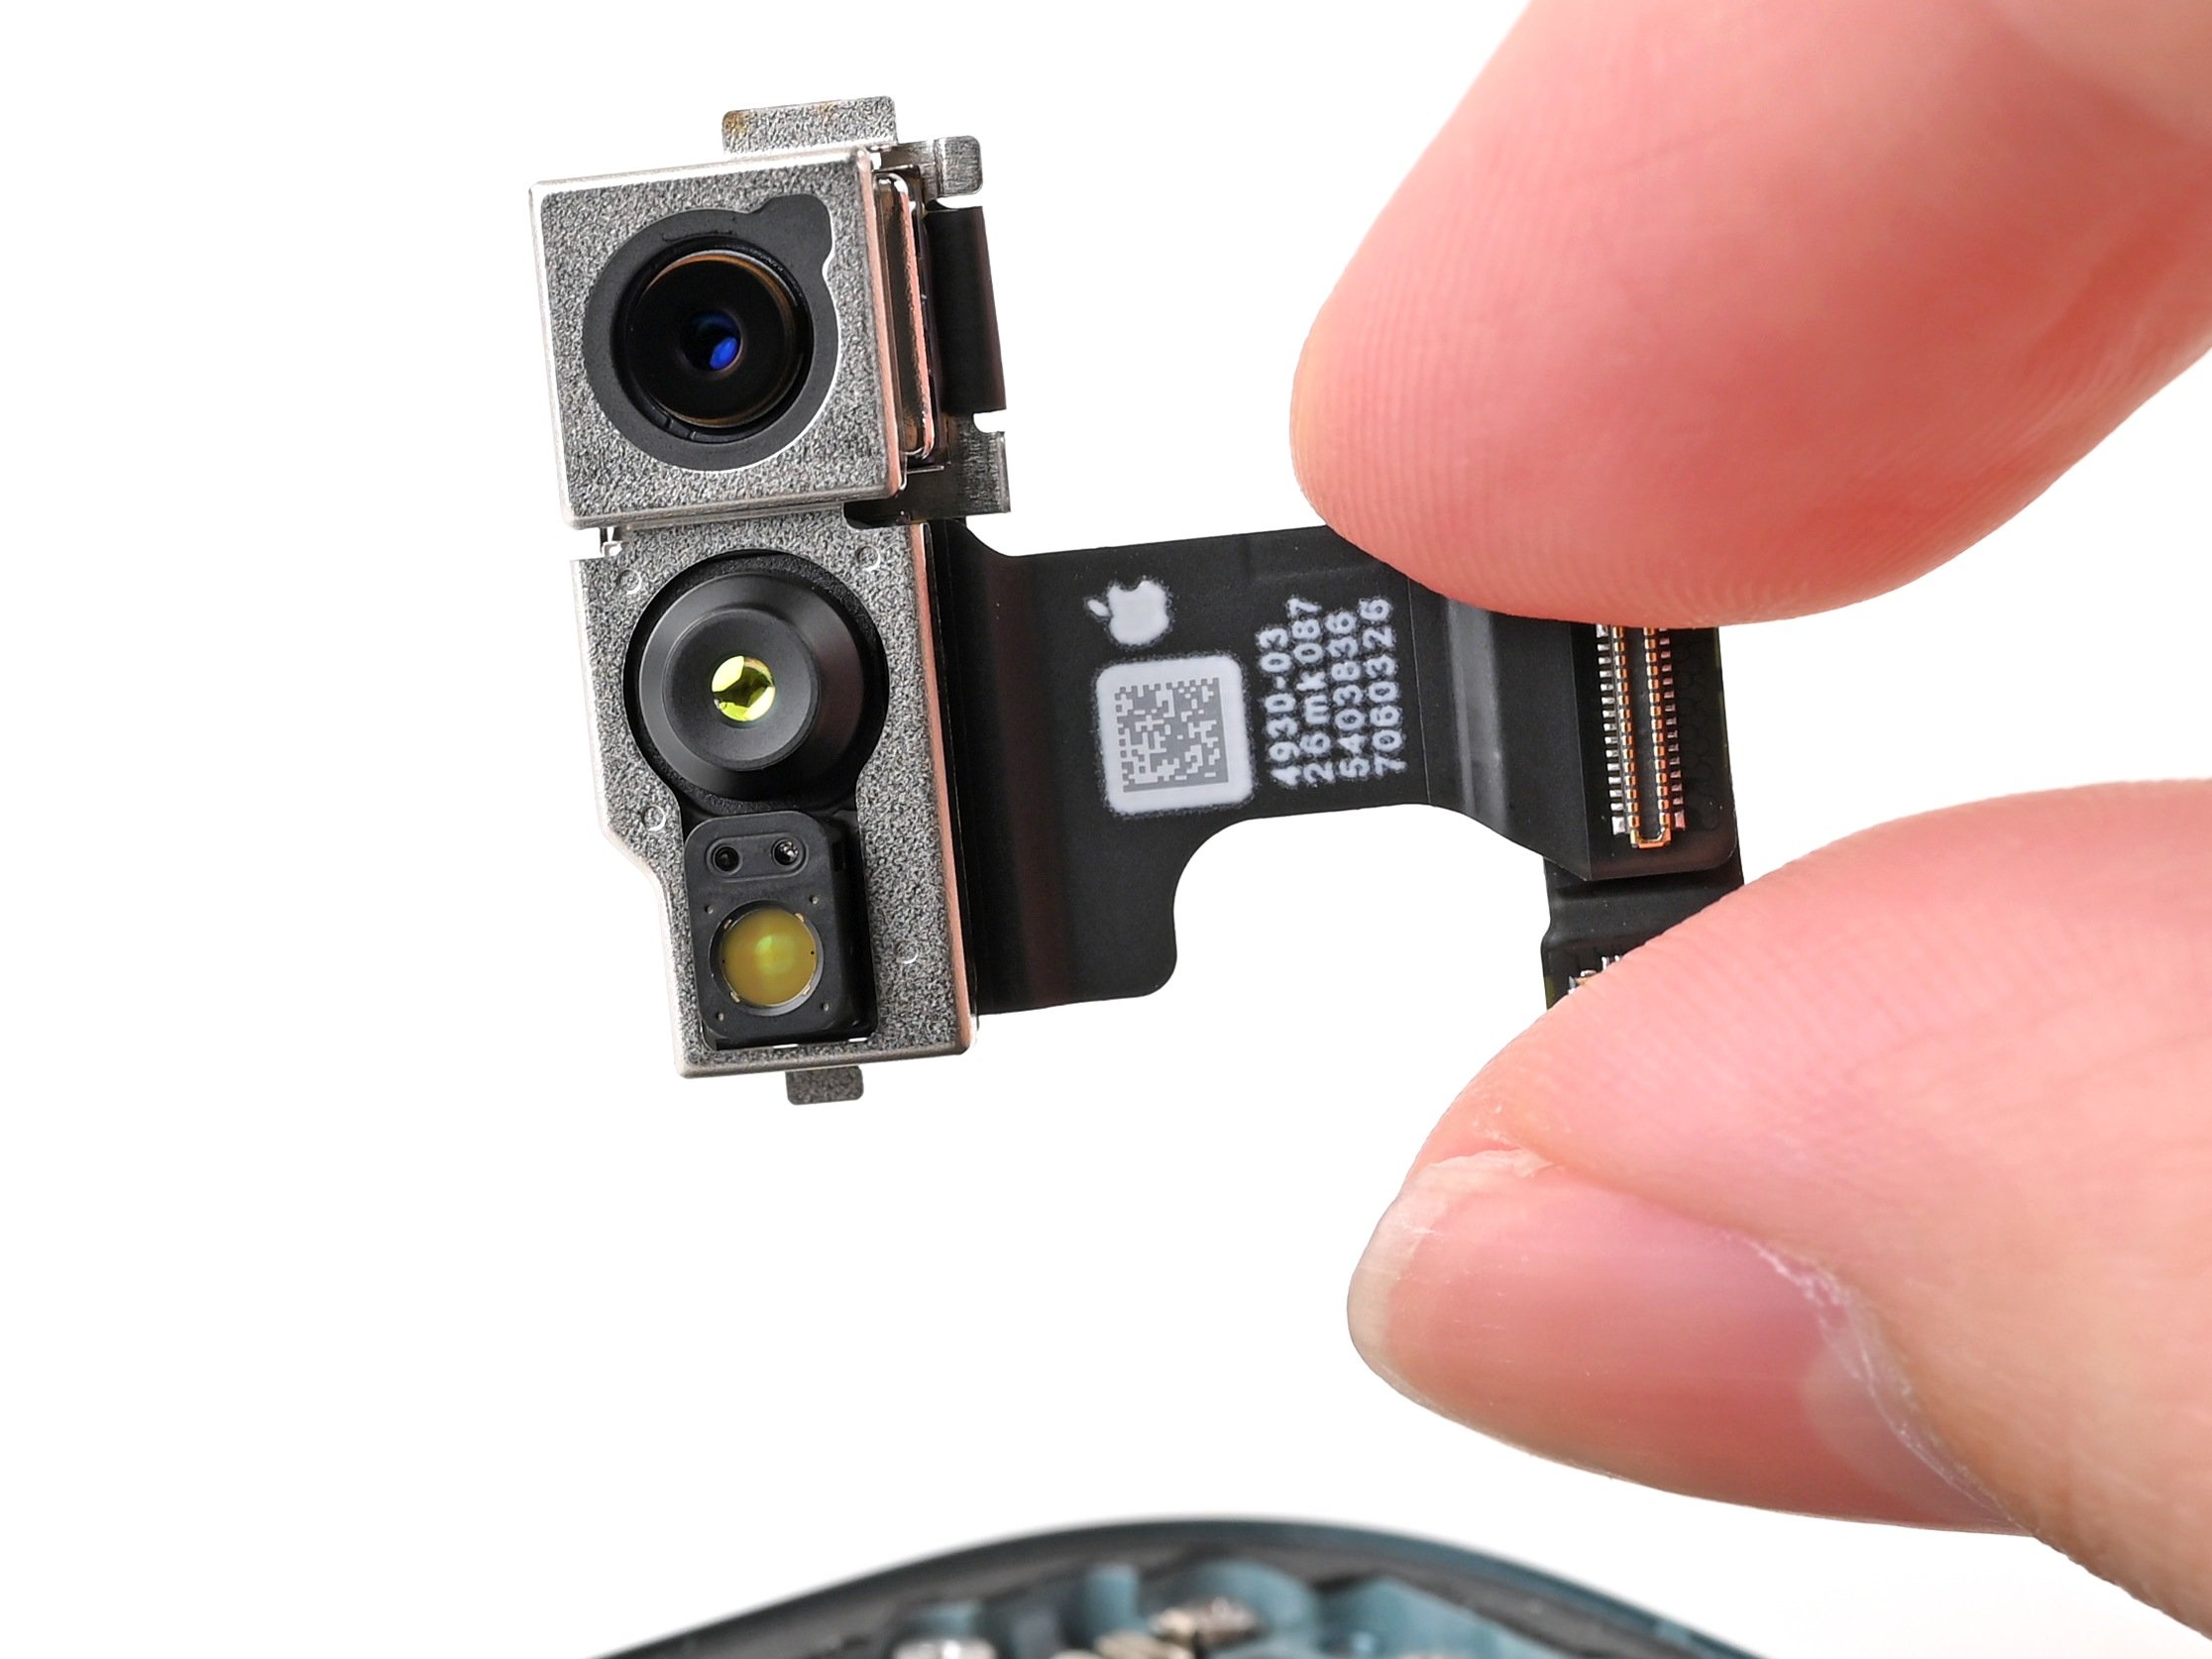
Follow this guide to swap out a cracked, broken, or unresponsive screen on your iPhone 16 Plus. You'll want some replacement screen adhesive handy to get the job done right. Heads up: since you can't disconnect the battery during this repair, keep your phone powered off, avoid metal prying tools, and be extra careful not to touch any exposed contacts. After replacing the screen, features like True Tone and auto brightness might be turned off. Use Apple's Repair Assistant to calibrate genuine screens and bring those features back to life.
Step 1
Let your phone's battery dip below 25% before you start tinkering—lithium-ion batteries get a little feisty when they're fully charged!
- Disconnect any cables hanging out of your phone.
- Press and hold the power button along with one of the volume buttons, then swipe to turn your phone off like a tech pro.
Step 2
Pick a spot near the bottom edge where it’s nice and smooth—your suction cup’s dream hangout.
- If your screen or back glass looks like it lost a fight with gravity, slap on some overlapping strips of packing tape to keep things together and protect your hands. Plus, it’ll make taking everything apart way smoother.
Tools Used
Step 3
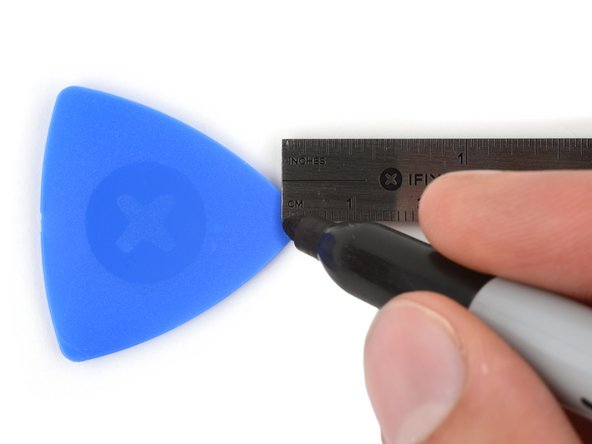
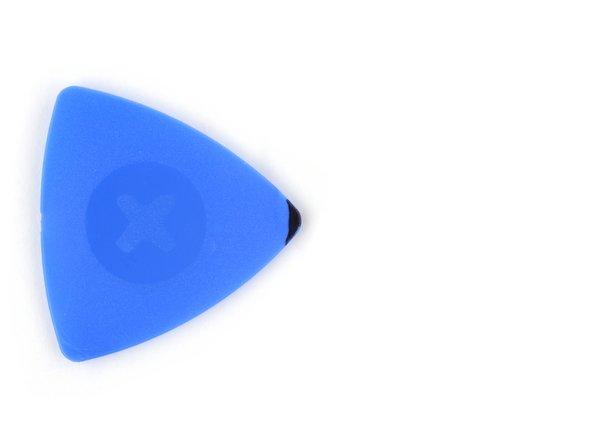
If you push the opening pick in too deep, it might mess up your device. Mark your pick to keep things safe and sound.
Feel free to mark the other corners of your pick with different lengths for extra precision.
Or, try taping a coin about 3 mm from the tip of the pick as a handy depth guide.
- Grab your opening pick and make a mark with a permanent marker exactly 3 mm from the tip. This will help you keep things precise and stylish!
Step 4
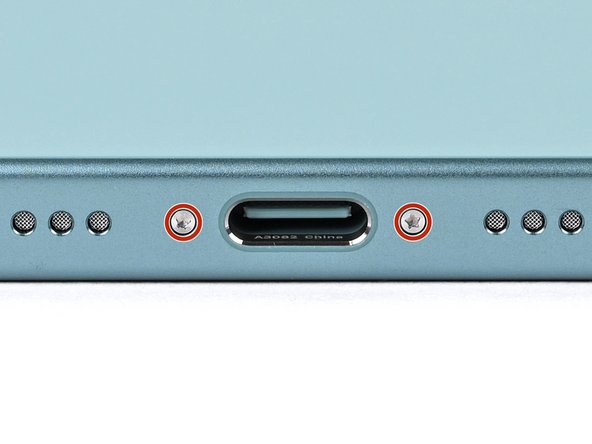
- Grab your P2 pentalobe driver and unscrew the two 7.7 mm screws hanging out on either side of the USB-C port.
Step 5
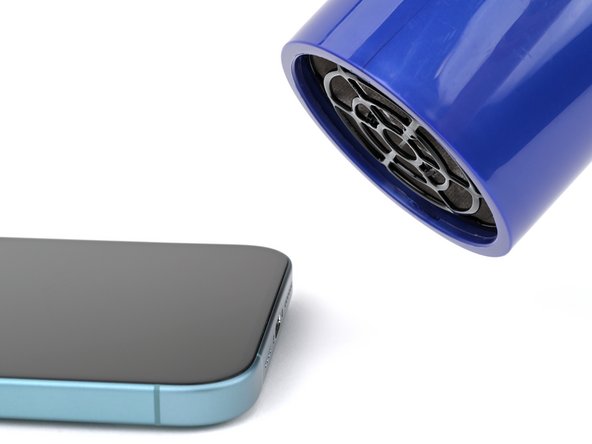
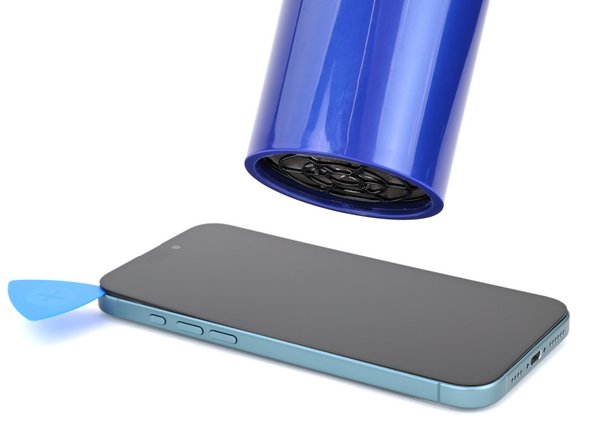
Keep the phone cool! Heating it up too much can damage the battery. Stay safe and take it easy with the heat.
You can also grab a hair dryer or heat gun and gently warm up the bottom edge of the screen until it feels nice and toasty to the touch.
- Heat up your iOpener and give the bottom edge of the screen a warm hug for two minutes.
Tools Used
Step 6
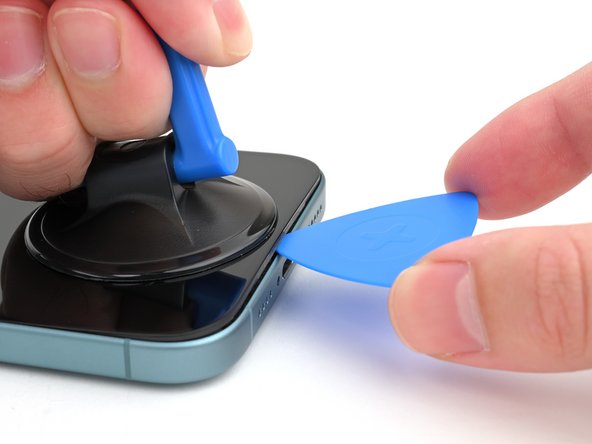
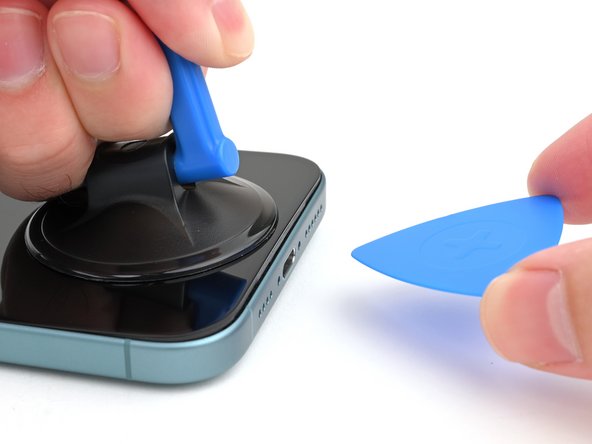
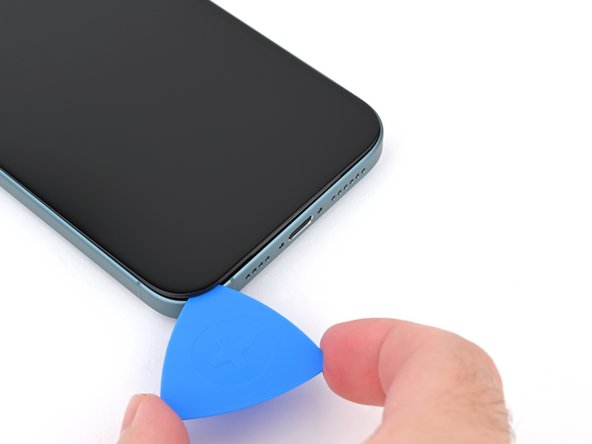
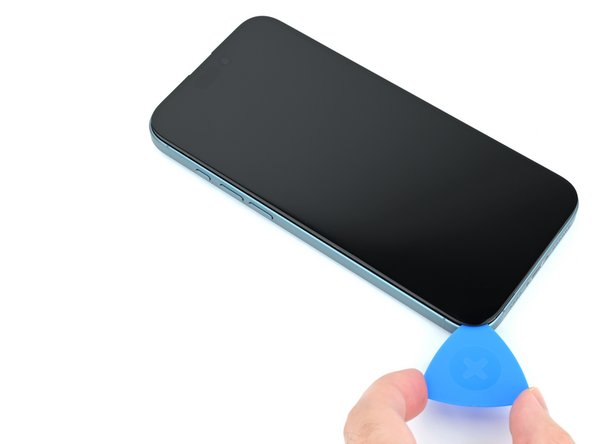
- Grab a suction handle and place it at the bottom edge of the screen, just above that handy USB-C port.
- Give the handle a solid, steady pull to create a little wiggle room between the screen and the frame.
- Slide the tip of an opening pick into that newly formed gap.
Tools Used
Step 7
As you carefully slice through the adhesive in the next eight steps, remember: don't push your pick deeper than 3 mm. We want to keep things safe and avoid causing damage to sensitive areas below the screen!
- There are two super-thin cables hooking the screen to the phone—one hanging out just above the Action button, and another chilling about halfway between the volume down button and the bottom edge.
- You'll also spot a bunch of springy contacts all around the edge of the phone, like it’s wearing a tiny tech crown.
Step 8
Keep your pick shallow—no deeper than 3 mm—or you might poke the spring contacts. Let's keep those little guys safe!
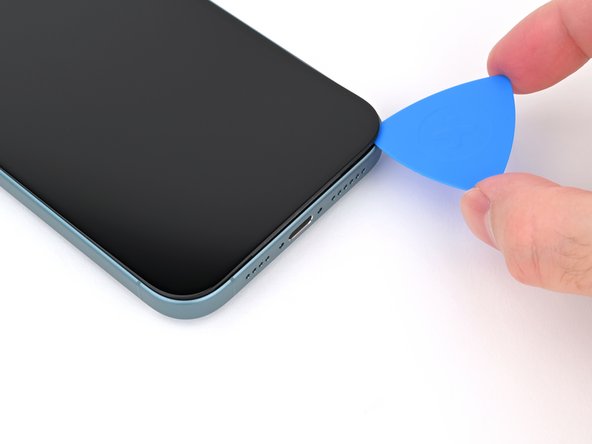
- Gently glide your pick along the bottom edge, wiggling it back and forth to break the adhesive's hold.
- Once you’ve made some progress, keep your pick tucked into the bottom right corner to stop the adhesive from sealing back up.
Step 9
Grab a hair dryer or heat gun and warm up the screen until it feels nicely toasty.
- Place a warm iOpener on the right side of your screen for about two minutes. Let it work its magic and soften the adhesive.
Tools Used
Step 10
Hey there! Just a friendly reminder: keep your pick within 3 mm so we don't accidentally give those spring contacts a bad day!
As you slide past it, you'll notice that metal clip pop free—nice work!
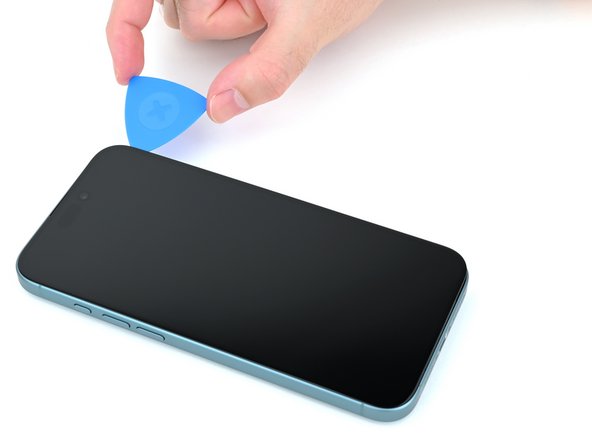
- Gently slide your opening pick around the bottom right corner and work it up along the right edge of the screen to loosen the adhesive and pop that metal clip free. Keep it steady, and it'll do the trick!
Step 11
Crank up your hair dryer or heat gun and warm things up until the surface feels hot when you touch it.
- Warm up the iOpener and apply it to the top edge of your screen for a solid two minutes. This will help loosen things up and get the screen ready for the next steps.
Tools Used
Step 12
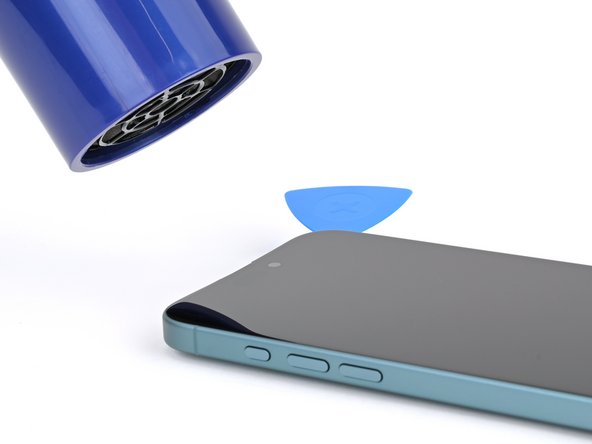
Keep your pick shallow—no more than 3 mm—to dodge any contact spring mishaps!
- Keep the pick groovin’ around the top right corner, then cruise along the top edge to loosen up the adhesive and pop free those two metal clips.
Step 13
Grab your trusty hair dryer or heat gun and warm it up until it's nice and toasty!
- Place a heated iOpener on the left edge of the screen and let it work its magic for two minutes.
Tools Used
Step 14
Keep your pick shallow—no deeper than 3 mm—to dodge messing up those delicate screen cables and spring contacts.
- Glide the pick along the left edge of the screen to slice through the last bit of sticky stuff and set free those final two metal clips.
Step 15
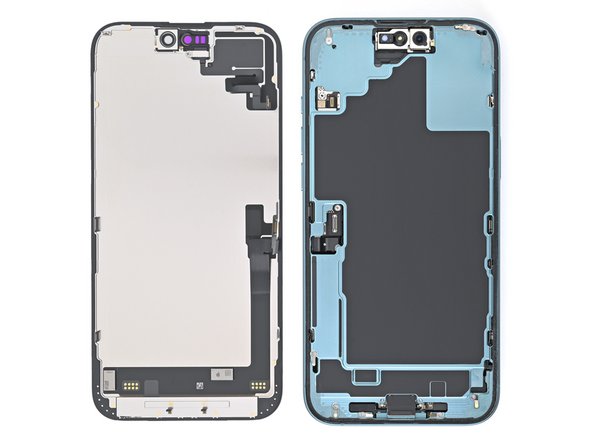
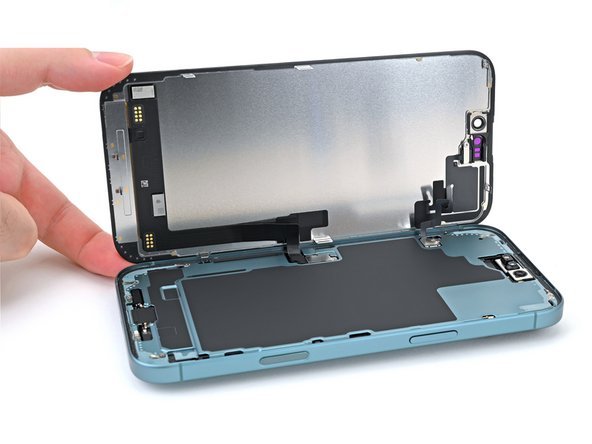
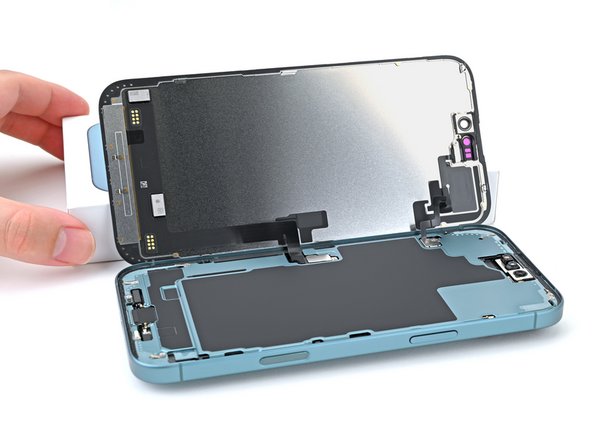
Now, the screen should be dancing free from the frame! If it still feels like it’s playing hard to get, make another round with your pick around the edges to catch any sneaky bits of adhesive or clips that might be holding on for dear life.
- Gently lift the screen from the left edge and prop it up with a clean, sturdy object. This keeps it safe and sound while you work your magic.
Step 16
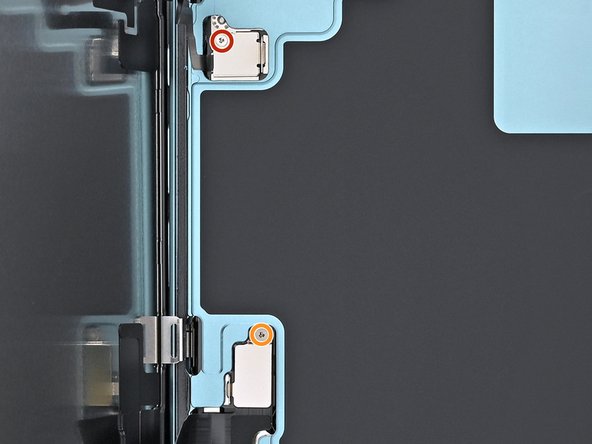
- Grab your trusty tri-point Y000 driver and carefully unscrew the 0.9 mm-long screw that's holding the front sensor connector cover in place.
- Next up, use that same tri-point Y000 driver to take out the 1 mm-long screw that's securing the screen connector cover. Easy peasy!
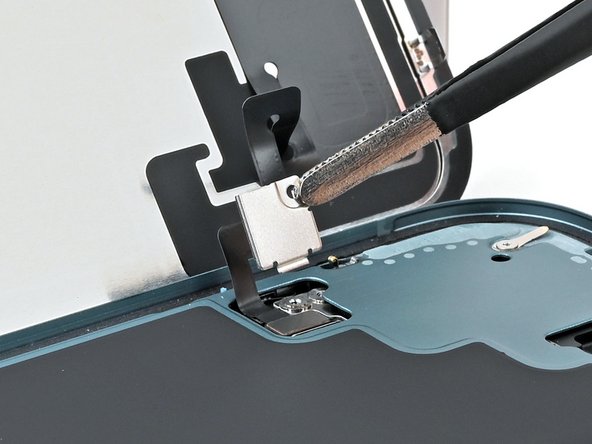
Step 17
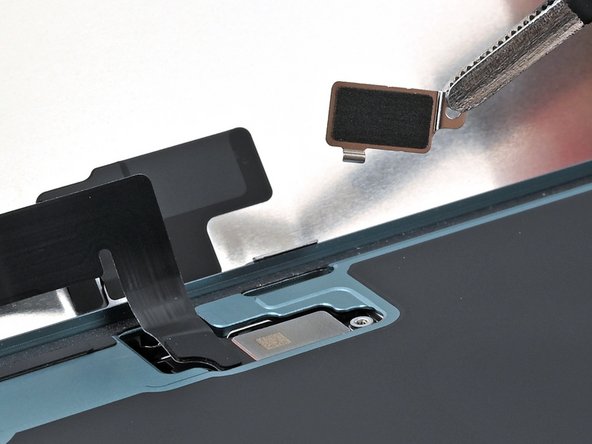
- Grab some tweezers or just your fingers to gently lift the front sensor cover up to a 90-degree angle and carefully unhook it from its spot on the logic board.
- Once it's free, lift the cover out of its slot and set it aside.
- Do the same thing for the screen connector cover—lift and remove it.
- When putting everything back together, slide each cover in at a 90-degree angle to catch the hook, then lay it flat against the press connector to lock it in place.
Tools Used
Step 18
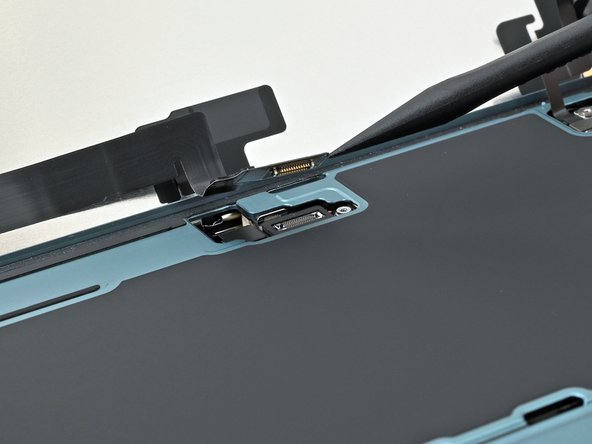
- Gently use the tip of a spudger to lift and unplug the screen press connector—easy does it!
- Do the same for the front sensor press connector, giving it a careful little nudge.
- When putting things back together, line up each connector perfectly over its socket. Press down with your fingertip or the flat end of your spudger—start on one side, then the other—until you hear a satisfying click. No need to muscle it; if it doesn’t fit, just wiggle it a bit and try again.
Tools Used
Step 19
Take it easy while cleaning the frame, and watch out for those spring contacts—they're a bit delicate! A careful touch goes a long way here.
- Alright, time to put your phone back together! Just follow this guide to reapply that adhesive and get your screen back on like a pro.
- After your repair is complete, make sure to calibrate that shiny new screen using Apple's Repair Assistant. Just hop into Settings→General→About→Parts & Service History, hit Restart & Finish Repair, and follow the instructions on screen. You've got this!
- Don't let that e-waste pile up! Take it to an R2 or e-Stewards certified recycler and give it a new life.
- If things didn't go as smoothly as you hoped, don't stress! Check out some basic troubleshooting tips or swing by our iPhone 16 Plus Answers Community for a helping hand.
- If things still feel tricky, remember you can always schedule a repair with us!
