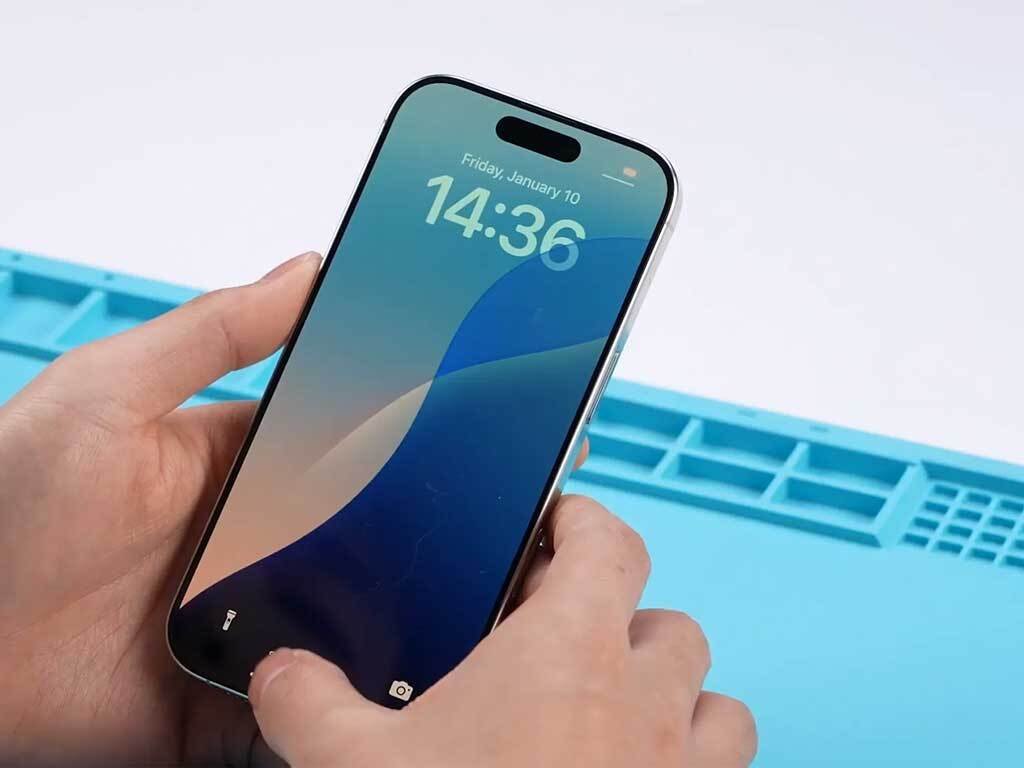
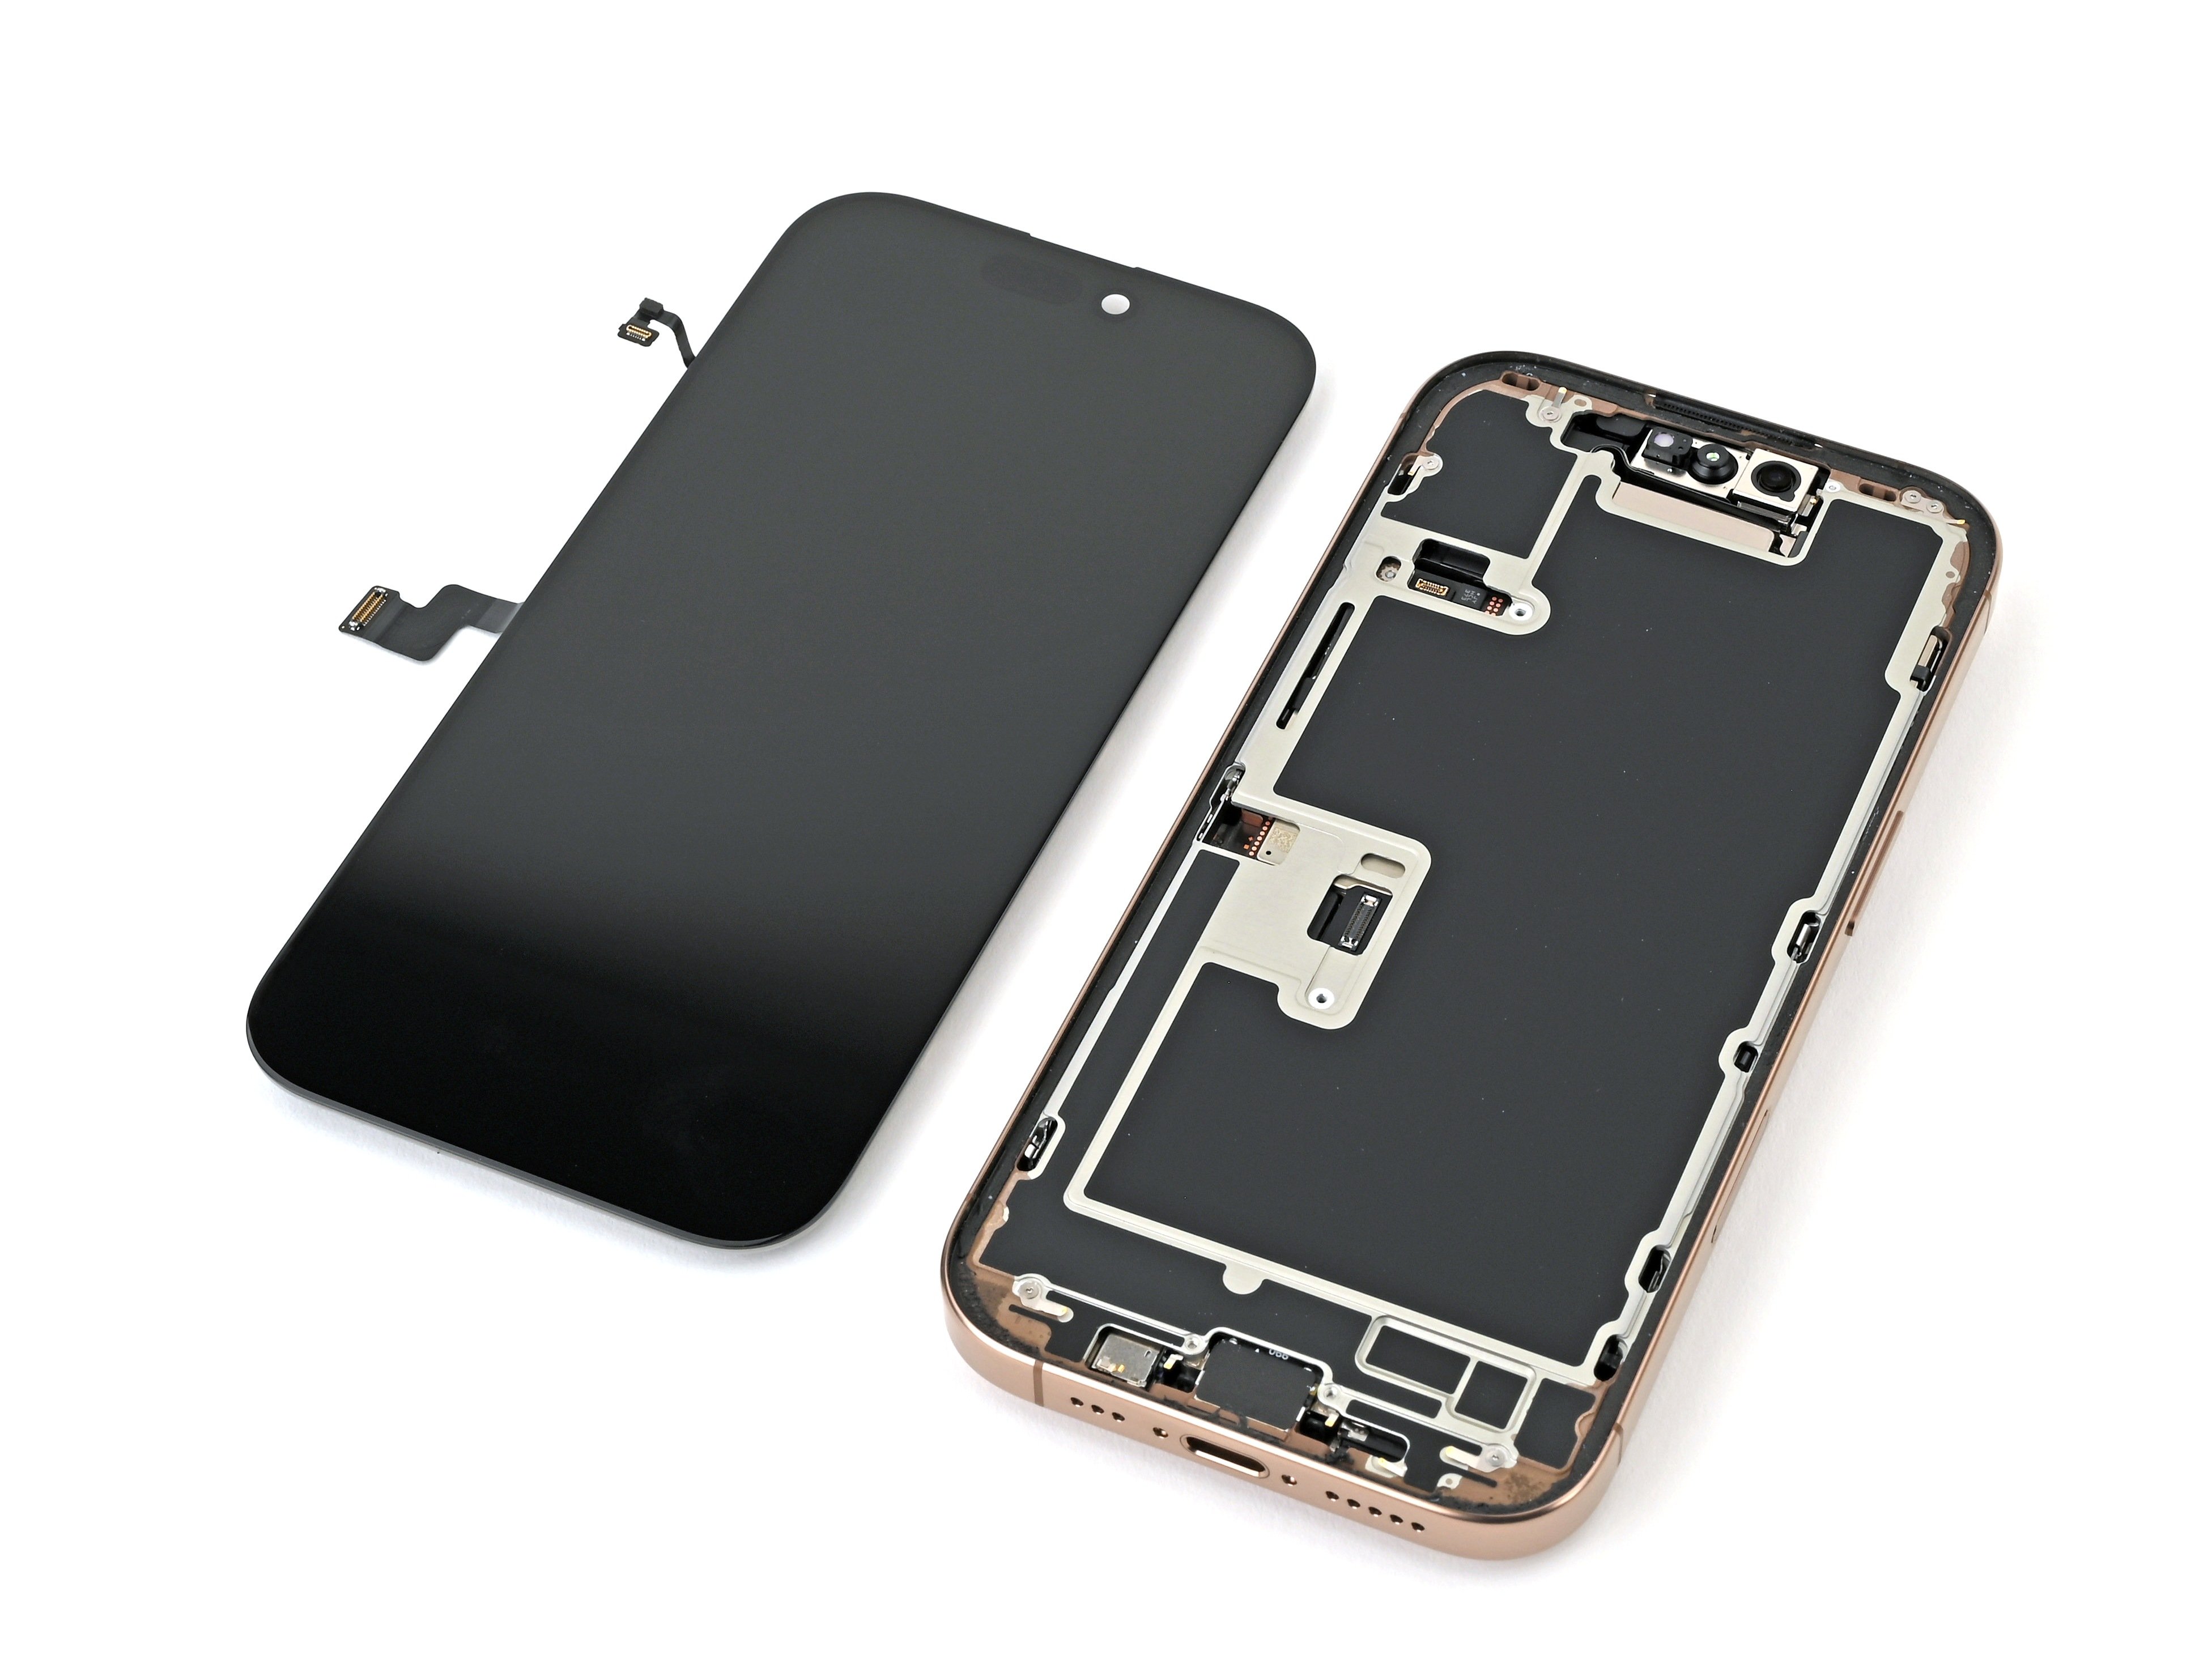
iPhone 16 Pro Earpiece Speaker Replacement
Duration: 45 minutes
Steps: 28 Steps
Follow this straightforward guide to swap out the earpiece speaker on your iPhone 16 Pro. If the sound during calls sounds faint or crackly, it's probably time for a replacement. Don't forget, you'll need some replacement back glass adhesive to get everything sealed up nicely. And if your model supports 5G mmWave (that's just the fancy 5G in the USA), you'll want to grab some adhesive or thin double-sided tape for that antenna if it's not included with your new speaker. Ready to get started? If you need a hand, you can always schedule a repair to have the pros take care of it.
Step 1


Let the battery drain below 25%—a fully charged lithium-ion cell can be a safety hazard, so it's best to let it wind down before diving in.
- First, unplug any cables from your phone. Give it some space to breathe.
- Now, press and hold the power button along with either of the volume buttons, then slide to power off. Simple as that!
Step 2


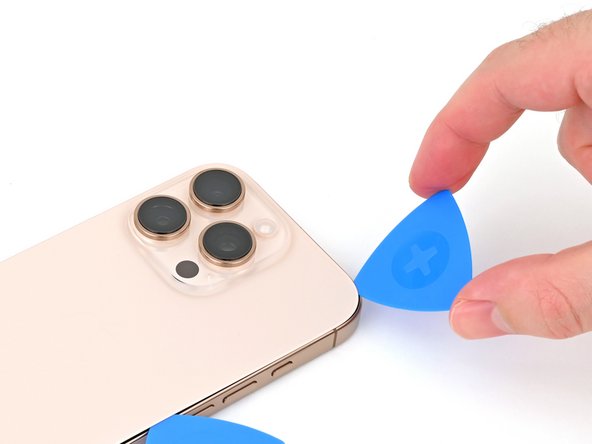
Ensure there's a smooth, flat spot near the bottom edge that's just the right size for a suction cup to grab onto. This helps make the next step a whole lot easier and safer. If you're unsure or need a hand, you can always schedule a repair with Salvation Repair.
- If the screen or back glass is seriously cracked, lay some overlapping strips of packing tape over the glass to shield yourself and make disassembly smoother. This little trick keeps glass shards contained and helps you work safely. Need a hand? You can always schedule a repair if things get tricky.
Tools Used

Step 3

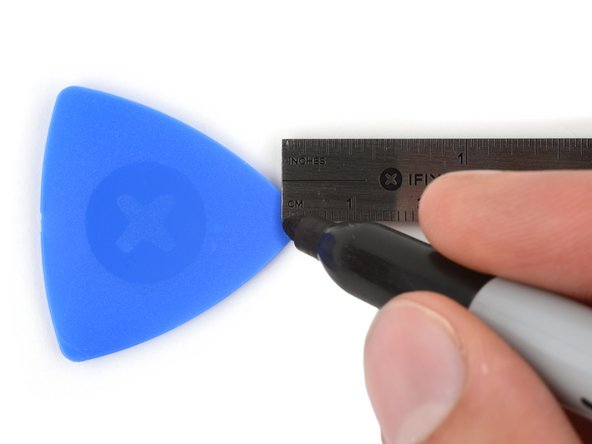
Be careful not to insert the opening pick too far—it can cause damage to your device. Mark the pick to keep it in check and avoid any mishaps.
You can even add measurements to the other corners of the pick to stay precise.
Alternatively, tape a coin 3mm from the tip of the pick for a quick and simple guide.
- Take a measuring tape or ruler and find the 3 mm mark from the tip. Use a permanent marker to make a clear dot at that spot on the opening pick. Easy peasy, just a little precision to get things started. If you need help, you can always schedule a repair.
Step 4


- Grab a trusty P2 pentalobe screwdriver and get ready to tackle those two 7.4 mm-long screws flanking the USB-C port. You've got this!
Step 5
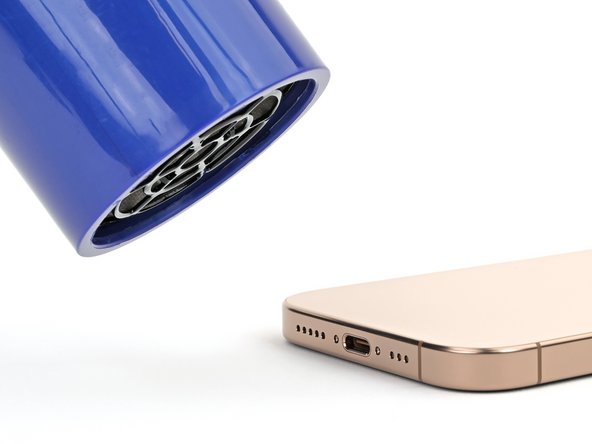

- Warm up the bottom edge of the back glass with a heated iOpener for about two minutes to loosen things up. This will help make the next steps smoother. If you need a hand, remember you can always schedule a repair with Salvation Repair.
Keep the heat in check! Too much heat can harm the battery, so don't overdo it. A little warmth is okay, but no sauna sessions for your phone.
Another handy trick is to gently warm the bottom edge of the back glass with a hair dryer or heat gun until it feels warm to the touch. This can help loosen the adhesive and make the removal process a bit easier. Just be sure not to overdo it—keep the heat moderate and steady. If you need a hand, you can always schedule a repair.
Tools Used


Step 6


- Stick a suction cup onto the bottom edge of the back glass, just above the USB-C port.
- Pull firmly and steadily on the handle to gently pry the back glass away from the frame.
- Slide the tip of an opening pick into the gap to help lift it open.
Tools Used

Step 7

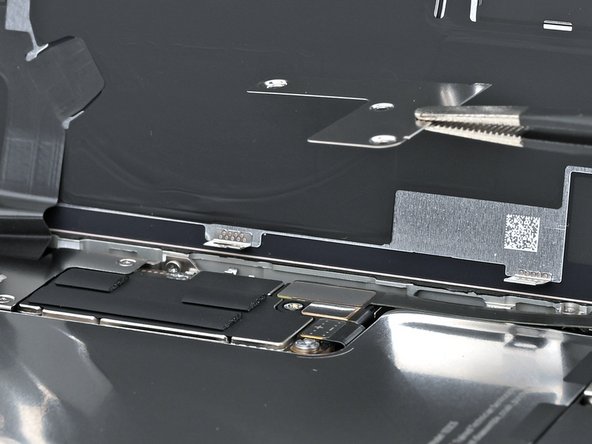
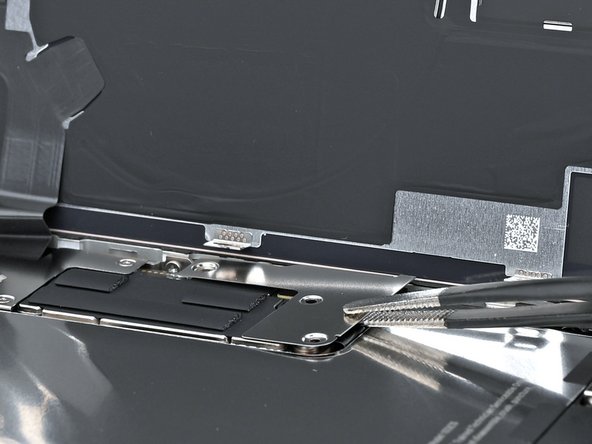
As you carefully cut through the adhesive holding the back glass in place, keep an eye out for these key areas:
If the spring contacts get bent out of shape, carefully nudge them back into place with a spudger or opening pick so they line up perfectly with their gold contact pads on the back glass.
- There's a fragile ribbon cable connecting the back glass to the phone, right next to the volume up button. Be careful not to insert your pick here, or you might slice the cable. Take it slow and gentle!
- Around the edges of the phone, you'll find several spring contacts. Be extra cautious not to insert your pick too deep in each step—bending these contacts could make things worse. Patience is key!
Tools Used

Step 8


Keep your pick to a maximum of 5 mm on the bottom edge—nobody wants to accidentally poke the spring contact!
- Gently wiggle your pick along the bottom edge to loosen the adhesive holding the device together.
- Keep your pick in the bottom right corner to stop the adhesive from sticking back together as you work.
Step 9

- Warm up the right edge of the back glass until it feels comfortably warm to the touch.
Step 10


Be careful around the volume buttons—slice too close and you might cut the wireless charging or flash cable. Stay safe and keep the cables intact!
- Gently slide your pick along the bottom right corner and make your way halfway up the right edge, until you hit a solid stop—this is the clip holding that back glass in place.
- Keep that pick in place so the adhesive doesn't try to sneak back and seal everything up again.
Step 11

- Warm up the left edge of the back glass until it's nice and toasty to the touch.
Step 12


You'll notice and feel the metal clips pop free as you slide past them.
- Slide in a second opening pick at the bottom edge like a pro.
- Gently glide that second pick around the bottom left corner and along the left edge of the screen to break free the adhesive and release those pesky metal clips.
- Keep this pick snugly at the top left corner so the adhesive doesn’t decide to make a comeback.
Step 13

- Warm up the top edge of the back glass, especially around the volume buttons, until it feels nice and toasty to the touch.
Step 14

Be gentle when inserting your pick—no more than 3 mm along the top edge—so you don’t accidentally bend those springy contacts. Take it slow and steady, and if you need a hand, you can always schedule a repair.
You'll hear and feel those satisfying clicks as the top two clips pop free.
- Gently slide your opening pick along the top edge, curving it around the top right corner up to the volume up button to loosen that adhesive like a pro.
Step 15


Hold off on trying to peel off the back glass just yet—it's still hanging on with a dainty ribbon cable. Next up, follow these steps carefully to get it off safely.
If the back glass isn't swinging open as smoothly as you'd like, don't force it! Just go over the edges again with your pick to make sure there are no missed adhesive spots or hidden clips.
Use some polyimide tape to cover up the rear camera lenses while you work inside the phone. Avoid pressing on the lenses—those stabilizers are delicate and could get damaged.
You might need to gently lift the back glass a bit before swinging it open to fully release the clips. A little nudge goes a long way!
- Carefully swing the back glass open towards the volume buttons.
- Hold the back glass in place with a clean, sturdy object like a small box to keep the cable from getting stressed.
- Take out the opening picks.
Tools Used

Step 16


- Grab a tri-point Y000 screwdriver and gently unscrew the three screws holding down the lower connector cover:
- Two screws are 1.2 mm long, and one is 1.0 mm long. Keep track of where each one came from!
Tools Used

Step 17

- Grab some tweezers or just use your fingers to gently lift off the lower connector cover. You've got this!
Tools Used

Step 18


- Grab your trusty spudger and gently nudge the battery press connector up and away. It's like giving it a little hug to say, 'Hey, time to disconnect!'
- When you're putting everything back together, make sure to line up the connector just right over its socket. Then, with a gentle touch—either with your fingertip or the flat end of your spudger—press down on one side, then the other, until you hear that satisfying click. No need to wrestle it into place; if it’s being a bit stubborn, just reposition it and give it another go. You’ve got this!
Tools Used
Step 19


- Grab a tri-point Y000 screwdriver and gently unscrew the four screws holding down the top connector cover:
- Two screws are 1.0 mm long
- One screw measures 1.2 mm in length
- And there's one screw that's 1.6 mm long
Tools Used
Step 20

- Grab your tweezers or your fingers and gently lift the top connector cover—easy does it!
Tools Used
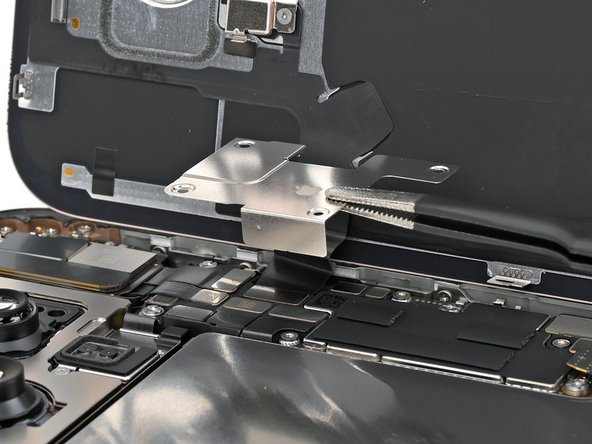
Step 21

- Carefully use the pointy end of a spudger to gently lift and unplug the back glass press connector.
Tools Used
Step 22

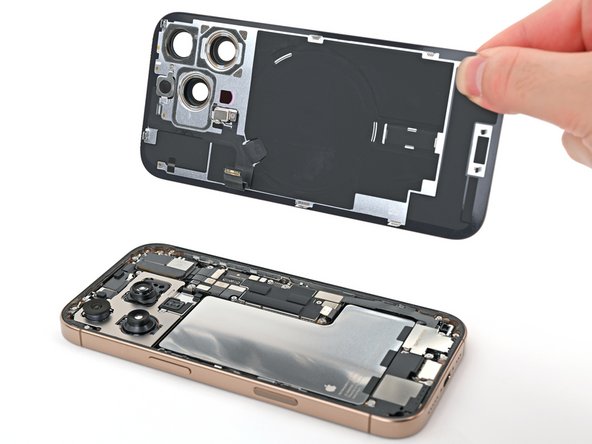
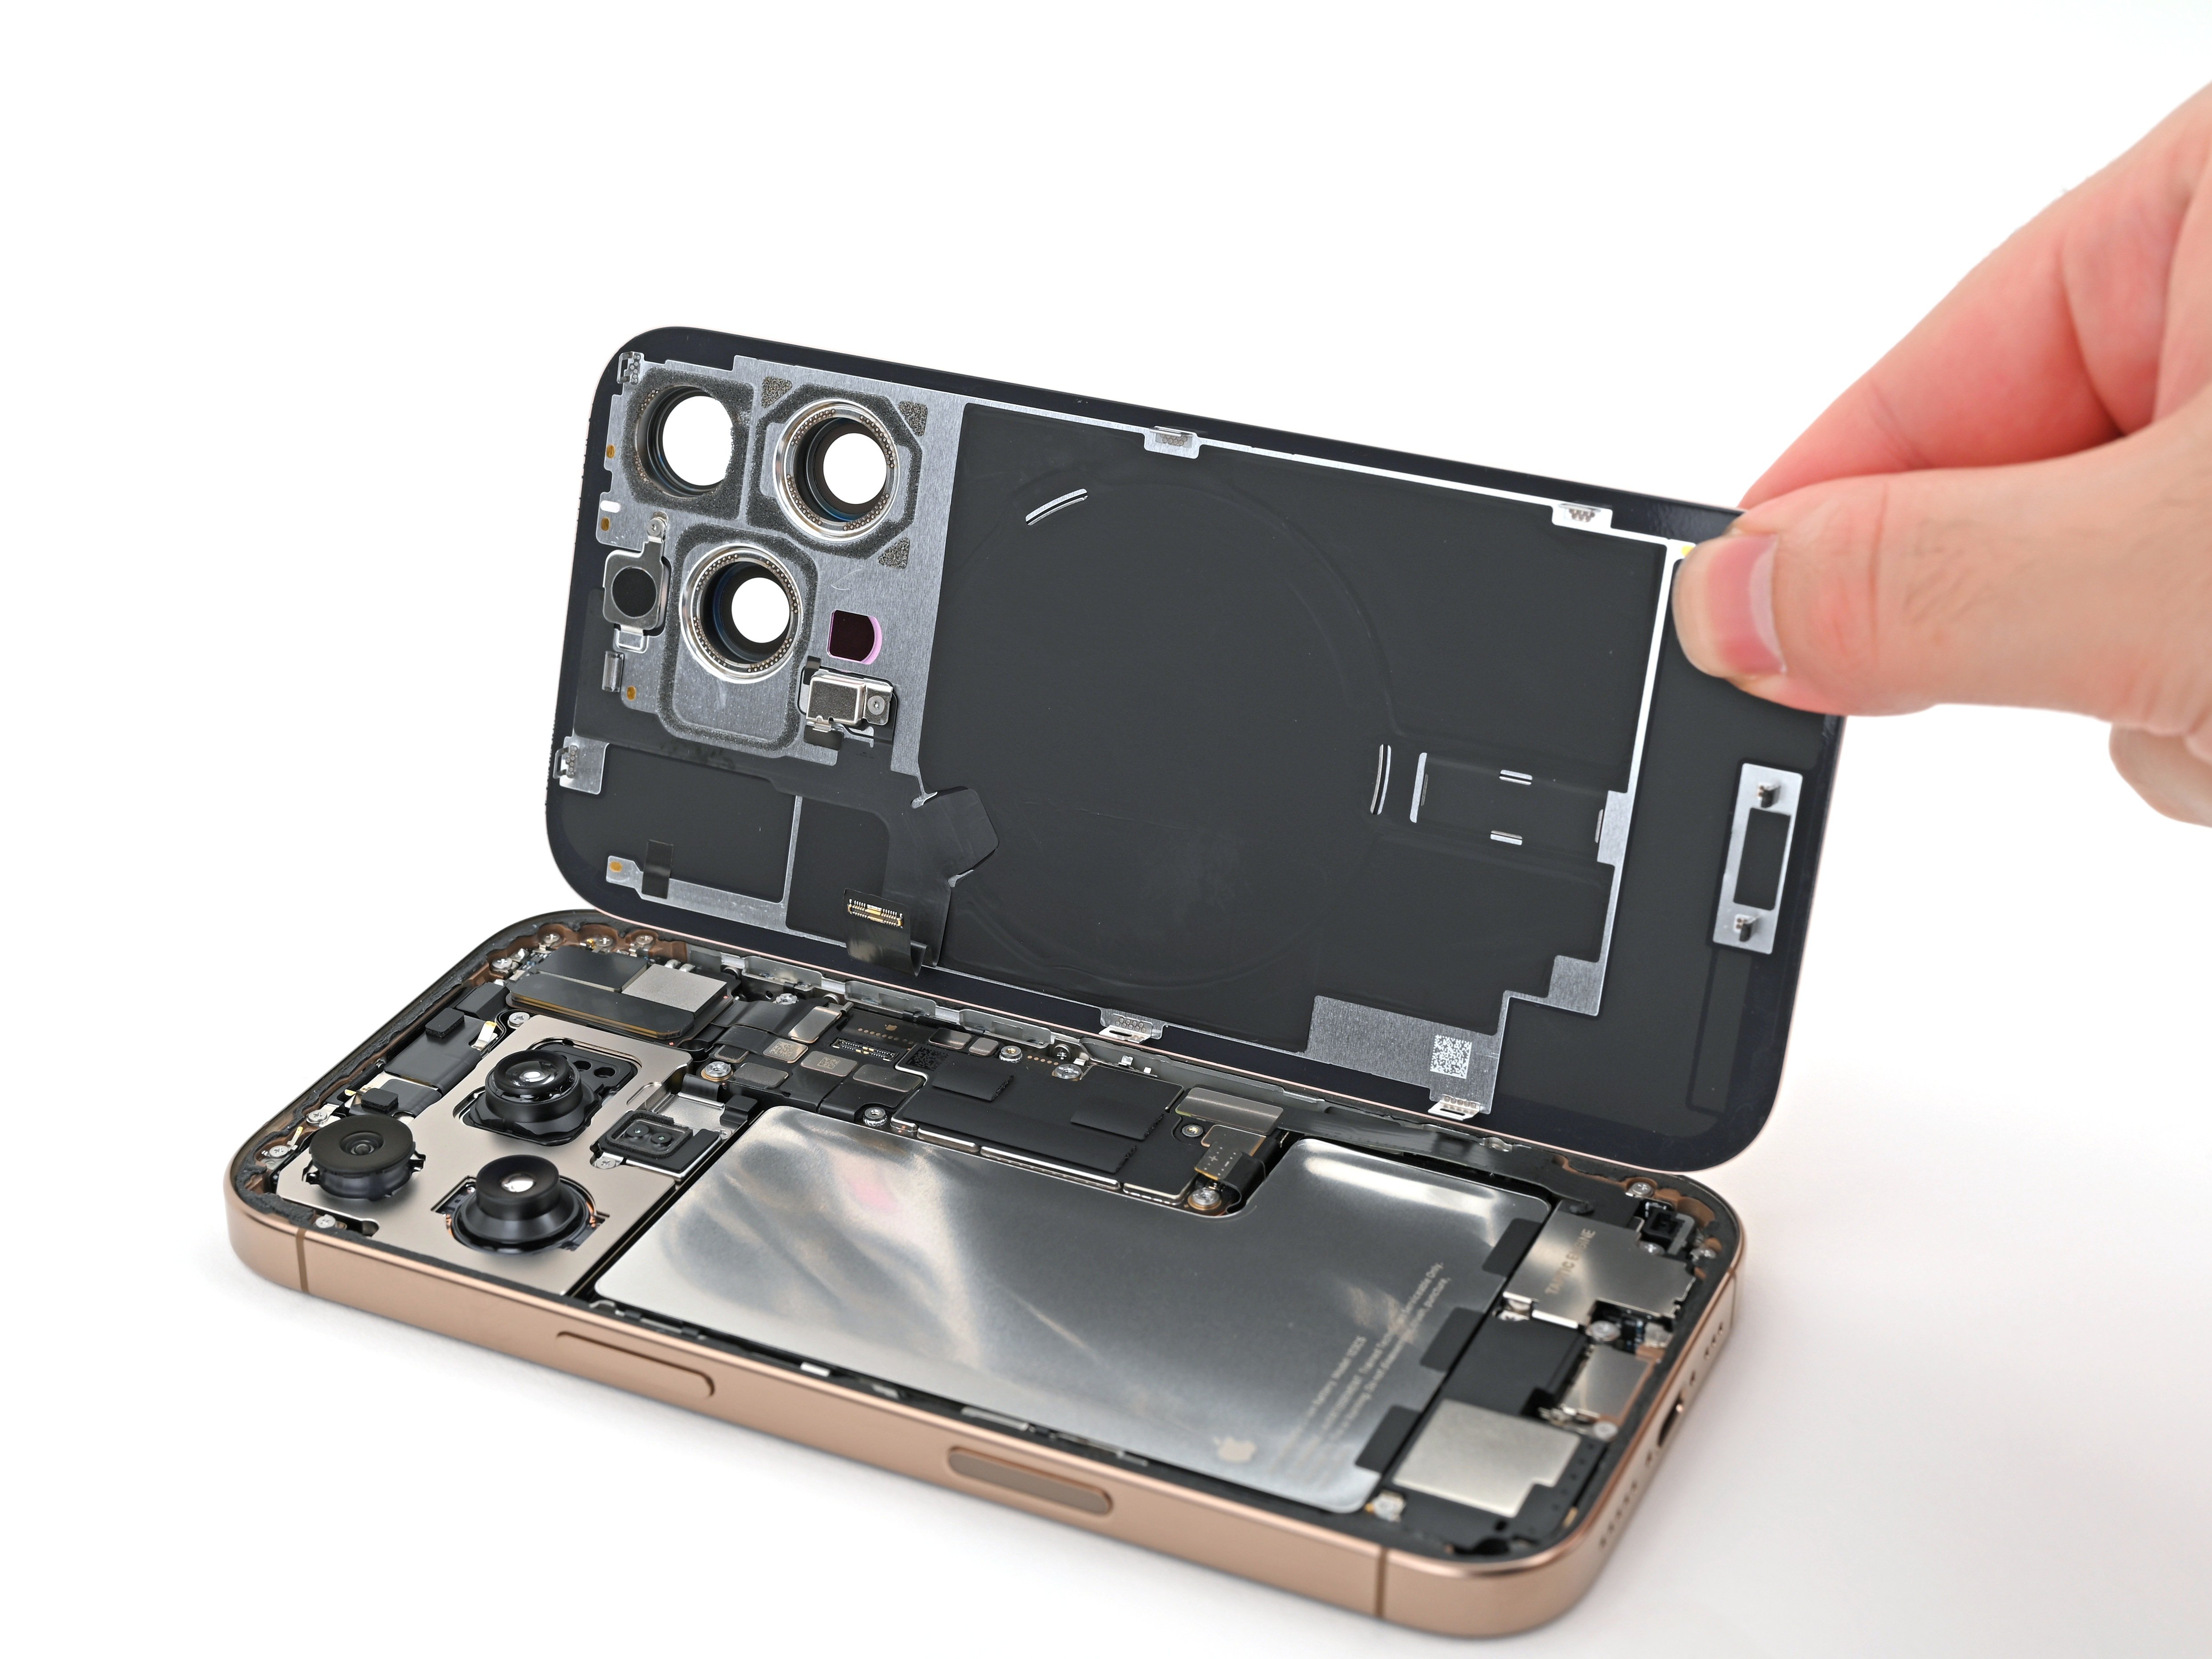
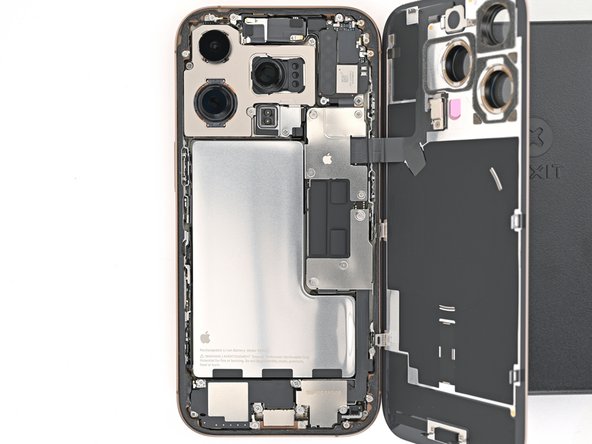
- Carefully lift the back glass away from the frame and set it aside.
- When putting everything back together:
- Here’s a smart move: before sealing up the phone, temporarily reconnect the battery and back glass (skip the adhesive for now), power it on, and double-check that everything’s working smoothly. Once confirmed, power it down, disconnect the battery, and finish reassembling.
- Follow this guide to apply new adhesive and properly reinstall the back glass.
Step 23

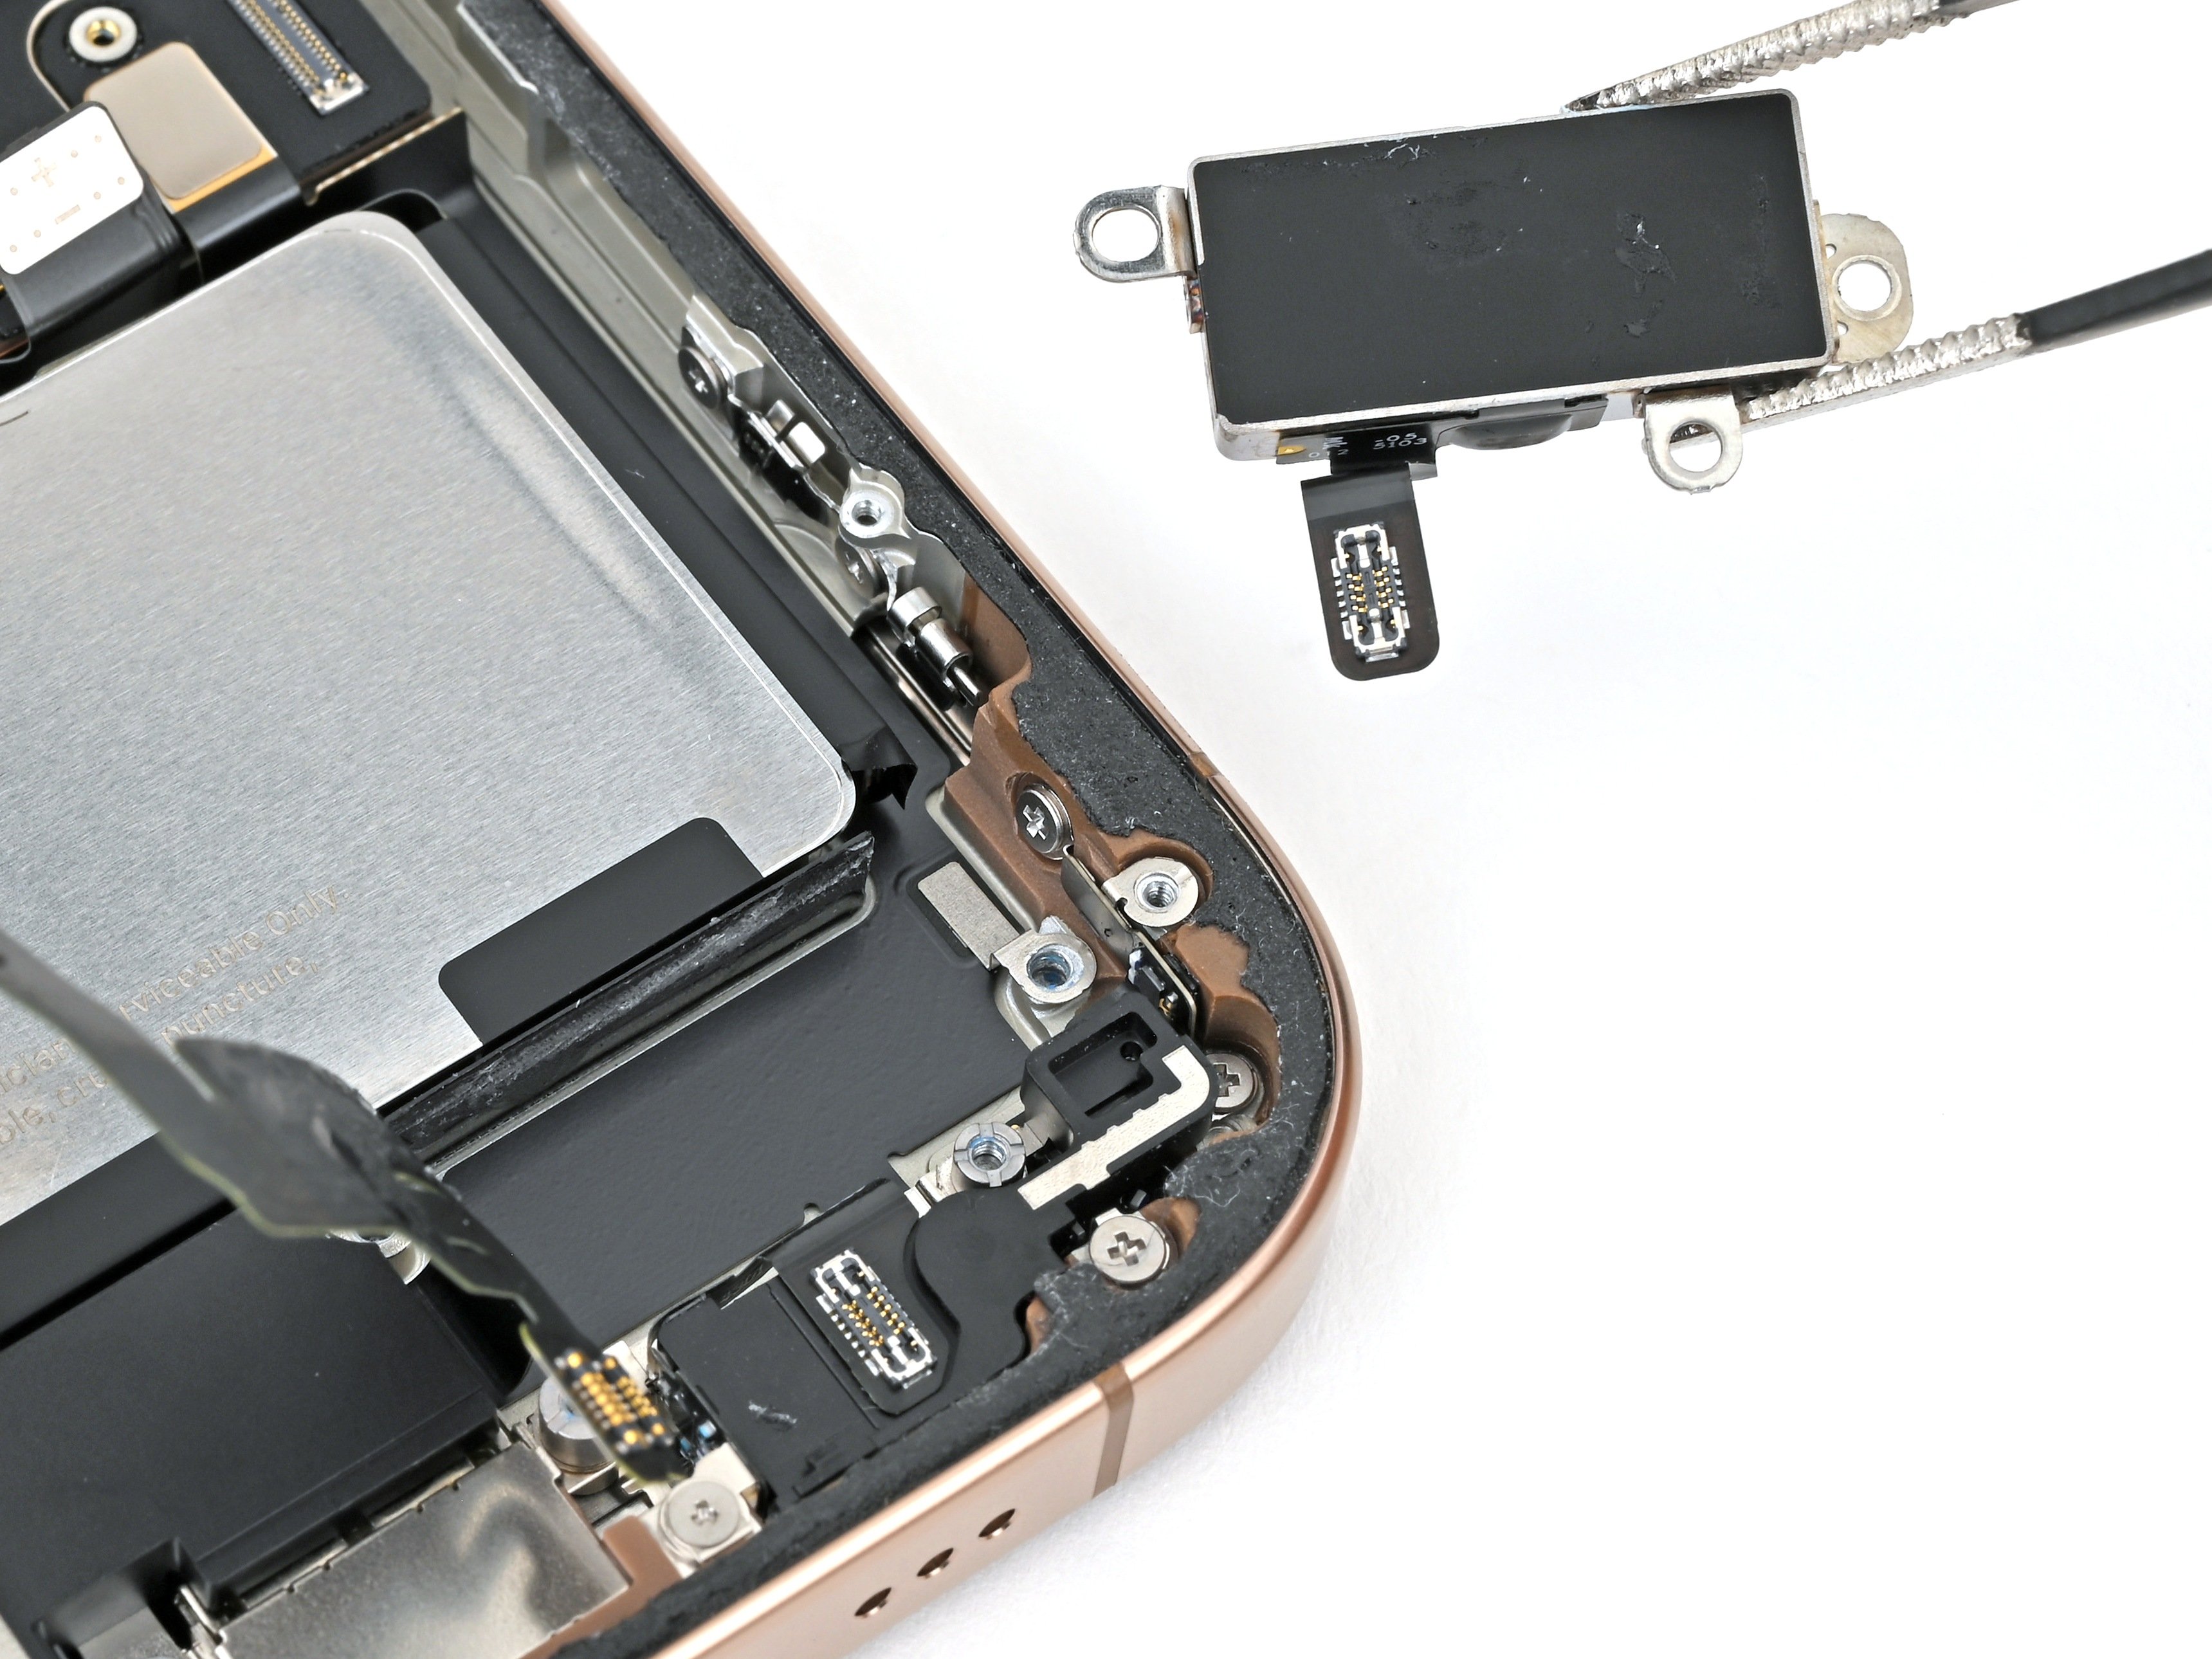
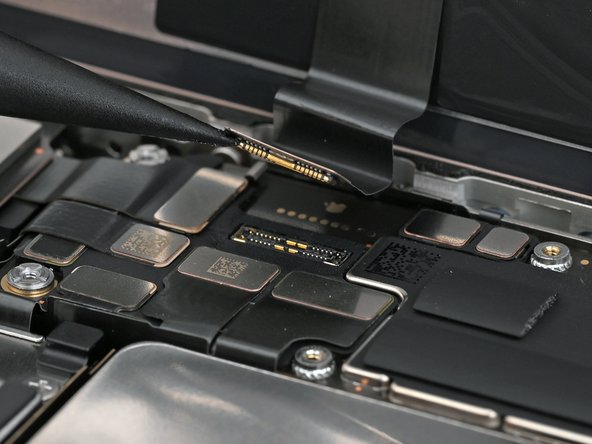
The 5G mmWave antenna is only found in the United States and Puerto Rico iPhone 16 Pros (model A3083). If you're working on other models, you can skip the next four steps—no need to chase this one down. For help at any point, you can always schedule a repair.
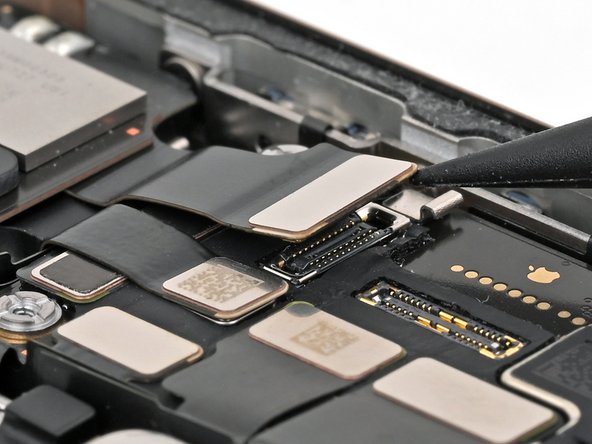
- Gently use the pointy end of a spudger to pop up and unplug the earpiece speaker and 5G mmWave antenna press connectors hiding out in the top right corner of the logic board.
Tools Used
Step 24

- Grab your Phillips screwdriver and start unscrewing the six screws holding the earpiece speaker in place:
- Three screws that are 1.2 mm long
- Two screws that measure 1.8 mm long
- One screw that's 1.7 mm long
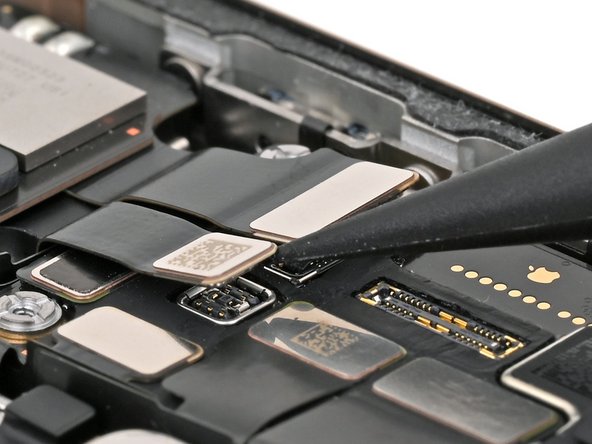
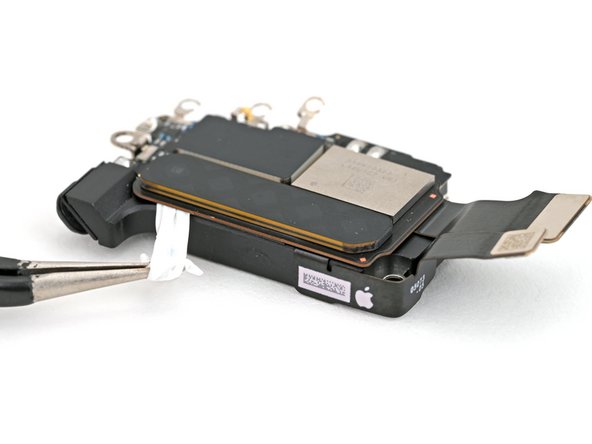
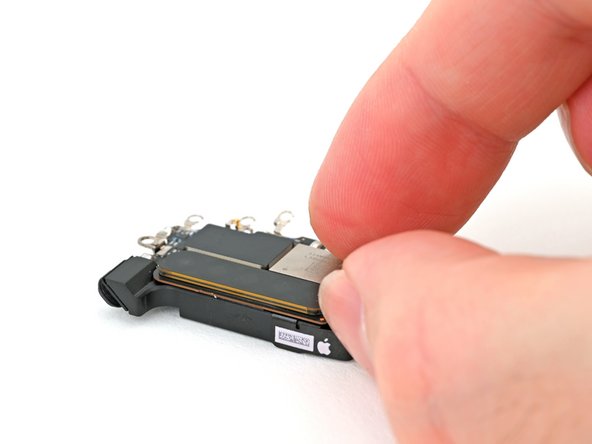
Step 25
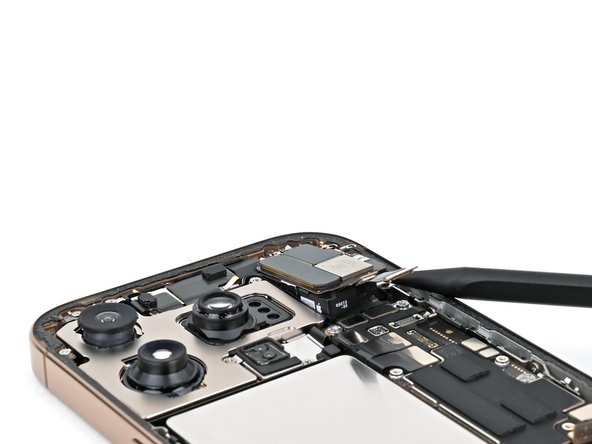

- Gently wedge the spudger into the bottom-right corner of the earpiece speaker and give it a little nudge to pop it out. No force needed here, just a light touch.
- When putting things back together, angle the top edge of the earpiece speaker into its spot first, then press down gently to snap it into place flat against the frame.
Feeling some pushback near the top edge where the speaker gasket hugs the frame? Gently pull out the speaker to free it up. Sometimes, you might need to lift the front camera assembly just a bit to get the earpiece speaker snug into its spot. Carefully slide the antenna and earpiece cables to the right of the front camera cables, then gently press the front camera into its opening before pushing its cables flush with the rear cameras. Remember, patience is key—take it slow and steady. If you need a hand along the way, you can always schedule a repair.
Tools Used
Step 26

For a better hold, try wrapping the adhesive around the tip of your tweezers as you pull—it gives you that extra grip you need.
- Grab that stretch release adhesive pull tab on the 5G mmWave antenna edge with your trusty tweezers—think of it as your antenna's little handle.
- Gently pull the adhesive strip out at a low angle, taking your time to let it stretch and loosen from underneath the antenna—patience is key here.
- If the adhesive strip decides to break apart, just retrieve what you can with your tweezers and keep pulling steadily—you're doing great!
Tools Used
Step 27
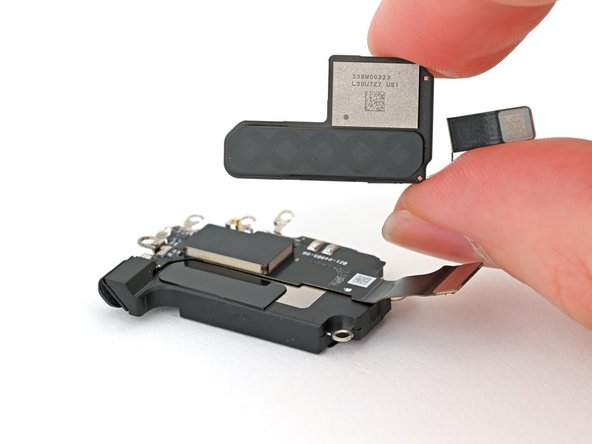
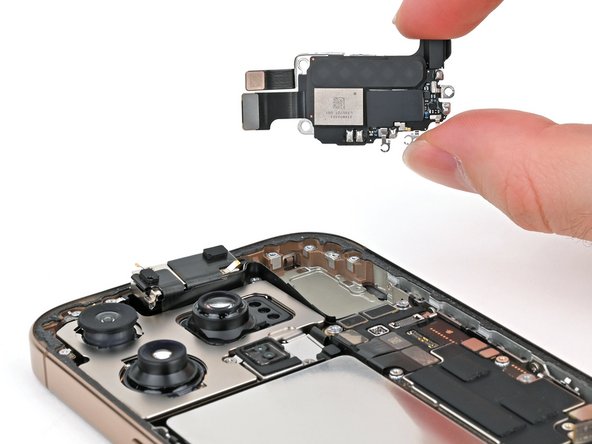
- Carefully lift the 5G mmWave antenna away from the earpiece speaker and set it aside.
- When putting everything back together:
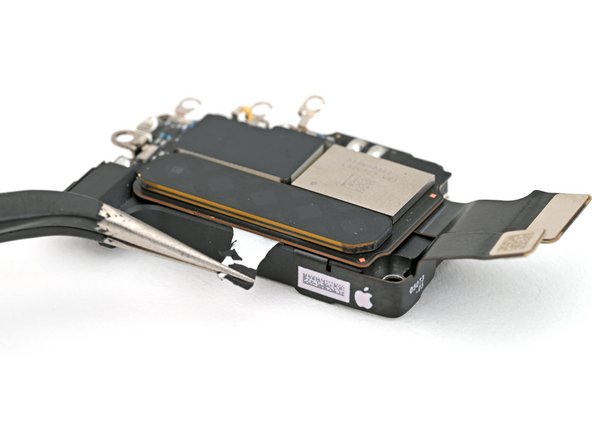
- Use tweezers or a spudger to gently scrape away the old adhesive from the top of the earpiece speaker and the back of the antenna.
- If your replacement part doesn’t come with fresh adhesive, grab a 4mm x 16mm strip and a thin, double-sided tape square to stick the antenna back onto the earpiece speaker.
- Gently press the antenna onto the earpiece speaker to make sure it sticks securely.
Step 28

- To put your iPhone back together, just follow these steps in reverse order.
- Remember to recycle your e-waste responsibly at an R2 or e-Stewards certified recycler.
- If things didn’t quite work out, try some basic troubleshooting or visit our iPhone 16 Pro Answers Community for some extra tips.
- And if you hit a wall, you can always schedule a repair with us!