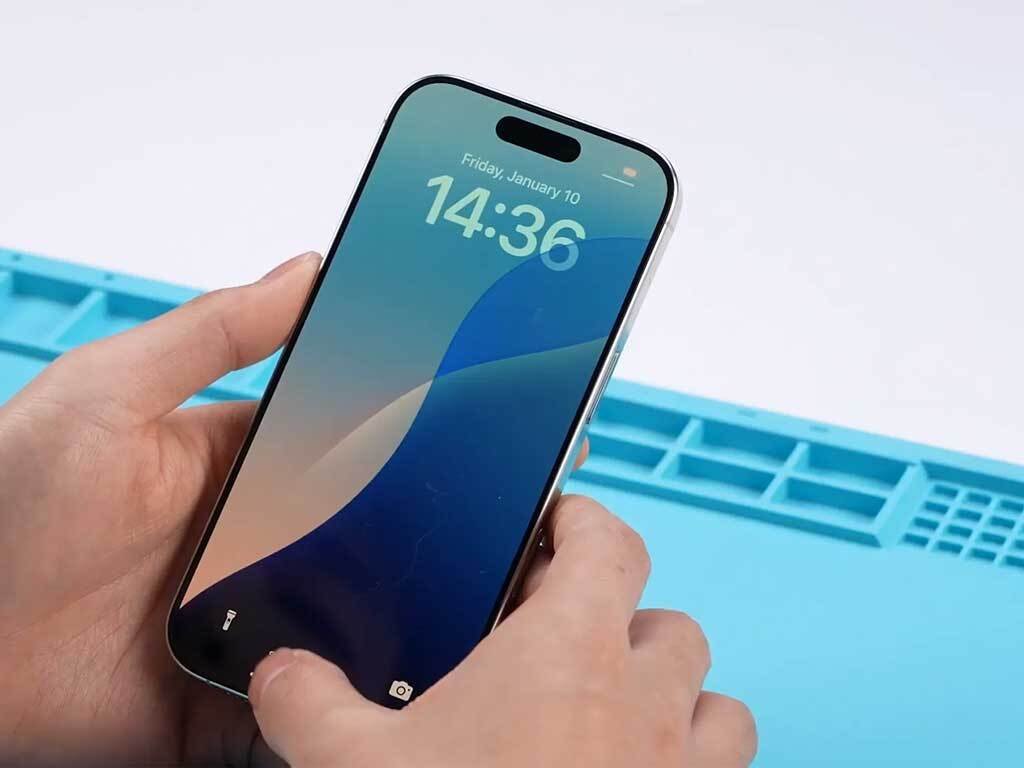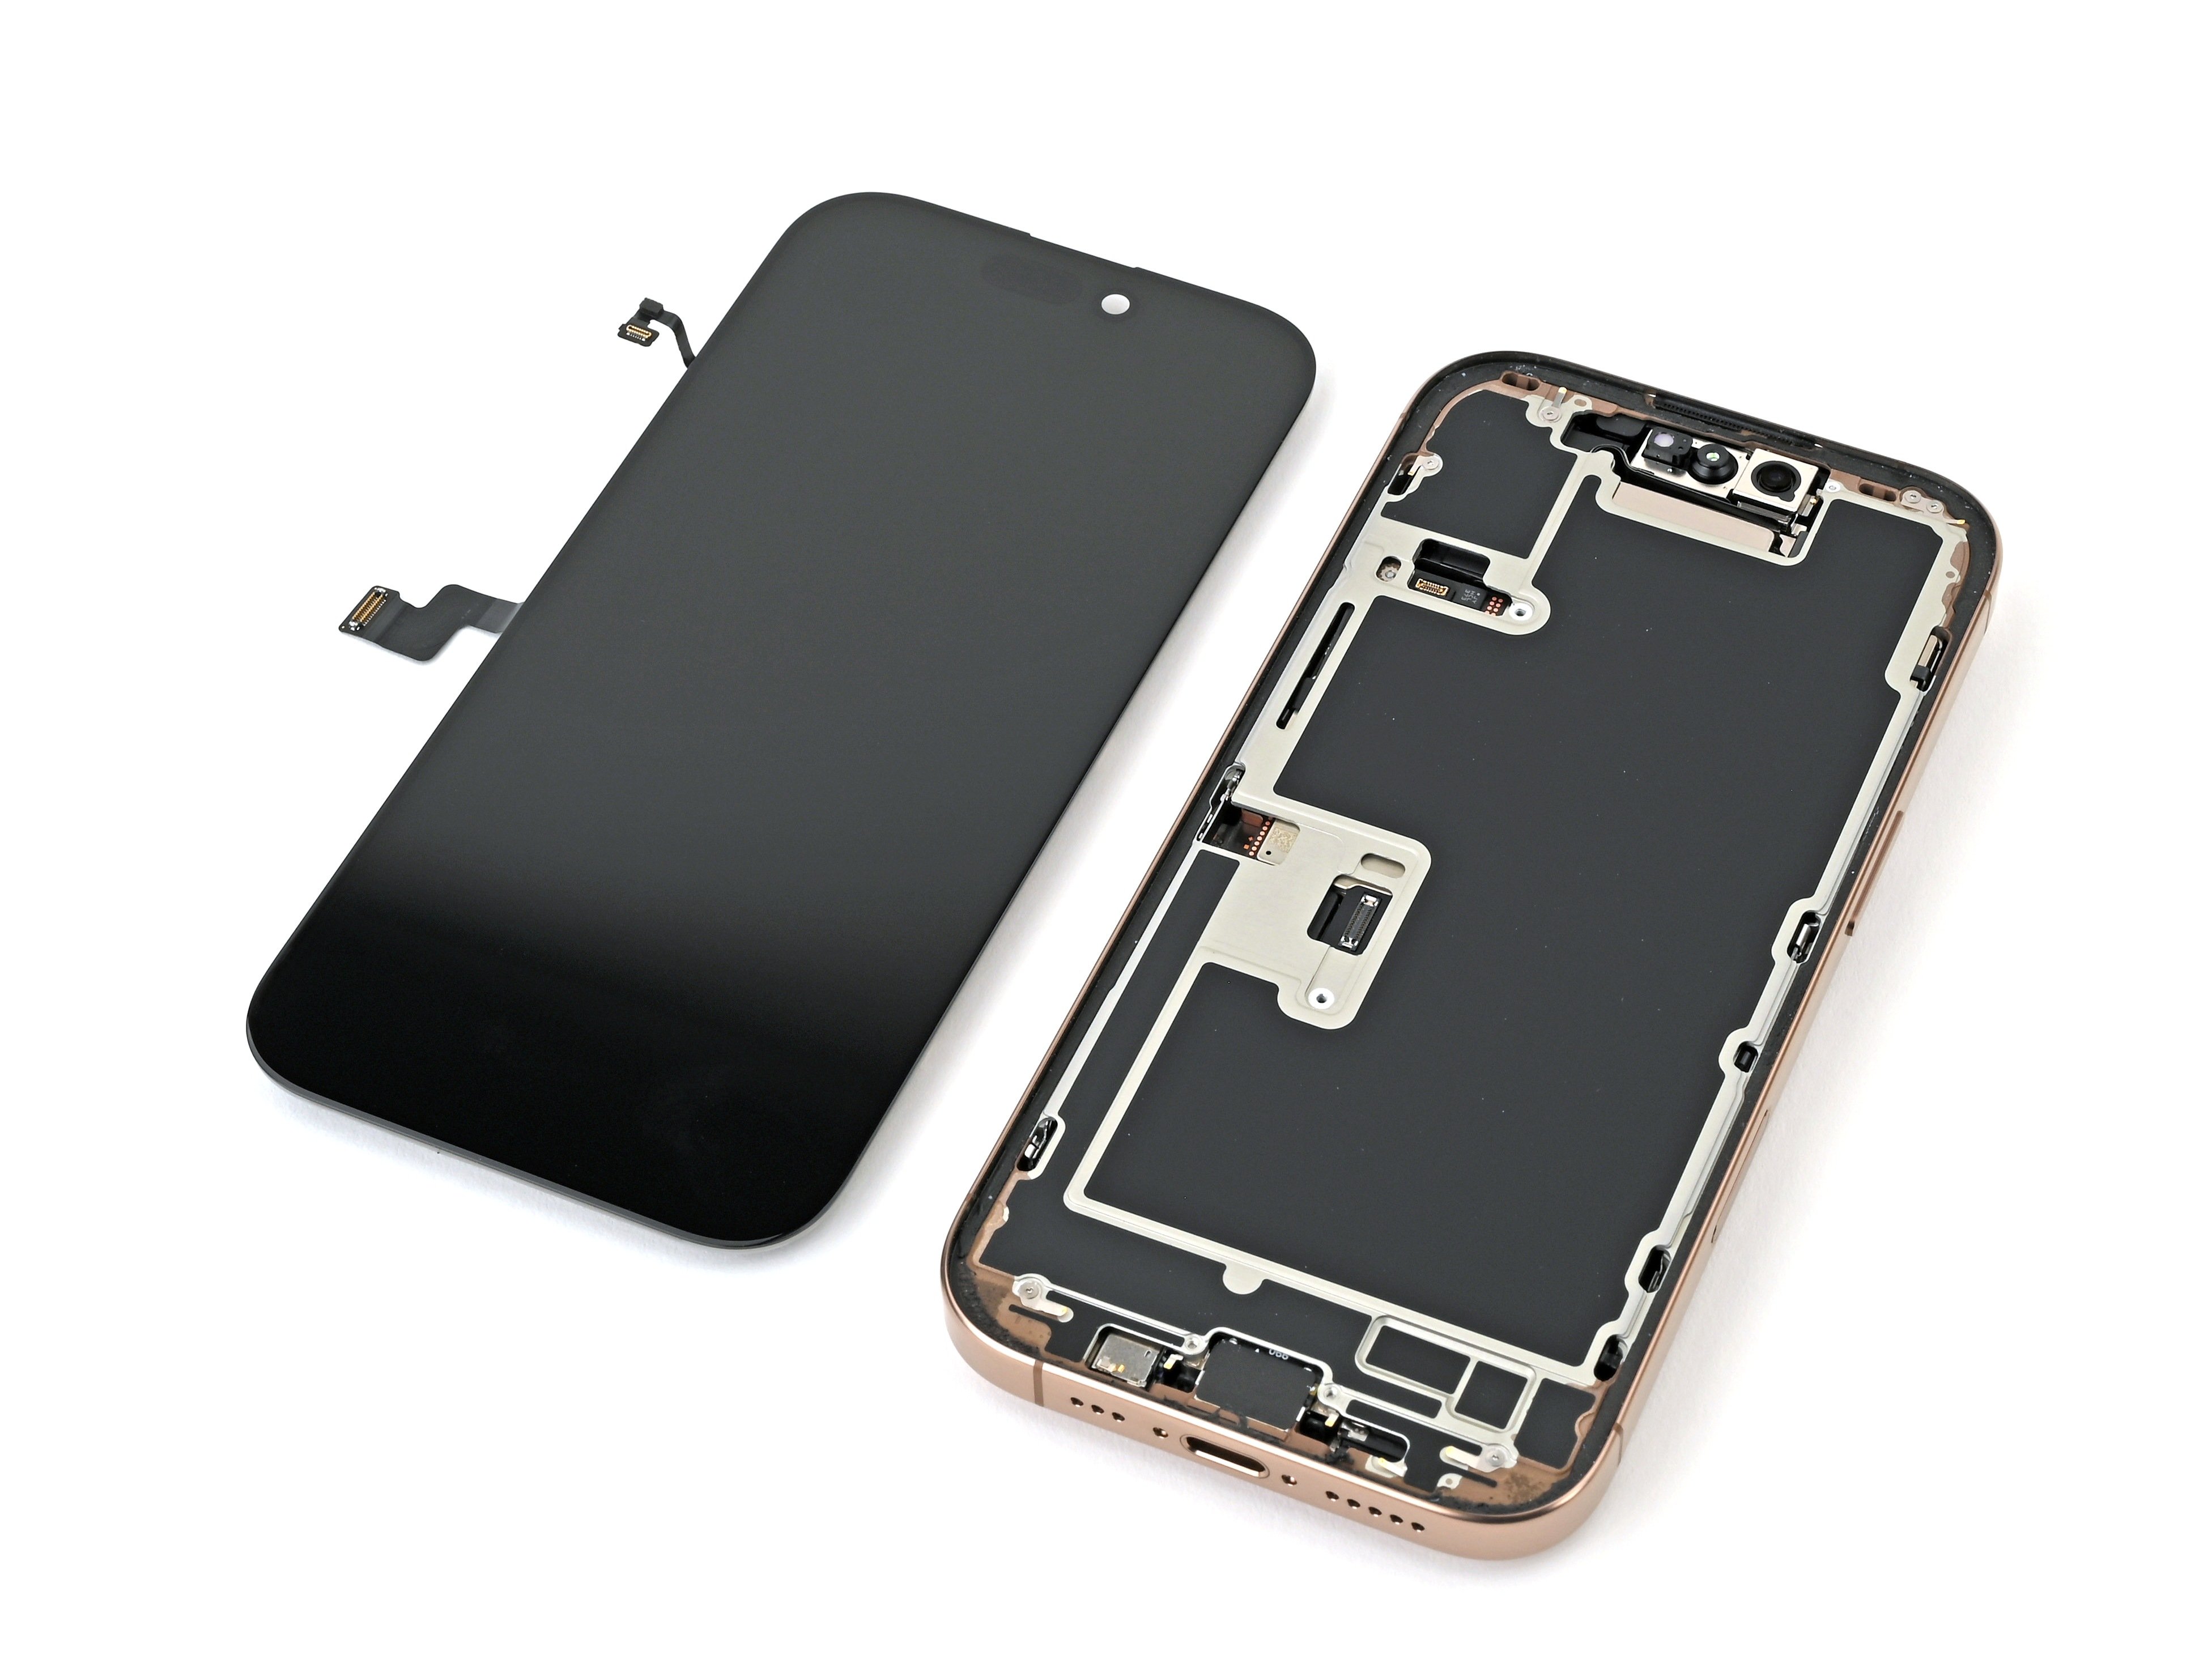
iPhone 16 Pro Front Camera Assembly Replacement
Duration: 45 minutes
Steps: 25 Steps
Follow this step-by-step guide to swap out the front camera assembly on your iPhone 16 Pro. You might need to do this if your selfies are blurry, the camera isn’t working at all, or Face ID isn’t unlocking your phone like it should. If your rear camera is acting up, check out the relevant guide. This assembly includes the front-facing camera and Face ID hardware, which are paired together as one unit—so be sure to handle it carefully. Once you're done, remember to calibrate your new front camera using Repair Assistant for the best results. You'll also want to grab some new back glass adhesive to seal everything back up properly. If you need help, you can always schedule a repair.
Step 1


Let the phone's battery dip below 25%. A fully charged lithium-ion battery? Not something you want hanging around when you’re getting hands-on with your device.
- Disconnect all cables from your device to start fresh.
- Press and hold the power button plus either volume button, then slide to turn off the device. Keep going until it powers down—easy peasy!
Step 2


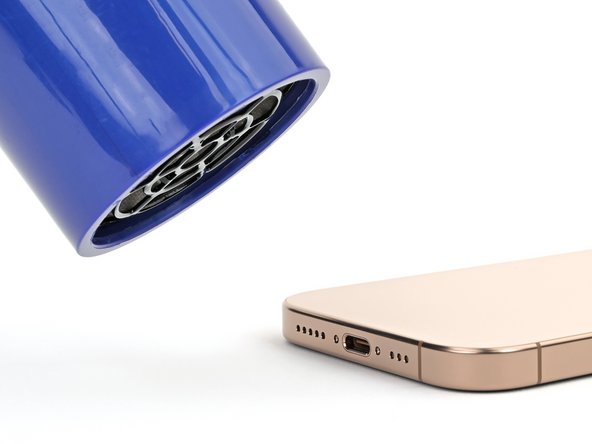
Ensure there's a nice, smooth spot near the bottom edge that's spacious enough for a suction cup to securely adhere.
- If your screen or back glass looks like it’s been through a battle, don’t worry! Just grab some packing tape and lay down overlapping strips over the glass. This will keep you safe and make the disassembly process a breeze!
Tools Used

Step 3

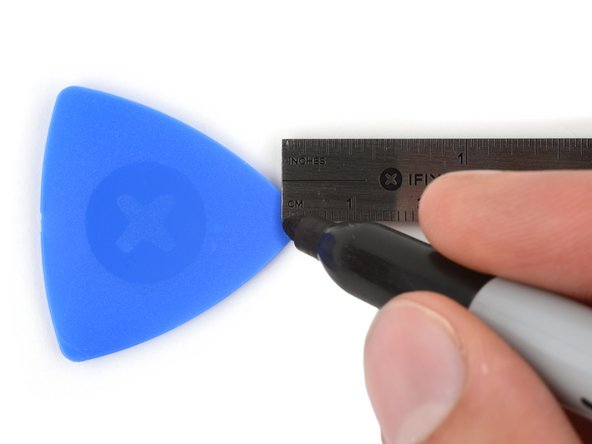
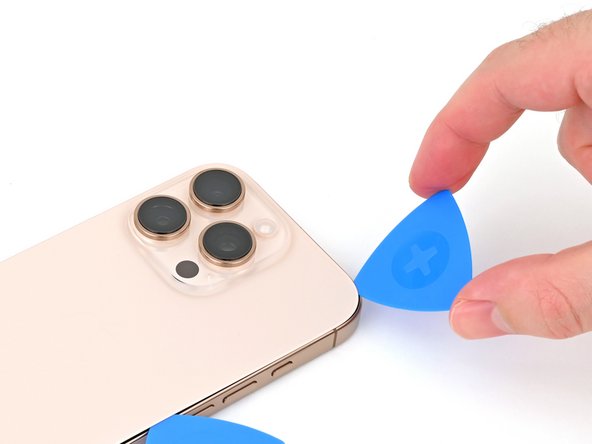
- Grab your permanent marker and mark 3 mm from the tip to set your opening point. Easy does it—precision is key! If you need help, you can always schedule a repair.
Be careful not to insert your opening pick too far, as it could damage your device. To avoid this, mark your pick beforehand so you know the right depth. You can also mark the other corners of the pick with different measurements to keep track. Alternatively, tape a coin about 3 mm from the tip of the pick to serve as a depth guide. If you need help with this step, you can always schedule a repair.
Step 4


- Grab your trusty P2 pentalobe screwdriver and unscrew the two 7.4 mm-long screws flanking the USB-C port. Keep these little guys safe!
Step 5

- Place a heated iOpener on the bottom edge of the back glass and let it work its magic for two minutes.
Watch the heat—don't let the phone get too hot! Overheating can cause serious damage to the battery, and we don't want that. Keep it cool and steady!
If you're feeling the heat, try using a hair dryer or heat gun to warm up the bottom edge of the back glass until it feels cozy to the touch. Just be gentle and keep it moving to avoid any mishaps. Remember, if you need a hand, you can always schedule a repair.
Tools Used


Step 6


- Stick a suction handle to the lower edge of the back glass, just above the USB-C port.
- Give that handle a solid, steady pull to open up a little gap between the back glass and the frame.
- Slide the tip of an opening pick into that gap you just created.
Tools Used

Step 7

- Heads up! There's a fragile cable tucked right next to the volume up button connecting the back glass to the phone. Avoid sliding your pick in there to keep that cable safe and sound.
- Around the edges of the phone, you'll find several spring contacts. Be sure not to push your pick in deeper than recommended at each step to prevent bending these little guys out of shape.
Heads up! When you're slicing through the adhesive holding the back glass in place in the next steps, watch out for these tricky spots:
If those spring contacts get bent out of shape, just gently nudge them back into place with a spudger or opening pick so they line up nicely with their gold contact pads on the back glass. Taking your time here helps ensure everything makes good contact and keeps your device working smoothly. If you need a hand, you can always schedule a repair.
Tools Used

Step 8


Keep your pick to a maximum of 5 mm on the bottom edge—let's not get too wild and accidentally mess with that spring contact!
- Gently wiggle your pick back and forth along the bottom edge to loosen that stubborn adhesive.
- Keep your pick wedged in the bottom right corner to stop the adhesive from snapping back together.
Step 9

- Warm up the right edge of the back glass until it feels nice and toasty!
Step 10


Be careful when working near the volume buttons – you don’t want to accidentally mess with the wireless charging or flash cable. Take your time and stay focused!
- Gently slide your pick around the bottom right corner, then work your way up the right edge. You’ll hit a small resistance when you encounter a clip that’s holding the back glass in place.
- Keep the pick in place to stop the adhesive from sealing back up. This will make the next steps easier.
Step 11

- Warm up the left edge of the back glass until it feels comfortably hot to the touch.
Step 12


As you move along, you'll feel and hear the metal clips giving way, so don't be alarmed—it’s all part of the process.
- Pop in a second opening pick at the bottom edge to get things started.
- Gently slide that pick around the bottom left corner and up the left side of the screen to loosen the adhesive and free those metal clips.
- Keep this pick wedged in at the top left corner so the adhesive doesn’t sneak back together.
Step 13

- Warm up the top edge of the back glass, including around the volume buttons, until it feels warm to the touch. This helps loosen the adhesive so you can carefully peel it away. If you need a hand with any step, you can always schedule a repair.
Step 14

Be gentle when inserting your pick—keep it no deeper than about 3 mm along the top edge to avoid messing up those spring contacts. Taking it slow helps keep everything working smoothly!
Get ready for some satisfying clicks as the top two clips pop free—you’ll both hear and feel them letting go!
- Gently slide your opening pick along the top edge and around the top right corner, carefully working towards the volume up button to loosen the adhesive. Keep it steady and patient—you're just easing things apart. If you need help, you can always schedule a repair.
Step 15


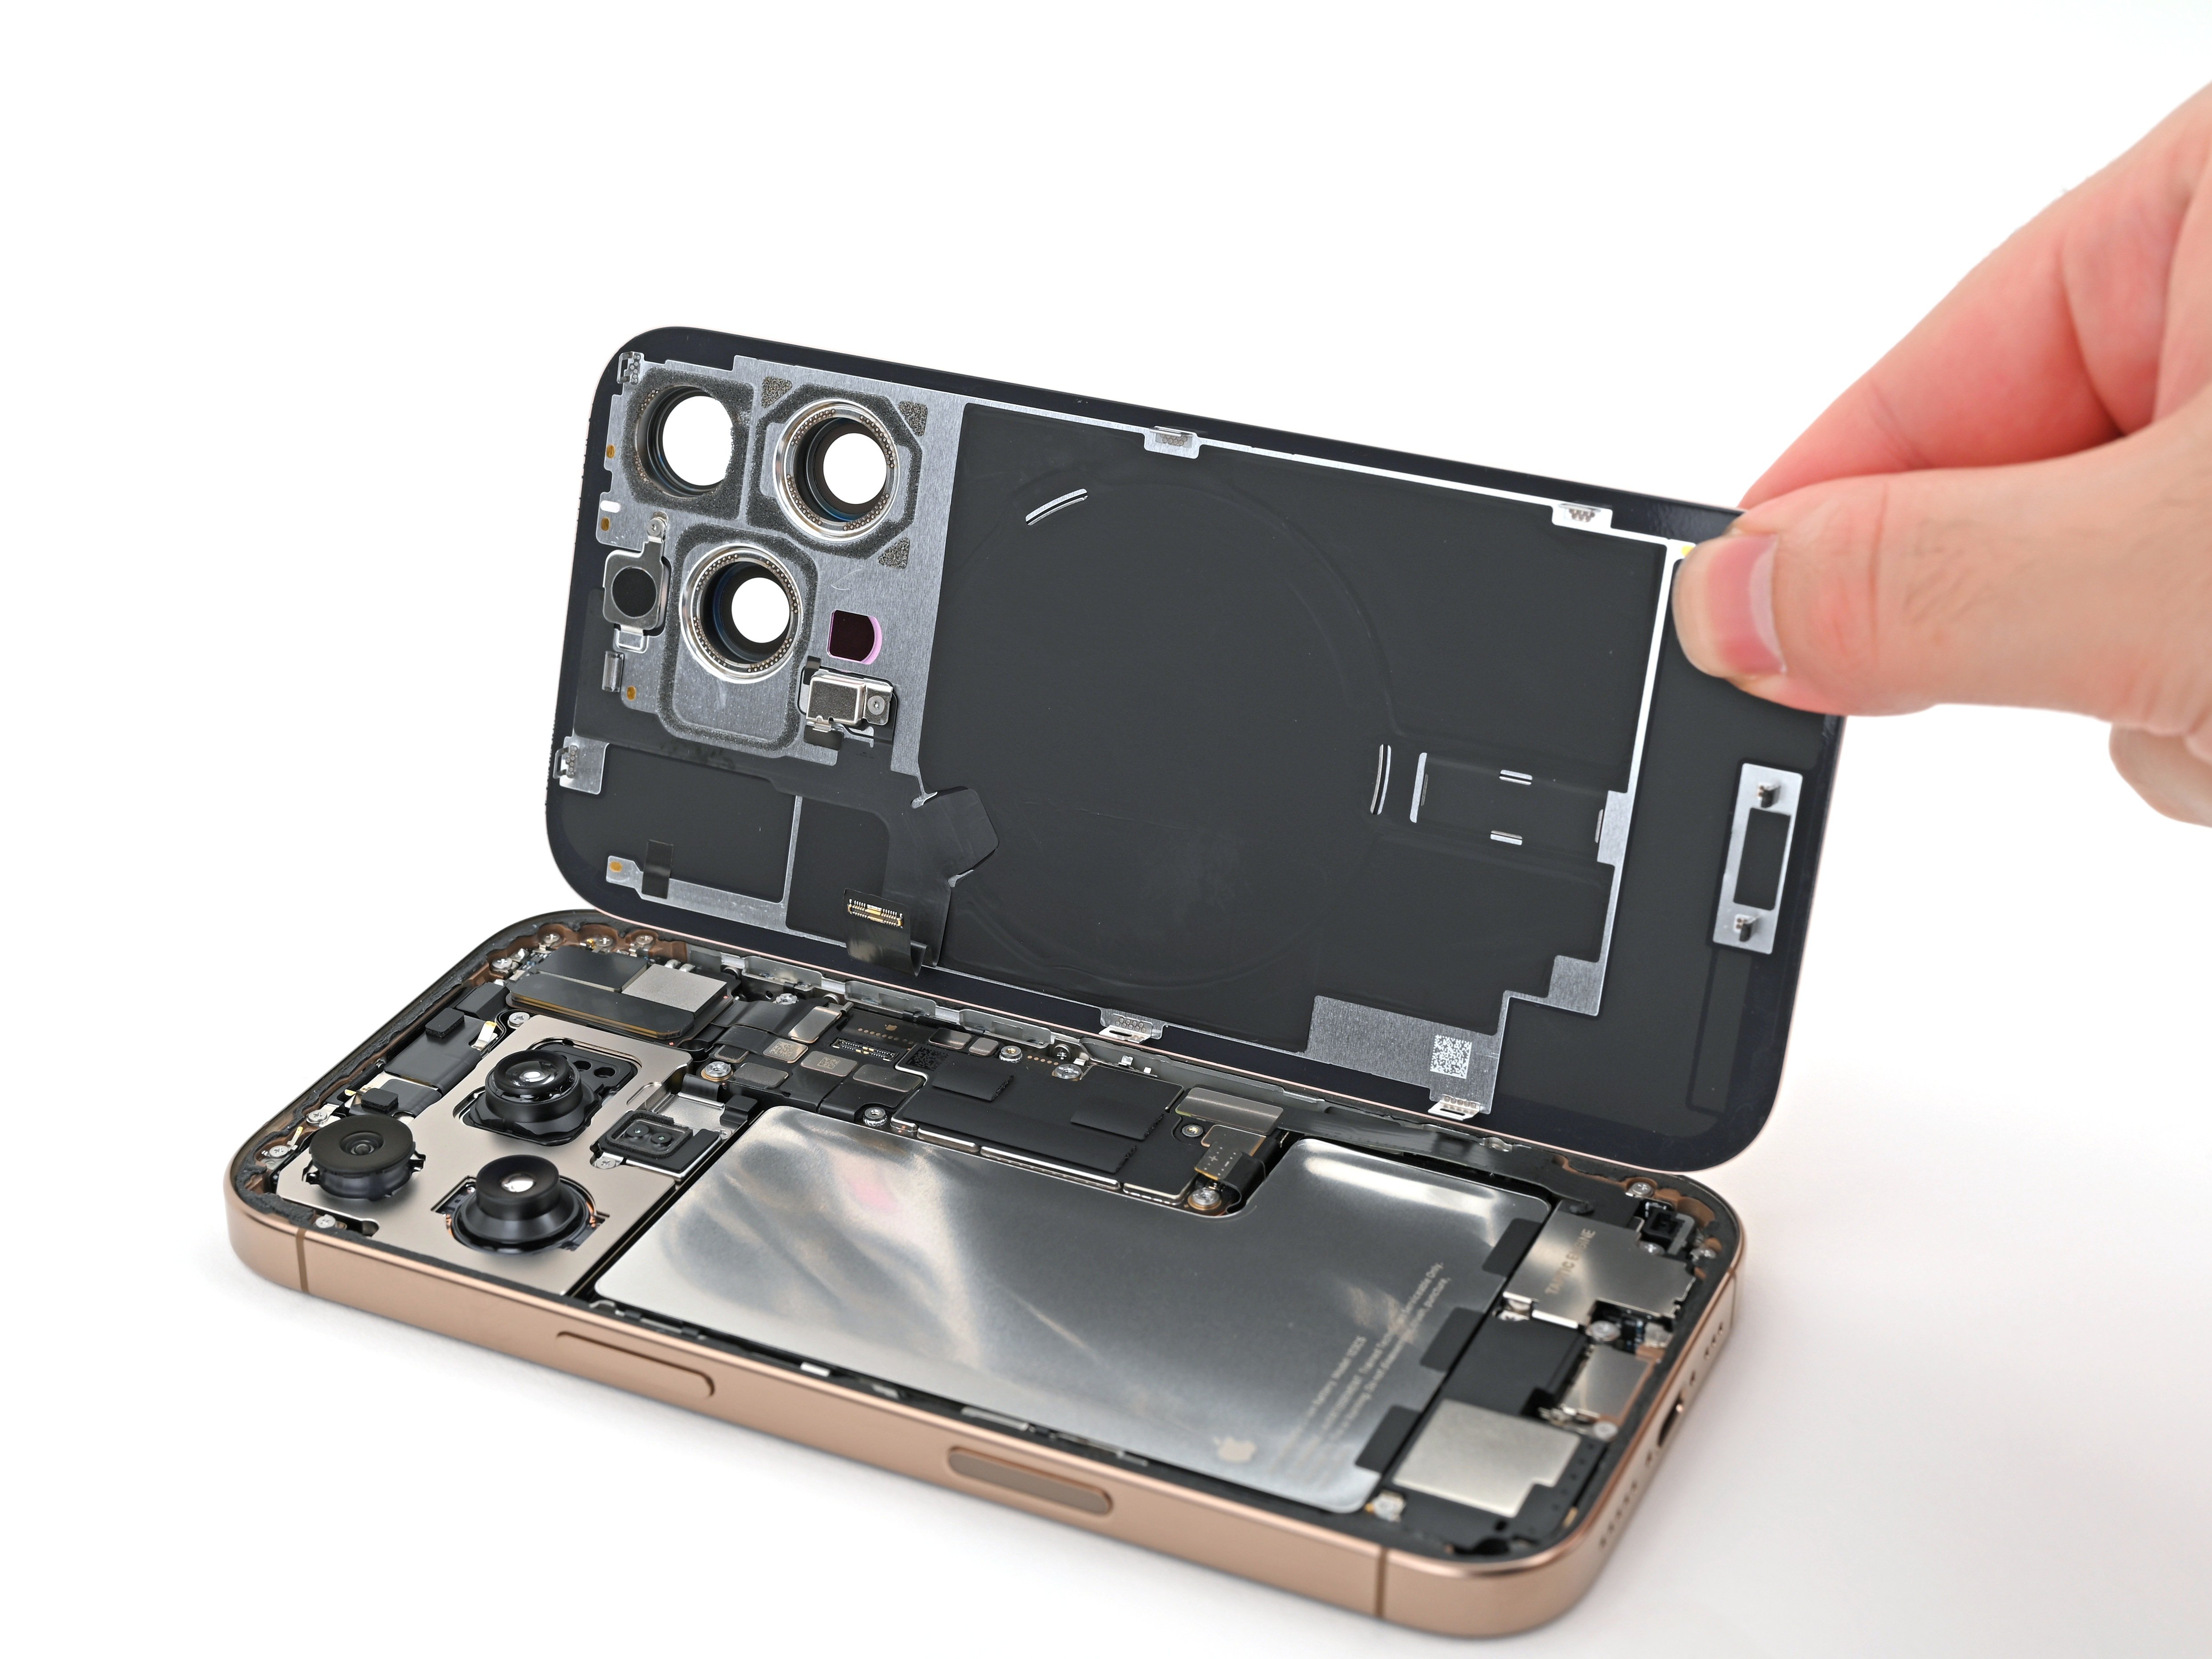
- Carefully swing the back glass open toward the volume buttons, like flipping a page.
- Support that back glass with a clean, sturdy object—think small box or similar—to keep the cable safe and sound.
- Gently remove the opening picks to finish off the job.
Hold off on trying to peel off the back glass just yet—it's still hanging on with a delicate ribbon cable. Stick with the next few steps to remove it safely and smoothly.
If the back glass isn't popping open easily, don't yank on it—try running your pick around the edges again to check for any stubborn adhesive spots or clips that might be holding on. To keep the camera lenses safe while you're inside, consider sticking some polyimide tape over them—no need to push directly against the lenses and risk damage. Sometimes, you might need to give the back glass a gentle lift before swinging it open fully—that helps release any clips that are still holding on. Keep at it, and if you need a hand, you can always schedule a repair.
Tools Used

Step 16


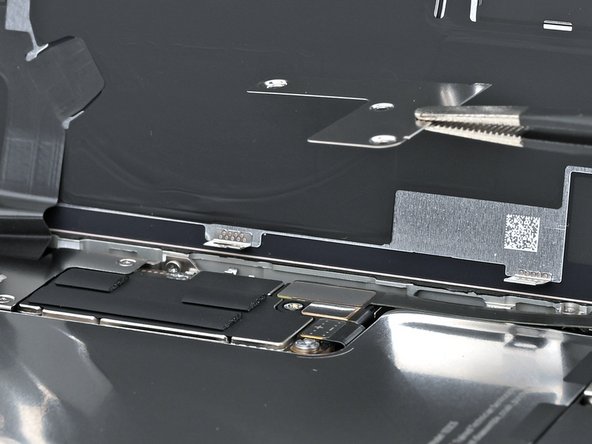
- Grab your tri-point Y000 screwdriver and carefully take out the three screws holding down the lower connector cover:
- Two screws, each 1.2 mm long
- One screw, 1.0 mm long
Tools Used

Step 17

- Grab your trusty tweezers or just your fingers and gently lift off the lower connector cover. You've got this!
Tools Used

Step 18


- Gently use the tip of your spudger to lift up and disconnect the battery press connector. Easy does it!
- When putting things back together, make sure the connector is lined up with its socket. Then, press it down gently with your finger or the flat end of the spudger. Start with one side, then switch to the other—wait for that satisfying 'click'! If it’s being stubborn, try repositioning it and giving it another go. Patience is key here!
Tools Used
Step 19


- Grab your tri-point Y000 screwdriver and get ready to unscrew the four screws holding down the upper connector cover:
- Two screws are a neat 1.0 mm long,
- One is slightly longer at 1.2 mm,
- And the last one measures 1.6 mm—easy peasy!
Tools Used
Step 20

- Grab those tweezers or just use your fingers to gently lift off the upper connector cover. You've got this!
Tools Used
Step 21

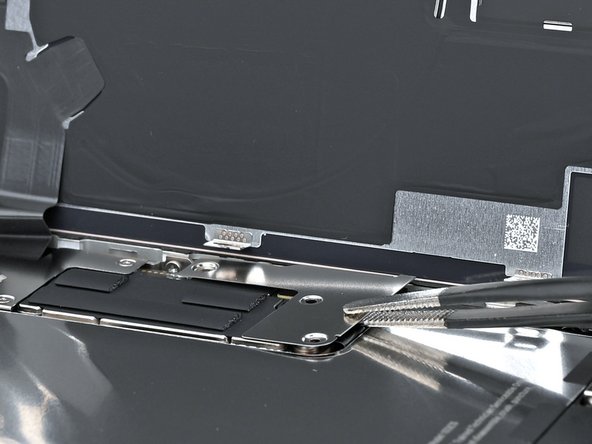
- Grab a spudger and gently pry up the back glass press connector to disconnect it. Keep it steady and work your way around if needed. If you get stuck, remember you can always schedule a repair for extra help.
Tools Used
Step 22

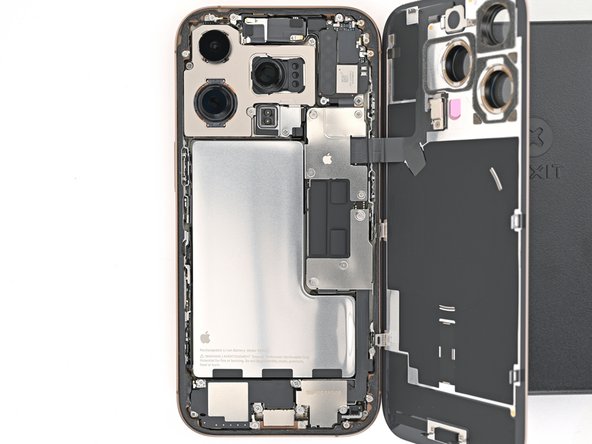
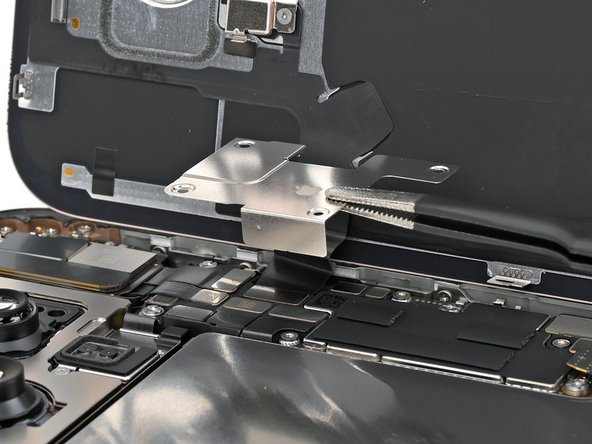
- Gently lift that back glass off the frame and say goodbye to it.
- Now, while you're piecing everything back together:
- Here's a clever tip: before you seal up your phone, it's a great idea to test out your handiwork! Just reconnect the battery and back glass temporarily (before slapping on the adhesive), power up your device, and make sure everything's working like a charm. Once you’re satisfied, power it down, disconnect the battery again, and continue with the reassembly.
- Follow this guide to reapply the adhesive and put that back glass back in its rightful place.
Step 23

The 5G mmWave antenna is only available on iPhone 16 Pros in the United States and Puerto Rico (model A3083). If you're working with any other model, feel free to skip the next four steps.
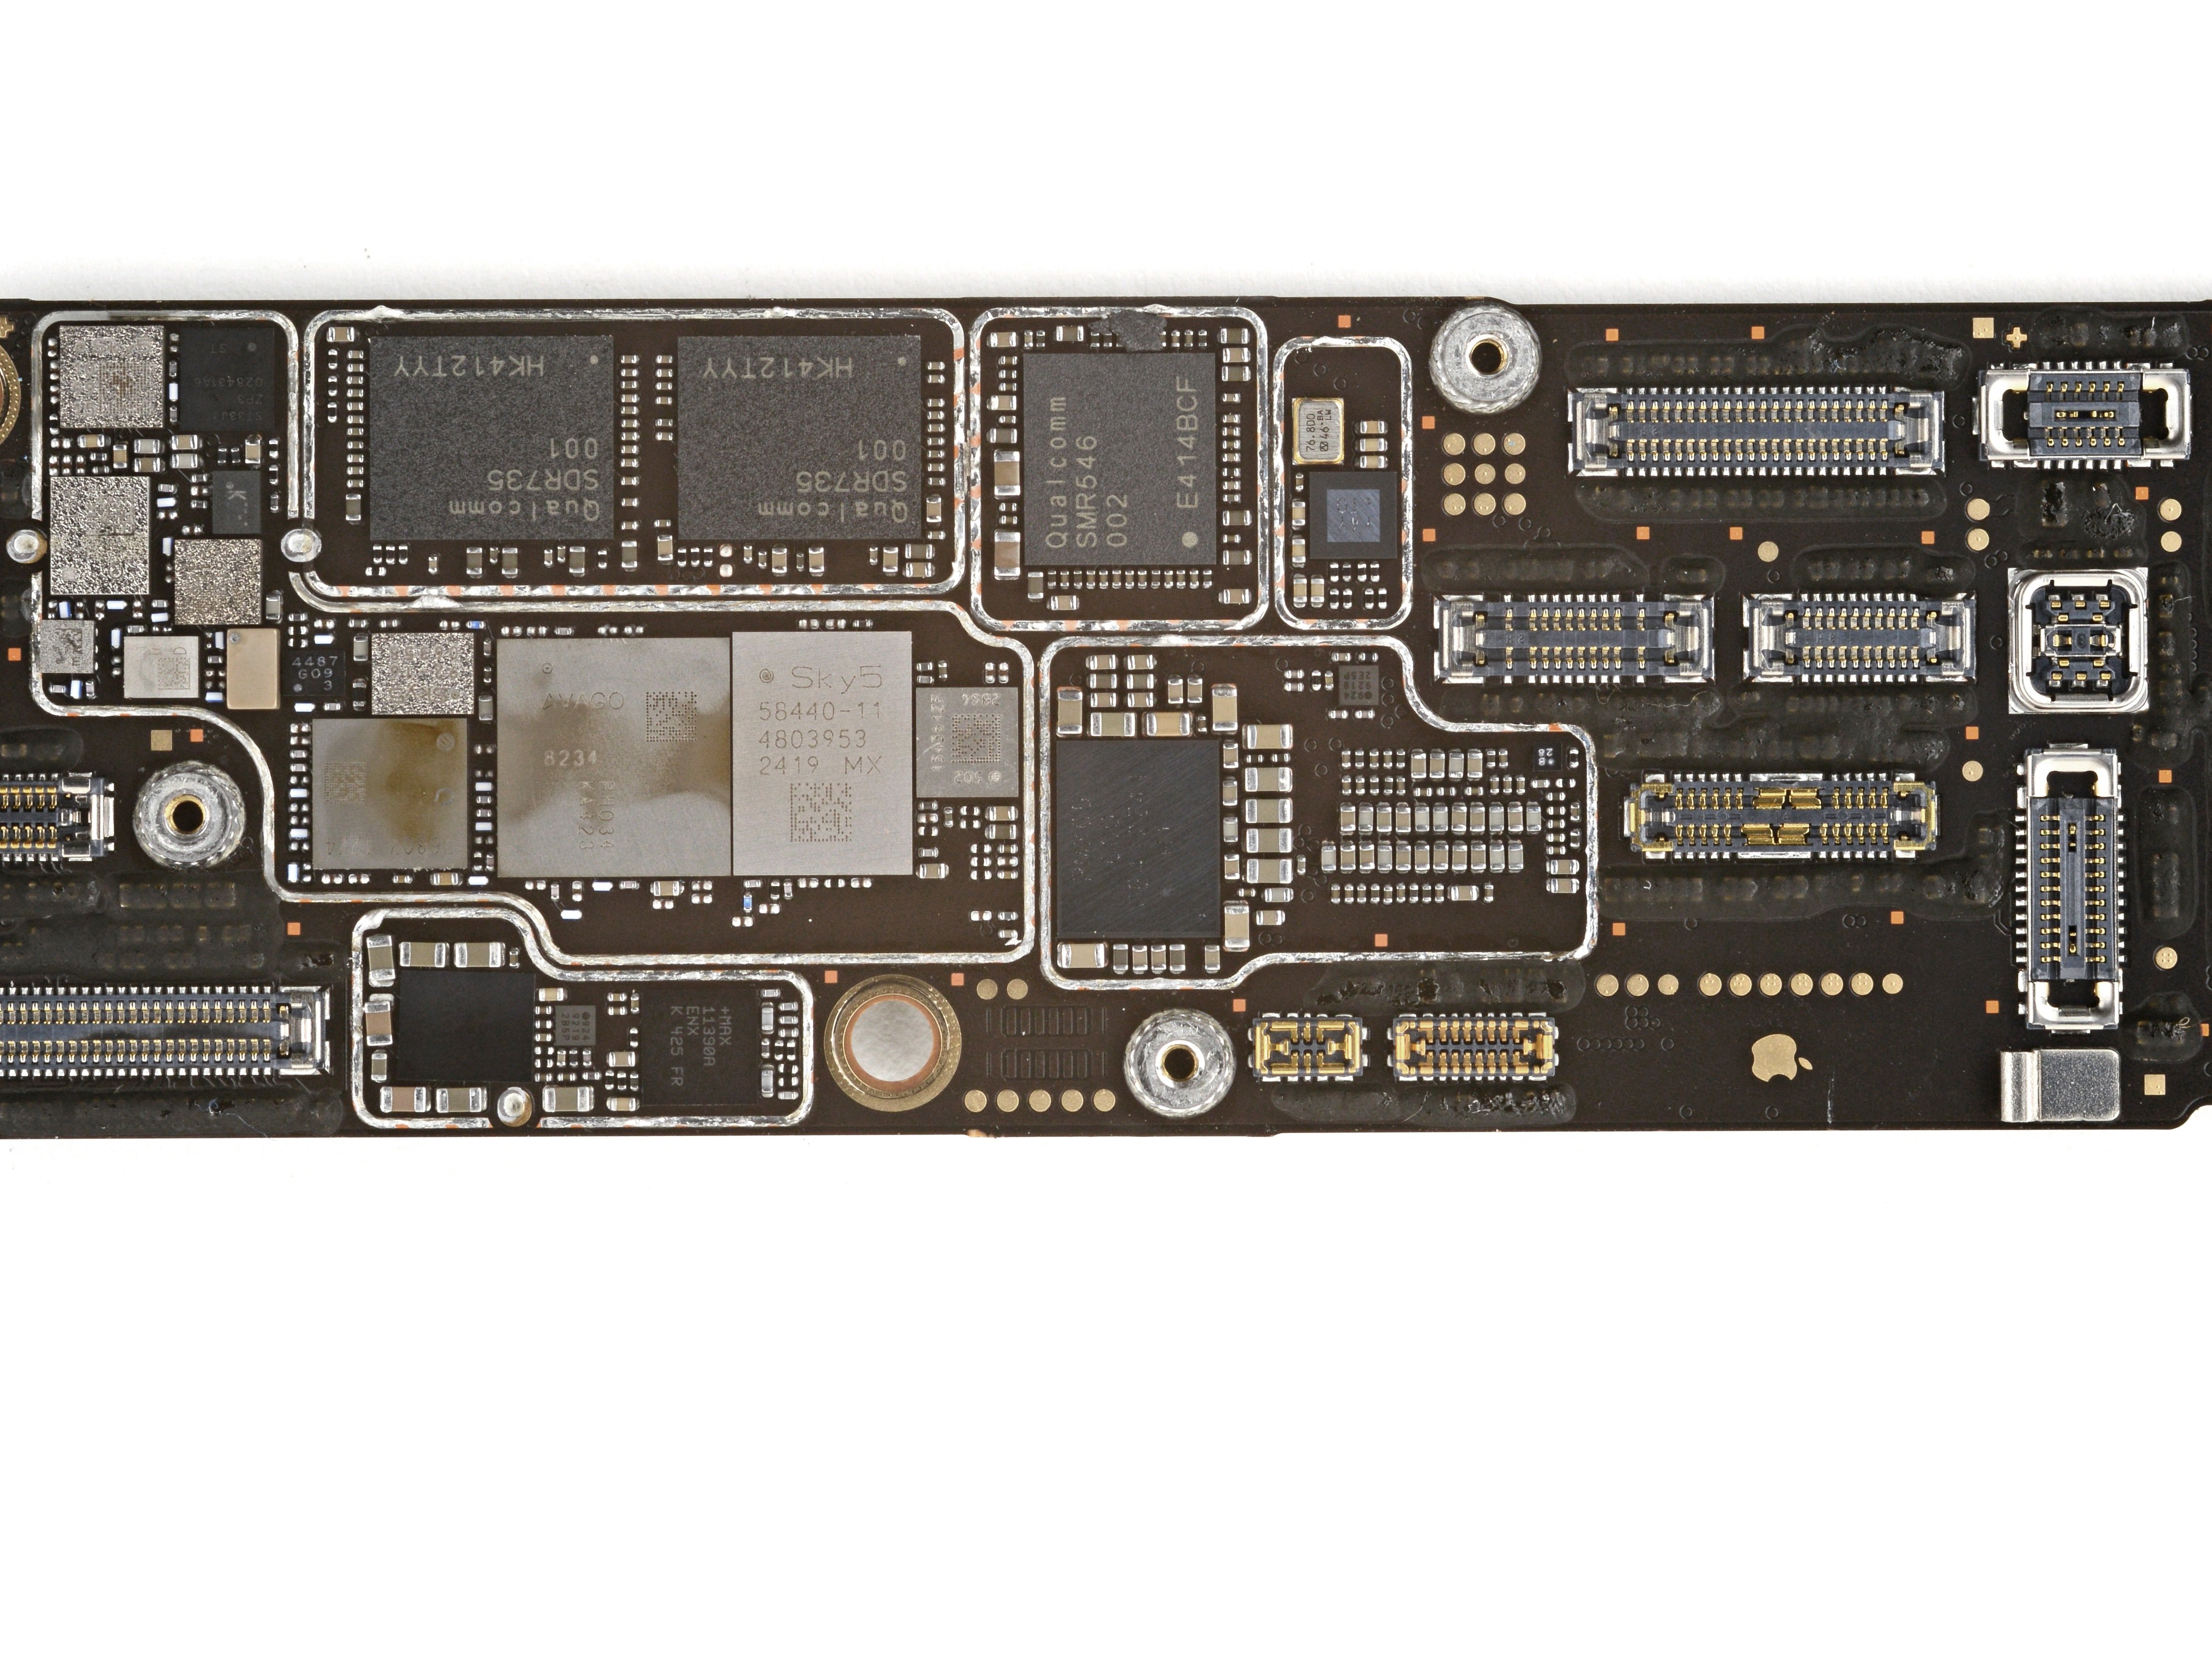
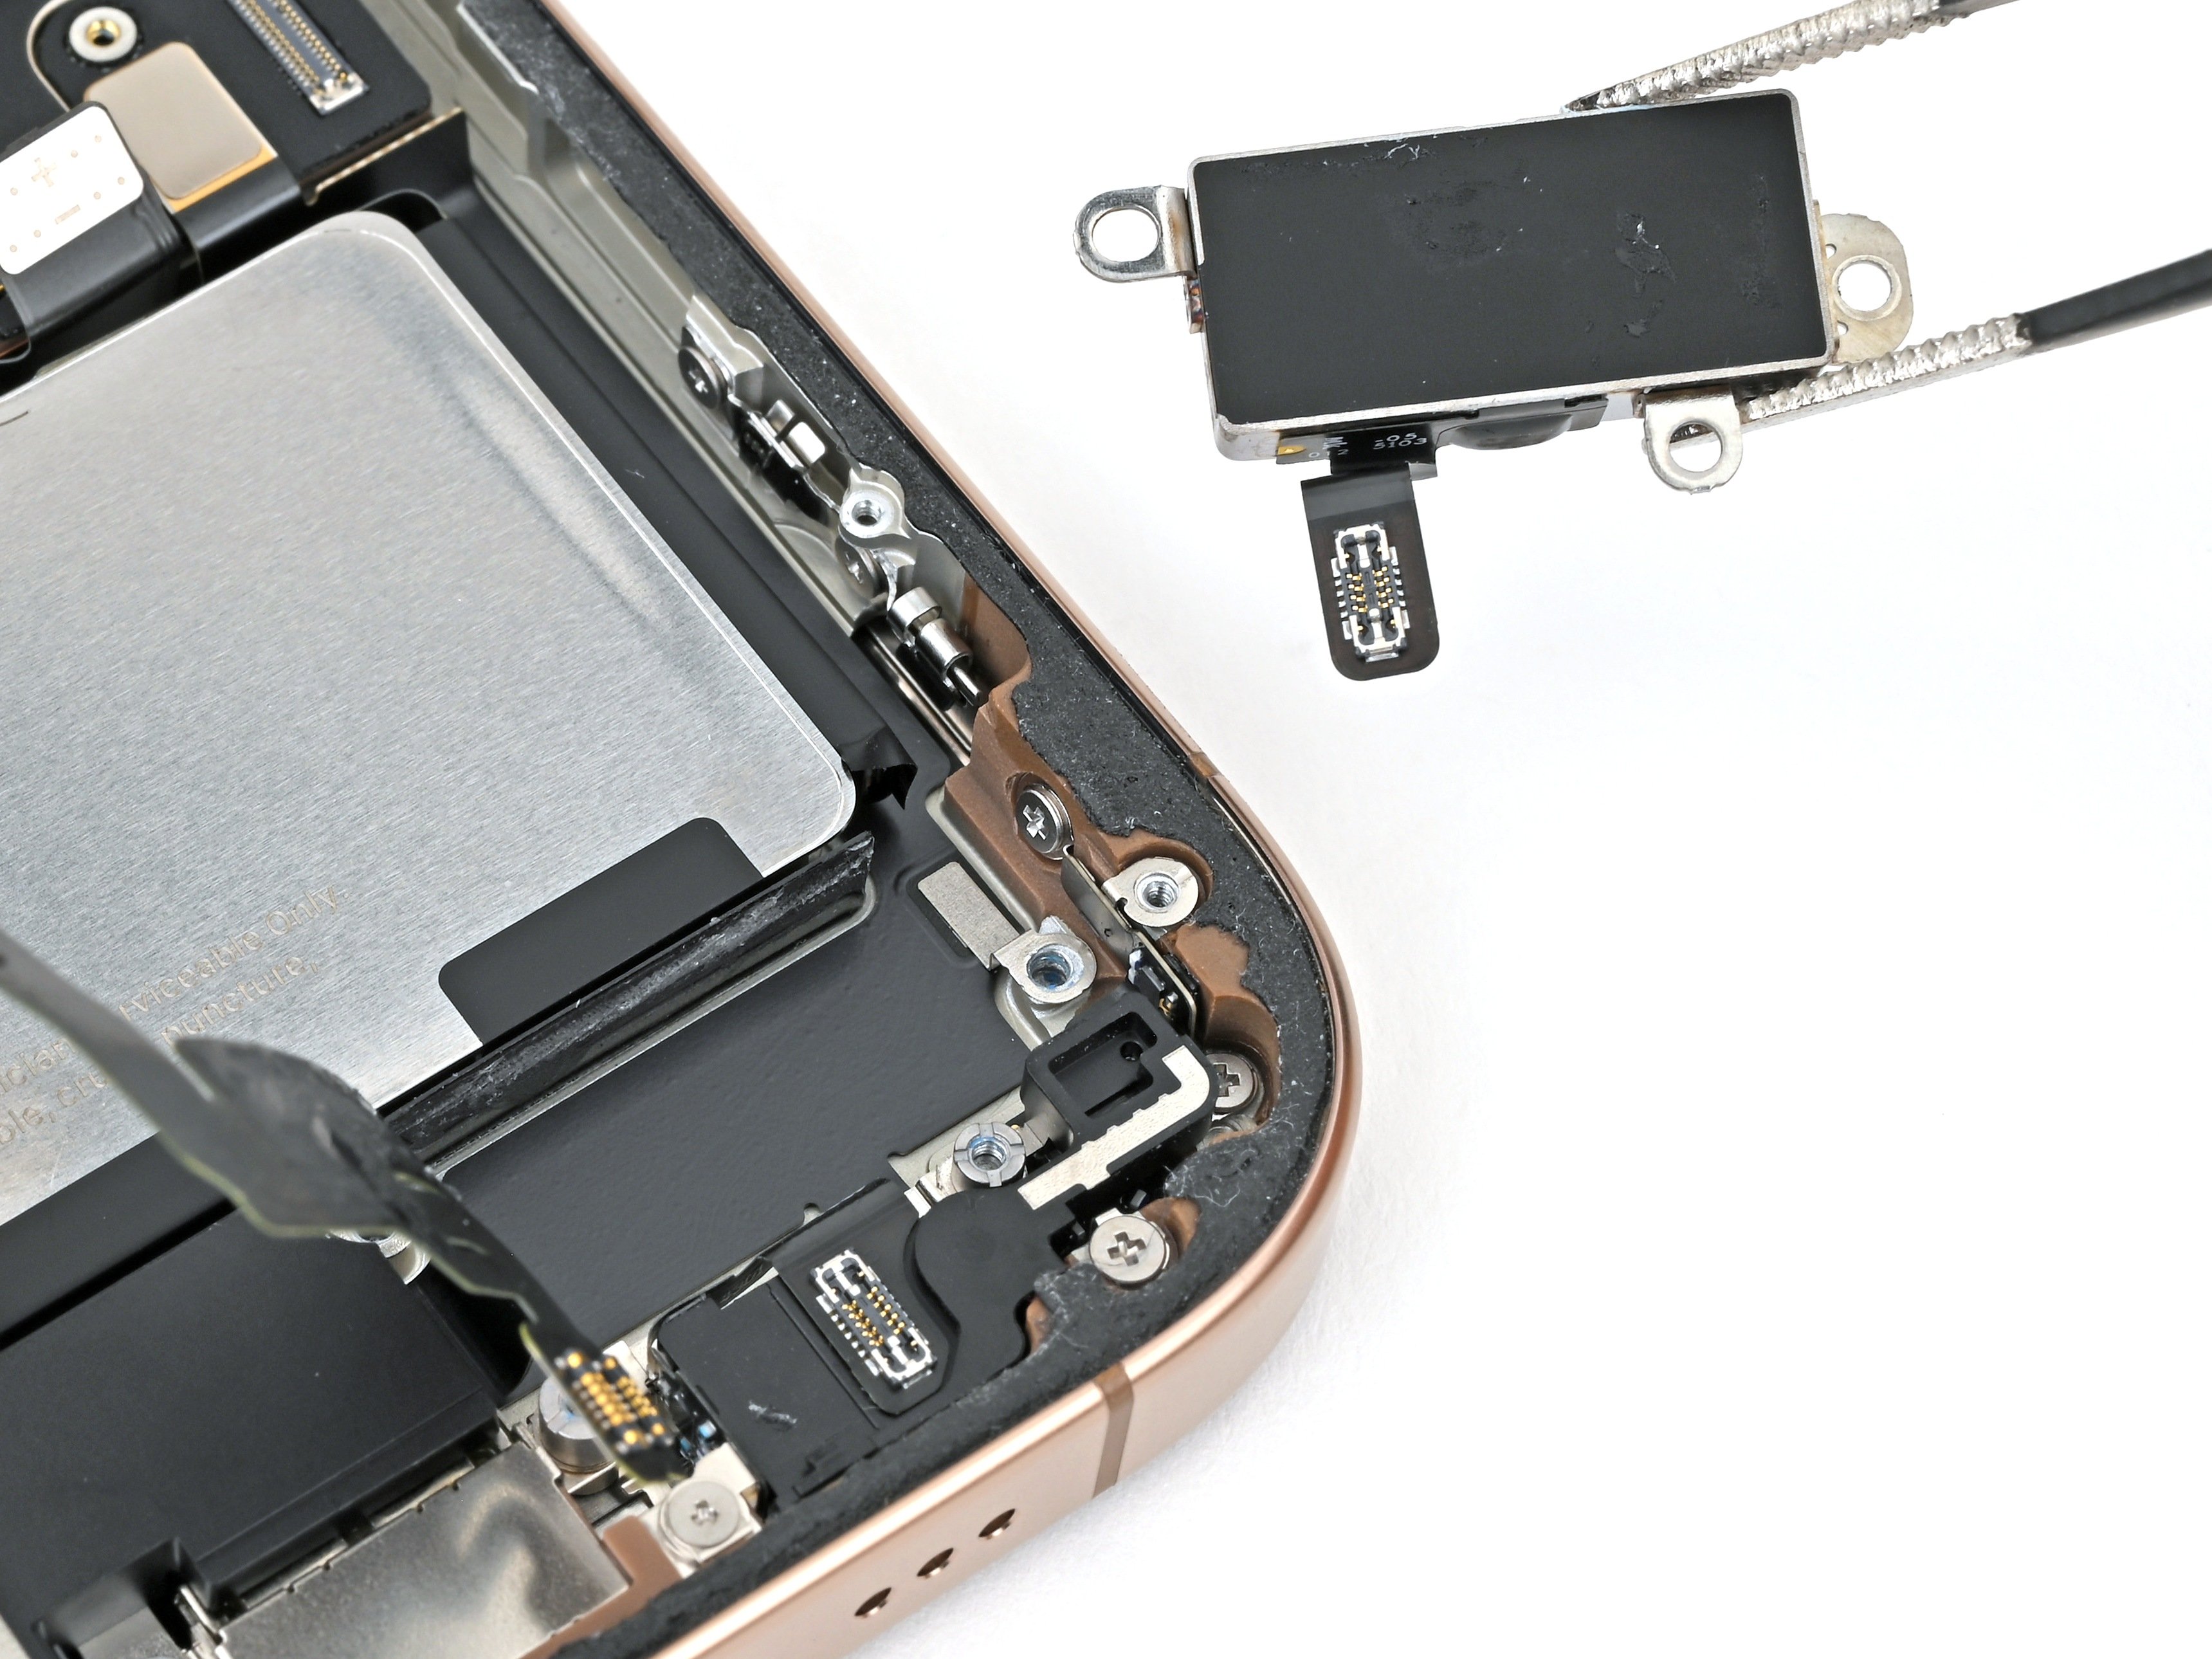
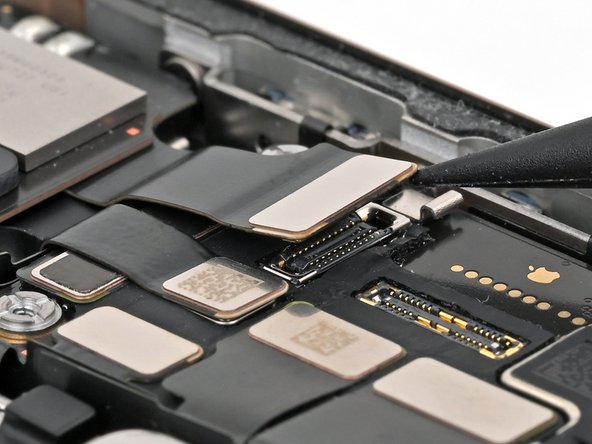
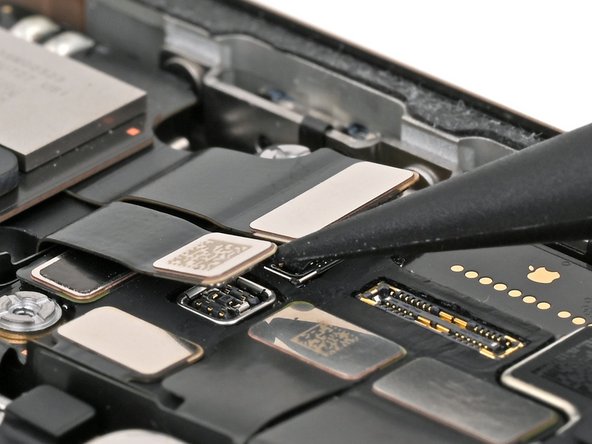
- Grab a spudger and gently pry up the connectors for the earpiece speaker and the 5G mmWave antenna press, which sit in the top right corner of the logic board. Take your time and be careful—these connectors like to stay put!
Tools Used
Step 24
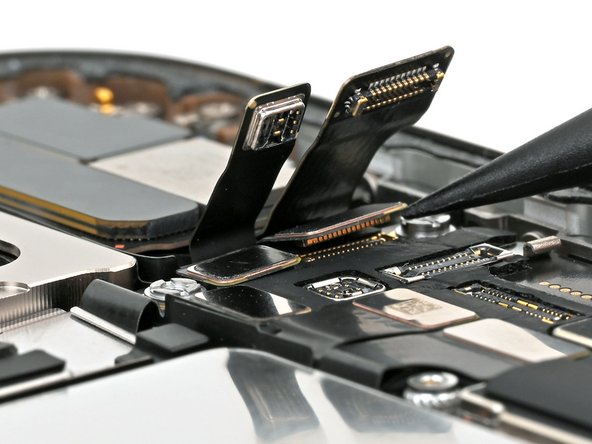

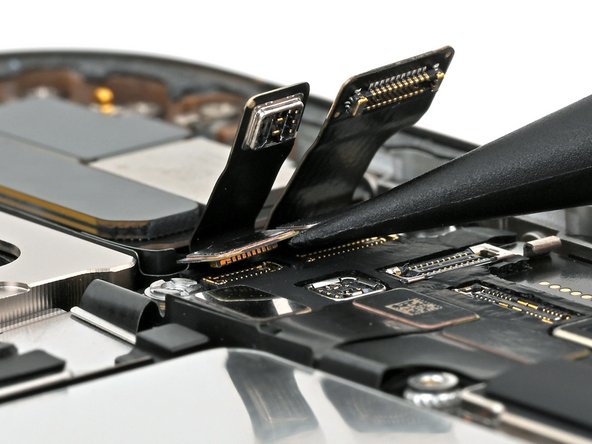
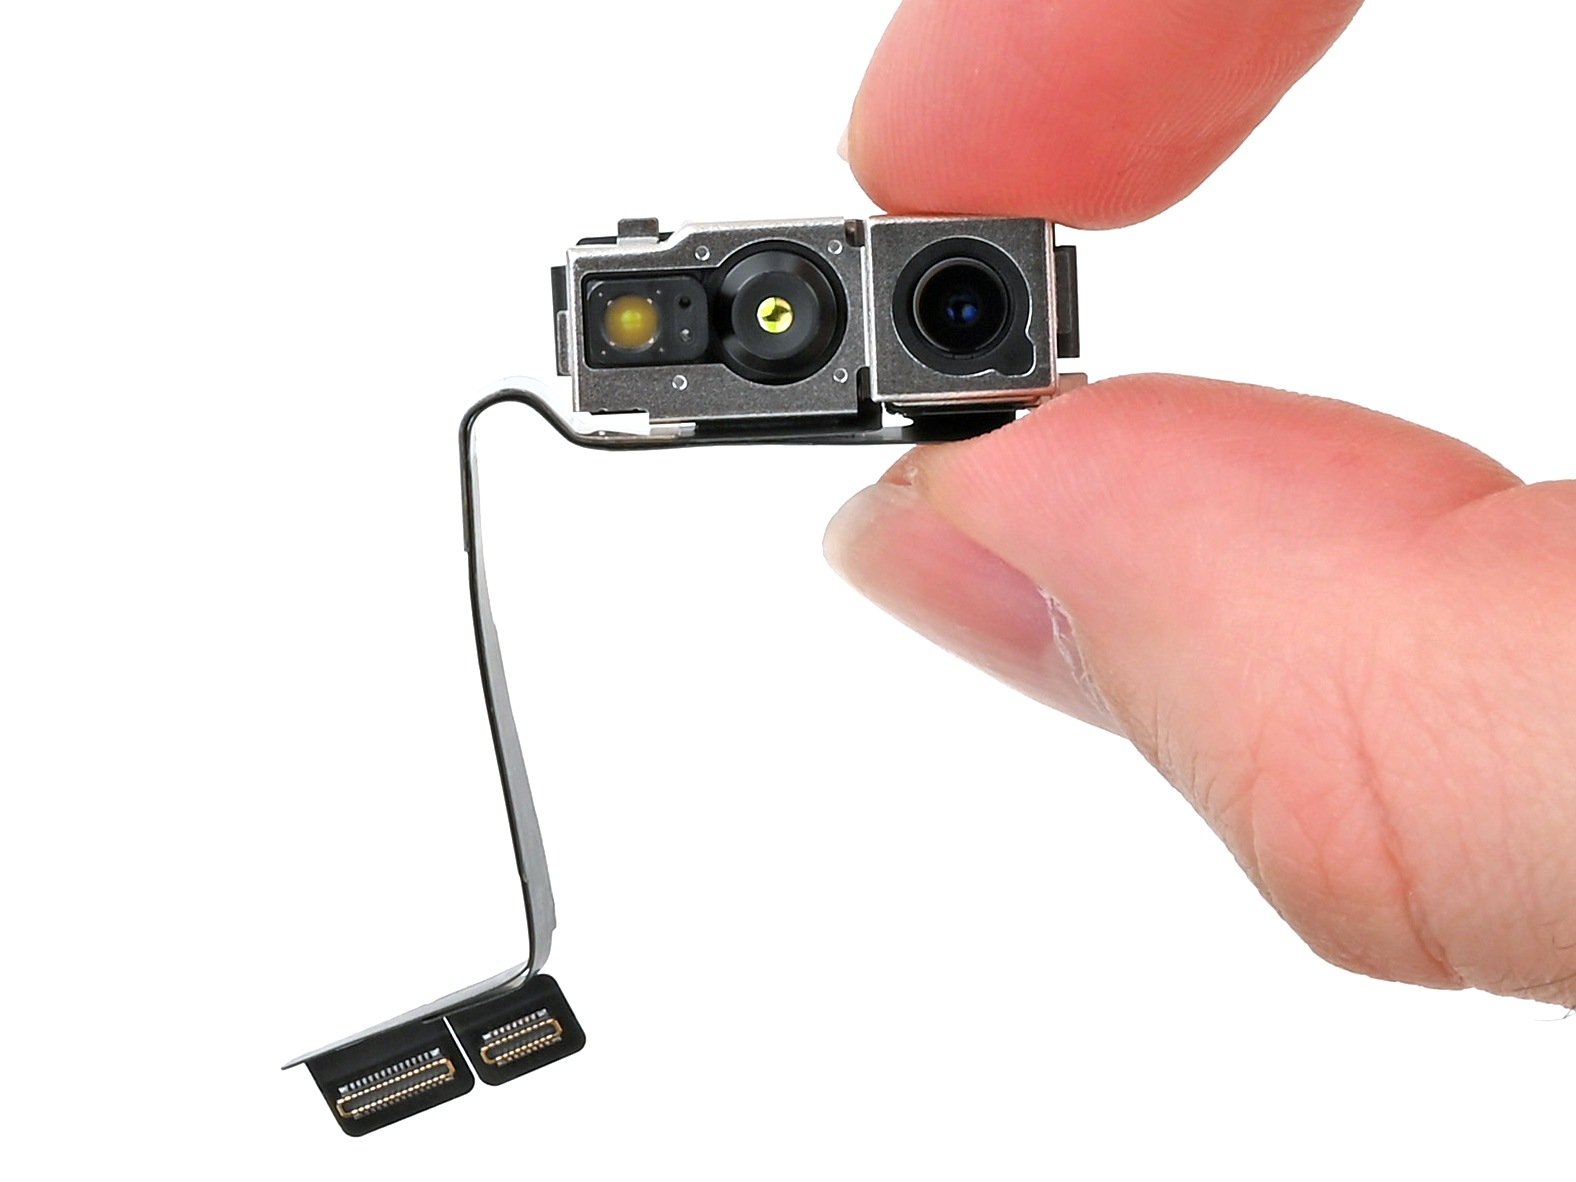
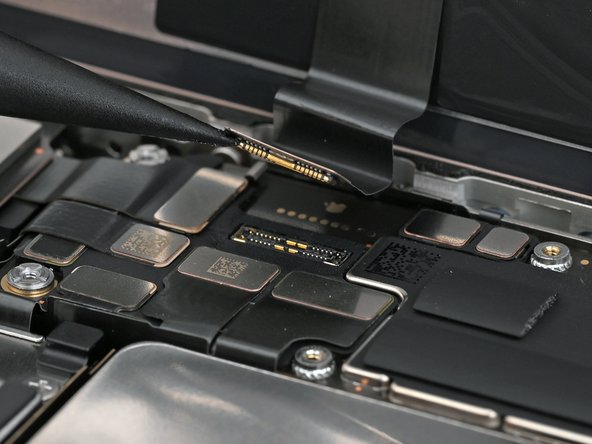
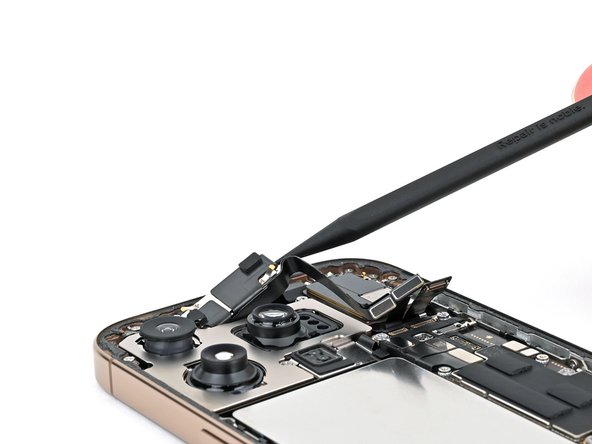
- Grab your trusty spudger and gently wiggle the point underneath the two front camera assembly connectors. Pry them up with care to disconnect, making sure not to rush—this is a delicate dance!
Tools Used
Step 25
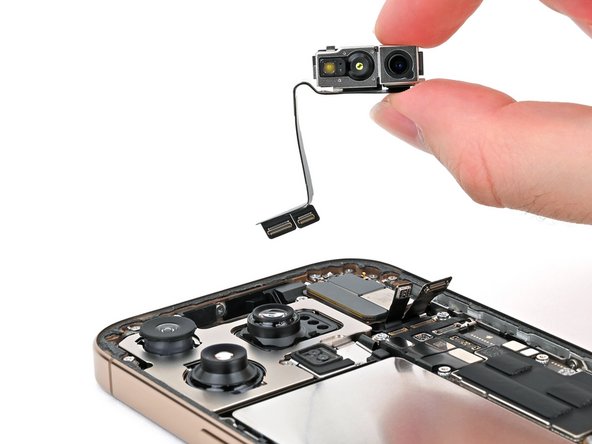

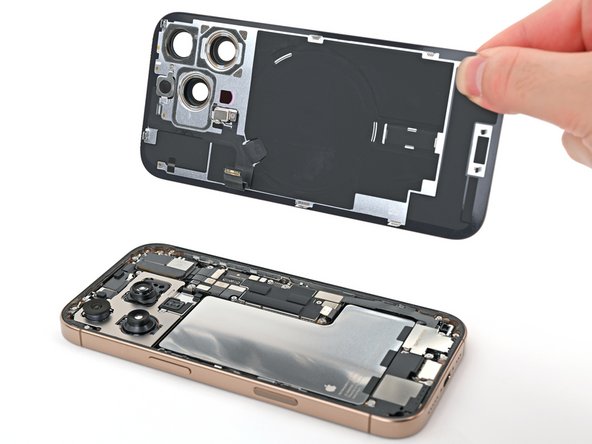
- Gently use a spudger or your fingers to lift the front camera assembly out of the phone and set it aside.