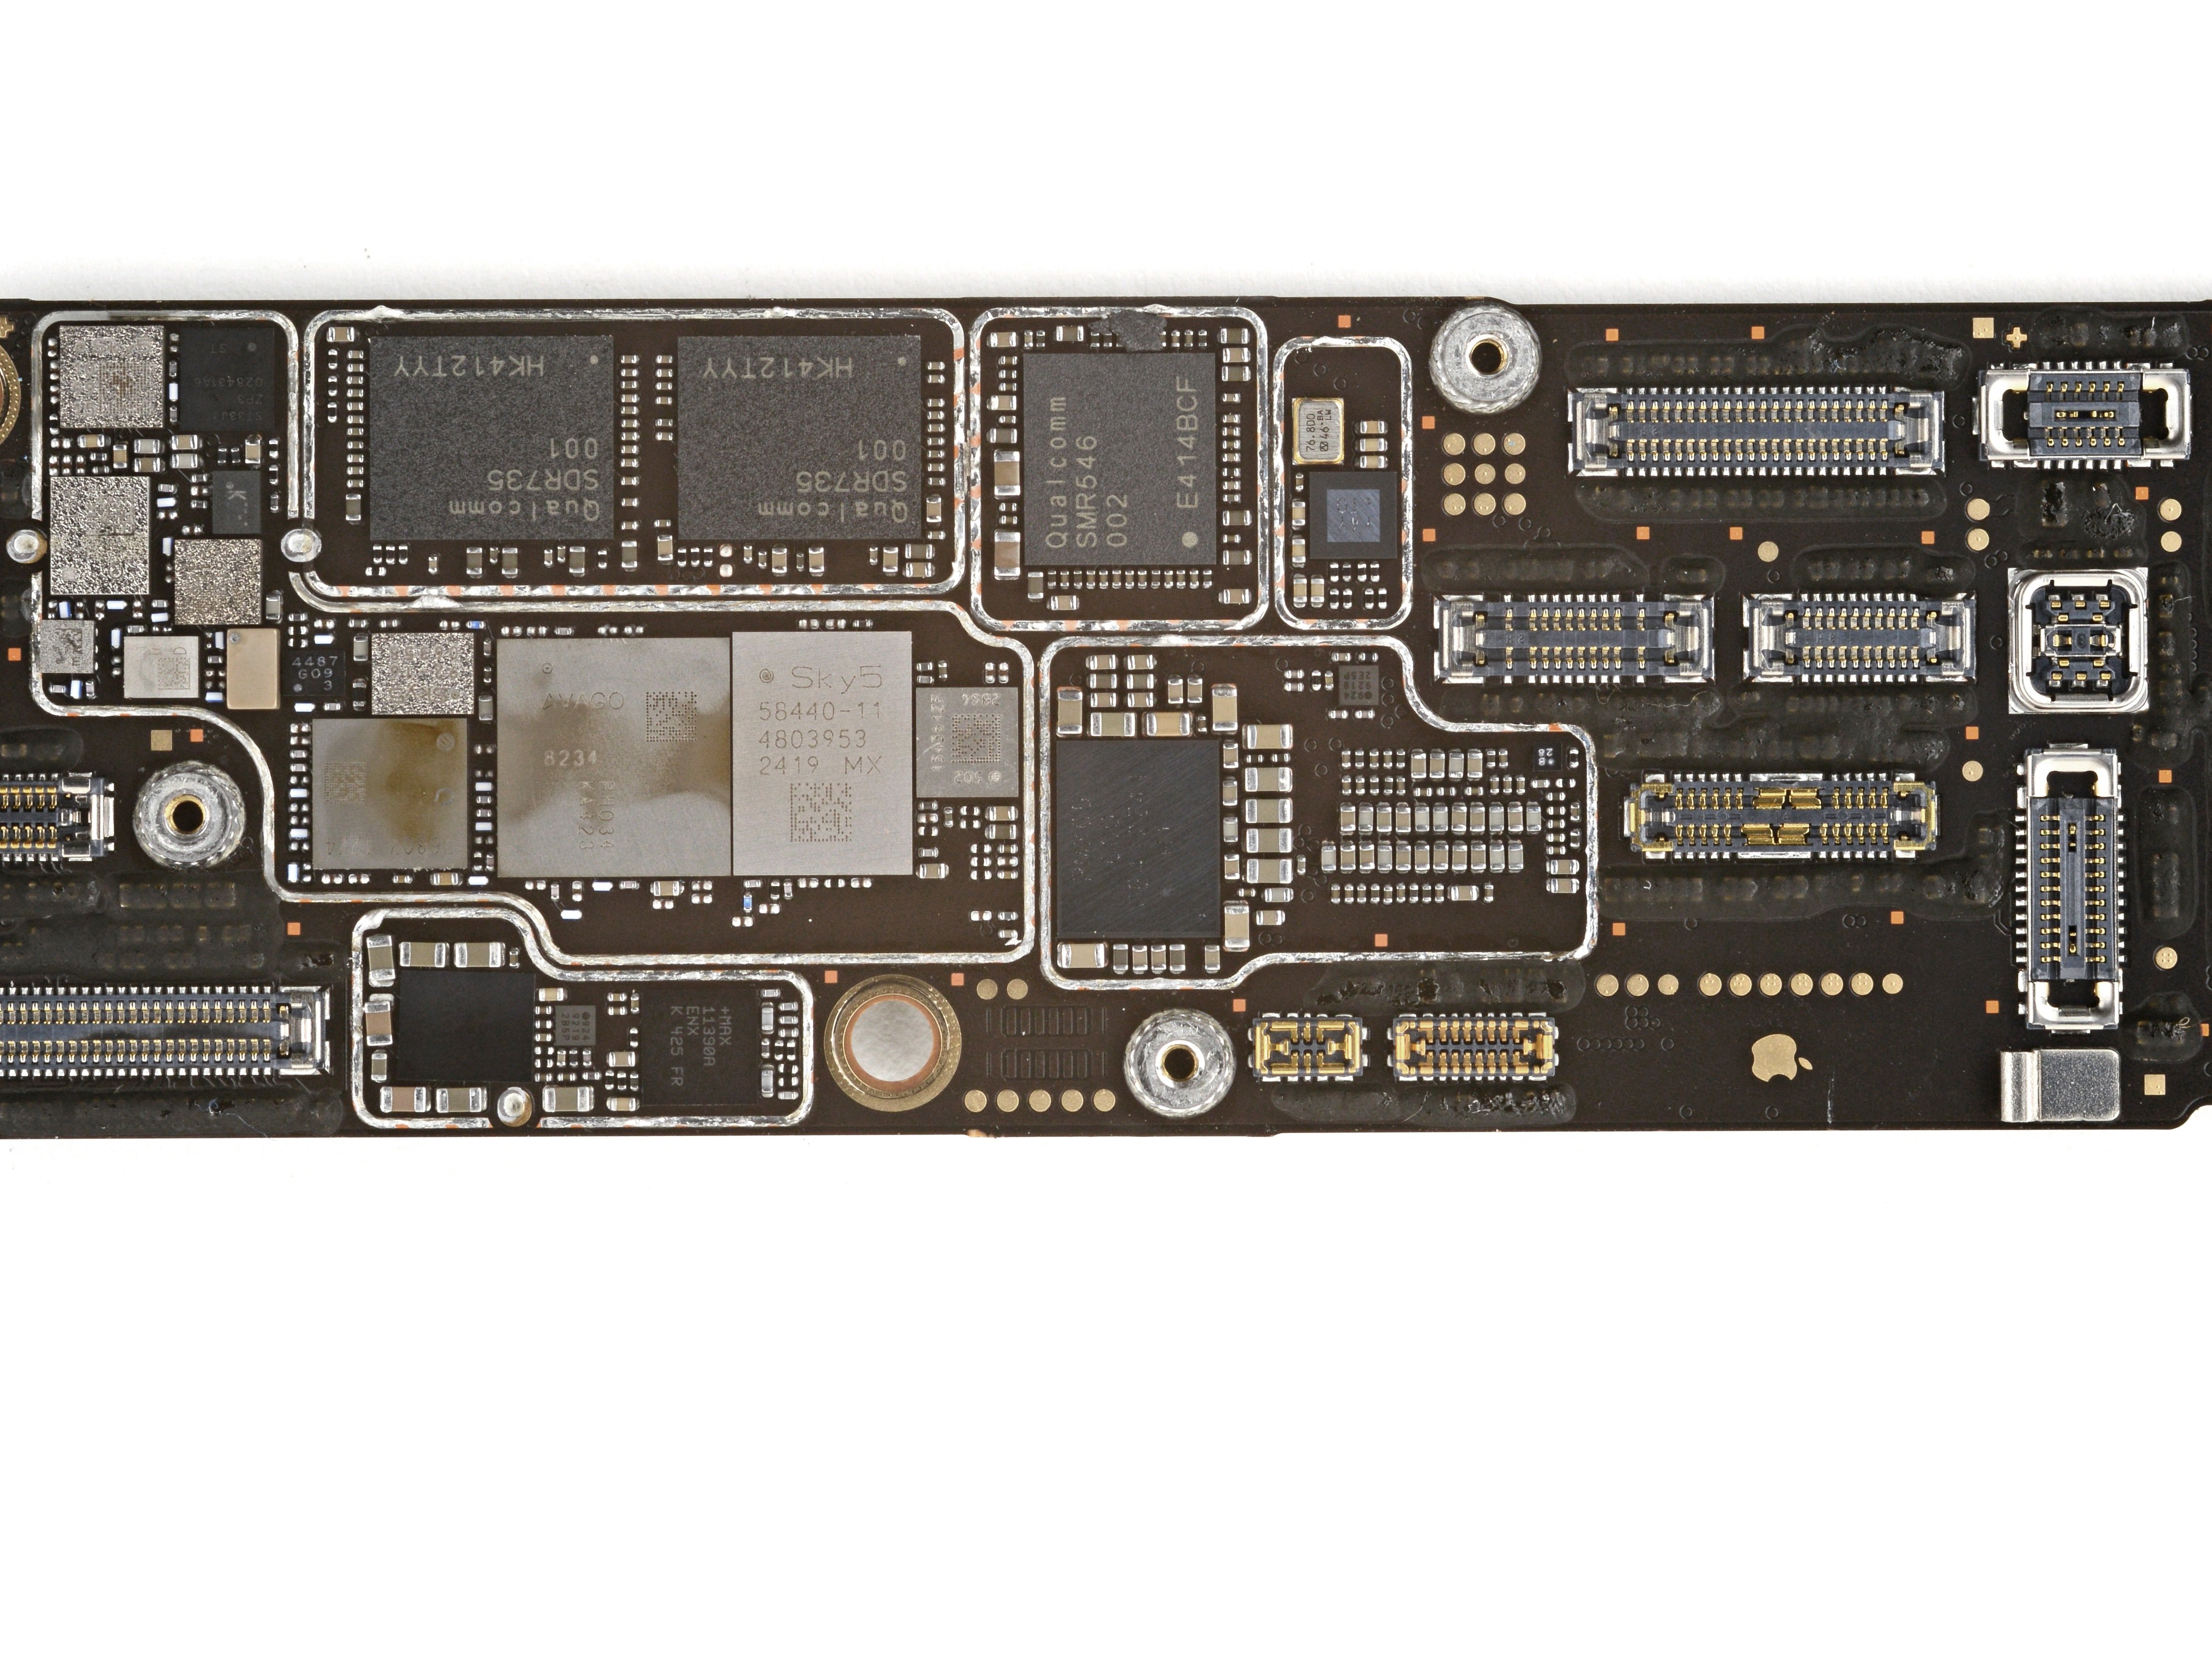
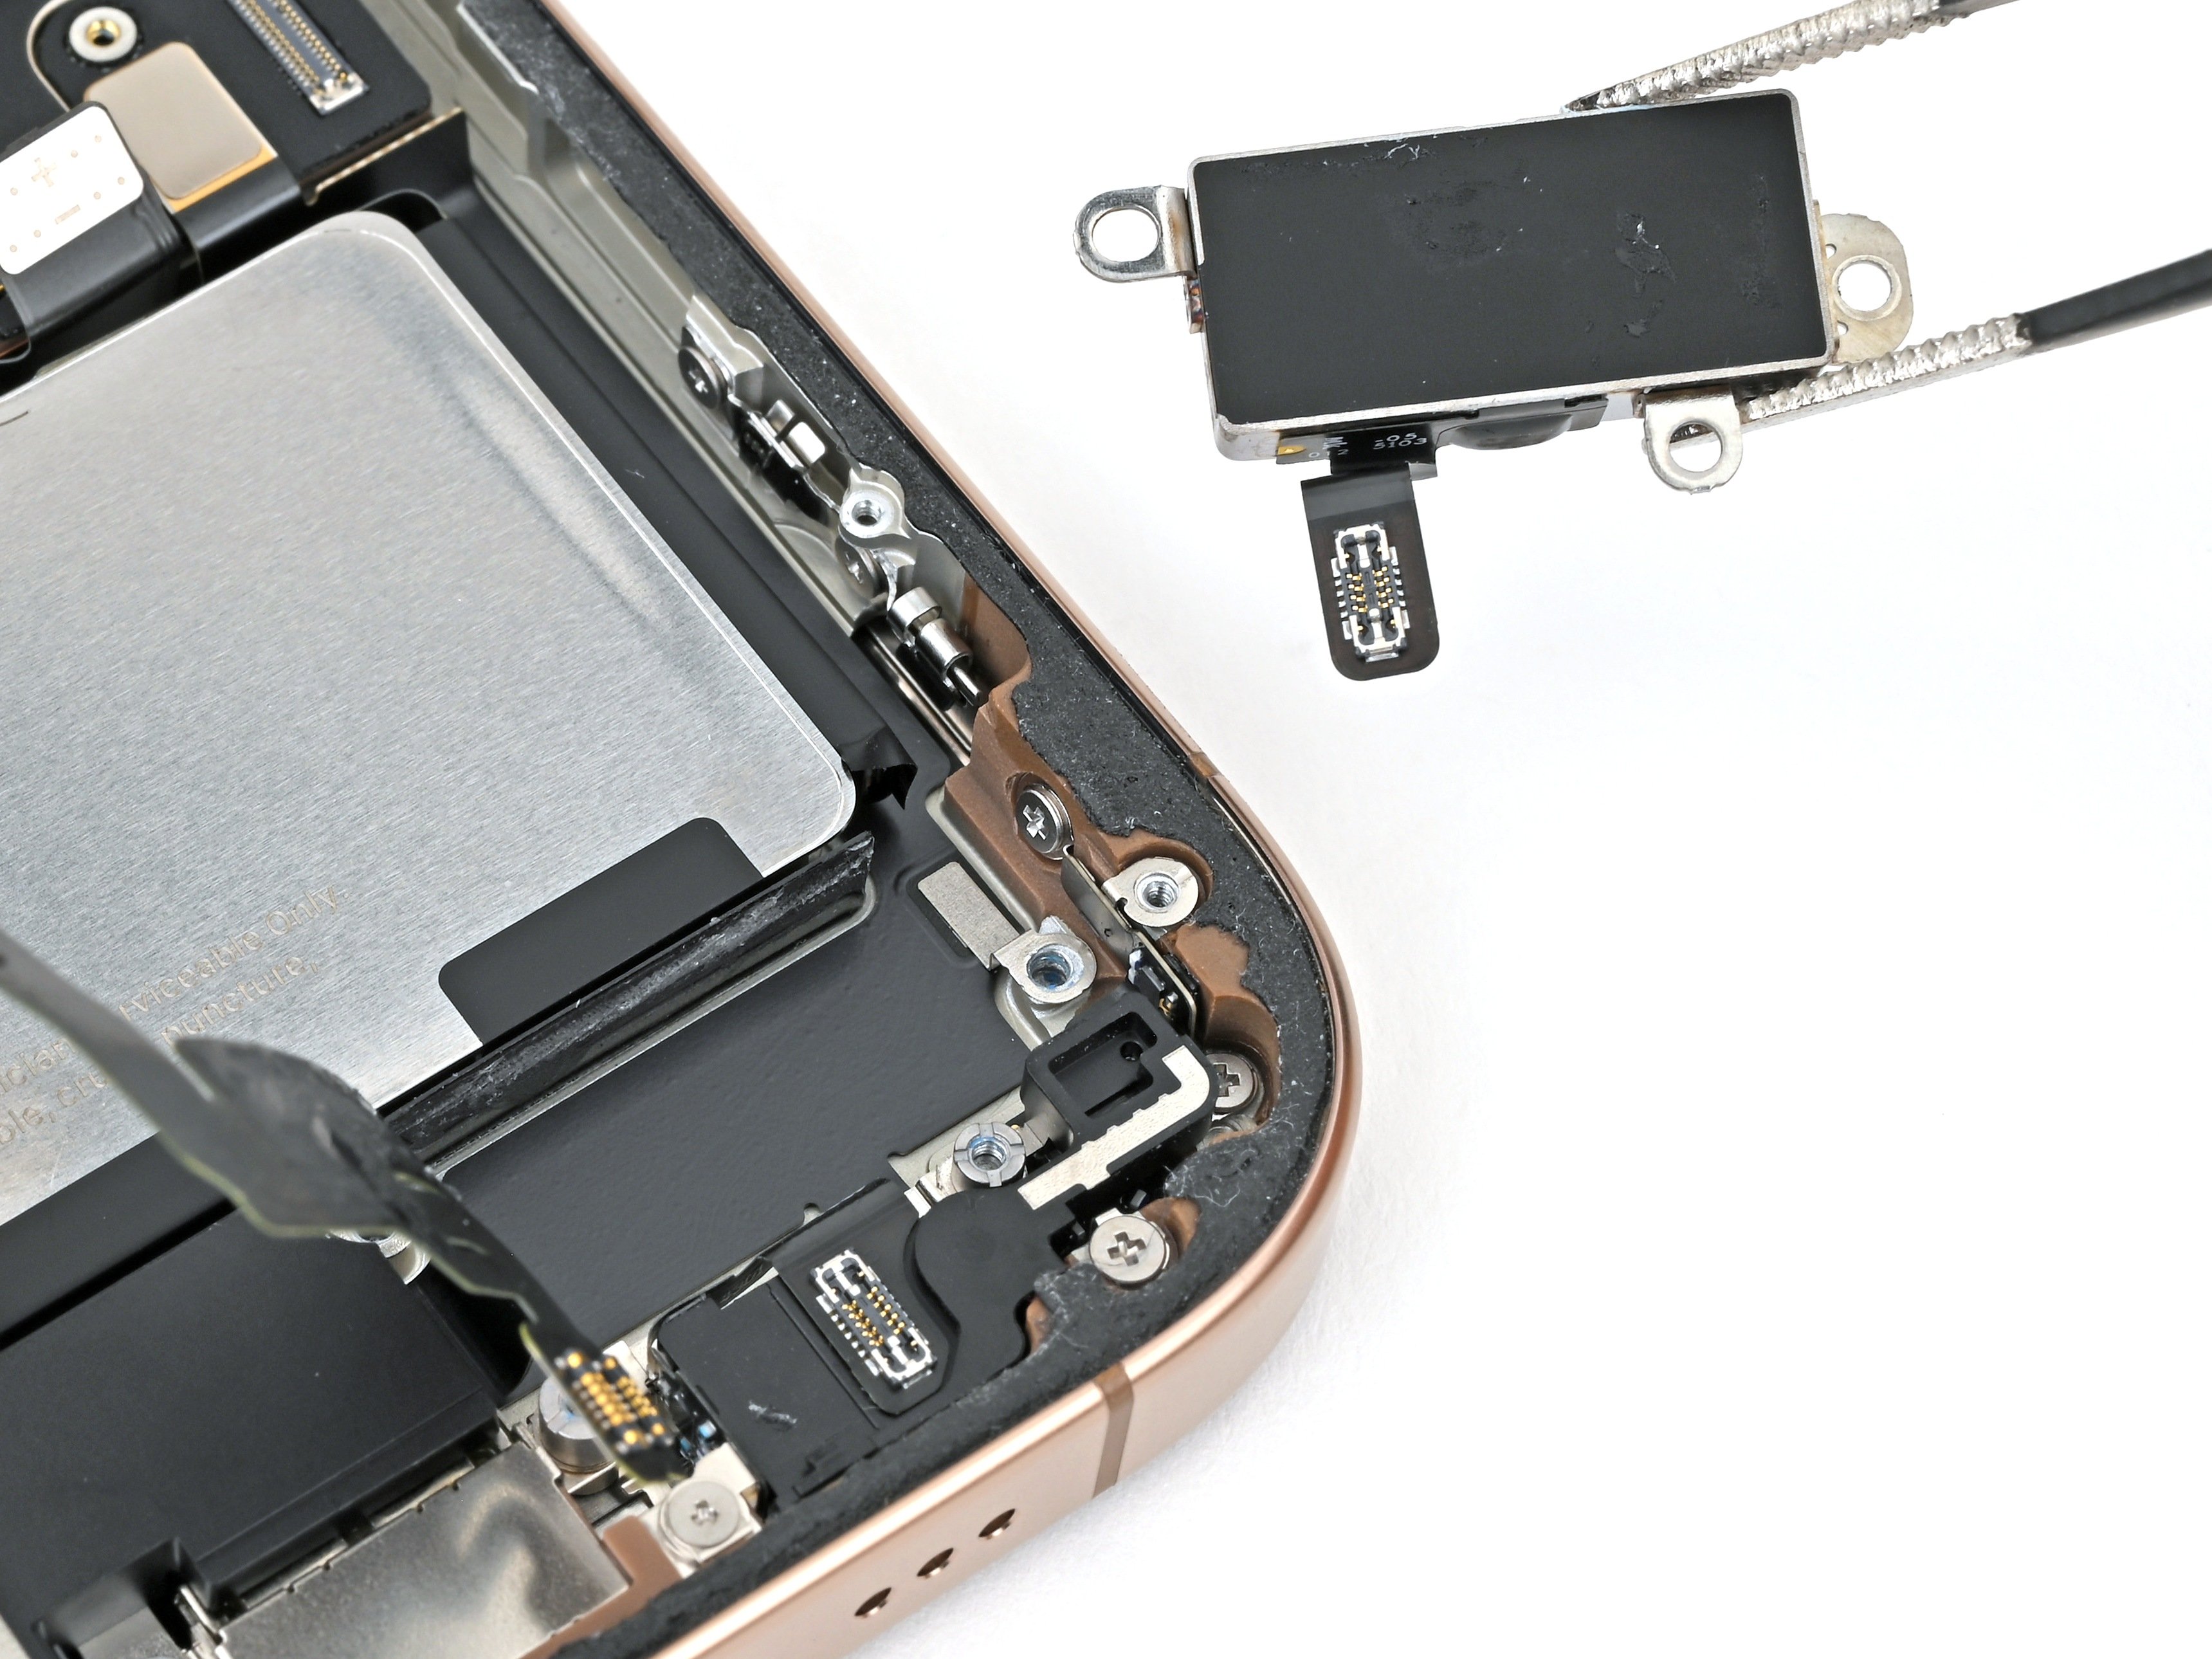
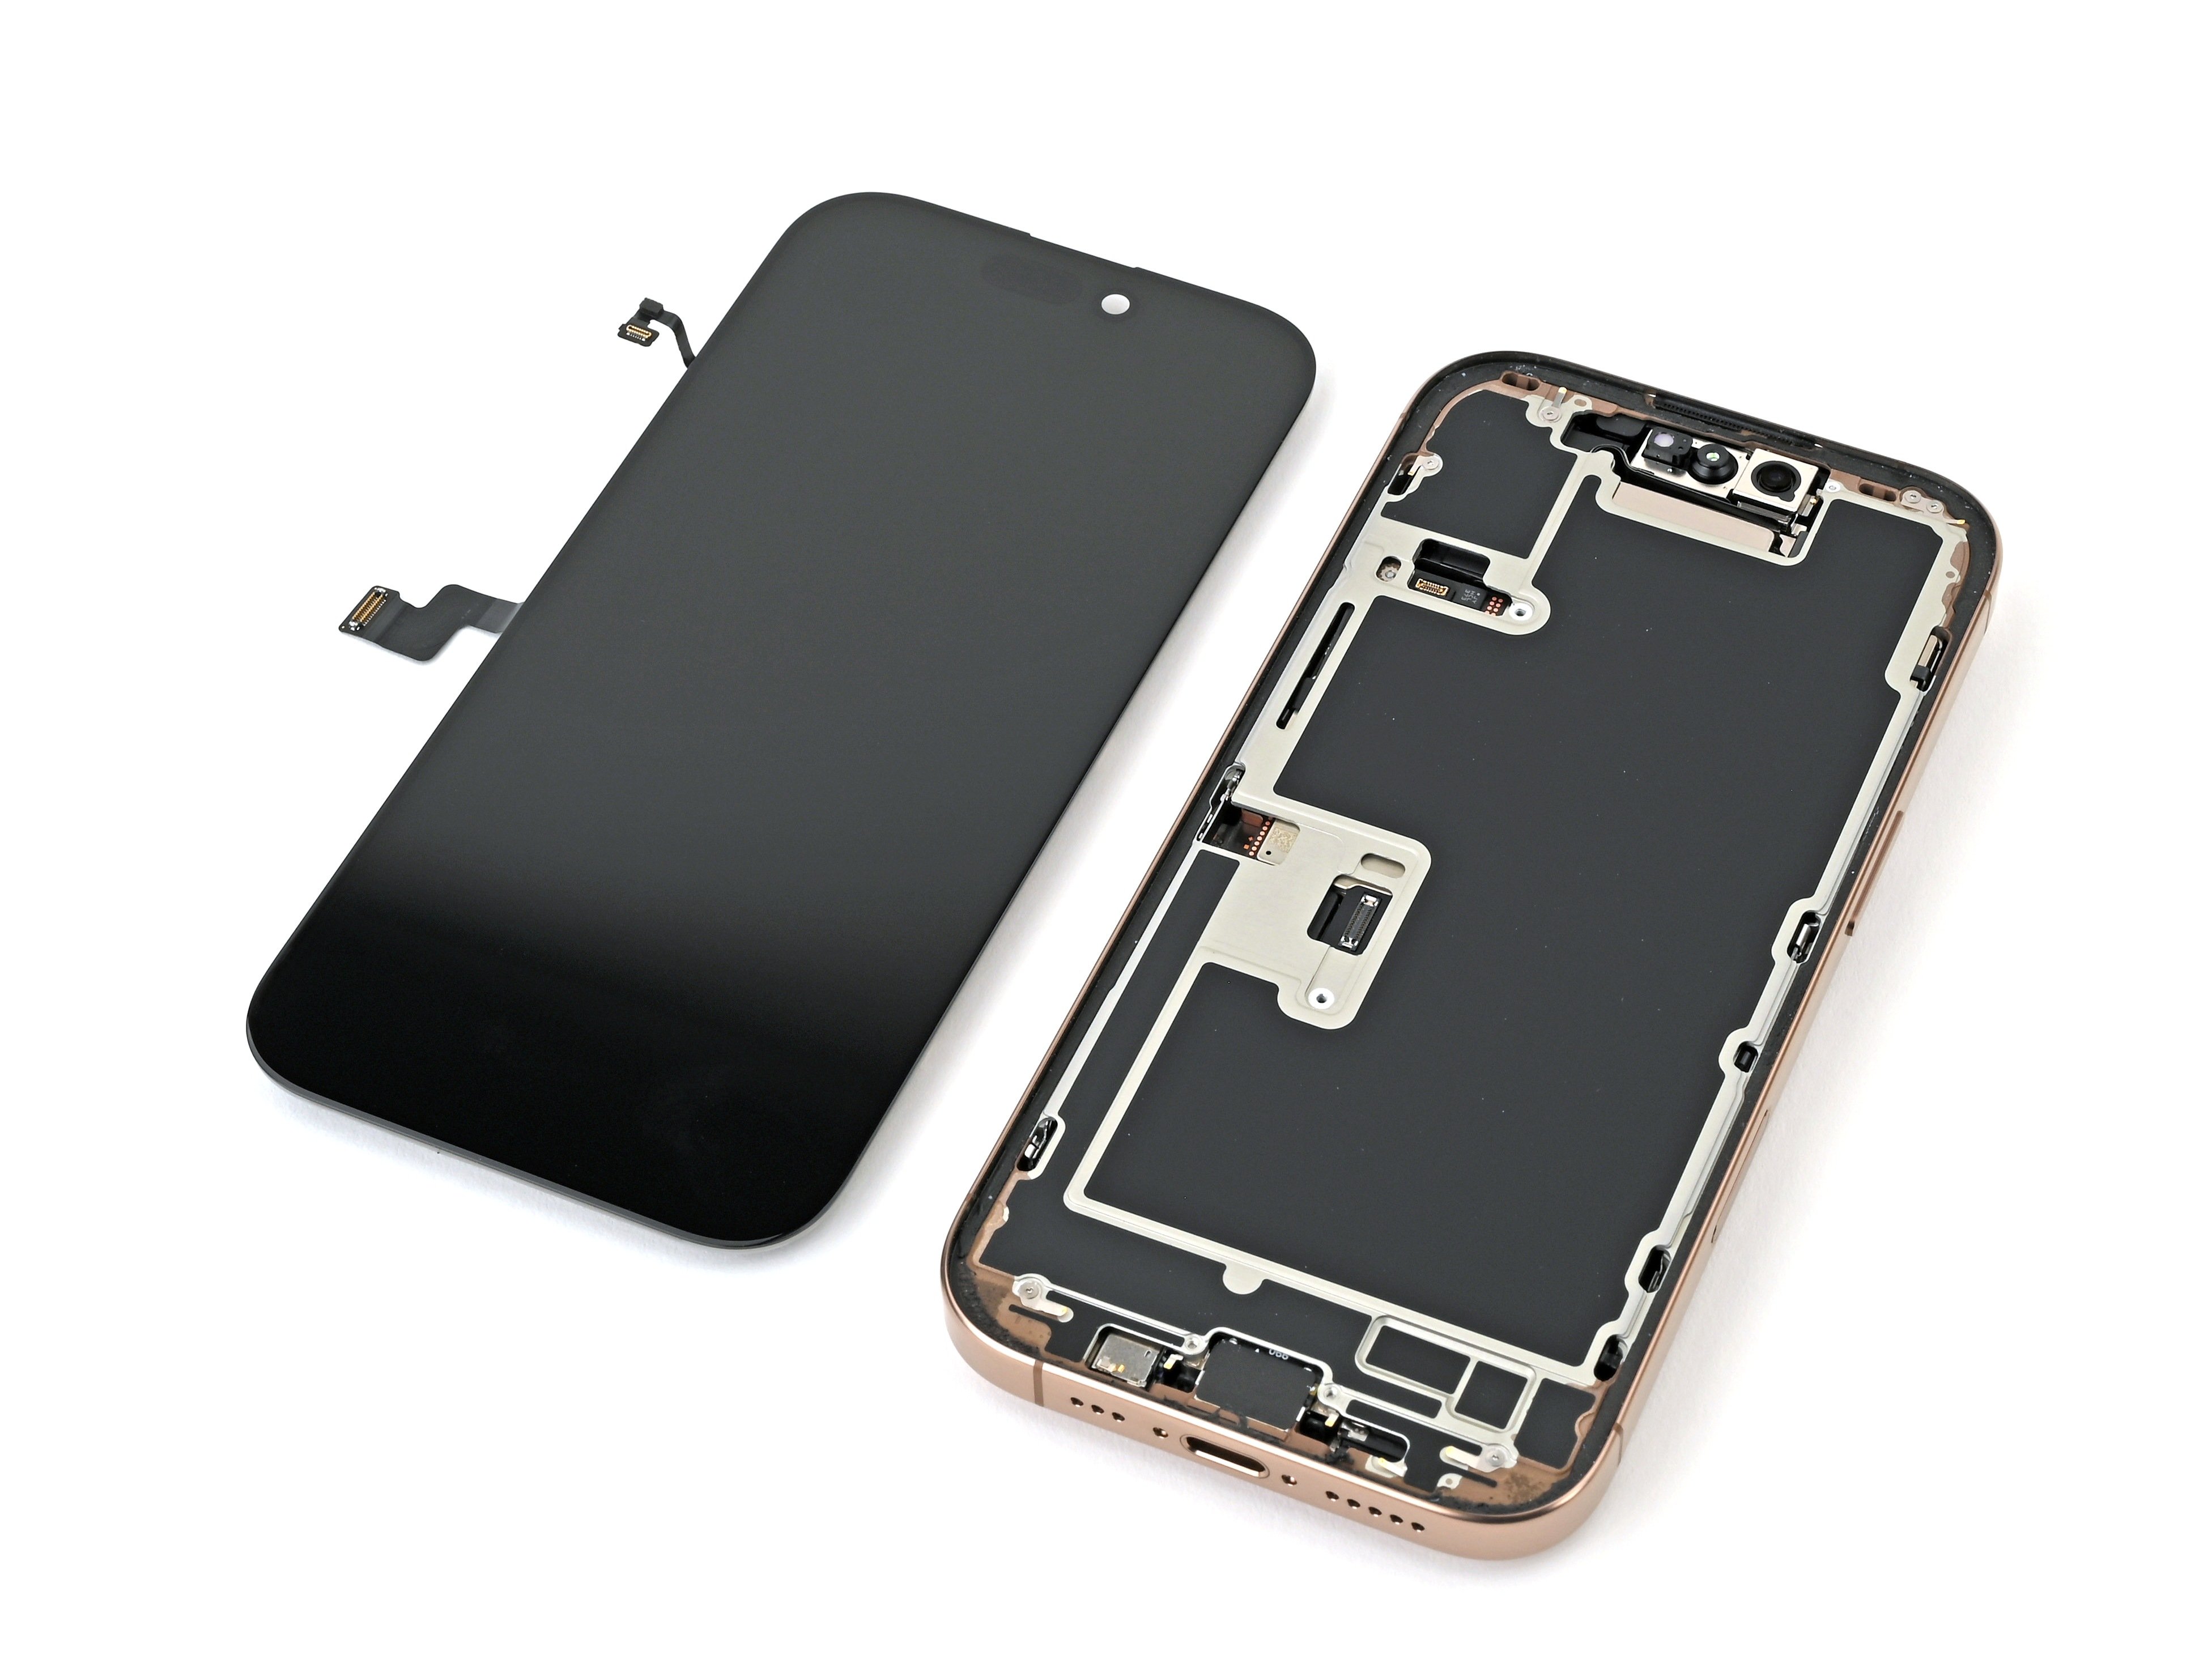
iPhone 16 Pro Logic Board Replacement
Duration: 45 minutes
Steps: 32 Steps
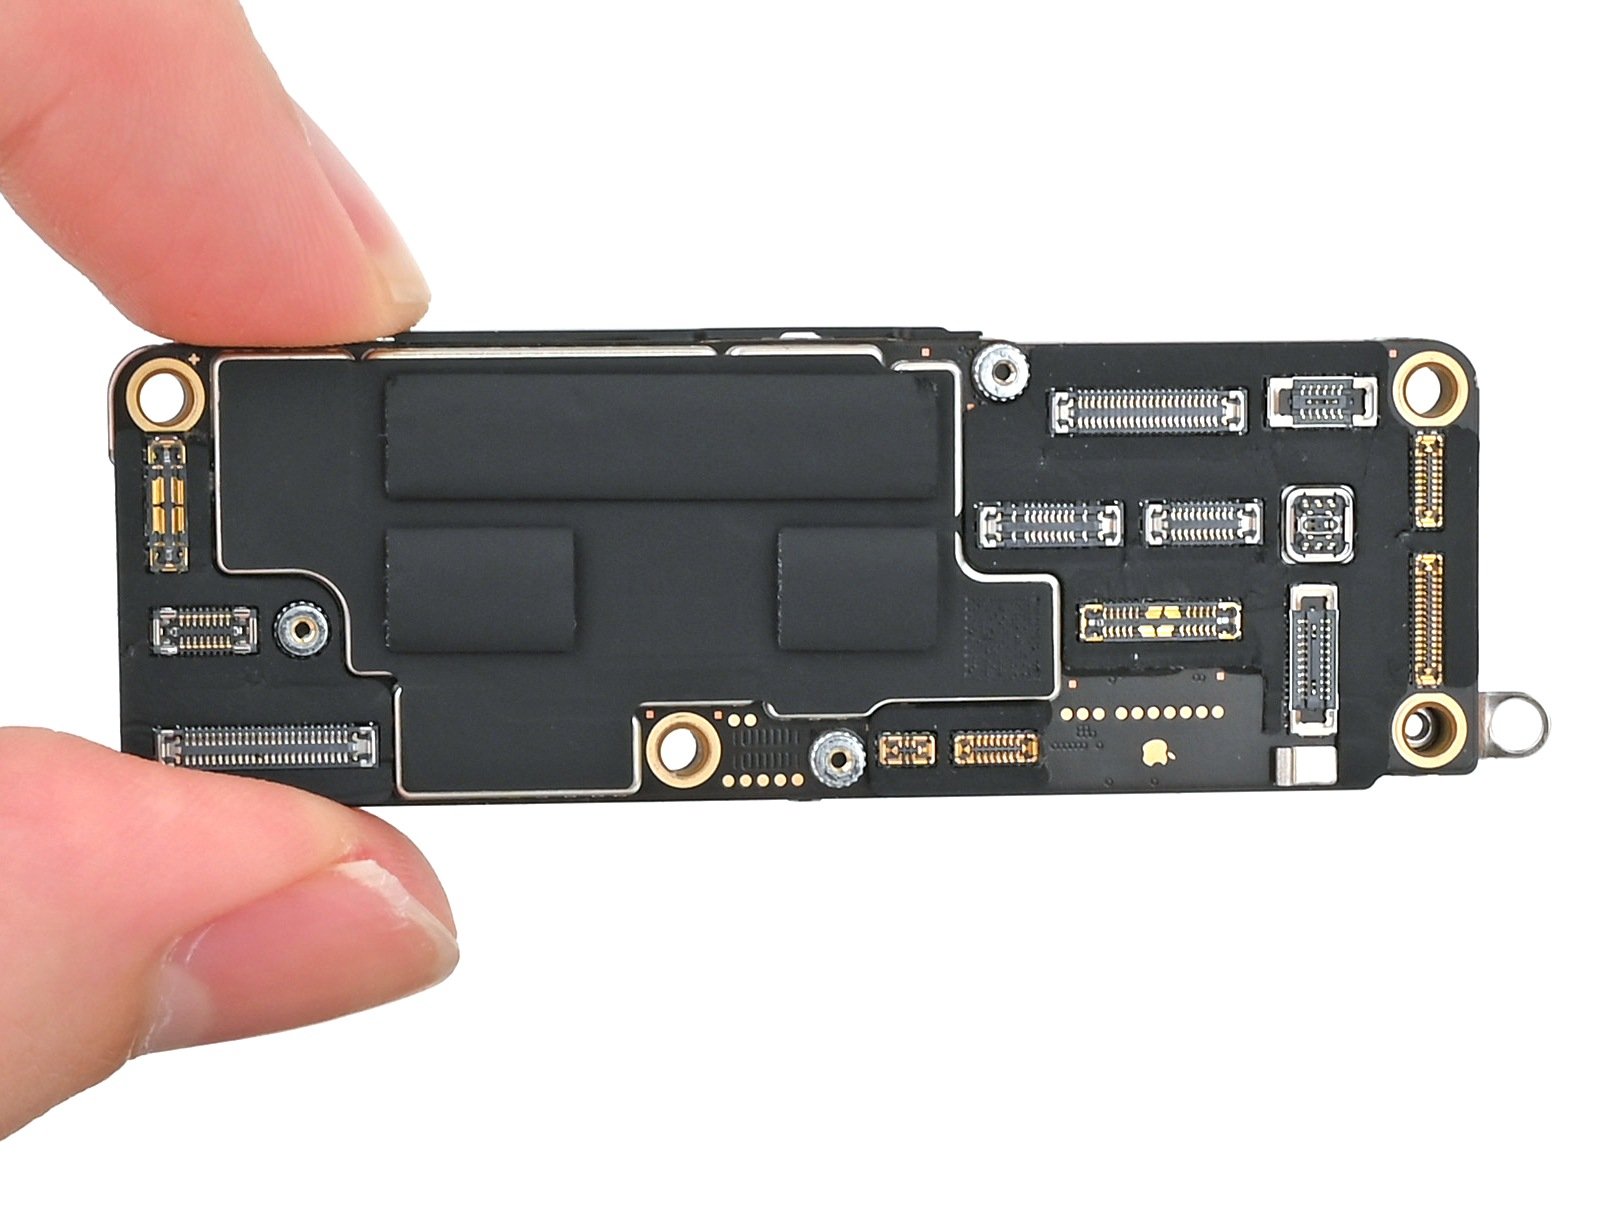
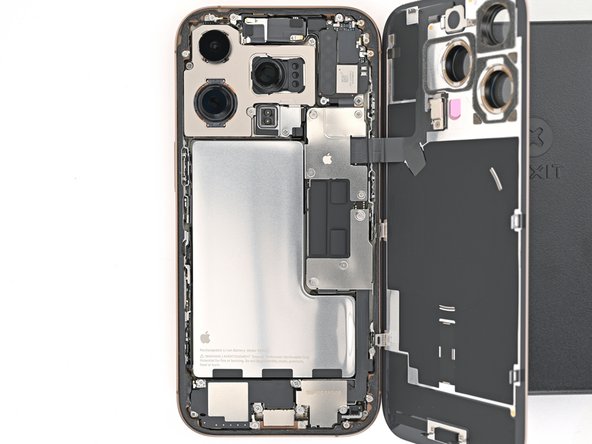
Follow this step-by-step guide to swap out the logic board in your iPhone 16 Pro. The logic board has connectors on both the top and bottom, so you might need to remove the screen to reconnect everything properly. Don't forget, you'll need some fresh back glass adhesive to seal it all up again. Once you've finished, make sure to calibrate your authentic Apple replacement parts using Repair Assistant. If you need help along the way, you can always schedule a repair.
Step 1
Let the battery drain below 25% to keep things safe and sound—lithium-ion batteries like to be a little less charged when you're handling them. If you need a hand, you can always schedule a repair.
- First, unplug all cables from your device to get it ready for the fix.
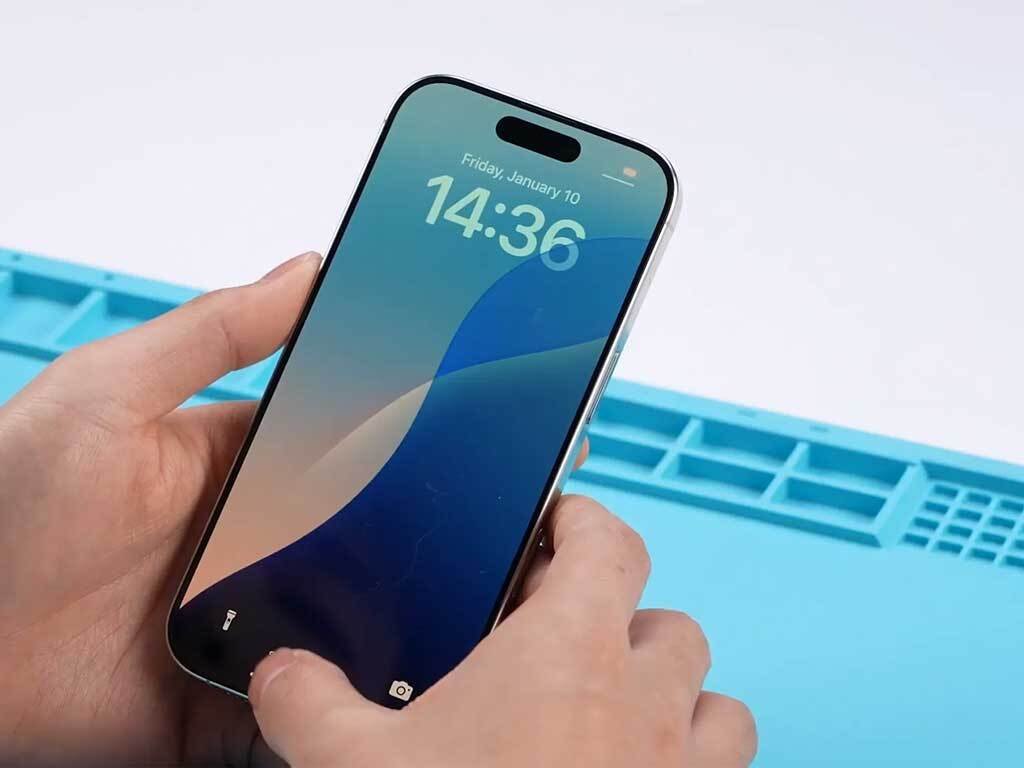
- Press and hold the power button along with either the volume up or volume down button, then slide to turn off your device. Easy does it!
Step 2
Find a smooth spot near the bottom edge that's large enough for your suction cup to get a good grip.
- If your screen or back glass is looking a bit worse for wear with some serious cracks, don't worry! Just grab some packing tape and lay down overlapping strips over the glass. This way, you'll protect yourself and make the disassembly process a whole lot smoother. You've got this!
Tools Used
Step 3
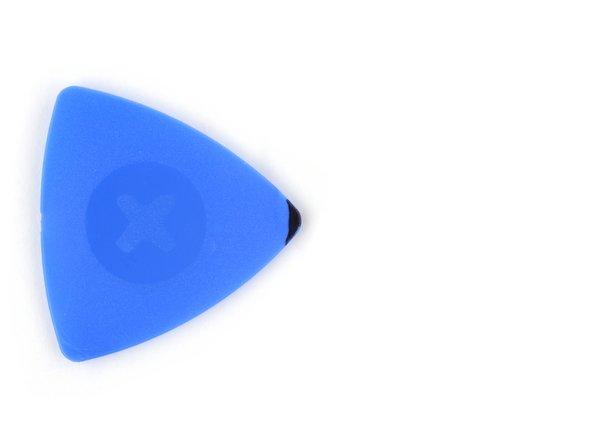
Be careful not to poke too deep with that opening pick—you don't want to accidentally give your device a little love tap it doesn't need! Mark your pick to keep it safe and sound.
Feel free to add some flair by marking the other corners of your pick with different sizes.
Another fun trick: tape a coin about 3 mm from the tip of your pick. It's like a little guide to keep you on track!
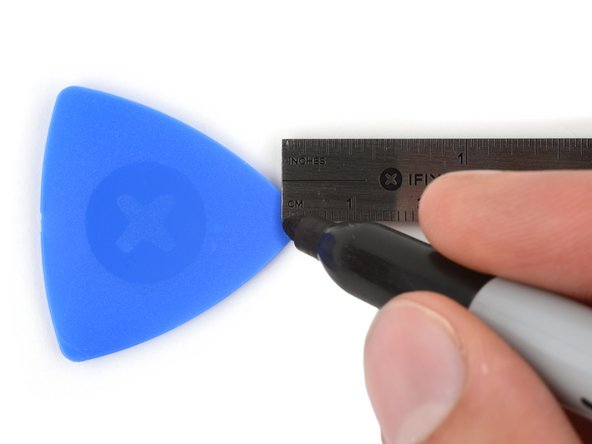
- Mark the opening pick 3 mm from the tip using a permanent marker—precision is key, but no pressure!
Step 4
- Grab your trusty P2 pentalobe screwdriver and let's tackle those two 7.4 mm-long screws snugly sitting on either side of the USB-C port. You've got this!
Step 5
Watch out! You don't want to turn your phone into a sauna—the battery can get cranky with too much heat. Keep it cool, and your device will thank you!
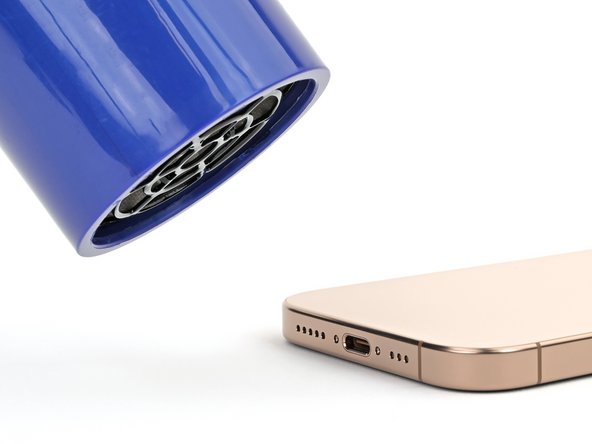
If you prefer, grab a hair dryer or heat gun and warm up the bottom edge of the back glass until it feels nice and toasty to the touch.
- Heat up the iOpener and give that back glass a warm hug for two minutes along the bottom edge!
Tools Used
Step 6
- Stick a suction cup onto the bottom edge of the back glass, just above the USB-C port.
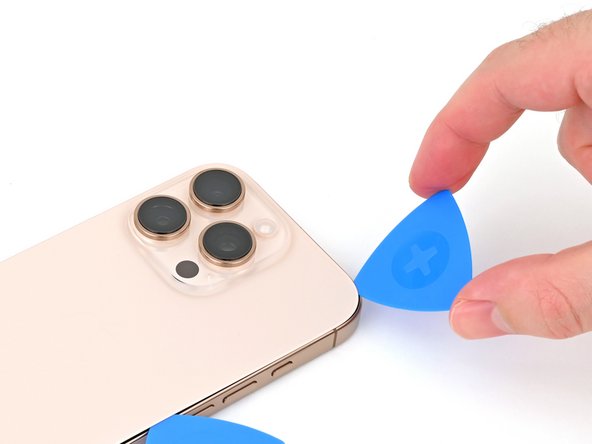
- Pull gently but firmly on the suction cup to create a small gap between the back glass and the frame.
- Slide the tip of an opening pick into that gap to start prying it open.
Tools Used
Step 7
Heads up! When you’re slicing through the adhesive holding the back glass, watch out for these spots to keep things smooth and safe:
If the spring contacts get bent out of shape, gently coax them back into place using a spudger or opening pick, making sure they line up with their shiny gold contact pads on the back glass. Take your time—gentle is the way to go.
- Heads up! There's a super thin cable linking the back glass to the phone right by the volume up button. Avoid sliding your pick in there to keep that cable safe.
- Around the edges of the phone, you'll find several spring contacts. Be mindful not to push your pick too deep during each step to prevent bending these little guys.
Tools Used
Step 8
Be gentle when inserting your pick—no more than 5 mm deep on the bottom edge—to keep that spring contact happy and healthy.
- Gently wiggle your pick back and forth along the bottom edge to loosen the adhesive like a pro.
- Keep your pick wedged in the bottom right corner to stop the adhesive from sticking back together.
Step 9
- Warm up the right edge of the back glass until it's nice and toasty to the touch.
Step 10
Be careful around the volume buttons—don't slice too close or you might cut into the wireless charging or flash cable. Stay sharp and keep those tools on the right side!
- Gently slide your pick along the bottom right corner and up halfway on the right edge, or until you hit a satisfying ‘click’ as it catches on a clip holding the back glass in place.
- Keep that pick in there to stop the adhesive from sticking back together. You're doing great!
Step 11
- Warm up the left edge of the back glass until it feels nice and toasty to the touch.
Step 12
You'll notice and hear the metal clips pop free as you slide past them.
- Pop in a second opening pick at the bottom edge—let's get this party started!
- Gently slide that second pick around the bottom left corner and along the left edge of the screen. You're basically saying 'bye-bye' to the adhesive while releasing those metal clips. Smooth moves!
- Keep this pick snugly inserted at the top left corner to make sure the adhesive doesn’t decide to play a game of hide-and-seek.
Step 13
- Warm up the top edge of the back glass, especially the spots around the volume buttons, until it’s nice and toasty to the touch.
Step 14
Keep your pick no deeper than 3 mm along the top edge to dodge any damage to those delicate spring contacts.
You'll notice some satisfying clicks and gentle pops as the top two clips come free. Keep at it, and you'll be done in no time. If you need help, you can always schedule a repair.
- Gently slide your opening pick along the top edge and curve it around the top right corner, cruising up to the volume up button to loosen that adhesive grip.
Step 15
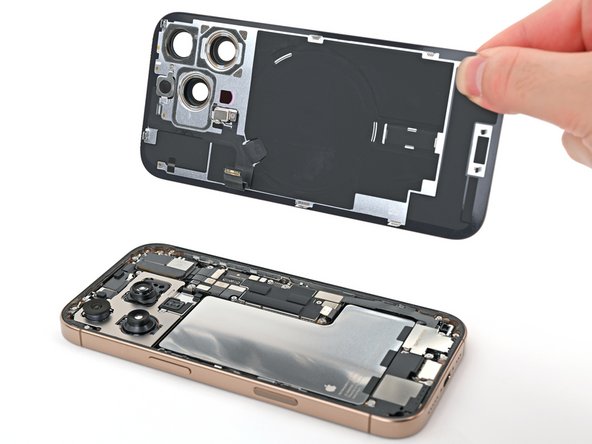
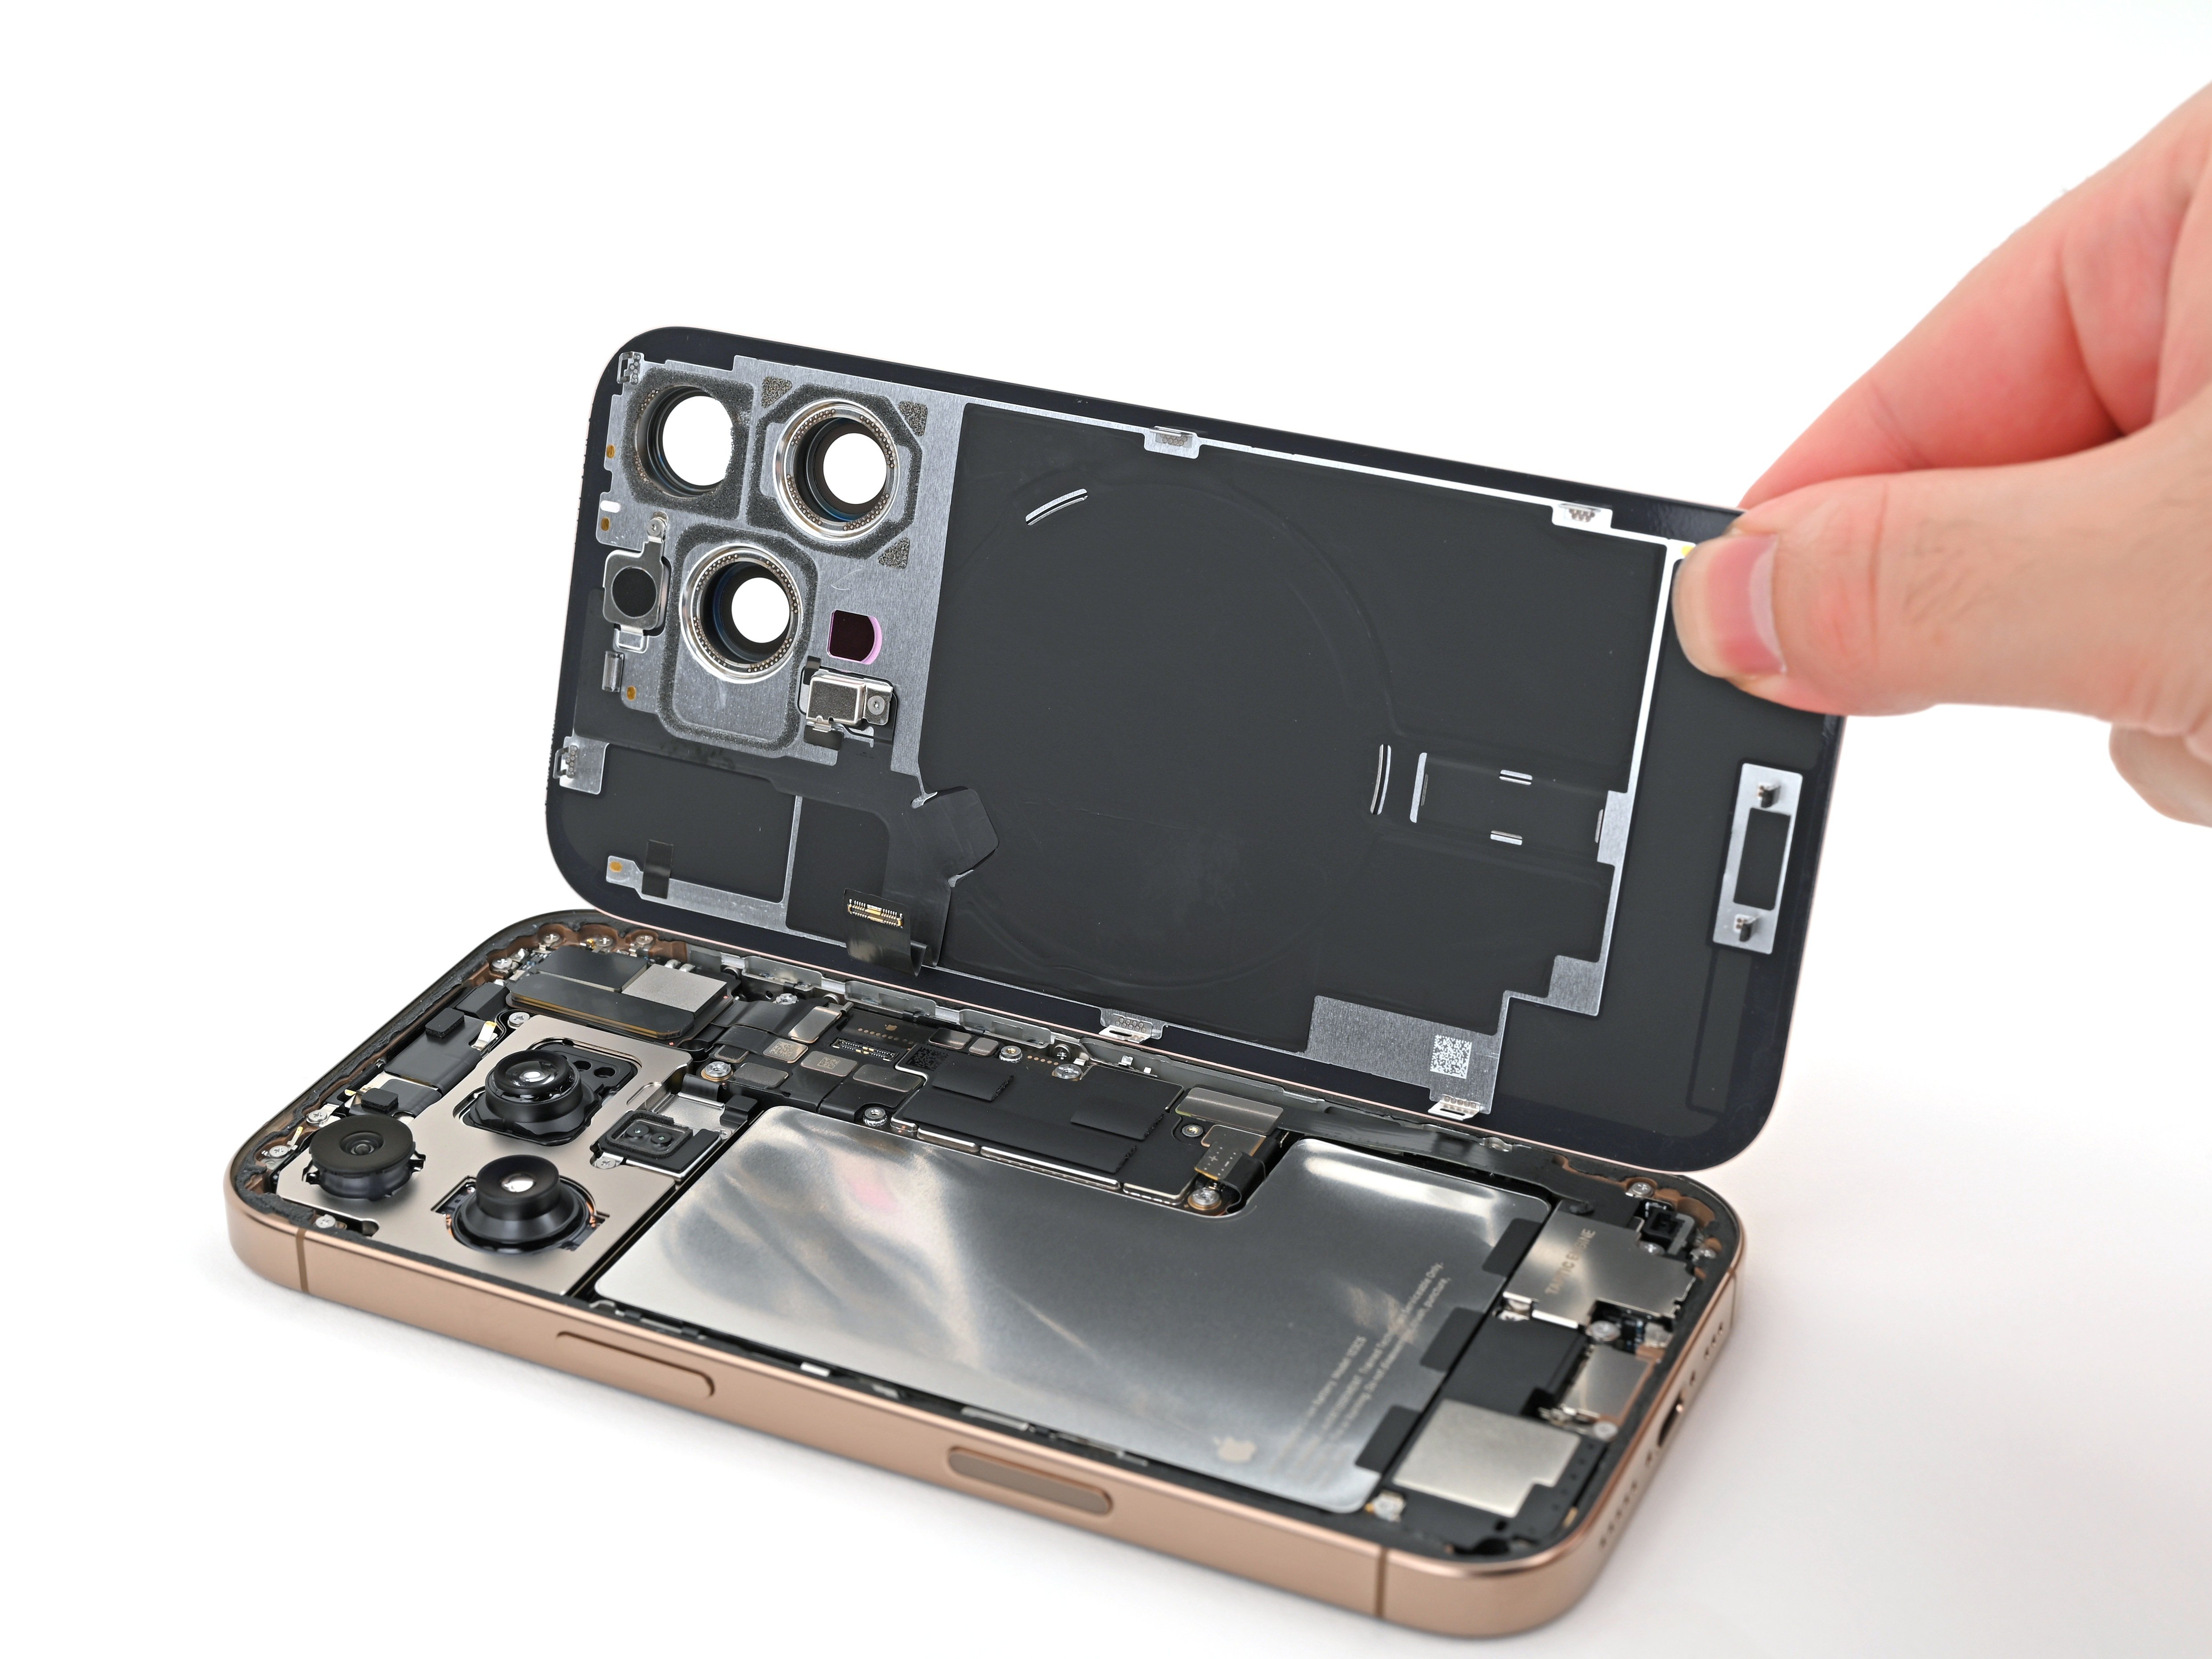
- Carefully swing the back glass open toward the volume buttons like you're unveiling a surprise gift.
- Prop up that back glass with a clean, sturdy object—maybe a little box—so the cable doesn’t feel stretched or stressed.
- Now it's time to say goodbye to those opening picks. Remove them with a smile!
Hang tight! Don’t yank that back glass off just yet—it’s still connected with a delicate ribbon cable. Follow the next few steps to safely free it without any drama.
If the back glass isn't coming off easily, don’t just yank it—go back around the edges with your pick to check for any stubborn adhesive or clips that didn’t let go. To keep the delicate camera lenses safe while you work, consider taping them up with some polyimide tape. Sometimes, a gentle lift or slight wiggle of the back glass is needed to loosen those clips completely. Take your time, and if you find yourself stuck, you can always schedule a repair.
Tools Used
Step 16
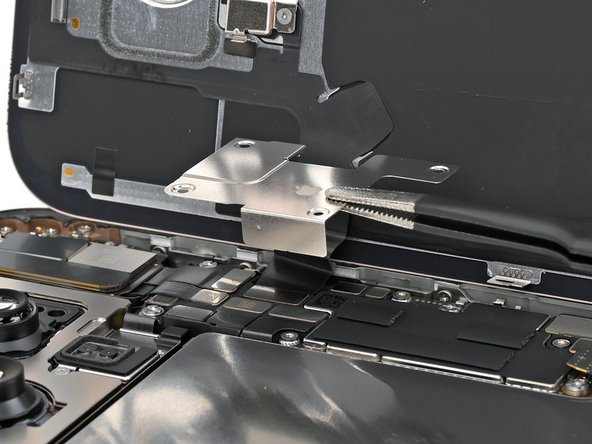
- Grab your trusty tri-point Y000 screwdriver to remove the three screws holding the lower connector cover in place:
- Two screws, each 1.2 mm long
- One screw, measuring 1.0 mm in length
Tools Used
Step 17
- Grab your tweezers or just use your fingers to carefully lift and remove the lower connector cover.
Tools Used
Step 18
- Grab your spudger and gently use the point to lift and disconnect the battery press connector. Don't rush—be gentle, we're not in a race!
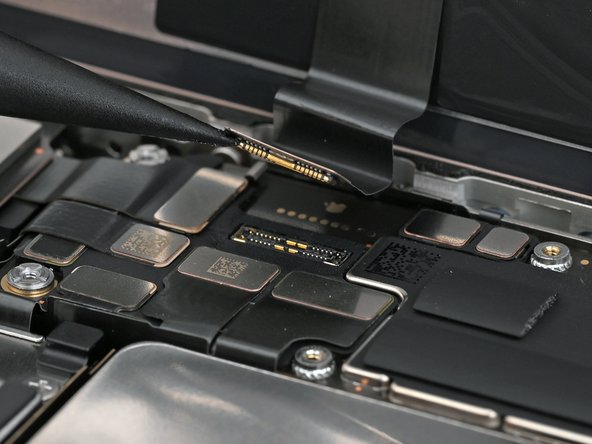
- When you're putting everything back together, make sure the connector lines up perfectly with its socket. Gently press it down with your fingertip or the flat end of the spudger. Start with one side, then the other, and keep pressing until you hear that satisfying click. If it’s being stubborn, don’t force it—just reposition it and give it another go.
Tools Used
Step 19
- Grab your tri-point Y000 screwdriver and take out the four screws holding the upper connector cover in place:
- Two screws, each 1.0mm long
- One screw that's 1.2mm long
- One screw that's 1.6mm long
Tools Used
Step 20
- Grab some tweezers or use your fingers to gently lift and remove the top connector cover. Keep it steady and take your time—you're doing great! Need a hand? Remember, you can always schedule a repair if things get tricky.
Tools Used
Step 21
- Grab your spudger and gently pry up to disconnect the back glass press connector. Keep it steady and be careful not to bend or damage anything during the process. If you need a hand, you can always schedule a repair.
Tools Used
Step 22
- Carefully lift the back glass away from the frame and set it aside. During reassembly, it's a good idea to test your work before sealing everything up. Temporarily reconnect the battery and back glass (without adhesive yet), power on the device, and confirm it functions properly. Once verified, power down, disconnect the battery, and proceed with reassembling. Use this guide to reapply adhesive and carefully place the back glass back onto the device. If you need help, you can always schedule a repair.
Step 23
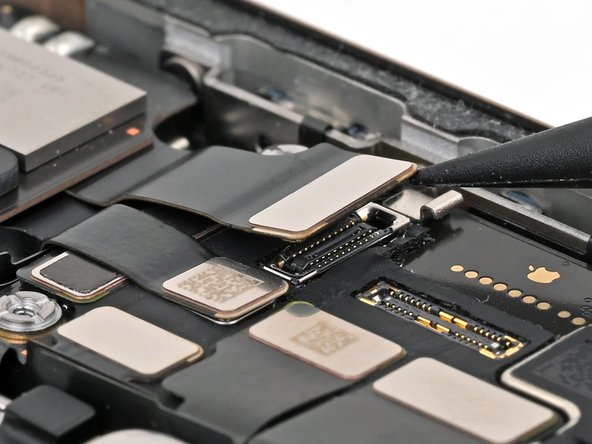
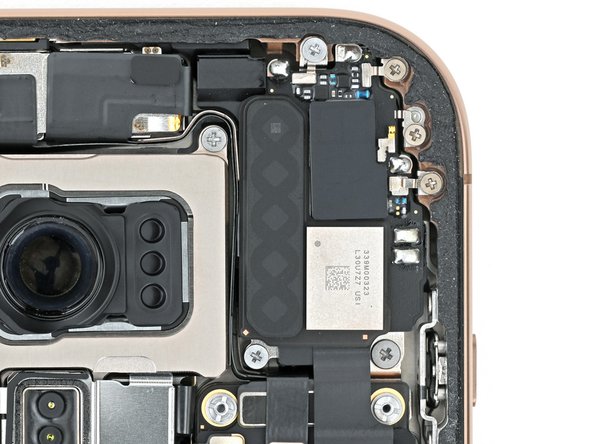
- Grab the pointy end of a spudger and gently pry up to unplug the earpiece speaker and 5G mmWave antenna press connectors hanging out at the top right corner of the logic board.
The 5G mmWave antenna is only found in the United States and Puerto Rico iPhone 16 Pros (model A3083). If you're working on any other model, you can skip the next four steps and keep moving forward with the repair. Need a hand? You can always schedule a repair with Salvation Repair for extra assistance.
Tools Used
Step 24
- Grab your Phillips screwdriver and loosen the six screws holding the earpiece speaker in place:
- Three screws that are 1.2 mm long
- Two screws measuring 1.8 mm each
- One screw that's 1.7 mm long
Step 25
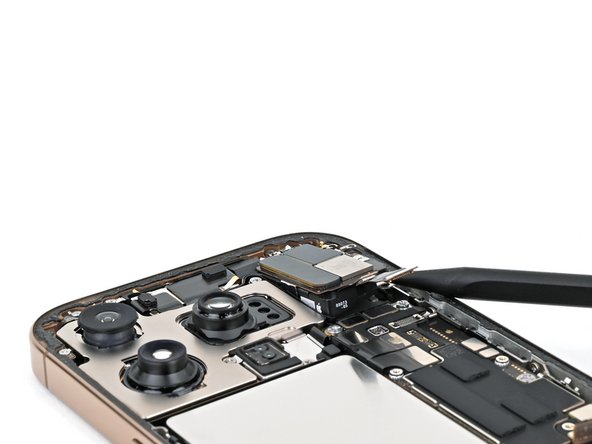
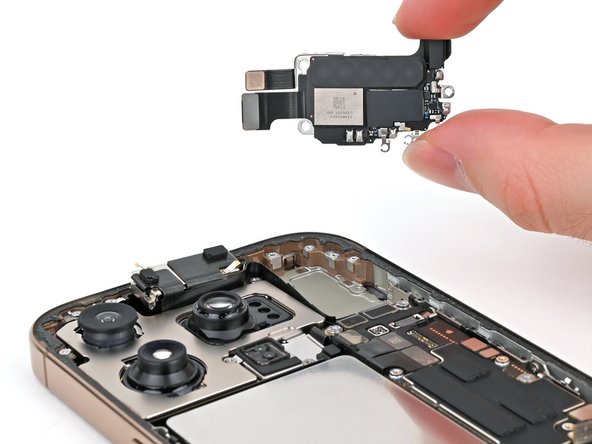
You might feel a bit of pushback near the top edge where the speaker gasket hugs the frame. Gently pull the speaker out to break that seal without stressing it.
Sometimes, the camera needs a little lift to slide the earpiece speaker into its spot. Pop the antenna and earpiece speaker cables in just to the right of the front camera cables, then softly press the front camera back into place before tucking its cables alongside the rear cameras.
- Gently wedge the tip of a spudger into the bottom-right corner of the earpiece speaker and lift it up to pop it out.
- When putting it back together, angle the top edge of the earpiece speaker into its slot at a slight downward tilt, then press it flat against the frame to secure it.
Tools Used
Step 26
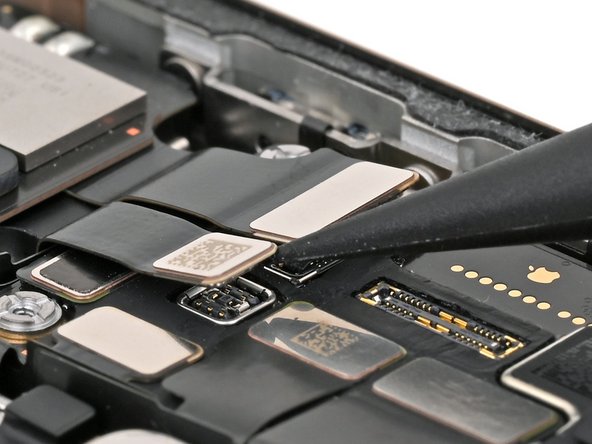
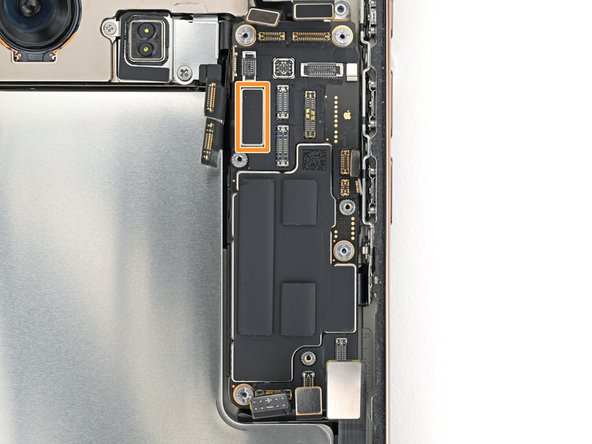
Check out the black connector tucked right beneath the two shiny silver connectors along the board's left edge.
- Grab your trusty spudger and gently pry up those press connectors at the top of the logic board. You've got this!
- Look for seven shiny silver connectors waiting to be freed.
- Don't forget about the three sleek black connectors that need your attention too!
Tools Used
Step 27
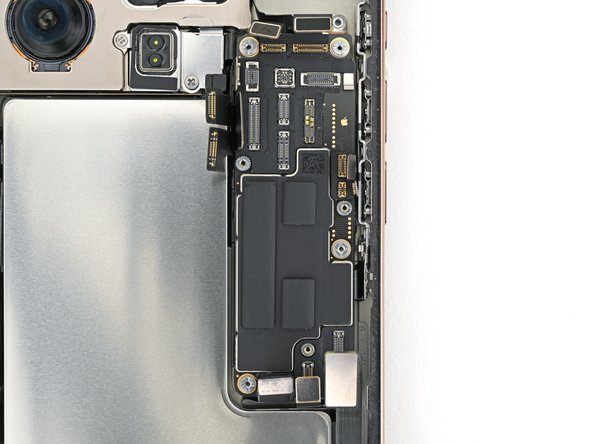
- Grab your standoff screwdriver and get ready to unscrew the four screws holding down the logic board:
- Two of these are 4.5 mm‑long screws, keeping things snug.
- There's also a 3.4 mm‑long screw to loosen.
- And finally, one 4.2 mm‑long screw securing the setup.
Standoff screws are easiest to remove with a dedicated standoff screwdriver or driver bit. If you don't have one handy, a small flathead screwdriver can work in a pinch—just be extra careful to avoid slipping and damaging nearby parts. Take your time and steady your hand for a smooth removal. If you need extra help, you can always schedule a repair.
Step 28
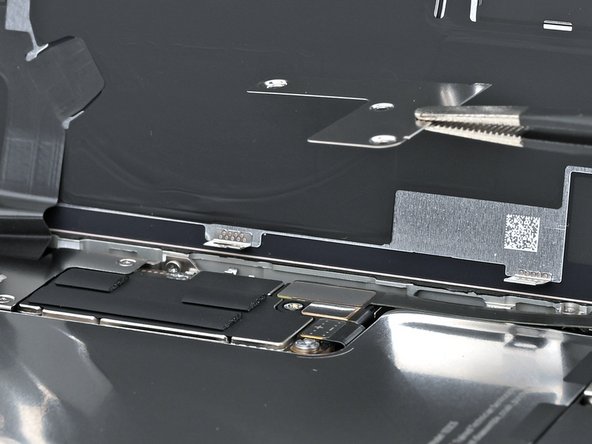
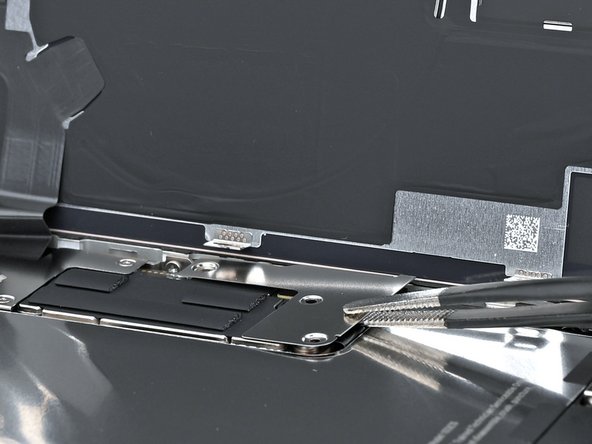
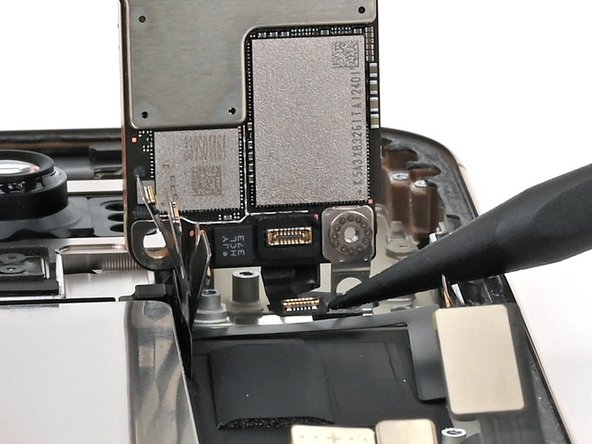
- Take a peek at this image showcasing the display connector snugly positioned beneath the logic board after it's been removed. The next couple of steps will guide you on how to gracefully disconnect this connector from the logic board.
- When you're putting things back together, just remember: you can't directly plug the display connector into the bottom of the logic board without taking off the screen. But don't worry! You might just pull it off by securing the logic board in place.
- Make sure the logic board is cozy against its screw posts. Those little posts are here to help align the board perfectly with the display connector hiding beneath.
- Keep going with the reassembly until the battery is reconnected. Give your iPhone a quick power-up to check if the screen lights up. If it doesn't, no sweat! Just follow the screen guide to manually reconnect that display connector.
Step 29
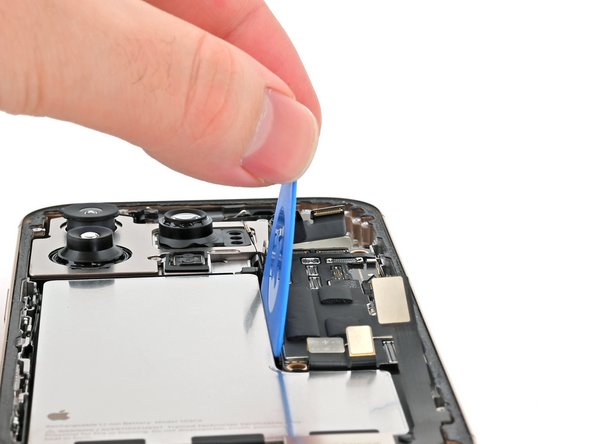
- Slide the flat edge of your opening pick gently between the battery and the logic board, then hold it steady with your fingers.
Before diving in, if your device has a SIM card tray, gently eject it first. Also, double-check that all connectors on the top of the logic board are unplugged before moving forward. Need a hand? You can always schedule a repair with Salvation Repair.
USA model iPhones (A3084) skip the SIM card tray altogether—no need to hunt for it! Just move on to the next step and keep your repair smooth sailing. If you need help, you can always schedule a repair.
Step 30
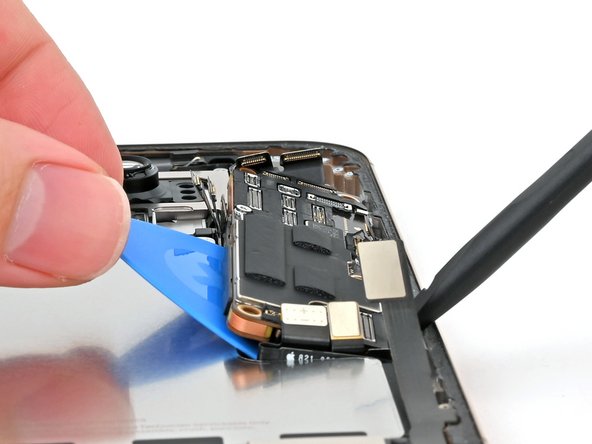
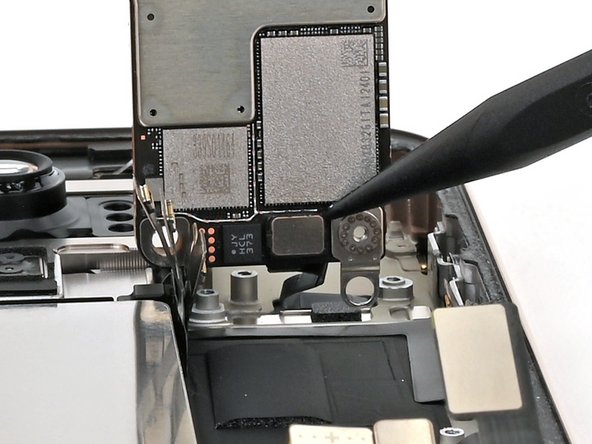
Hold your horses—don't yank the logic board just yet! There's still a cable hanging out on the bottom side, so keep it connected for now.
- Slip the flat end of a spudger right underneath the edge of the logic board on the right side.
- Gently pry with the spudger and opening pick to lift the logic board and disconnect the screen connector.
Tools Used
Step 31
- Grab the bottom edge of the logic board, flip it upward toward the top of the phone, and hold it steady in a vertical position.
- Use the tip of a spudger to gently pry up and disconnect the front sensor connector from underneath the logic board.
Tools Used
Step 32
- Time to put your iPhone back together! Just retrace your steps and follow these instructions backward.
- Once you've wrapped up your repair, make sure to calibrate those genuine replacement parts using Apple's Repair Assistant. Just hop into Settings→General→About→Parts & Service History, hit Restart & Finish Repair, and follow the friendly prompts on your screen.
- Got some old tech lying around? Don’t forget to dispose of your e-waste responsibly at an R2 or e-Stewards certified recycler.
- If things didn’t go quite as planned, don’t sweat it! A little basic troubleshooting might do the trick, or feel free to reach out to our iPhone 16 Pro Answers community for a helping hand.
- If you're feeling stuck or the repair was a bit tougher than anticipated, no worries! You can always schedule a repair with us!
