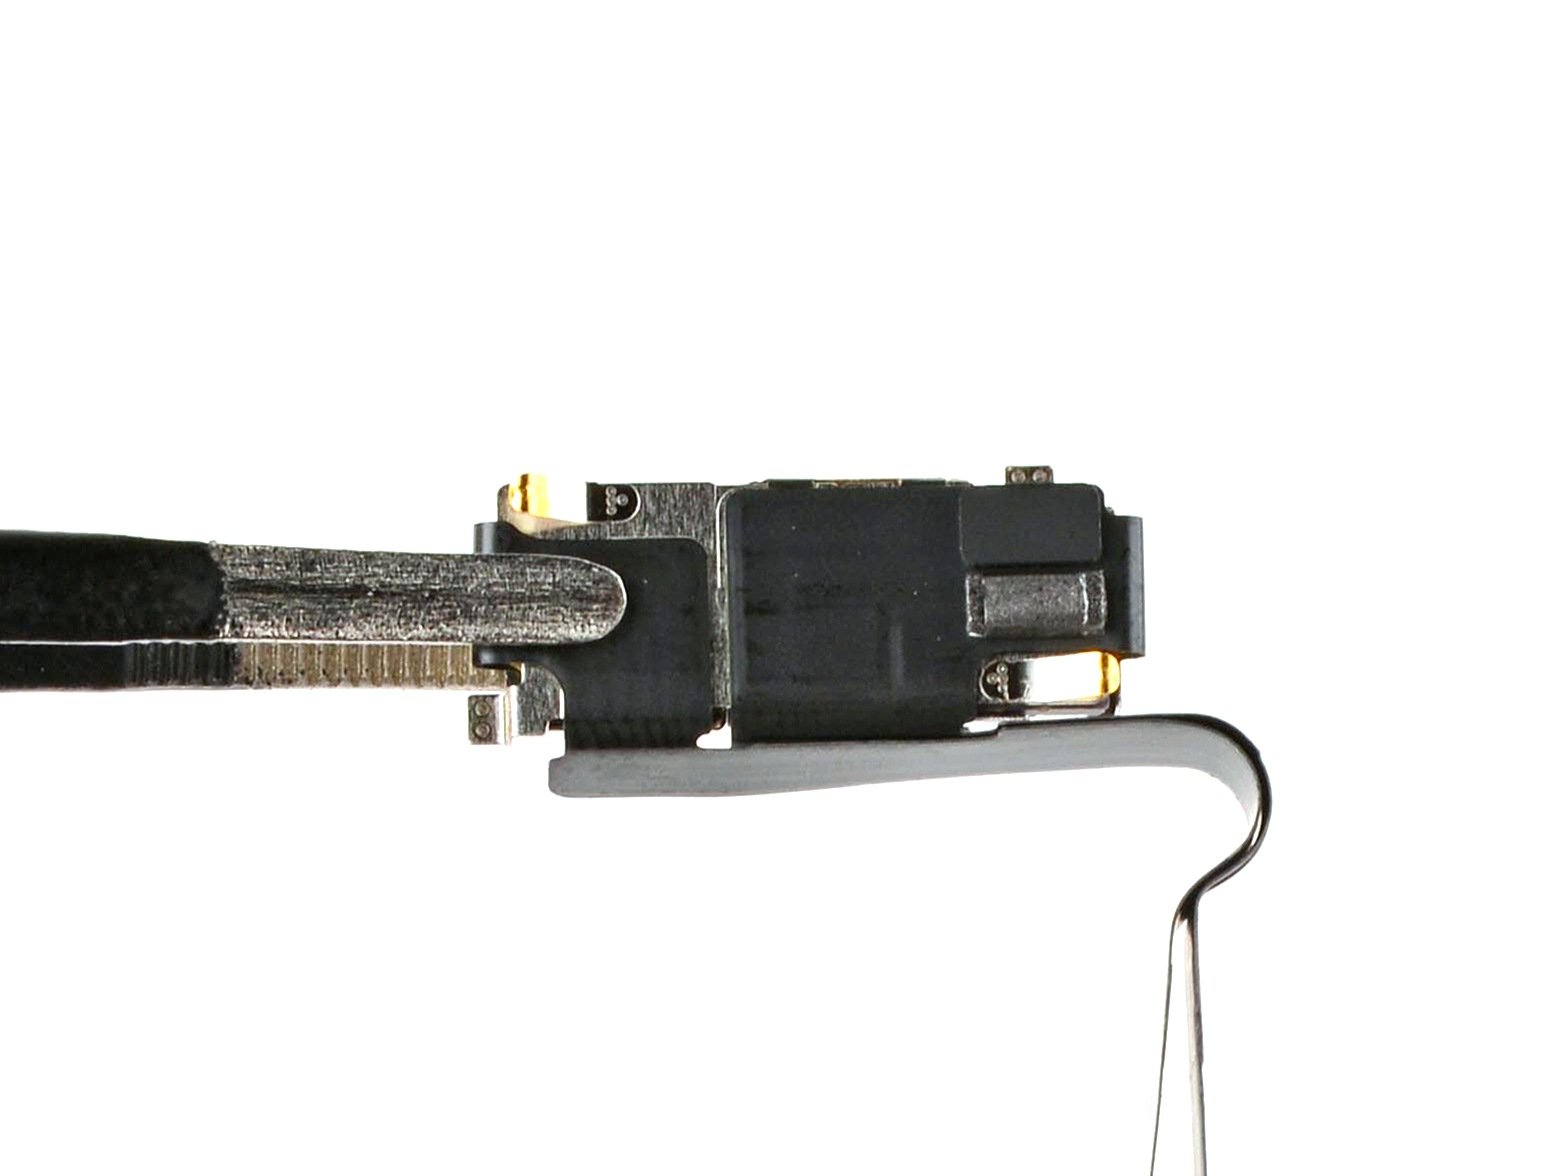
iPhone 16 Pro Max Front Camera Assembly Replacement
Duration: 45 minutes
Steps: 52 Steps
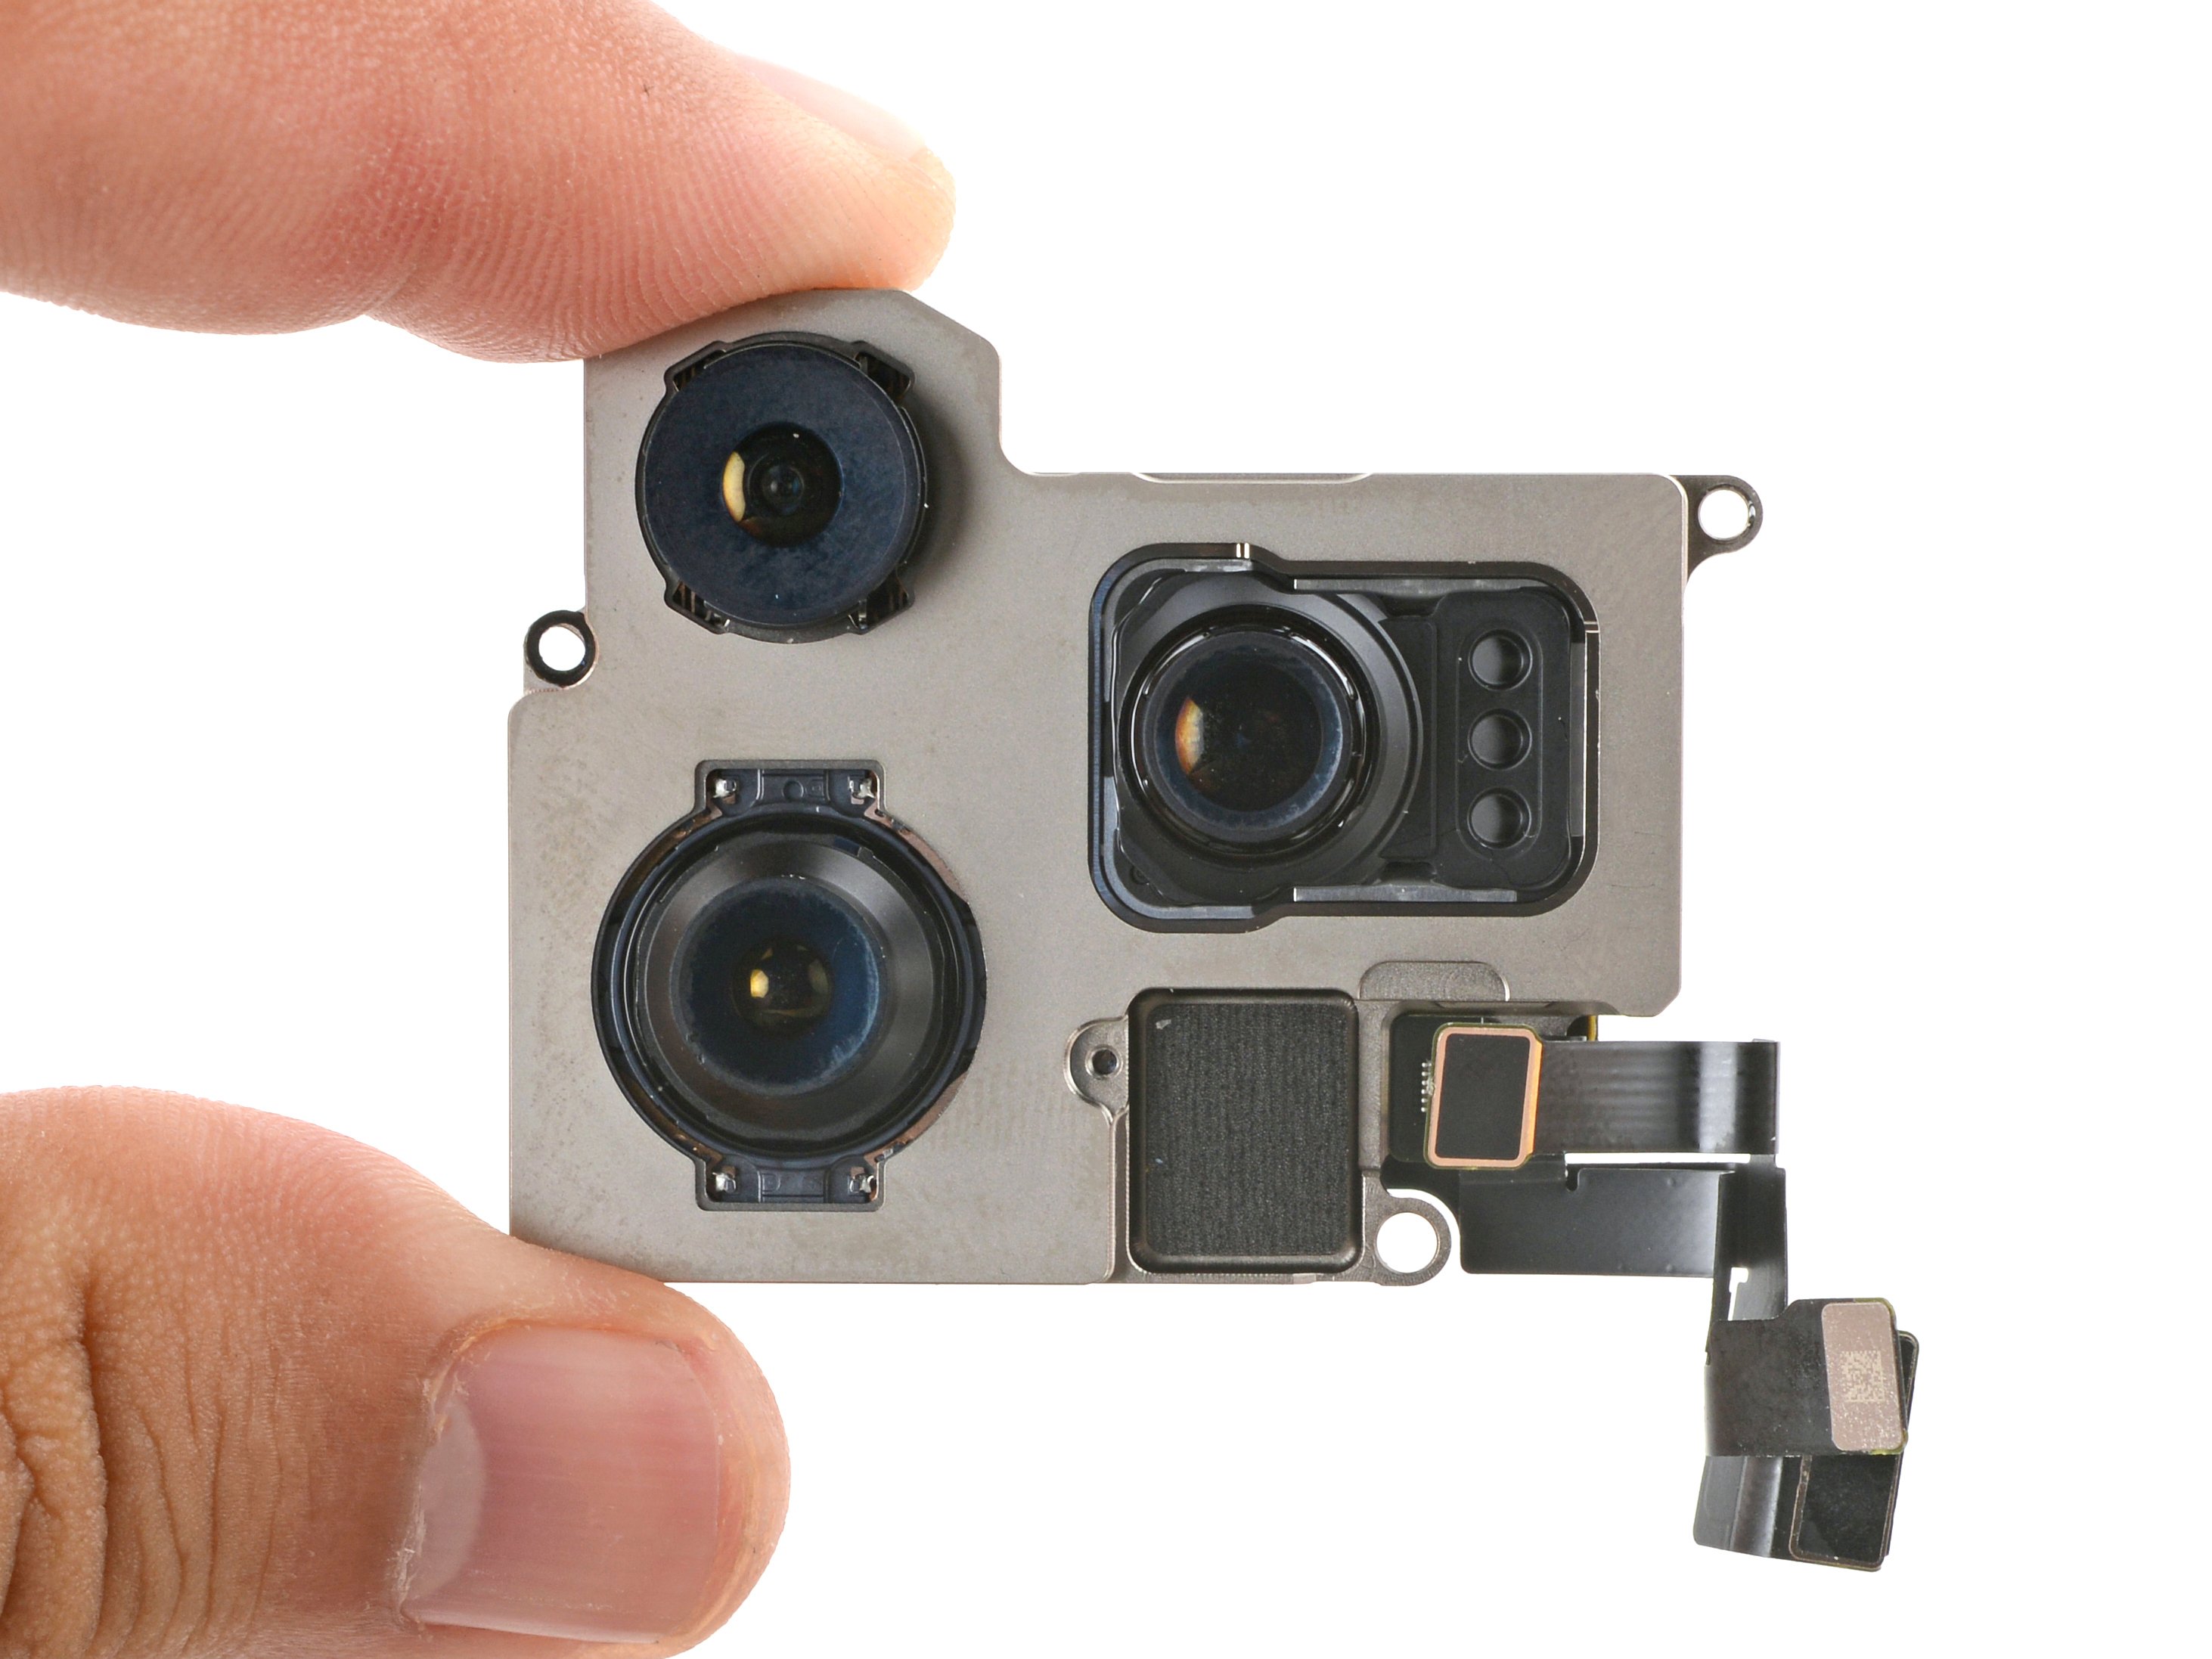
Use this guide to swap out the front camera assembly in your iPhone 16 Pro Max. This part includes the selfie cam and Face ID components. If your selfies turn out blurry, noisy, or your camera struggles to focus, it might be time for a replacement. Don't forget, you'll need some fresh back glass adhesive to seal everything up. After you're done, make sure to calibrate the genuine Apple front camera using Repair Assistant. If things get tricky along the way, you can always schedule a repair to get professional help.
Step 1
Let your iPhone's battery run below 25%, because a fully charged lithium-ion battery can be a safety risk. If you need help, you can always schedule a repair.
- First things first, give your iPhone some breathing room by unplugging all those pesky cables!
- Now, it's time to power down! Grab the power button and one of the volume buttons, then hold them together until the slide to power off option pops up. Give that slider a nice little swipe to turn off your iPhone!
Step 2
Find a smooth spot near the bottom edge that’s spacious enough for a suction cup to grab onto. You’ll want it to stick like glue, so make sure there’s no clutter in the way!
- If your screen or back glass is seriously cracked, slap some overlapping packing tape strips over it to keep your fingers safe and make taking it apart less of a hassle.
Tools Used
Step 3
- Grab your trusty P2 pentalobe driver and unscrew the two 7.4mm-long screws on either side of the charge port. They're holding things together, so take them out gently, and your device will be one step closer to recovery!
Step 4
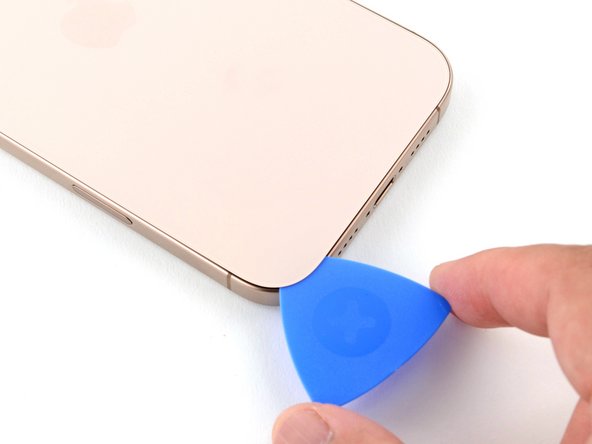
- Grab your permanent marker and make a little mark 3 mm in from the tip to guide your opening pick. Easy does it—precision is key for a smooth repair!
Be careful not to insert your opening pick too far, as it could cause damage to your device. To avoid this, mark your pick beforehand to keep things safe. You can also mark the other corners of the pick with different measurements to keep track. Alternatively, tape a coin about 3 mm from the tip of a pick—this helps prevent over-insertion and keeps your device intact. If you need help, you can always schedule a repair.
Tools Used
Step 5
- Grab a hair dryer or a heat gun and give the bottom edge of that back glass a little warm-up until it's nice and toasty!
The next couple of steps walk you through creating a small gap with a suction handle—think of it as making room to get started. Alternatively, you can warm up the back glass with an iOpener. Just follow these instructions to heat things up and apply the iOpener smoothly. If you need a hand with the process, remember you can always schedule a repair.
Tools Used
Step 6
If you don’t see a gap yet, heat things up a bit more and give it another shot.
- Stick a suction handle right on the bottom edge of the back glass.
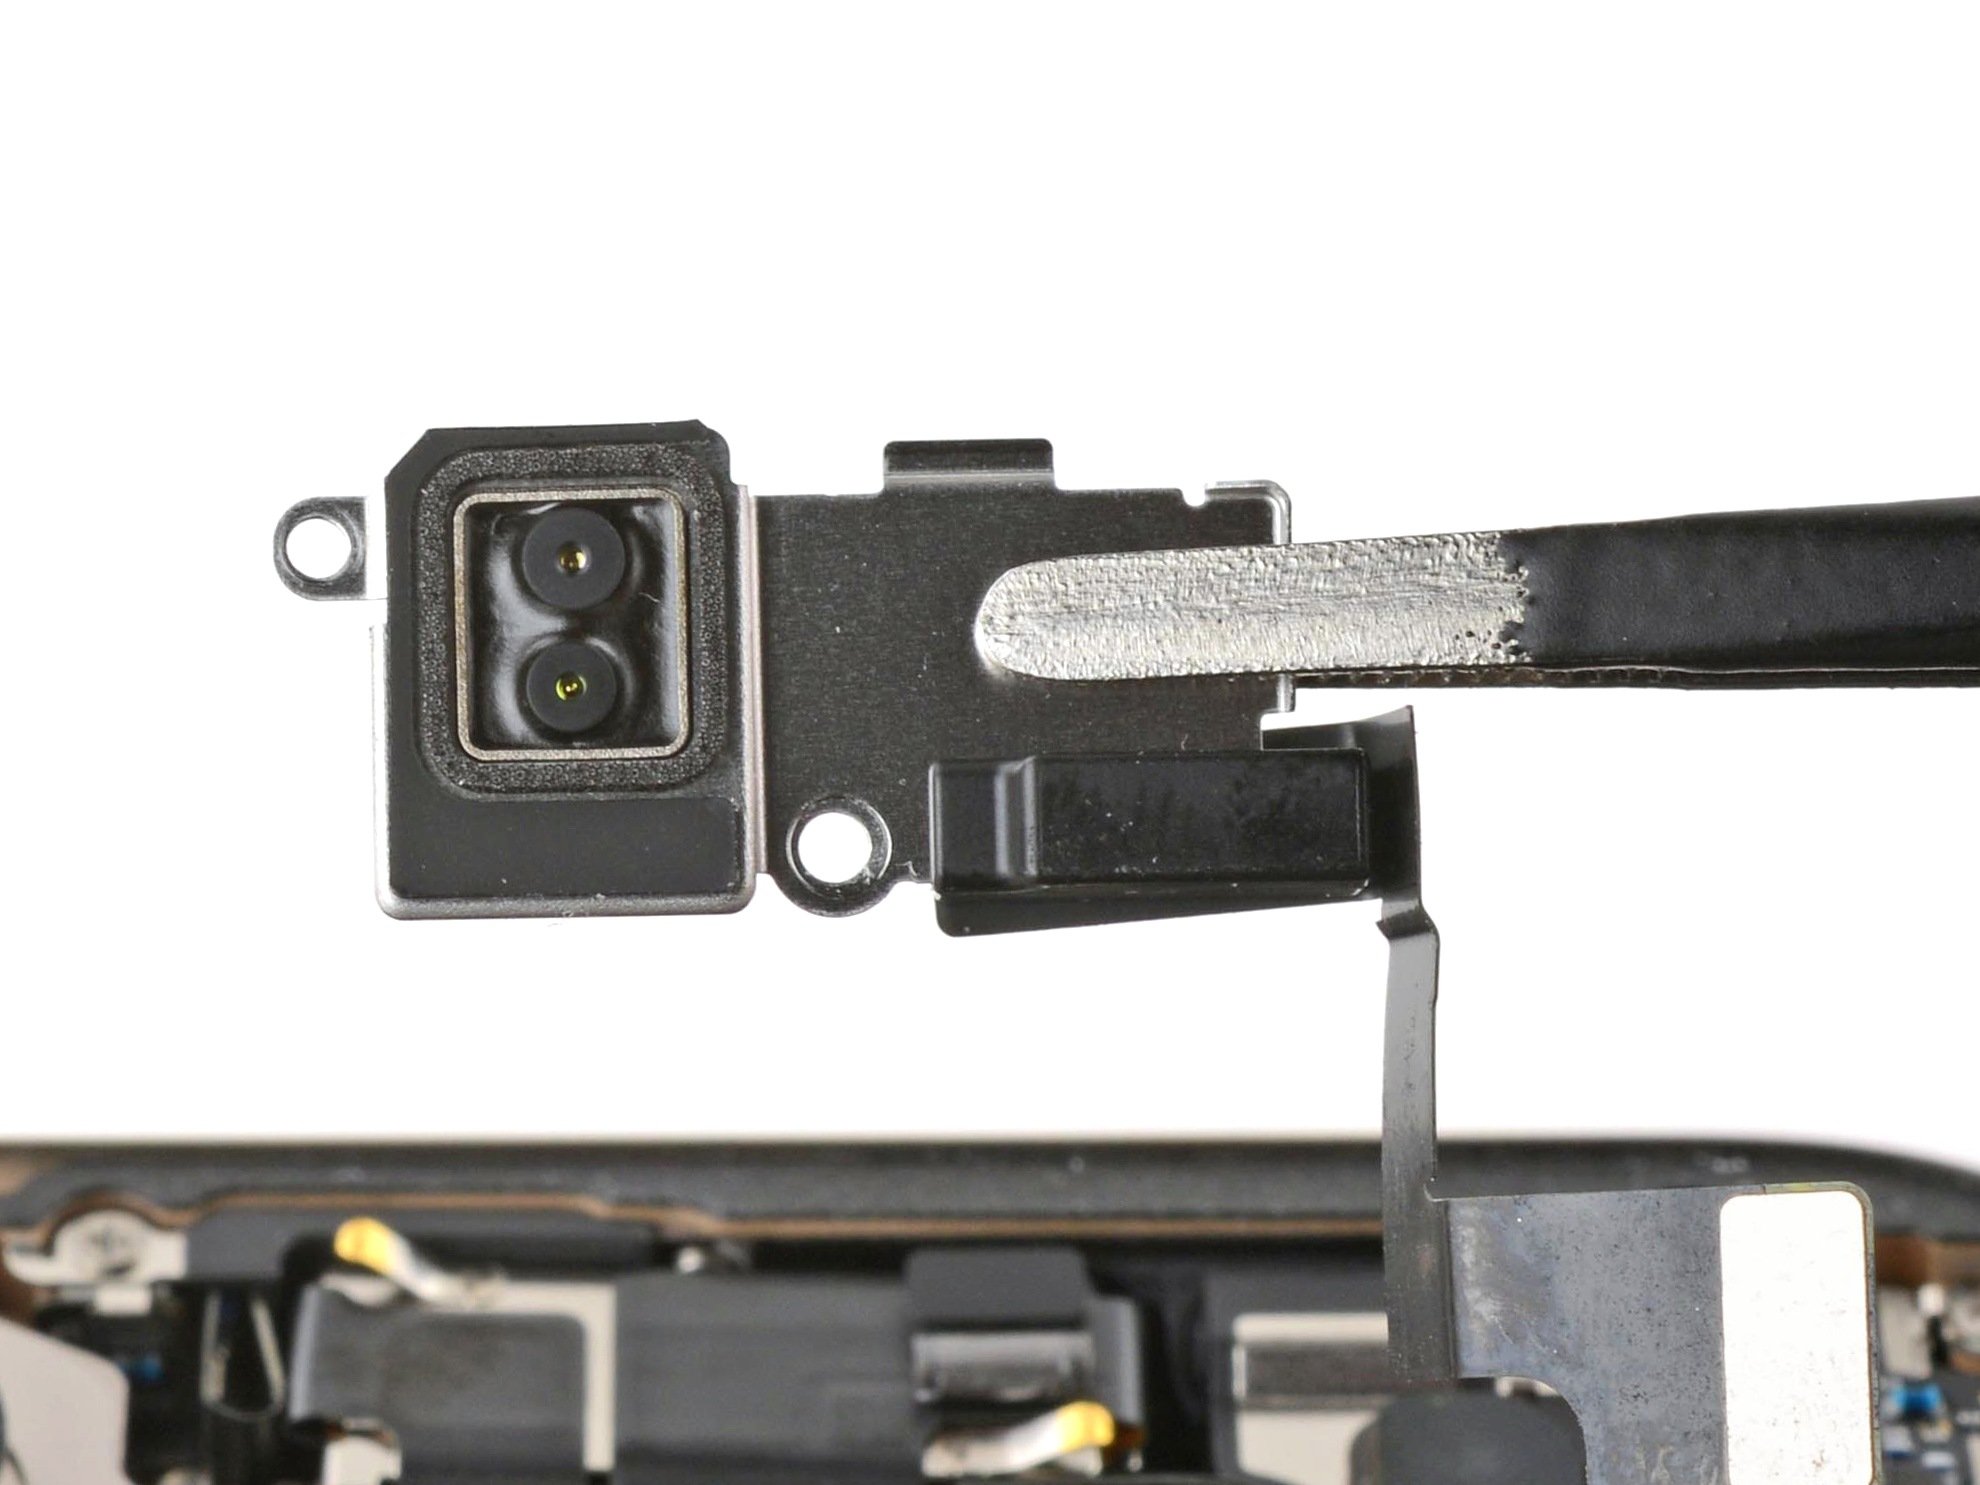
- Give the handle a firm, steady pull to gently pop open a little gap between the back glass and the frame.
- Slide the tip of an opening pick into that gap to keep things moving.
Tools Used
Step 7
As you carefully slice through the adhesive holding the back glass in place, remember: keep your pick no deeper than 3 mm to avoid causing any trouble in the sensitive areas below!
- Here's a tricky one: a fragile cable runs from the back glass to the iPhone, right next to the volume up button. Be careful not to insert your pick here—it's a slice waiting to happen. Take your time and work gently.
- Surrounding the edges of the iPhone are a bunch of spring contacts. Handle these with care to keep everything working smoothly.
Step 8
If you're having a tough time slicing through that adhesive, just give it a little heat boost for about a minute and then give it another go. You've got this!
- Gently slide the opening pick along the bottom edge to carefully cut through the adhesive.
- Keep that pick parked in the bottom-left corner to stop the adhesive from snapping back together.
Step 9
- Grab a hair dryer or heat gun and gently warm up the left edge of the back glass until it feels comfortably warm to the touch. Keep the heat moving to avoid any hot spots and make the glass a little more flexible for the next steps.
Tools Used
Step 10
Keep your pick shallow—no deeper than 3 mm—to dodge any ouchies to those spring contacts!
You'll notice and hear the metal clips popping free as you slide past them.
- Pop in a second opening pick near the bottom-left corner, right next to the one already in place.
- Gently slide your pick along the left side to loosen the adhesive and unclip the metal connectors.
- Keep that pick inserted at the top-left corner to stop the adhesive from sticking back together.
Step 11
- Grab a hair dryer or heat gun and gently warm up the top edge and top-right corner of the back glass until it feels warm to the touch. Keep it moving to avoid overheating.
Tools Used
Step 12
Be gentle with your pick—stay within 3 mm depth to keep those spring contacts happy and intact!
- Pop a third opening pick into the top-left corner like a pro.
- Gently slide the pick along the top edge, curve it around the top-right corner, and stop just above the volume up button.
- Keep this pick in place to make sure the adhesive doesn’t sneak back together.
Step 13
- Grab a trusty hair dryer or heat gun and gently warm up the right edge of that back glass until it's toasty enough to touch!
Tools Used
Step 14
Keep your pick no deeper than 3 mm to dodge any accidental spring contact damage—let’s keep it safe and sound!
- Pop a fourth opening pick into the bottom-right corner like a pro.
- Gently slide that pick around the corner and glide it up the right edge, stopping just below the volume down button.
- Keep this pick in place to stop the adhesive from sealing back up on you.
Step 15
By now, the back glass should be loose from the frame. If it still feels stuck, take a gentle pass around the edges with your pick to double-check for any missed adhesive spots or stubborn clips. Keep at it—patience pays off, and if you need help, you can always schedule a repair.
- Gently swing the back glass open towards the right side of the iPhone to loosen up the last bits of adhesive.
- Prop up the back glass using a clean, solid object to keep it steady.
Step 16
- Grab your trusty tri-point Y000 driver and let’s get those screws out! You’ll need to remove three screws that are keeping the battery connector cover in place:
- Two screws that are 1.3 mm long—these are the dynamic duo!
- And don’t forget about the one little 1.0 mm long screw—every screw counts in this adventure!
Step 17
- Carefully lift off the battery connector cover to access the internal components. If you need a hand, you can always schedule a repair.
Step 18
- Carefully use the pointy end of a spudger to lift and unplug the battery press connector.
Tools Used
Step 19
- Grab your trusty tri-point Y000 driver and let's get those four screws off the back glass connector cover! You'll be dealing with two screws that are 1.3 mm long and two that are 1.0 mm long. Easy peasy!
Step 20
- Gently lift the back glass connector cover straight up and take it off.
Step 21
- Grab a spudger and gently pry up the back glass connector to disconnect it. Take your time—gentle pressure is key! If you need a hand, you can always schedule a repair.
Tools Used
Step 22
- Carefully pry off the back glass to reveal the goodies inside.
Step 23
- Grab a spudger and gently lift up to disconnect the earpiece speaker and 5G mmWave antenna connectors. A little nudge goes a long way here—just take it easy and keep everything smooth.
Tools Used
Step 24
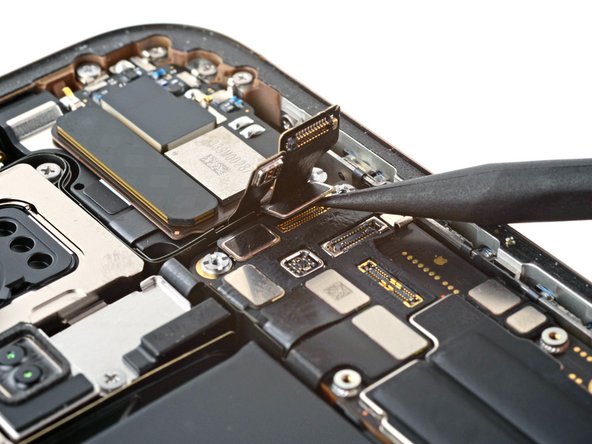
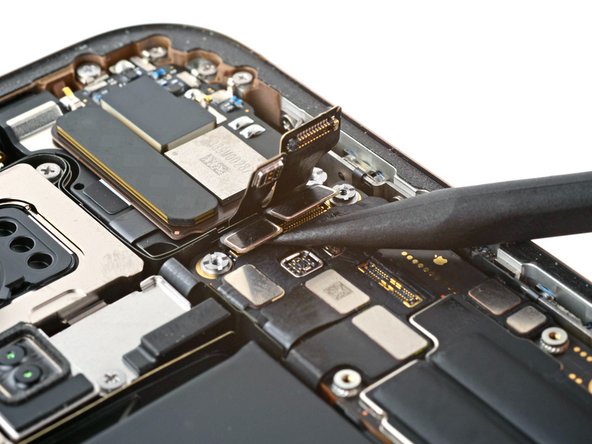
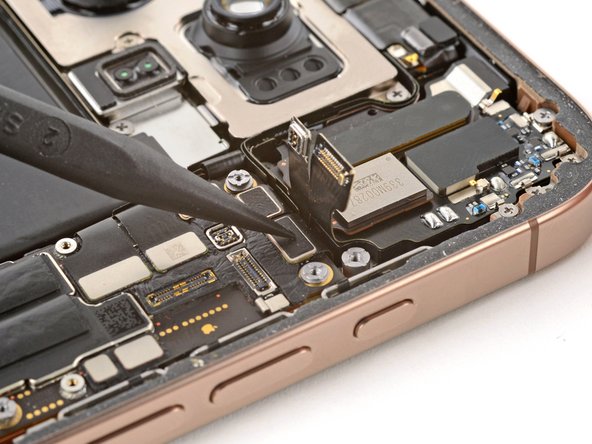
- Grab your spudger and gently pry up the two front camera assembly connectors located beneath the previous connectors. Keep it careful and steady—you're almost there!
Tools Used
Step 25
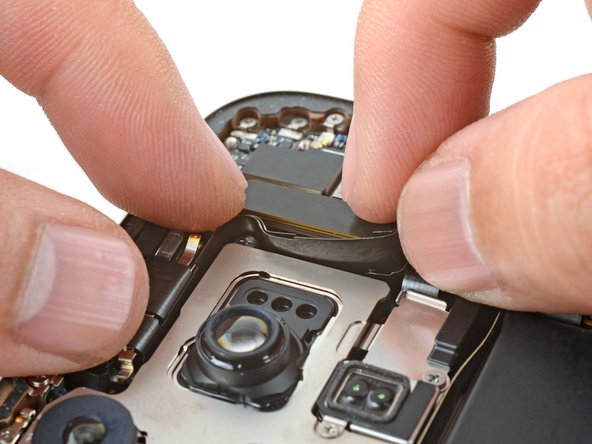
- Gently lift and detach the front camera assembly. Let's get that camera out of there!
Step 26
Nice work taking your iPhone apart! Now, let's put it back together—these next steps will guide you through reassembly.
Your iPhone model might make some photos look a little different, but don’t worry—the instructions fit your device perfectly.
Step 27
- Place the front camera assembly snugly into its spot.
- Carefully slide the camera flex cables into the narrow space between the rear camera assembly and the earpiece speaker assembly without forcing them.
Step 28
To get those connectors back in action, gently line them up and press down on one side until you hear that satisfying click! Then, do the same on the other side. Remember, no pressing in the middle—let's keep those pins happy and straight. If things get a little wonky, they might bend, and nobody wants that kind of drama. You’ve got this!
- Give those camera connectors a little nudge with your finger or a trusty spudger to snugly fit them onto the logic board. You've got this!
Tools Used
Step 29
- Grab your finger or a spudger and gently press to reconnect the earpiece speaker and the mmWave antenna connectors onto the logic board. Stay steady and confident—you're making great progress! If you need help, you can always schedule a repair.
Tools Used
Step 30
When cleaning the frame, watch out for those delicate grounding clips. If one of them gets bent out of shape, just gently straighten it back with your fingers or a pair of tweezers—no need to force it. Take your time, and if you need a hand, you can always schedule a repair.
- Grab some blunt nose tweezers or your fingers and gently lift away big chunks of adhesive from around the frame.
- Use a spudger to carefully scrape off any leftover adhesive residue from the frame surface.
- If the adhesive's being stubborn, give it a little heat with a hair dryer or heat gun, then try removing it again.
Tools Used
Step 31
- If you're reusing your back glass, grab a microfiber or lint-free cloth and add a few drops of isopropyl alcohol (over 90%). Gently wipe around the edges to make sure the surface is clean and ready for the fresh adhesive.
Step 32
Take your time with this step! A spick-and-span frame makes way for replacement adhesive to set perfectly, creating a strong bond that will hold things together like a champ.
- Grab a lint-free cloth or a coffee filter and gently wrap it around the tip of your spudger. Then, add a couple of drops of high-concentration isopropyl alcohol (over 90%) to it.
- Now, gently wipe along the edge of the frame in one direction to tackle that stubborn adhesive residue.
Tools Used
Step 33
Leverage features like the camera cutout and the notches along the top and bottom edges to get a clear picture of how the adhesive will sit within the frame. This helps you plan your next move with confidence.
- Place the adhesive sheet over the frame to check its orientation before sticking. Make sure it lines up perfectly for a smooth fit. If you need help, you can always schedule a repair.
Step 34
- Grab the tab in the corner of the adhesive sheet and gently peel back the liner, just enough to reveal about a third of the sticky surface.
The sticky adhesive is quite the clingy buddy. Keep it away from anything until you're ready to stick it onto the frame—no accidental sticking allowed!
If your adhesive has several layers, peel away the liner that reveals the sticky side that will attach to the frame. Keep it simple—just remove the liner covering the side that needs to stick, and you're good to go. If you need a hand along the way, you can always schedule a repair.
Step 35
Once the adhesive is in place, it's there for good—no second chances! If it’s not perfect, you’ll need to remove it and start fresh with a new piece.
- Gently line up the sticky edge of the adhesive strip with the matching part of your iPhone's frame, making sure it's just right.
- Once it's properly in place, softly press down the exposed adhesive onto the frame to secure it.
Step 36
No adhesive strips? No worries! You can temporarily reassemble your iPhone and use it like normal. Just a heads up, though—its water resistance will take a little vacation until you get those strips replaced.
Nailed the adhesive alignment? Great! The edges should click right into place like they were meant to be.
If your adhesive is playing hard to get and is just a tad off, gently coax the long edges back into line with the frame.
Uh-oh! If the adhesive starts wrinkling or creasing, don't sweat it. Just peel it off and give it another shot with some fresh adhesive.
- Keep peeling back the liner from the adhesive, gently pressing it down as you go to ensure it sticks smoothly. Take your time—good things come to those who press!
Step 37
Handle the delicate grounding clips with care. If one gets a little bent out of shape, just nudge it back gently using your fingers or tweezers—no stress!
Be gentle with that pressure! Too much might just stretch and twist the adhesive into a pretzel.
Step 38
- Grab a spudger or just your fingers to gently lift the pull tab hanging out on the large front liner. Usually, it’s chilling in a corner waiting for you.
- Once you’ve got a hold of the pull tab, peel that big front liner right off the adhesive like you’re unwrapping a present.
At this stage, you might still see those tiny release liners around the edges—think of them as the protective bubble wrap for your parts. They keep the adhesive from sticking to anything prematurely during reassembly. No need to peel them off just yet—leave them in place until you're ready to stick everything together smoothly. If you need help, you can always schedule a repair.
Tools Used
Step 39
- Gently prop up the back glass along the right edge of your iPhone to get started. Keep it steady as you work—think of it as giving your device a little support buddy. If you need a hand along the way, remember you can always schedule a repair with Salvation Repair.
Step 40
- Gently press the back glass connector onto the logic board using your finger or the flat end of a spudger. Keep it steady and ensure it clicks into place. If you need help, you can always schedule a repair.
Tools Used
Step 41
Now's a great time to test your repair before sealing up your iPhone! Go ahead and power it on to see if everything's working as it should. Once you're satisfied, power it back down and keep going with the reassembly.
If your iPhone is playing hard to get and won't turn on, plug it into a power source and give it another shot.
In case you've swapped out the logic board and the screen still refuses to light up, you'll want to check out the screen guide to manually connect that display connector.
- Give that battery press connector a gentle nudge with your finger or a spudger, and make sure it clicks snugly onto the logic board. You've got this!
Tools Used
Step 42
- Line up the back glass connector cover with its screw holes and gently lay it down in place. Keep it aligned and make sure it sits flush before moving on. If you need help, you can always schedule a repair.
Step 43
- Grab your trusty tri-point Y000 driver and get ready to install those four screws that are keeping the back glass connector cover on lockdown:
- First up, you'll need two of those 1.3 mm-long screws, they're the bigger guys in the bunch!
- And don't forget about the two 1.0 mm-long screws, the stylish little helpers that complete the squad.
Step 44
- Line up the battery connector cover with its screw holes and gently set it down in place.
Step 45
- Grab your trusty tri-point Y000 driver; it's time to secure that battery connector cover like a pro! You'll want to install three screws:
- First up, twist in two of those sleek 1.3 mm-long screws.
- And don’t forget the cherry on top: one 1.0 mm-long screw to complete the ensemble!
Step 46
As you peel away the liners, just make sure nothing gets near the exposed adhesive. Keep it clean and steady, and you'll be golden.
- Grab your fingers or a spudger and gently peel away those perimeter liners. It’s like peeling a sticker—just a bit more satisfying. The adhesive will be revealed, ready to do its job!
- Take a quick look around the frame and back glass for any stray liners that might have slipped under the radar. Remove them, making sure nothing is left behind. Clean edges are happy edges!
Tools Used
Step 47
If you run into some resistance, it might mean that a perimeter clip has taken an unexpected detour and is getting squished by the frame. Check out the spot where you're feeling the pushback and gently coax any bent clips back into shape.
- Start by gently lowering the back glass onto the frame, beginning with the top edge.
- Now, press along the edges of your iPhone until the back glass clicks into place, sitting flush against the frame.
Step 48
Heating up the adhesive makes it softer and helps it stick better—think of it as giving your glue a little warm-up to work its best.
- Grab a hair dryer, heat gun, or an iOpener and warm up the edges of that back glass until it’s just a smidge too hot to handle. You've got this!
Tools Used
Step 49
- Give your iPhone a nice, firm squeeze around the edges with your fingers. You got this!
Step 50
Another way to get that adhesive to stick perfectly is by using vise clamps around the edges of your device. It’s a solid move to keep everything snug while the glue sets.
- Set your iPhone face-down on a clean, flat workspace to get started.
- Apply a strip of tape around the edges of the back glass to keep the finish safe during the process.
- Stack some coins around the edge of the back glass until you build a little wall that's as tall as those camera bumps. This helps keep everything steady as you work.
Tools Used
Step 51
Coins might leave a tiny mark on the bottom book cover—so maybe skip using anything too precious!
A little pressure goes a long way in getting that adhesive to stick. Keep it steady and let it do its magic!
- Grab 3-4 hefty books and stack them right on top of your iPhone like it's a little tower of strength.
- Let those books chill there for about 30 minutes, giving your iPhone a warming hug.
Tools Used
Step 52
- Once you're done with your repair, make sure to calibrate your new genuine part using Apple's Repair Assistant. Just head to Settings → General → About → Parts & Service History, hit Restart & Finish Repair, and follow the easy steps on your screen.
- Got some e-waste? Make sure it gets recycled responsibly by dropping it off at an R2 or e-Stewards certified recycler.
- If things didn’t go quite as planned, no worries! Try some basic troubleshooting, or feel free to ask our awesome Answers community for some extra help.
-
