iPhone 16 Pro Screen Refurbishment
Duration: 45 minutes
Steps: 9 Steps
Refurbishing the iPhone 16 Pro screen isn't just about saving some cash—it's a must when you've got a cracked or damaged display. Sure, it might seem tricky at first, but with the right tools and a bit of know-how, you can pull it off like a pro. This guide will walk you through the whole process, from start to finish, and you'll have your iPhone looking as good as new in no time.
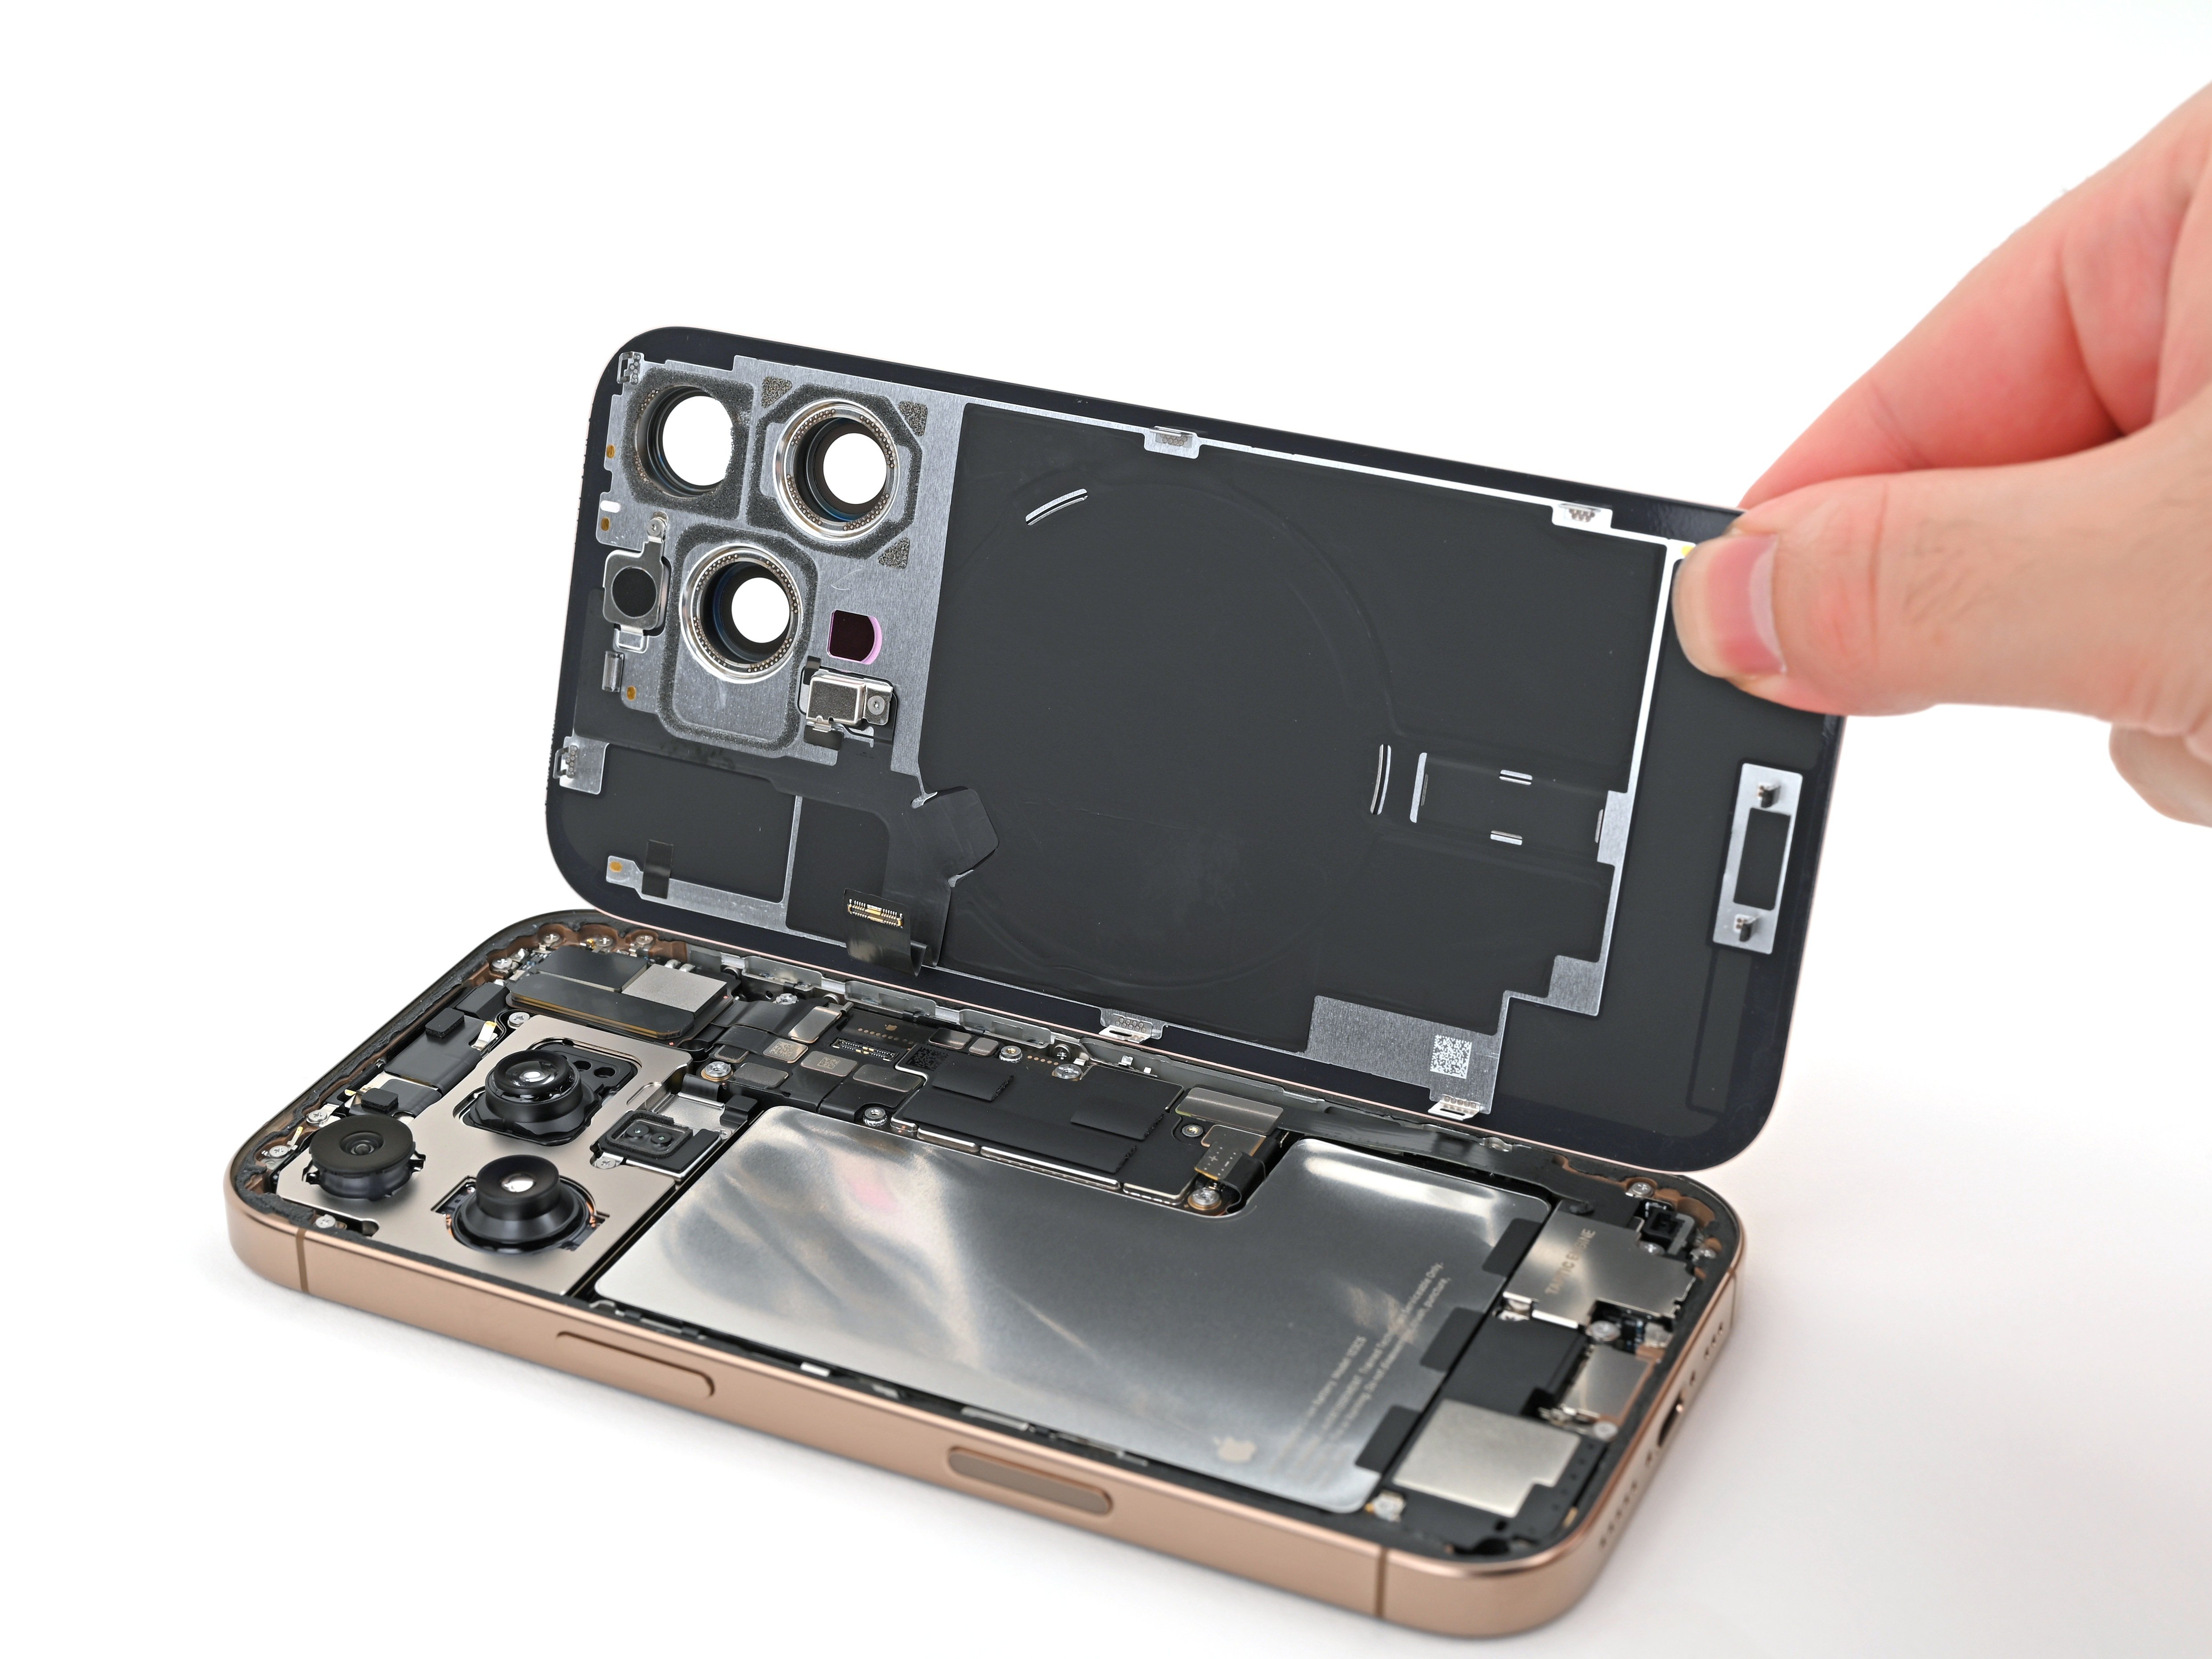
Step 1


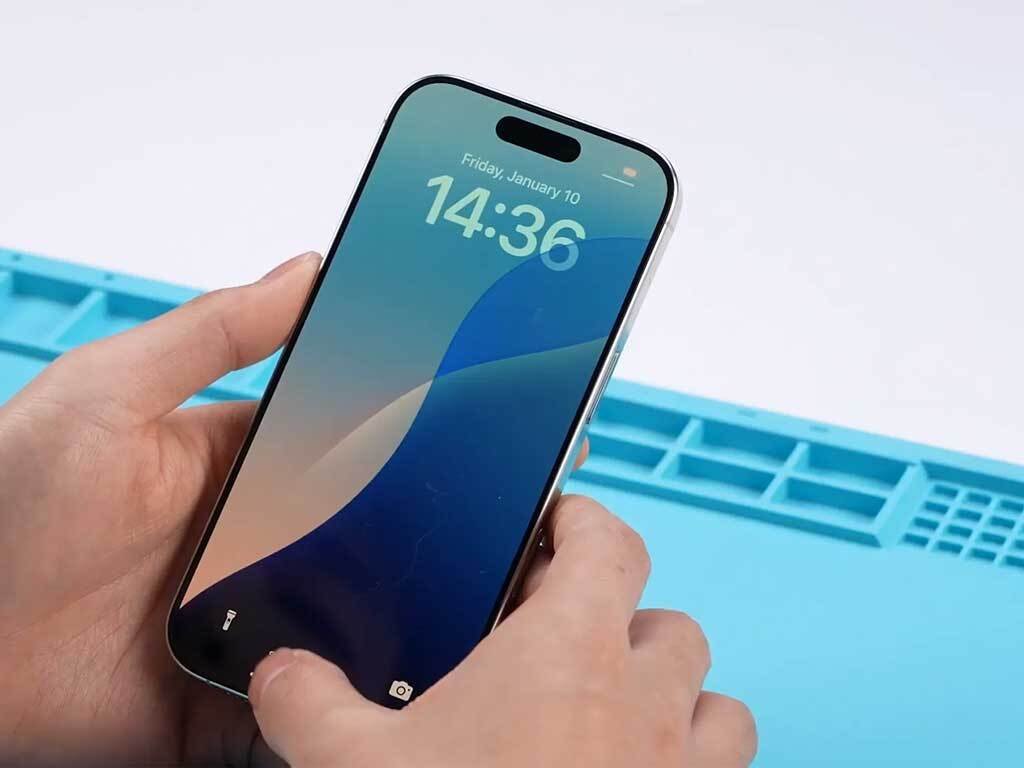
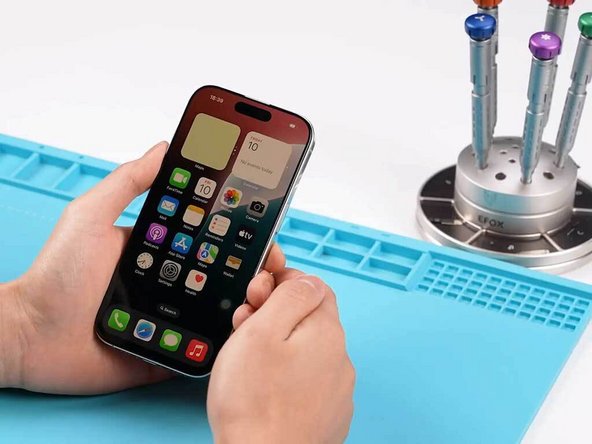
Unplug your charger and make sure your phone’s got enough juice to get the job done.
- Give the iPhone 16 Pro's touch and screen a quick test to make sure all is working smooth.
- Once it’s all good, go ahead and carefully take the screen apart.
Step 2


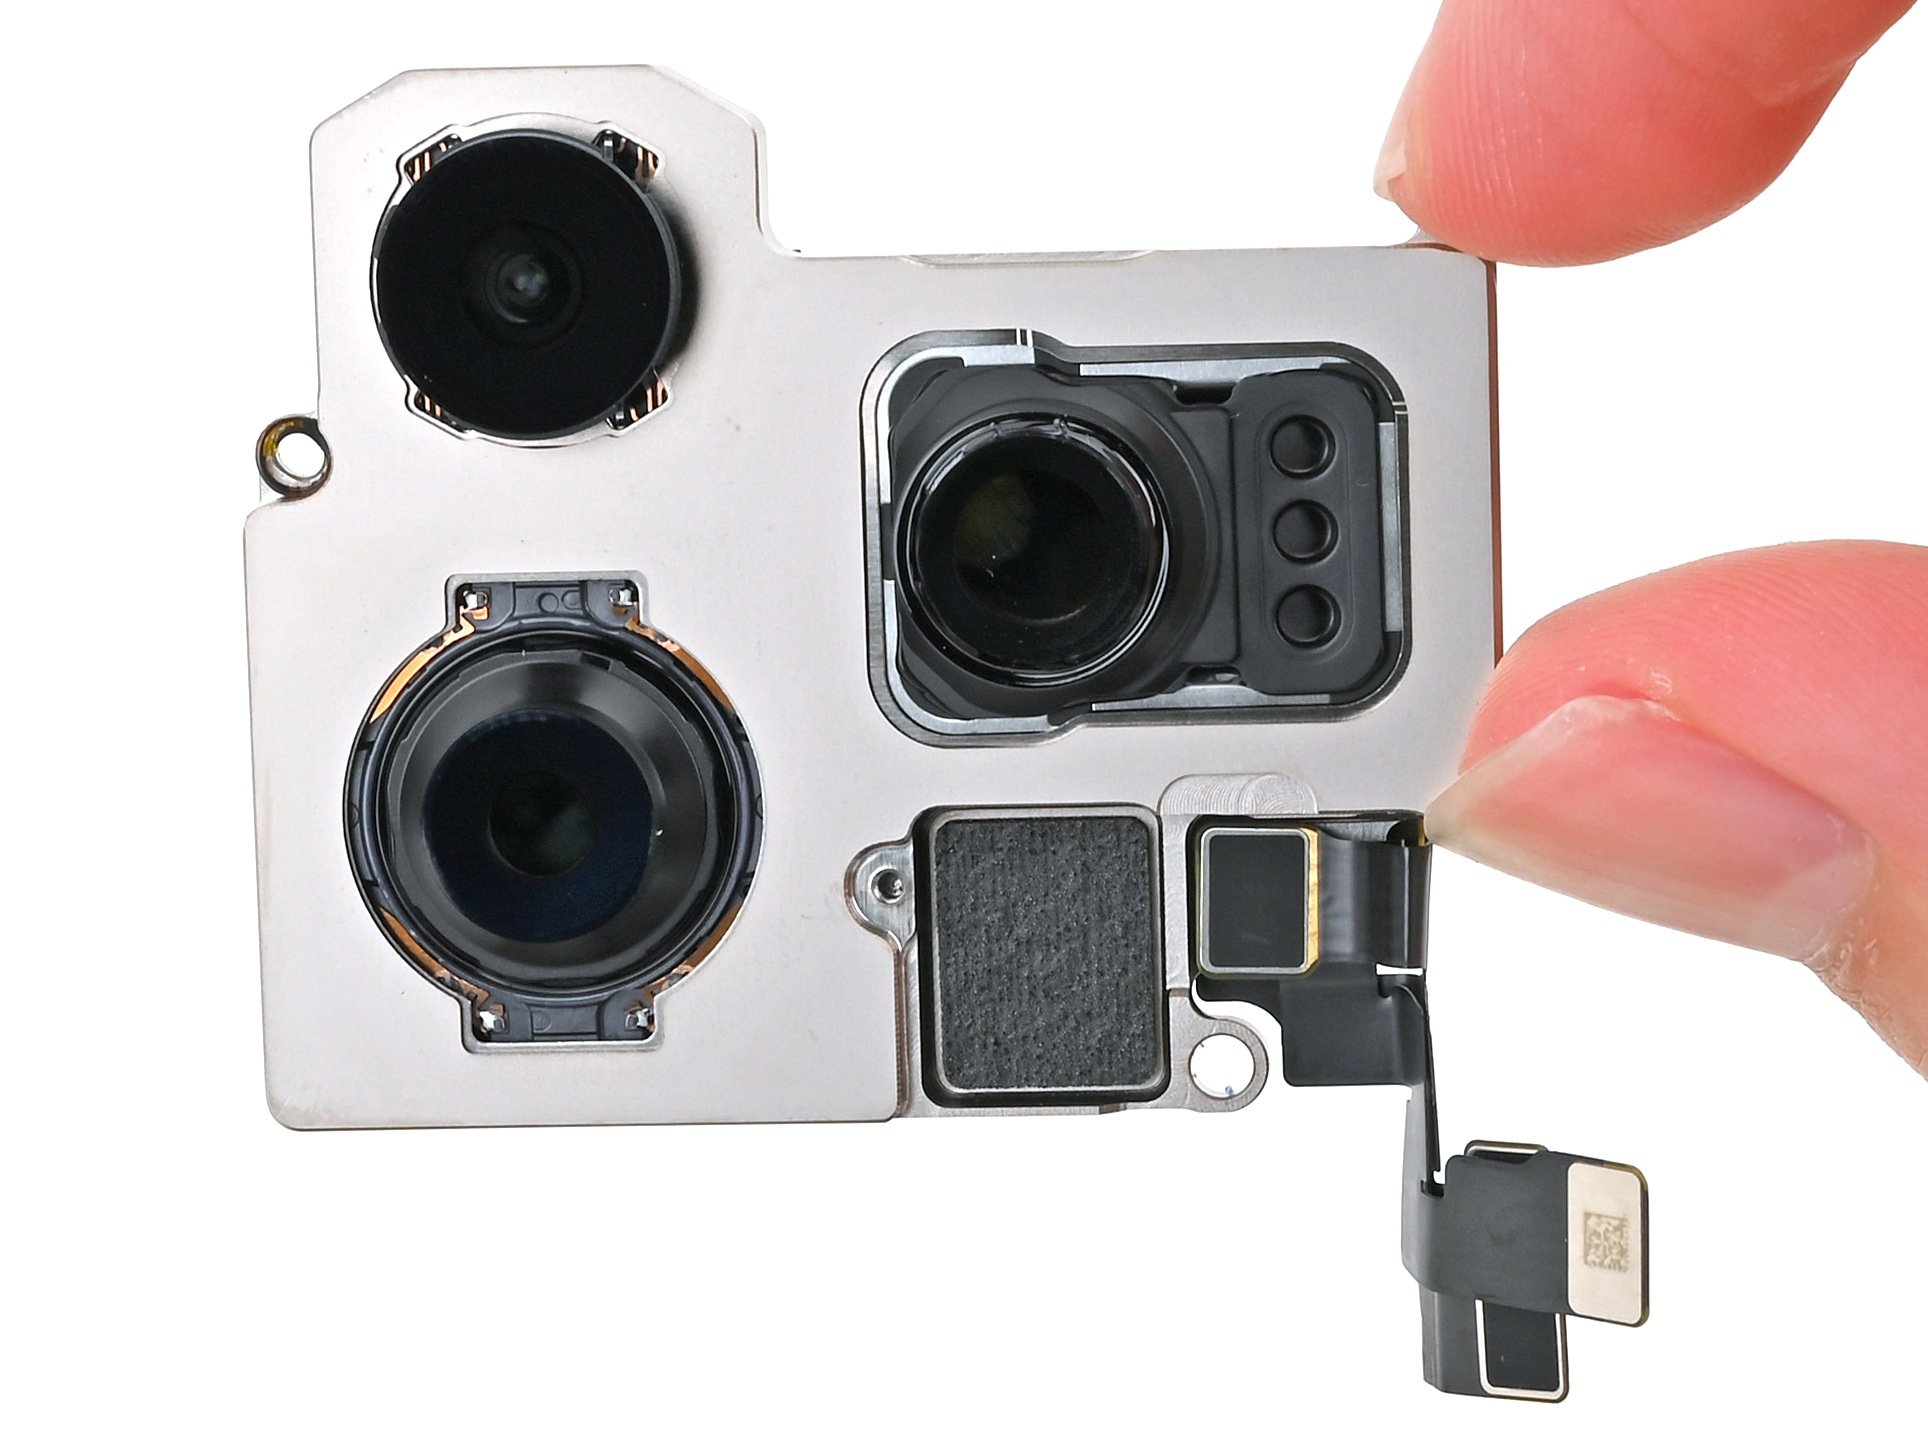
Stick this little protector over the camera to keep it safe. Once that's done, move on to step 4 for smooth sailing with the disassembly process.
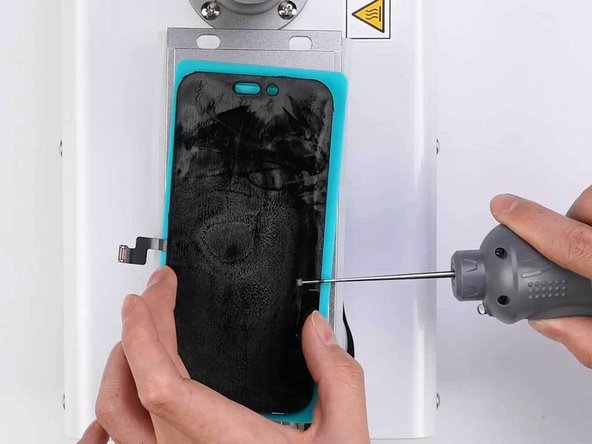
- First things first, power down your phone before taking it apart to keep things safe.
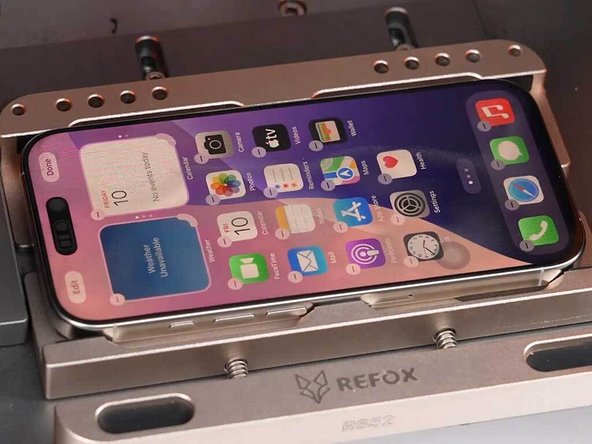
- Grab a Pentalobe Screwdriver and carefully remove the screws at the bottom.
- We like to use the REFOX RF40 iSeparator to make separating the screen a breeze.
- Pop a sticker over the front camera to keep it safe from the laser during the process.
Step 3

Give the screen a good once-over after the treatment to make sure it’s working just right.
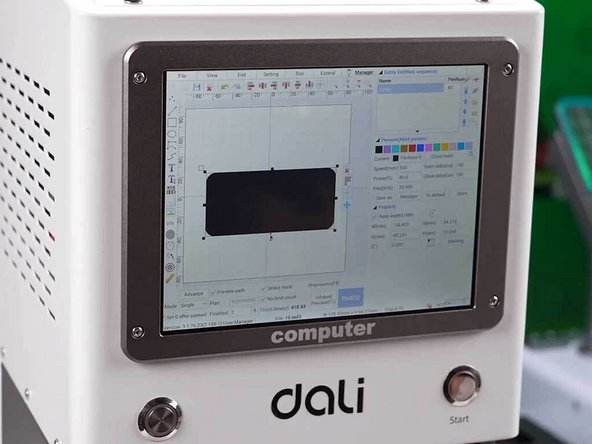
- Fire up a UV laser machine like the DALI K300—it’s about to become your screen’s new best friend.
- Pick out the right pattern or diagram on the machine so your whole screen gets an even blast of UV magic.
Tools Used
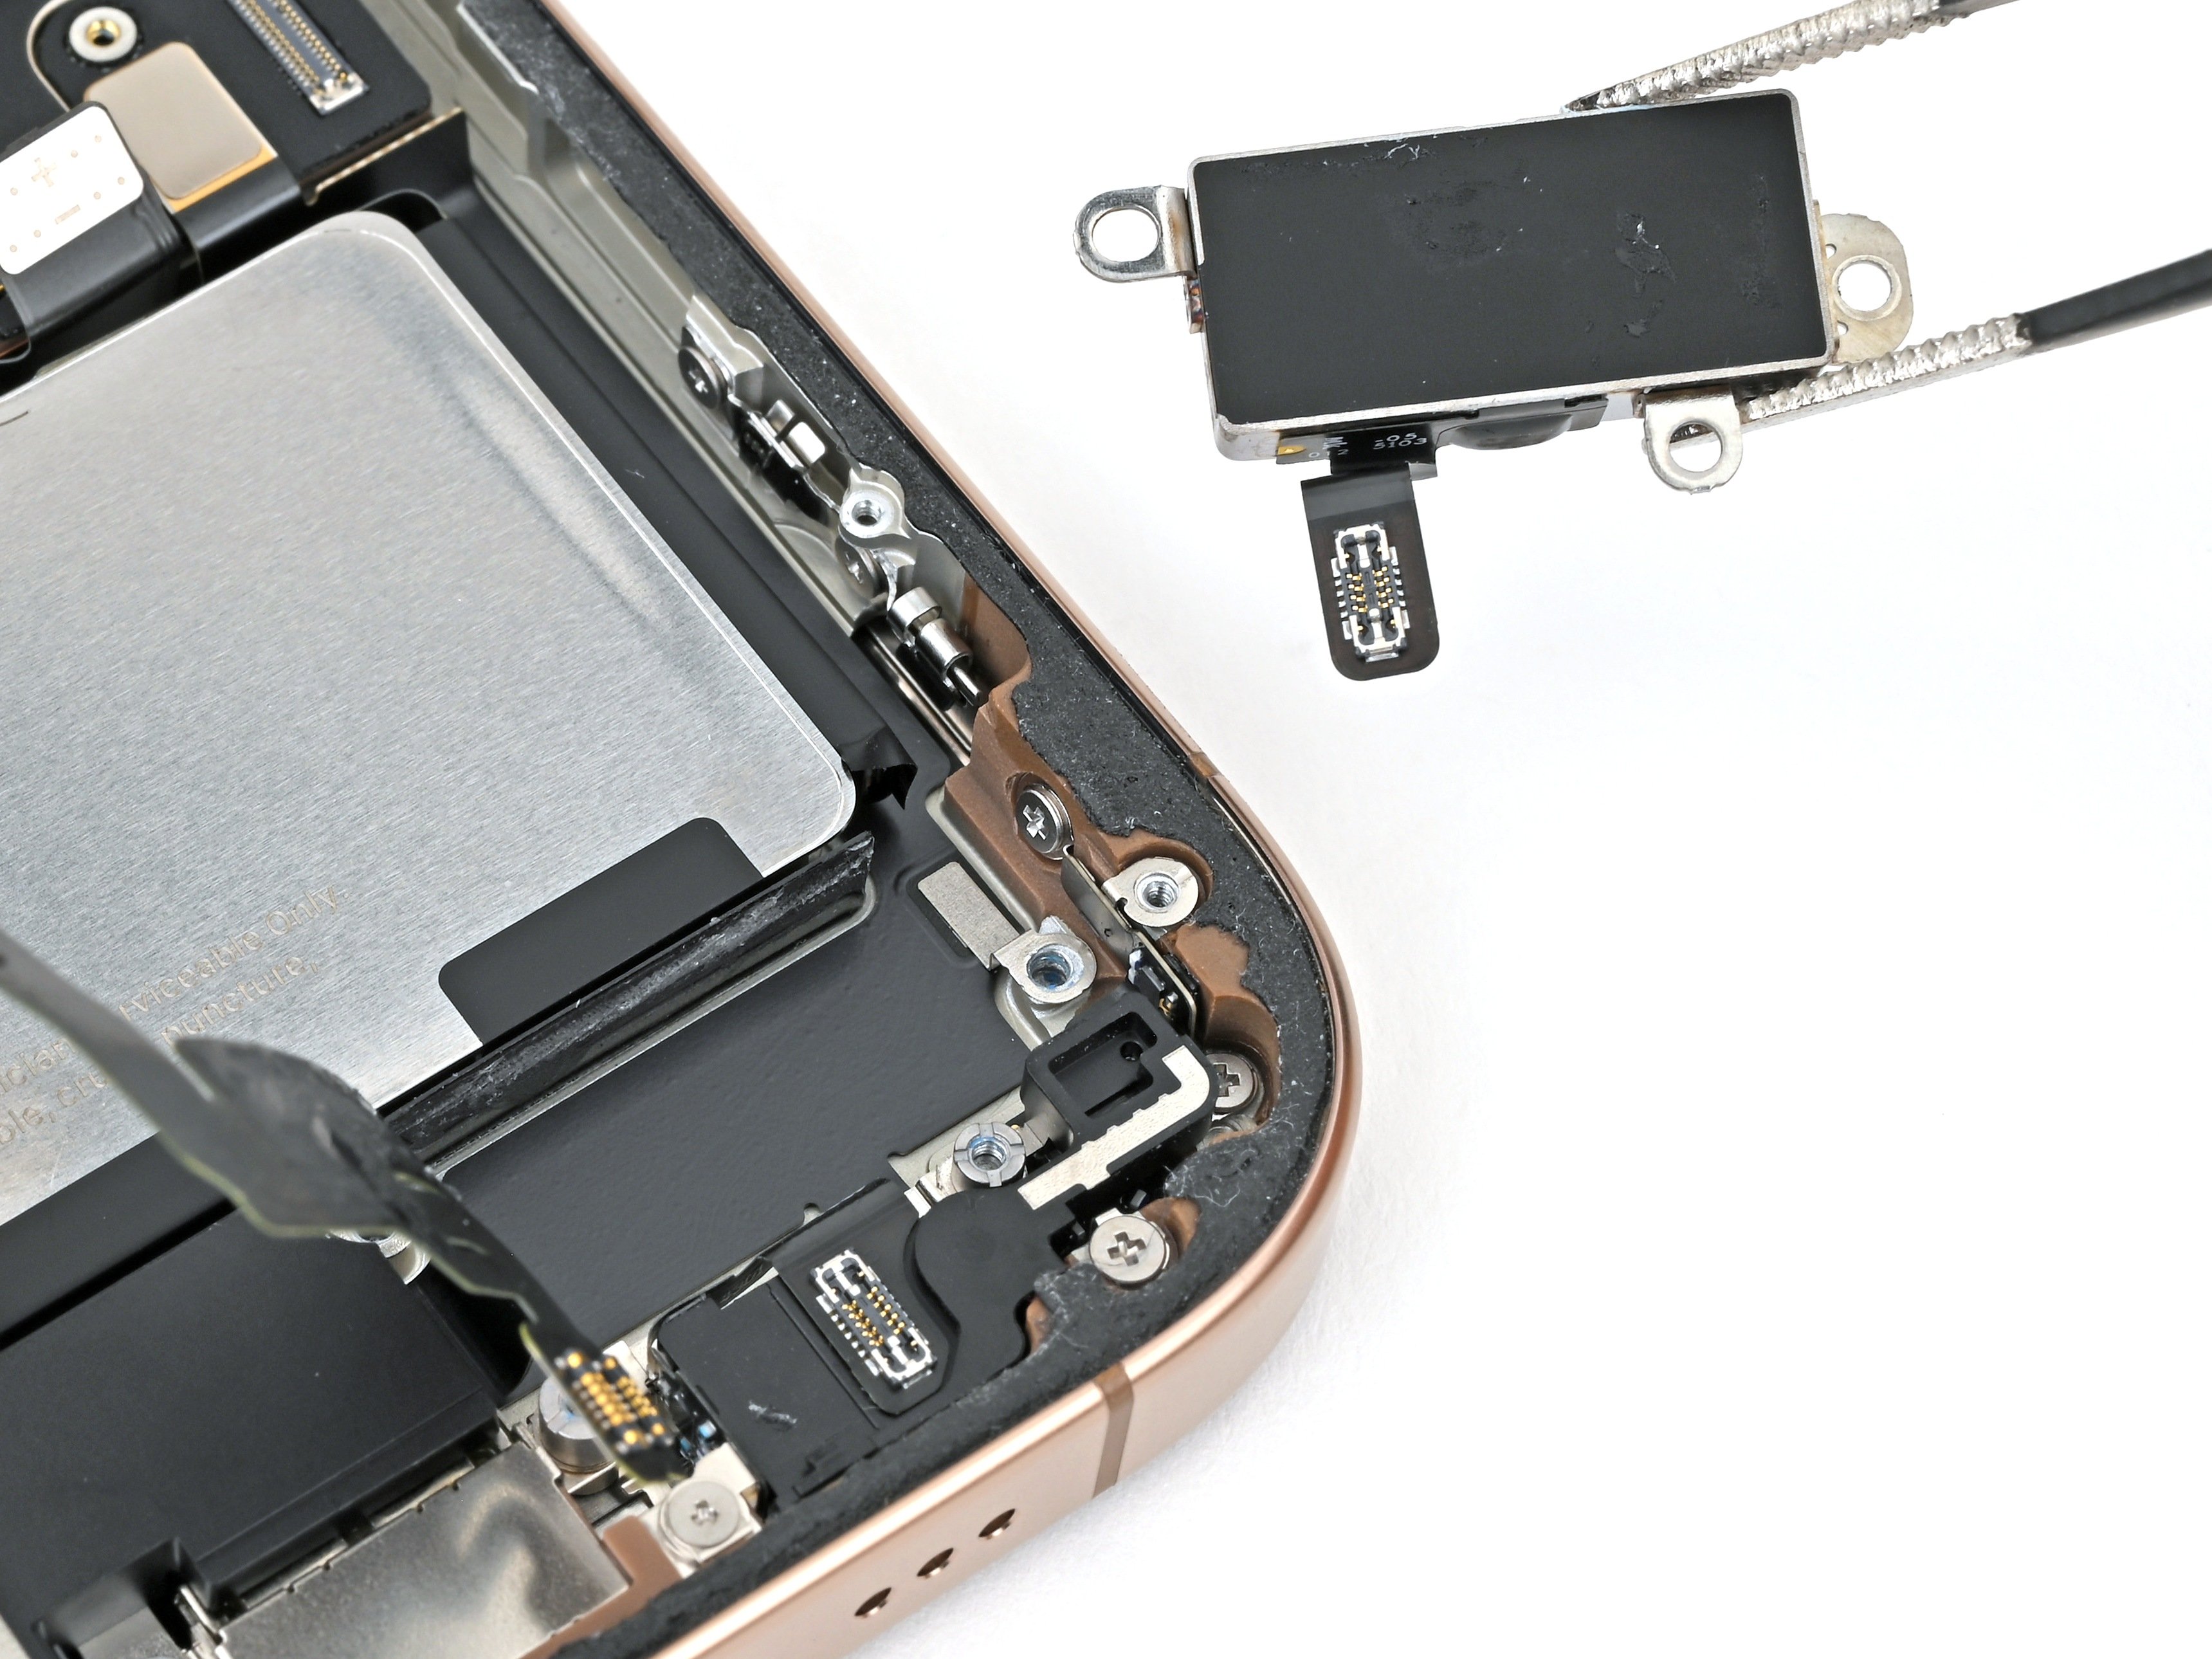
Step 4

For the iPhone 15 and 16 series, the frame bezel is bonded using injection molding—old-school prying tricks can flex and damage things fast. A laser treatment is the game-changer here, making frame removal much smoother and way less risky.
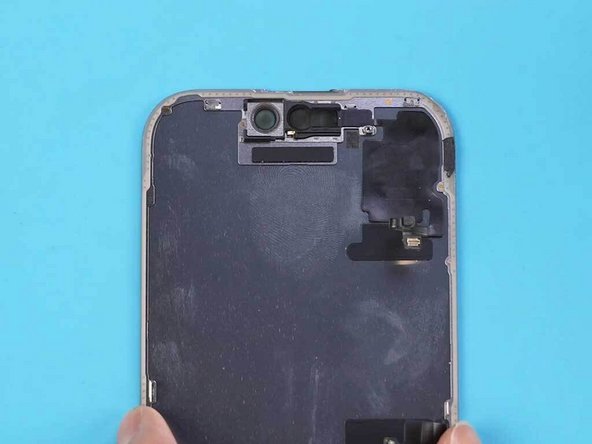
- Gently flip the screen around and carefully lift it off your iPhone 16 Pro.
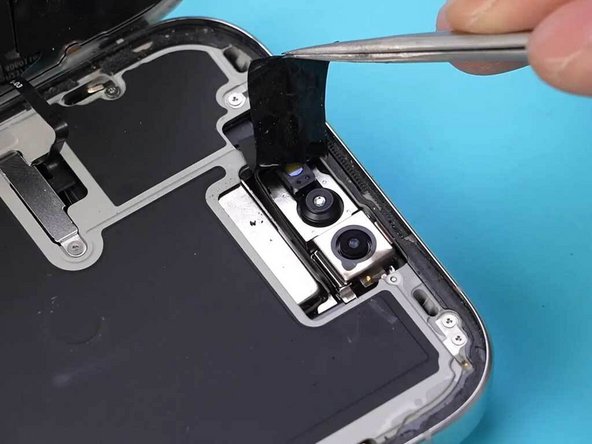
- Take off the cover protecting the camera with a smooth move.
- Lift out the front sensor assembly to keep things moving.
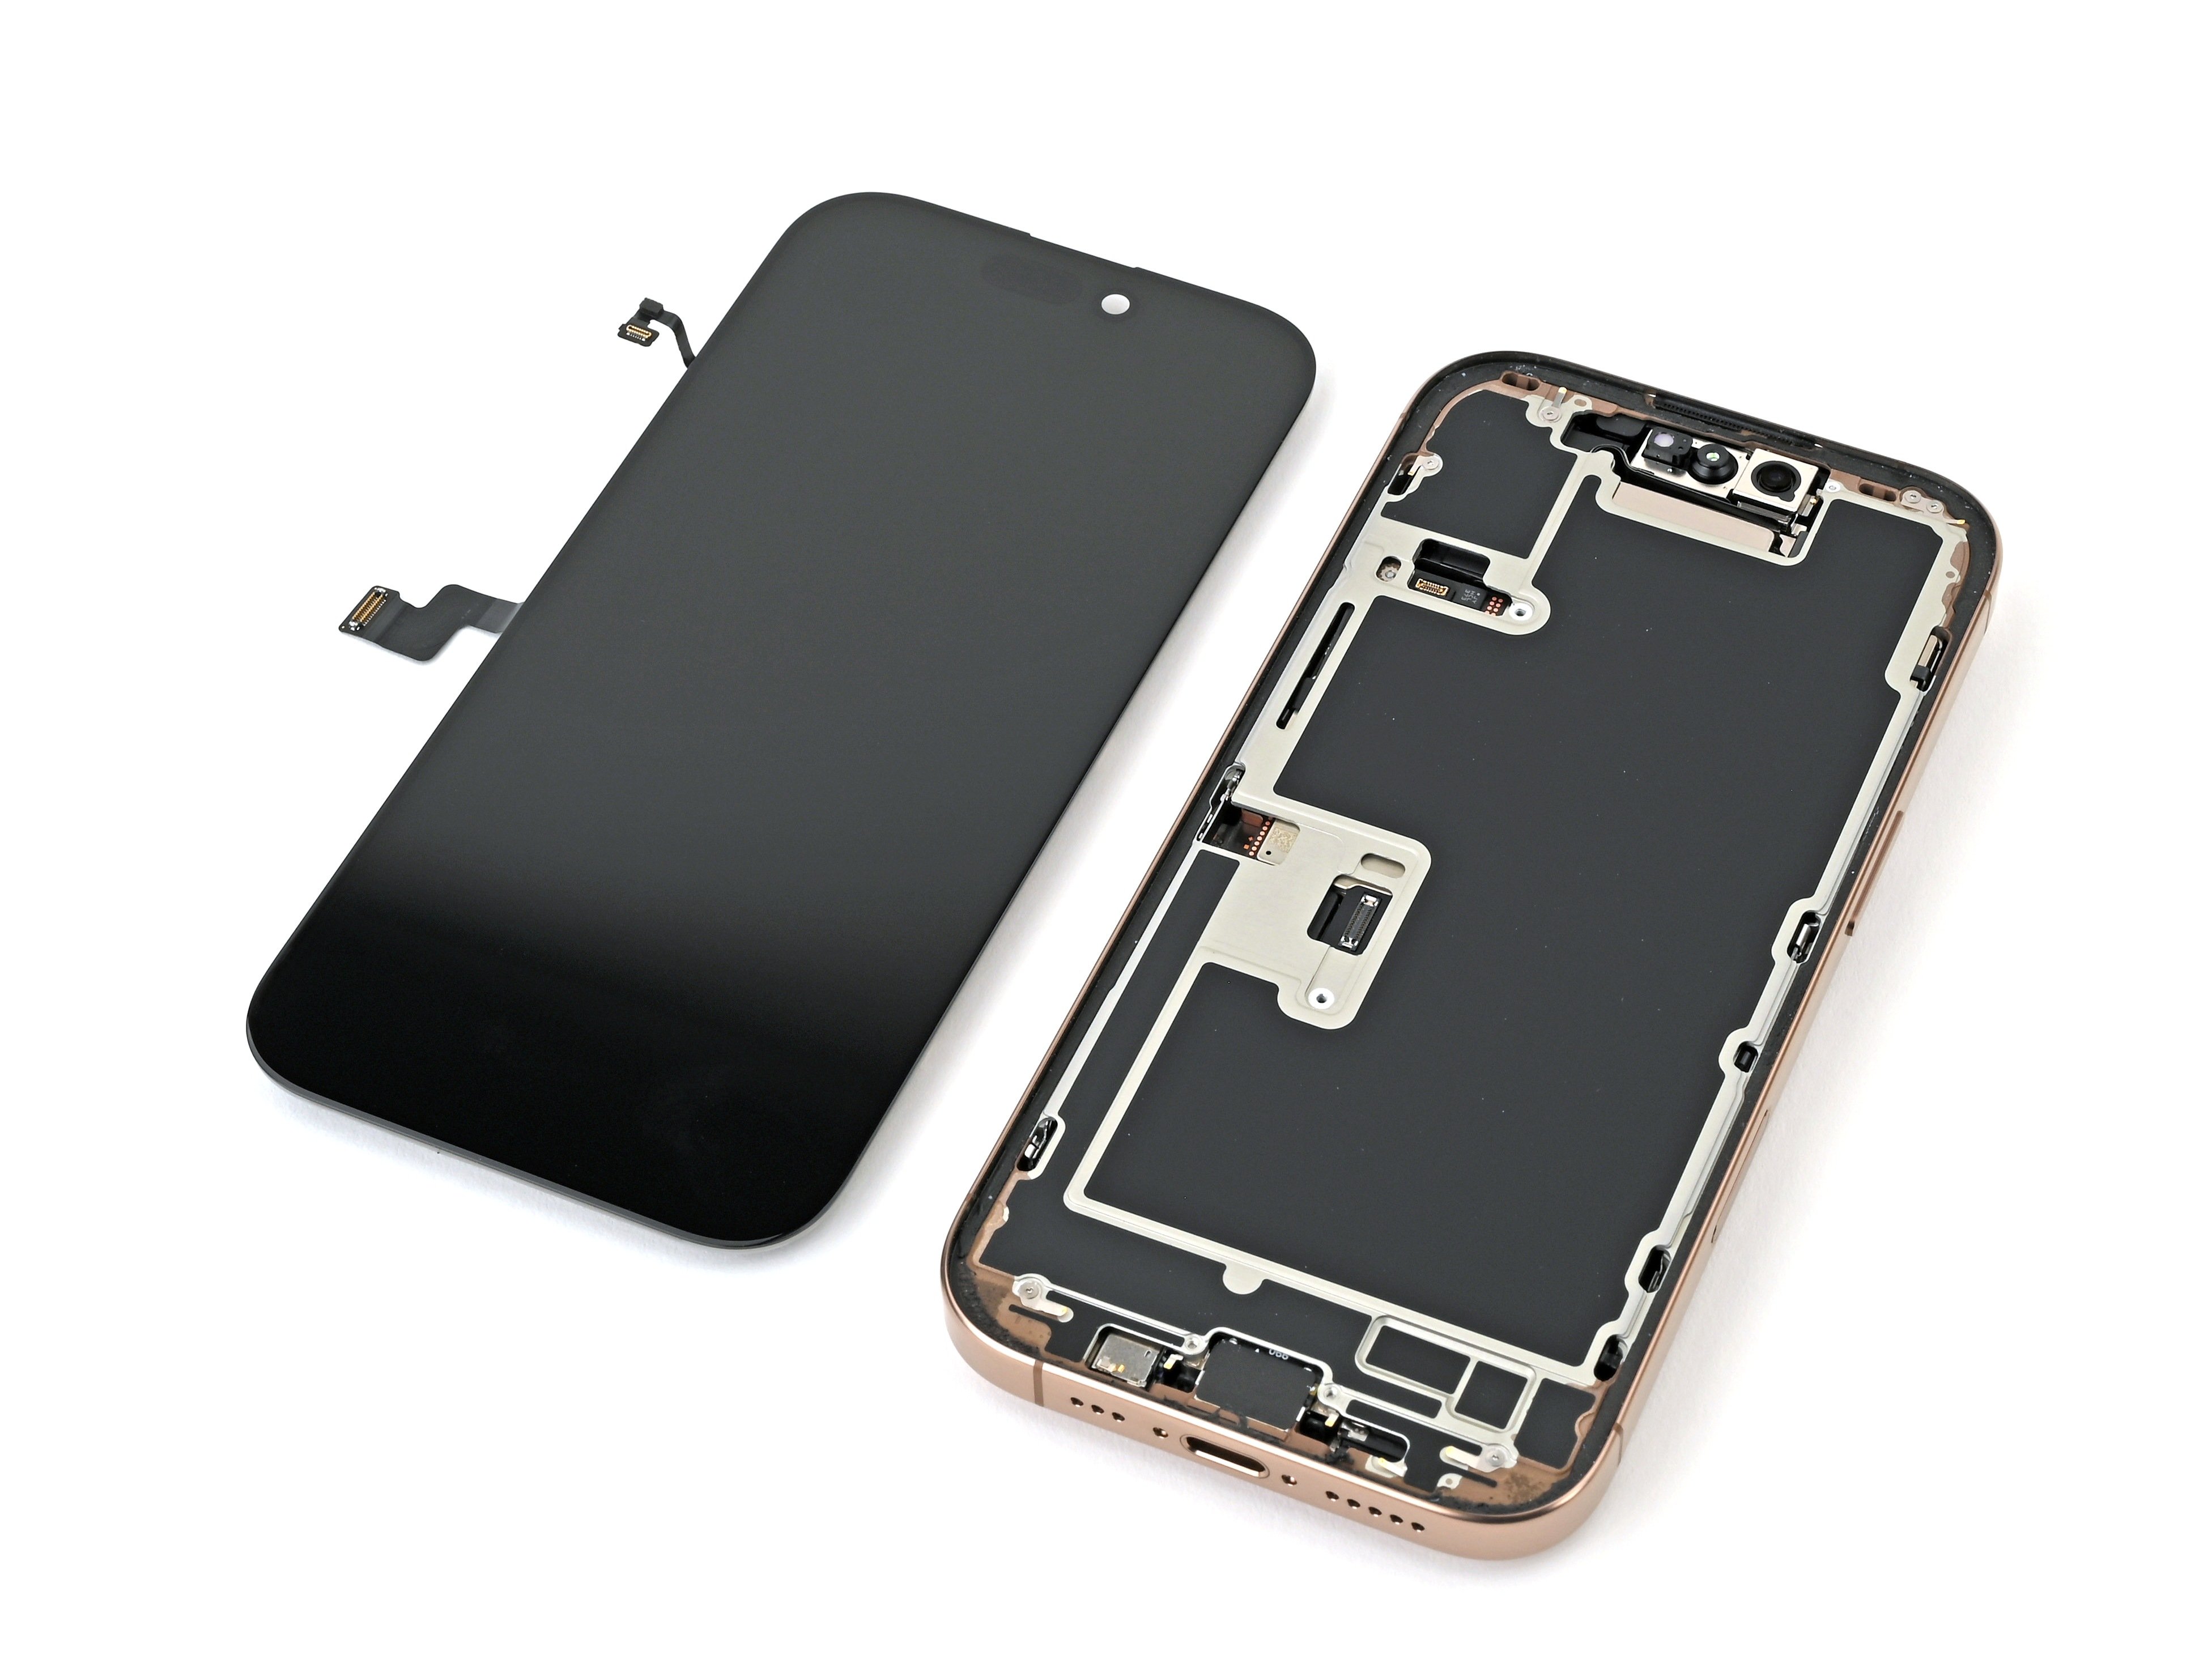
Step 5

Double-check that your upper and lower temperature settings are just right!
We took off the frame to keep the screen smooth and bubble-free.
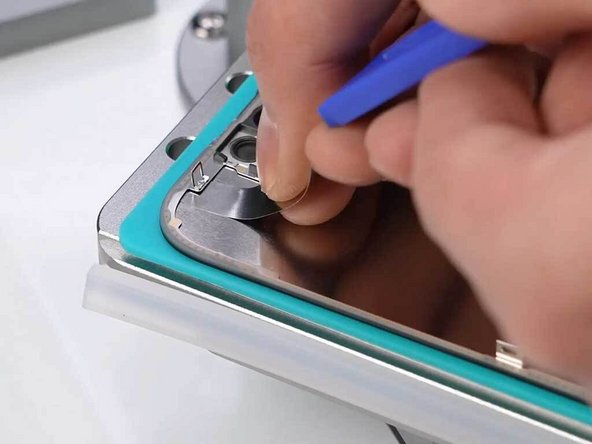
- Line up your screen with the glass separator (like two dance partners prepping for the tango), then give that downward suction a gentle push.
- Grab a soft pry knife, dip it in a little alcohol, and slide it around the frame bezel—think of it as drawing a smooth outline with style.
- With the frame out of the way, show some love to the leftover adhesive and clean it all off. Want a pro to tackle it? You can always schedule a repair.
Tools Used
Step 6

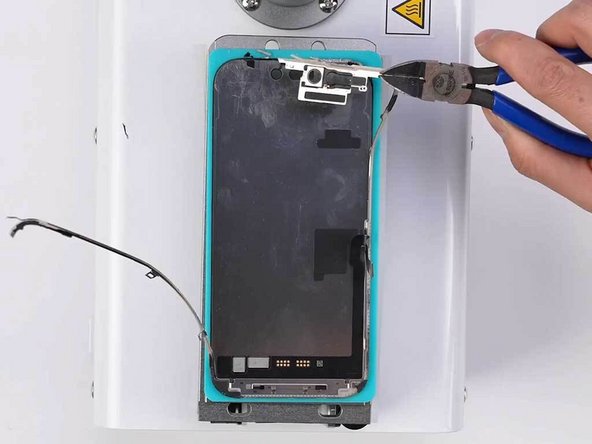
- Skip the wire-cutting drama and go with a protective film—it’s faster, safer, and way less risky for your device.
- Keep a stash of alcohol handy and use it throughout; it’s your best buddy for keeping things clean.
- To tackle stubborn glue or OCA residue, grab an electric glue remover or try whatever reliable method you’ve got.
Tools Used
Step 7
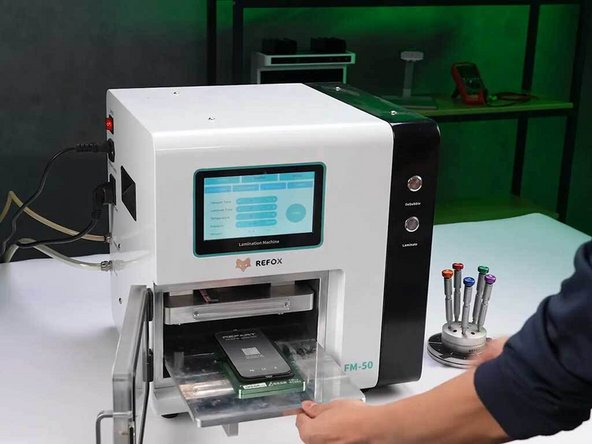


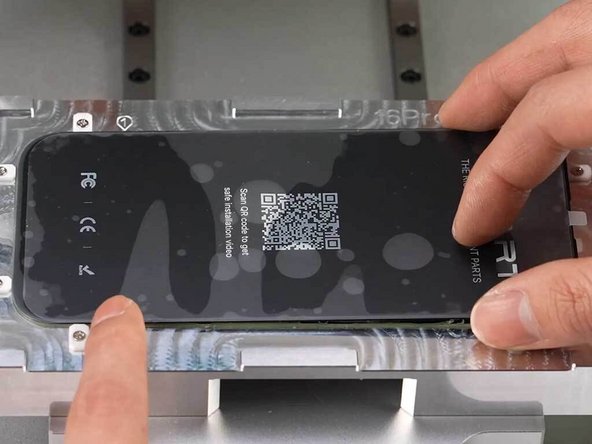
- Time to dress your device with a shiny new front glass! Use a dust-free hood to keep things clean and sparkly, just like your favorite dance floor.
- Grab that alignment mold and get everything perfectly lined up! This way, you’ll dodge those pesky air bubbles that can pop up when things get a little tricky.
- Slide that screen into the laminating machine and let it work its magic. It’s like a spa day for your device!
- Now, let’s make sure everything’s bubble-free! Transfer the screen to the debubbling chamber to chase away any air bubbles that might have snuck in during the fun.
Step 8
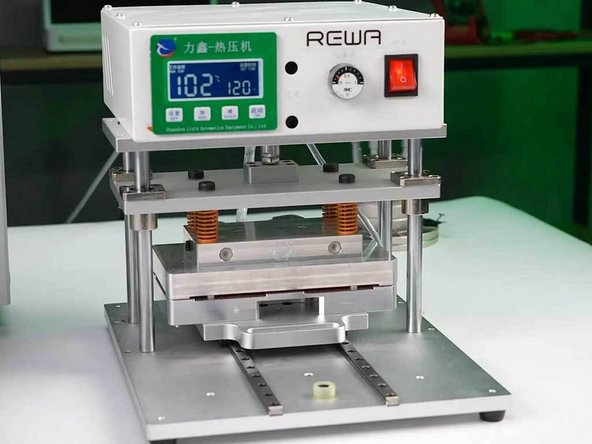

After you've successfully installed the frame and given it a good press, take a moment to double-check that everything is snug and secure. You've got this!
- Grab an automatic glue dispenser and let it work its magic—apply adhesive evenly and with precision. It's like a personal assistant for your glue, making sure everything sticks just right. Or, if you're feeling hands-on, you can always go the manual route and apply the glue yourself.
- Time to bring in the heat press machine! It’s your best buddy when it comes to pressing and locking down the frame. Trust it to do the hard work of securing everything in place.
Step 9

- Start by attaching the screen to your phone, and don't forget to peel off that sticker – it's just there to annoy you anyway!
- Give the screen a quick check to make sure it's all working as it should. Everything should look good – no glitches!
- Now, it's time to put everything back together. Your iPhone 16 Pro is looking brand new and all set to go!