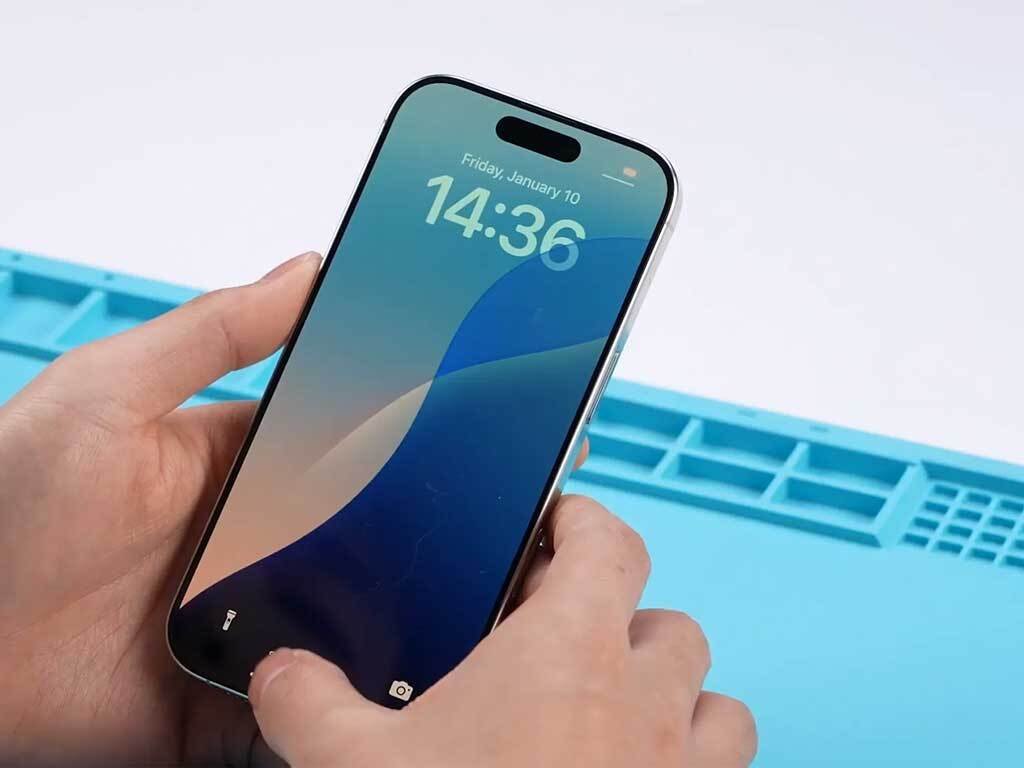
iPhone 16 Pro Screen Replacement
Duration: 45 minutes
Steps: 39 Steps
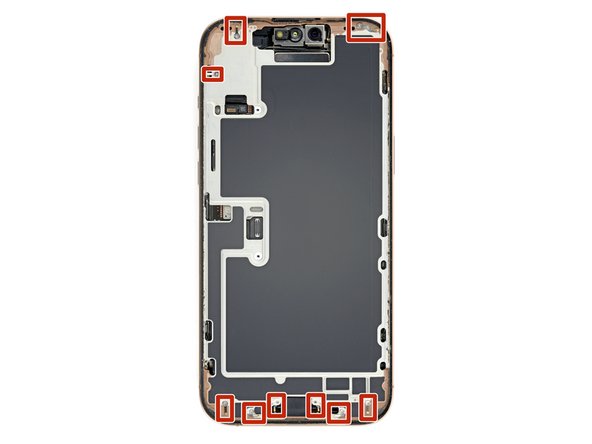
Follow this straightforward guide to swap out a busted, cracked, or unresponsive screen on your iPhone 16 Pro. Make sure you have some replacement screen adhesive on hand to seal everything up nicely. Heads up: since disconnecting the battery isn’t part of this process, be extra careful not to use metal prying tools or touch any exposed contacts inside your iPhone. After you’re done, don’t forget to calibrate an authentic screen using Apple’s Repair Assistant. If you need a hand along the way, you can always schedule a repair.
Step 1


Let the phone’s battery drop below 25% before you start—charged lithium-ion batteries can be a bit touchy, so it’s safer this way.
- Disconnect all cables from your phone to start fresh.
- Press and hold the power button plus either volume button, then slide to turn off your device and get ready for the next step.
Step 2


Find a nice, smooth spot along the bottom edge that's just right for your suction cup to get a good grip.
- If your screen or back glass is shattered or heavily cracked, lay down some overlapping strips of packing tape over the glass. This helps keep the shards contained, protects your fingers, and makes the disassembly a lot smoother. When in doubt, a little tape can save a lot of mess and frustration. If you need a hand with the repair, you can always schedule a repair.
Tools Used

Step 3
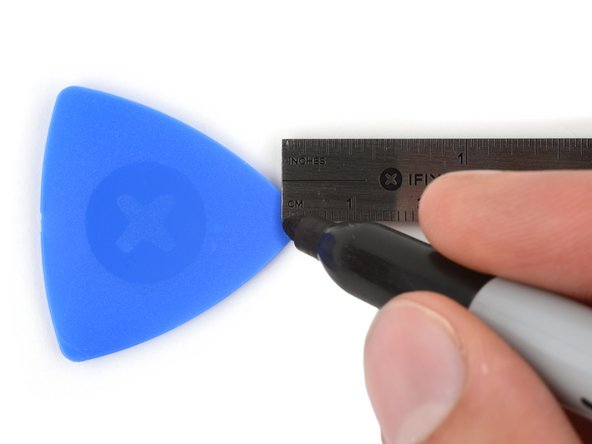

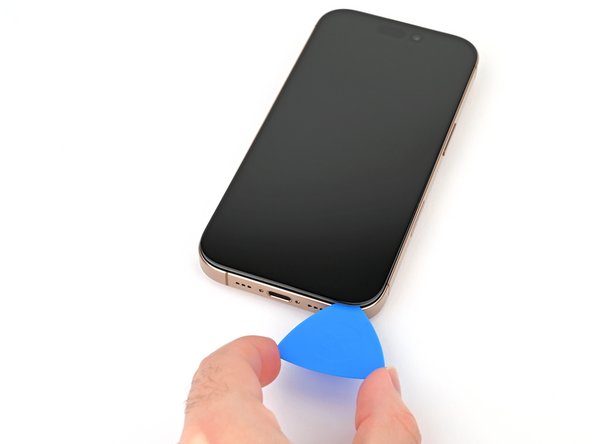
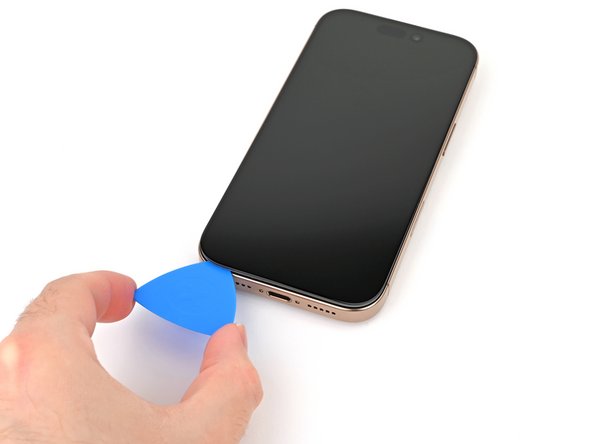
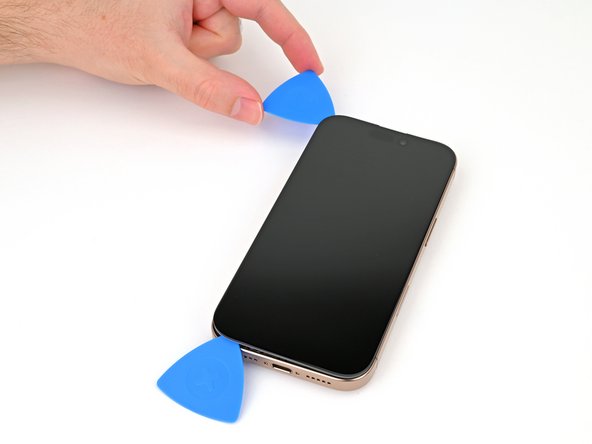
Be careful not to shove that opening pick in too deep, or you might give your device a little unwanted love tap! Take a moment to mark your pick so you can avoid any mishaps.
Feel free to jazz up the other corners of your pick with different measurements for extra flair.
As a fun alternative, you can stick a coin to your pick about 3 mm from the tip. It's a nifty trick!
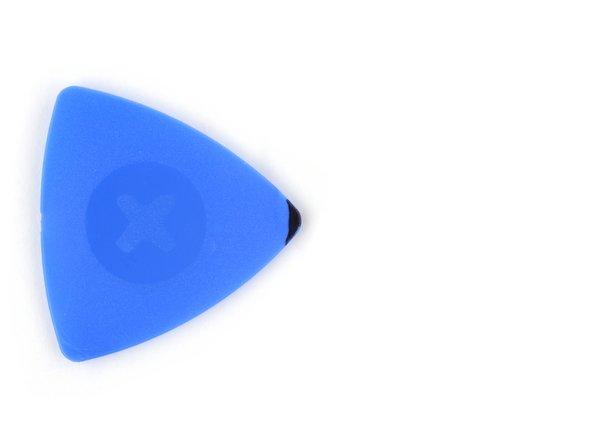
- Measure out 3 mm from the tip and mark the opening pick with a permanent marker—easy peasy!
Tools Used

Step 4


- Grab a P2 pentalobe screwdriver and carefully unscrew the pair of 7.4 mm‑long screws on each side of the USB-C port. You've got this—just take your time and keep track of those screws!
Step 5

- Grab a hair dryer or heat gun and gently warm up the bottom edge of the screen until it feels warm to the touch. Keep the heat moving to avoid any damage.
The next couple of steps guide you through creating a small gap using a suction handle—think of it as the first step to getting inside. Alternatively, you can warm up the screen with an iOpener to loosen things up. Just follow these tips to heat and apply the iOpener smoothly and safely. If you need a hand along the way, remember you can always schedule a repair.
Tools Used


Step 6

Having trouble creating a gap? Give the edge a little extra heat, then try again. Sometimes a bit more warmth is all it takes to get things moving smoothly. If you need help along the way, remember you can always schedule a repair with Salvation Repair.
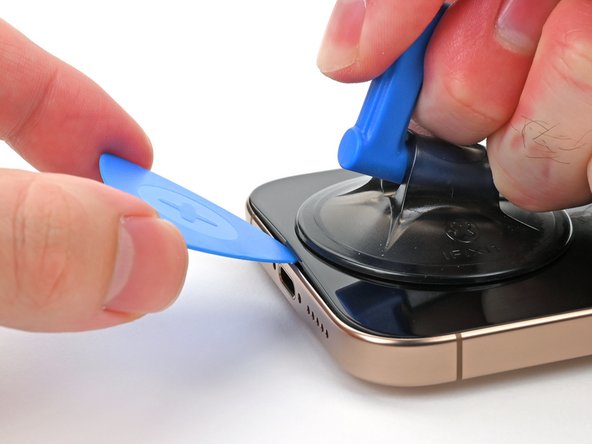
- Stick a suction handle onto the bottom edge of the screen.
- Give the handle a firm, steady pull to pop up a little gap between the screen and the frame.
- Slide the tip of an opening pick into that gap to get things moving.
Tools Used
Step 7

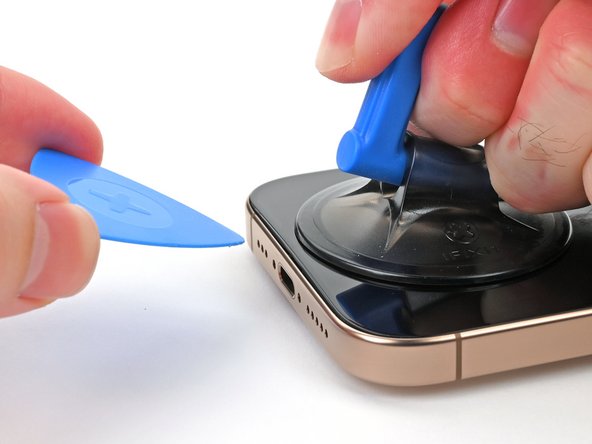
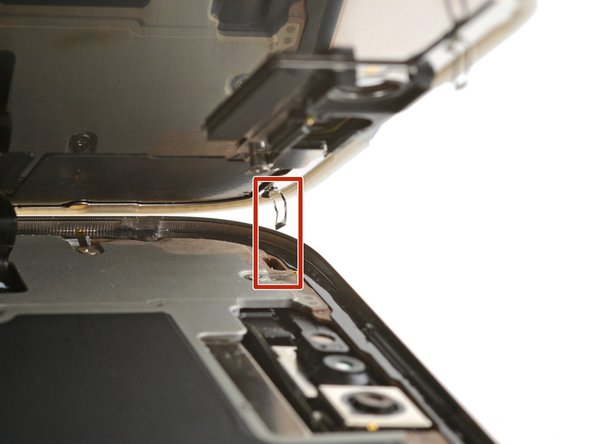
As you carefully slice through the adhesive holding the screen, remember: don’t poke your pick more than 3 mm in—that’s the sweet spot to avoid any accidental damage down the line. Keep it gentle, keep it safe, and you’ll be back in action in no time!
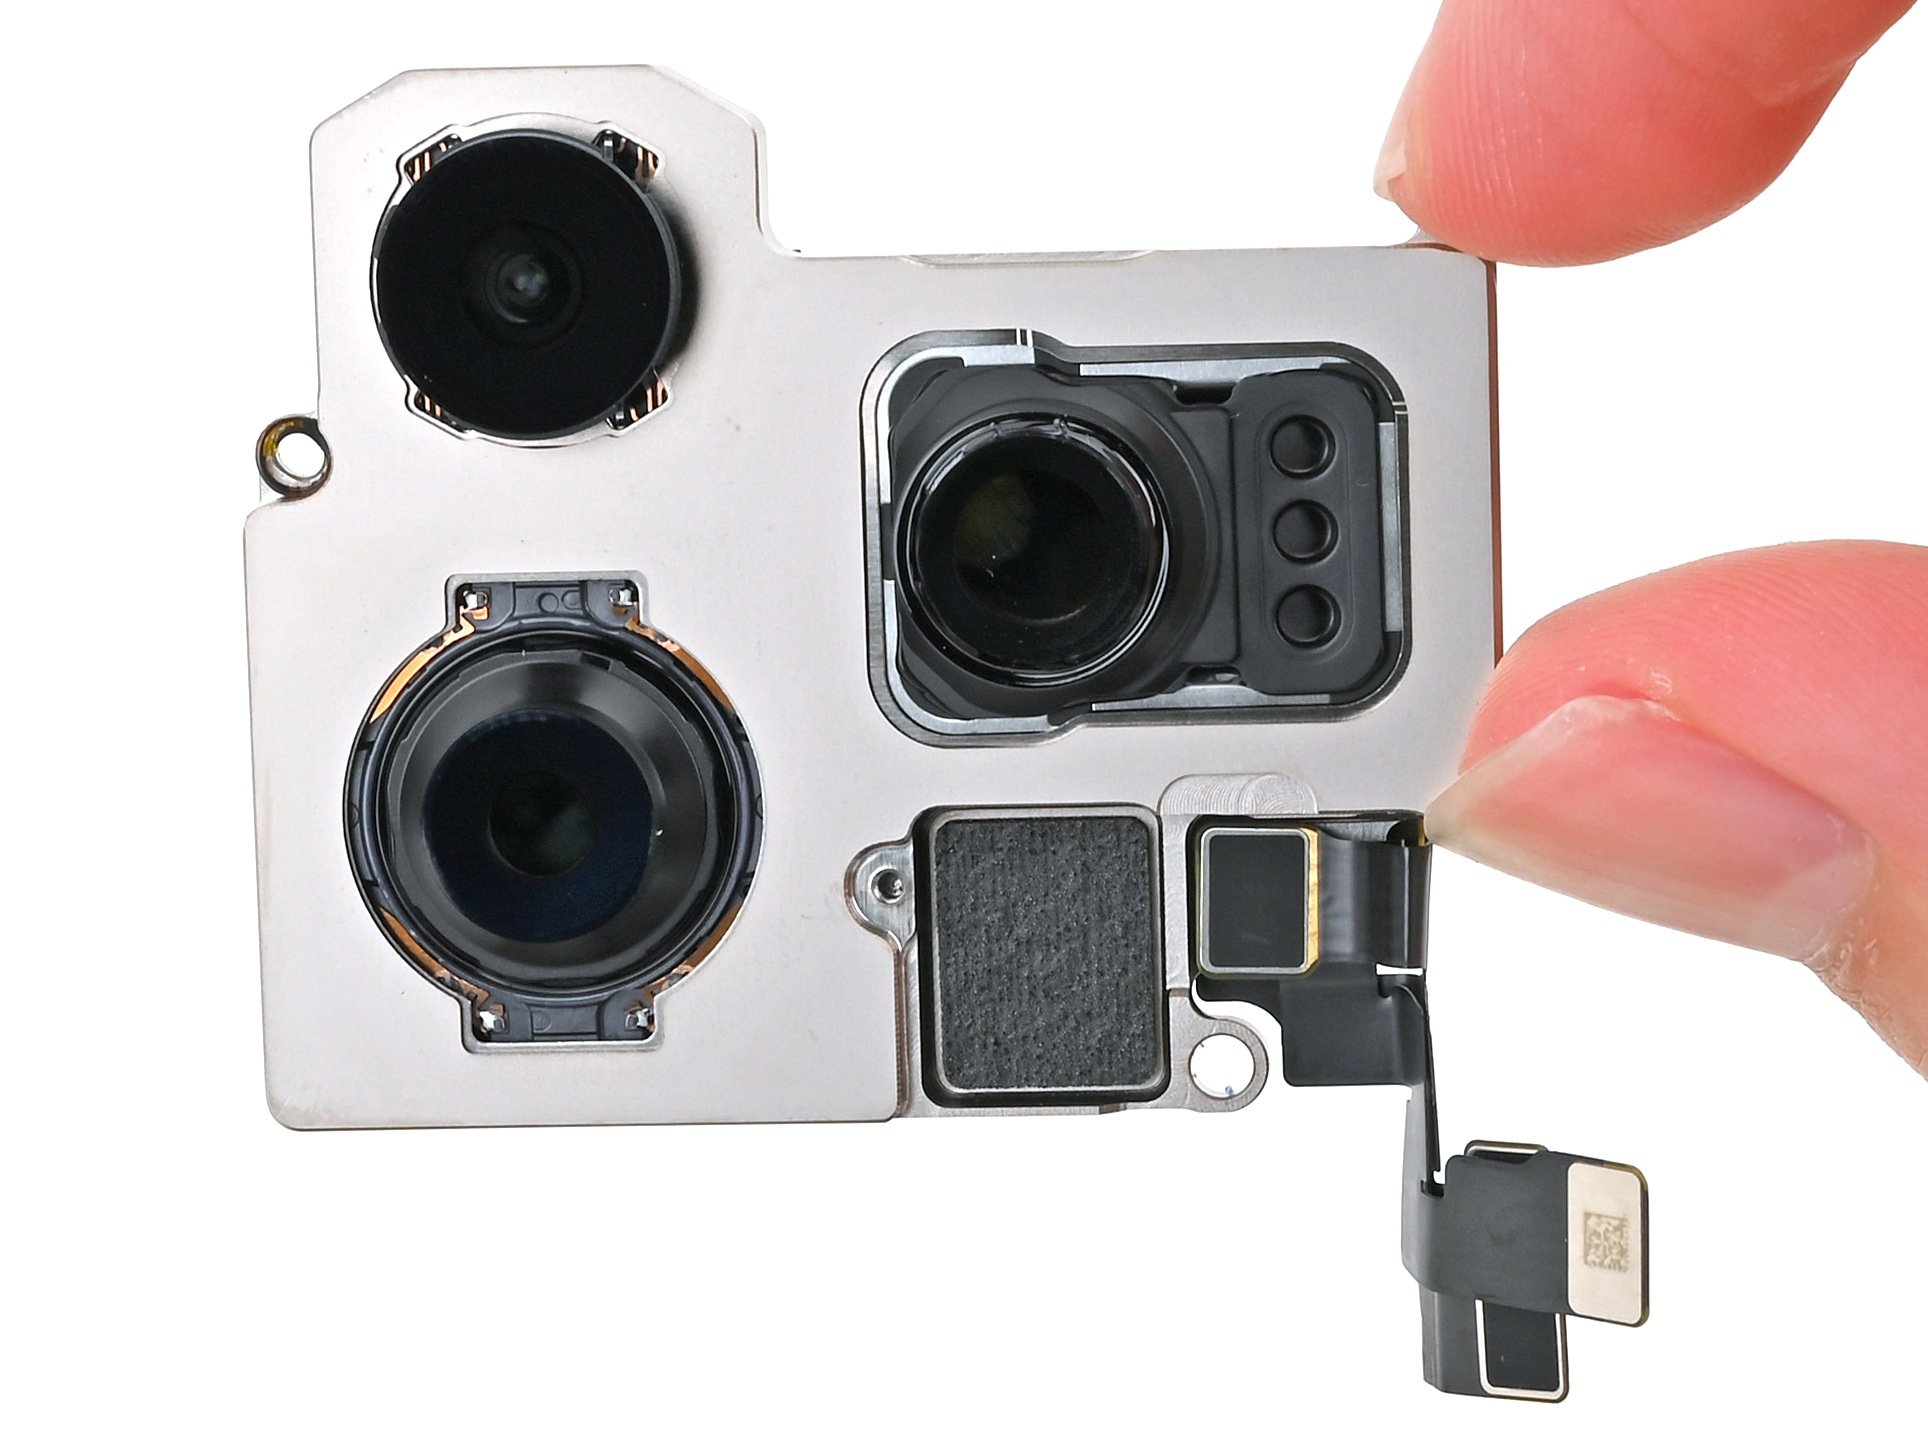
- Two delicate cables connect the screen to the iPhone—one just above the Action button and the other about halfway along the left edge of the iPhone. Also, keep an eye out for multiple spring contacts around the perimeter of the iPhone. Handle these with care to avoid any damage. If you need help, you can always schedule a repair.
Step 8

Keep the pick shallow—no deeper than 3 mm—to keep those spring contacts safe and sound!
If the adhesive isn't giving up easily, give it a quick reheat for about a minute and try again. Sometimes a little warm-up is all it takes to get those stubborn edges to loosen up.
- Gently slide the opening pick along the bottom edge to break the adhesive seal.
- Keep the pick in the bottom-left corner to prevent the adhesive from sticking back together.
Step 9

- Grab a hair dryer or heat gun and gently warm up the left edge of the screen until it's nice and toasty to the touch. Just a bit of heat should do the trick!
Tools Used
Step 10

- Start by slipping a second opening pick into the bottom-left corner, right next to the first one. Think of it as giving your screen a gentle pry buddy.
- Carefully slide that opening pick along the left edge of the display to loosen the adhesive and unclip those metal supports. Slow and steady wins the race.
- Keep the opening pick in the top-left corner to prevent the adhesive from sealing itself back up. You're gently holding the door open for the next step.
Be gentle with your pick—no more than 3 mm deep—to keep those spring contacts and cables happy and healthy. Pushing too hard might cause some unintended damage, so take it slow and steady. If you need help, you can always schedule a repair.
You'll notice a satisfying click and feel the metal clips pop free as you gently pass them by. Keep going—you're almost there!
Step 11

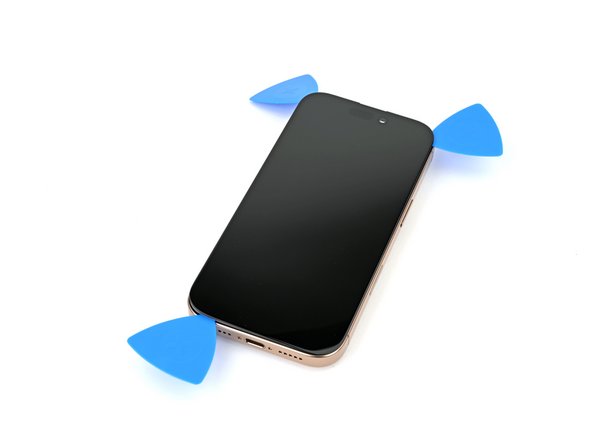
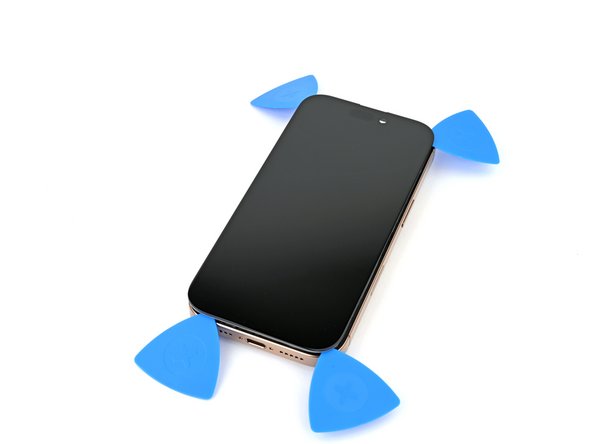
- Keep gently heating and slicing along the rest of the screen edges. You've got this—just keep going until the whole thing's free. If you need help, you can always schedule a repair.
Step 12

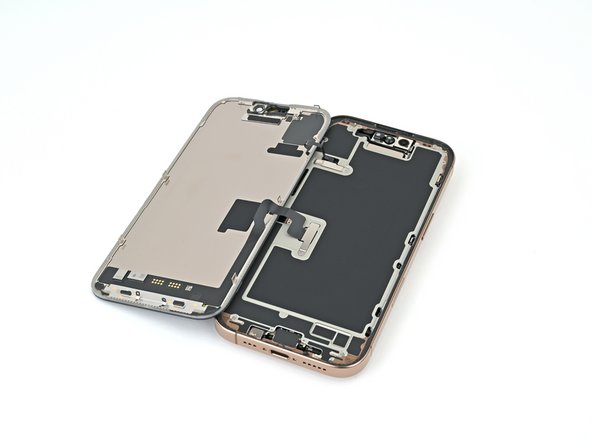
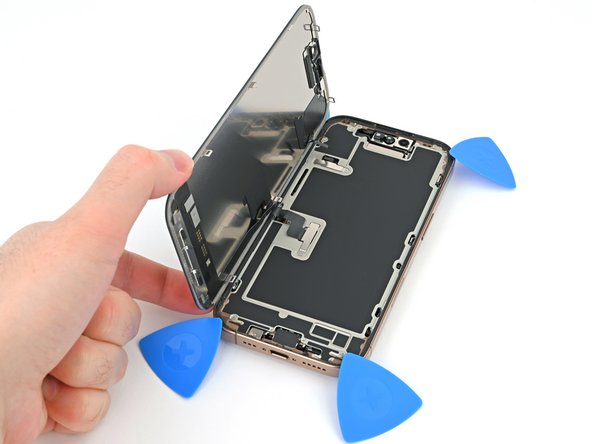
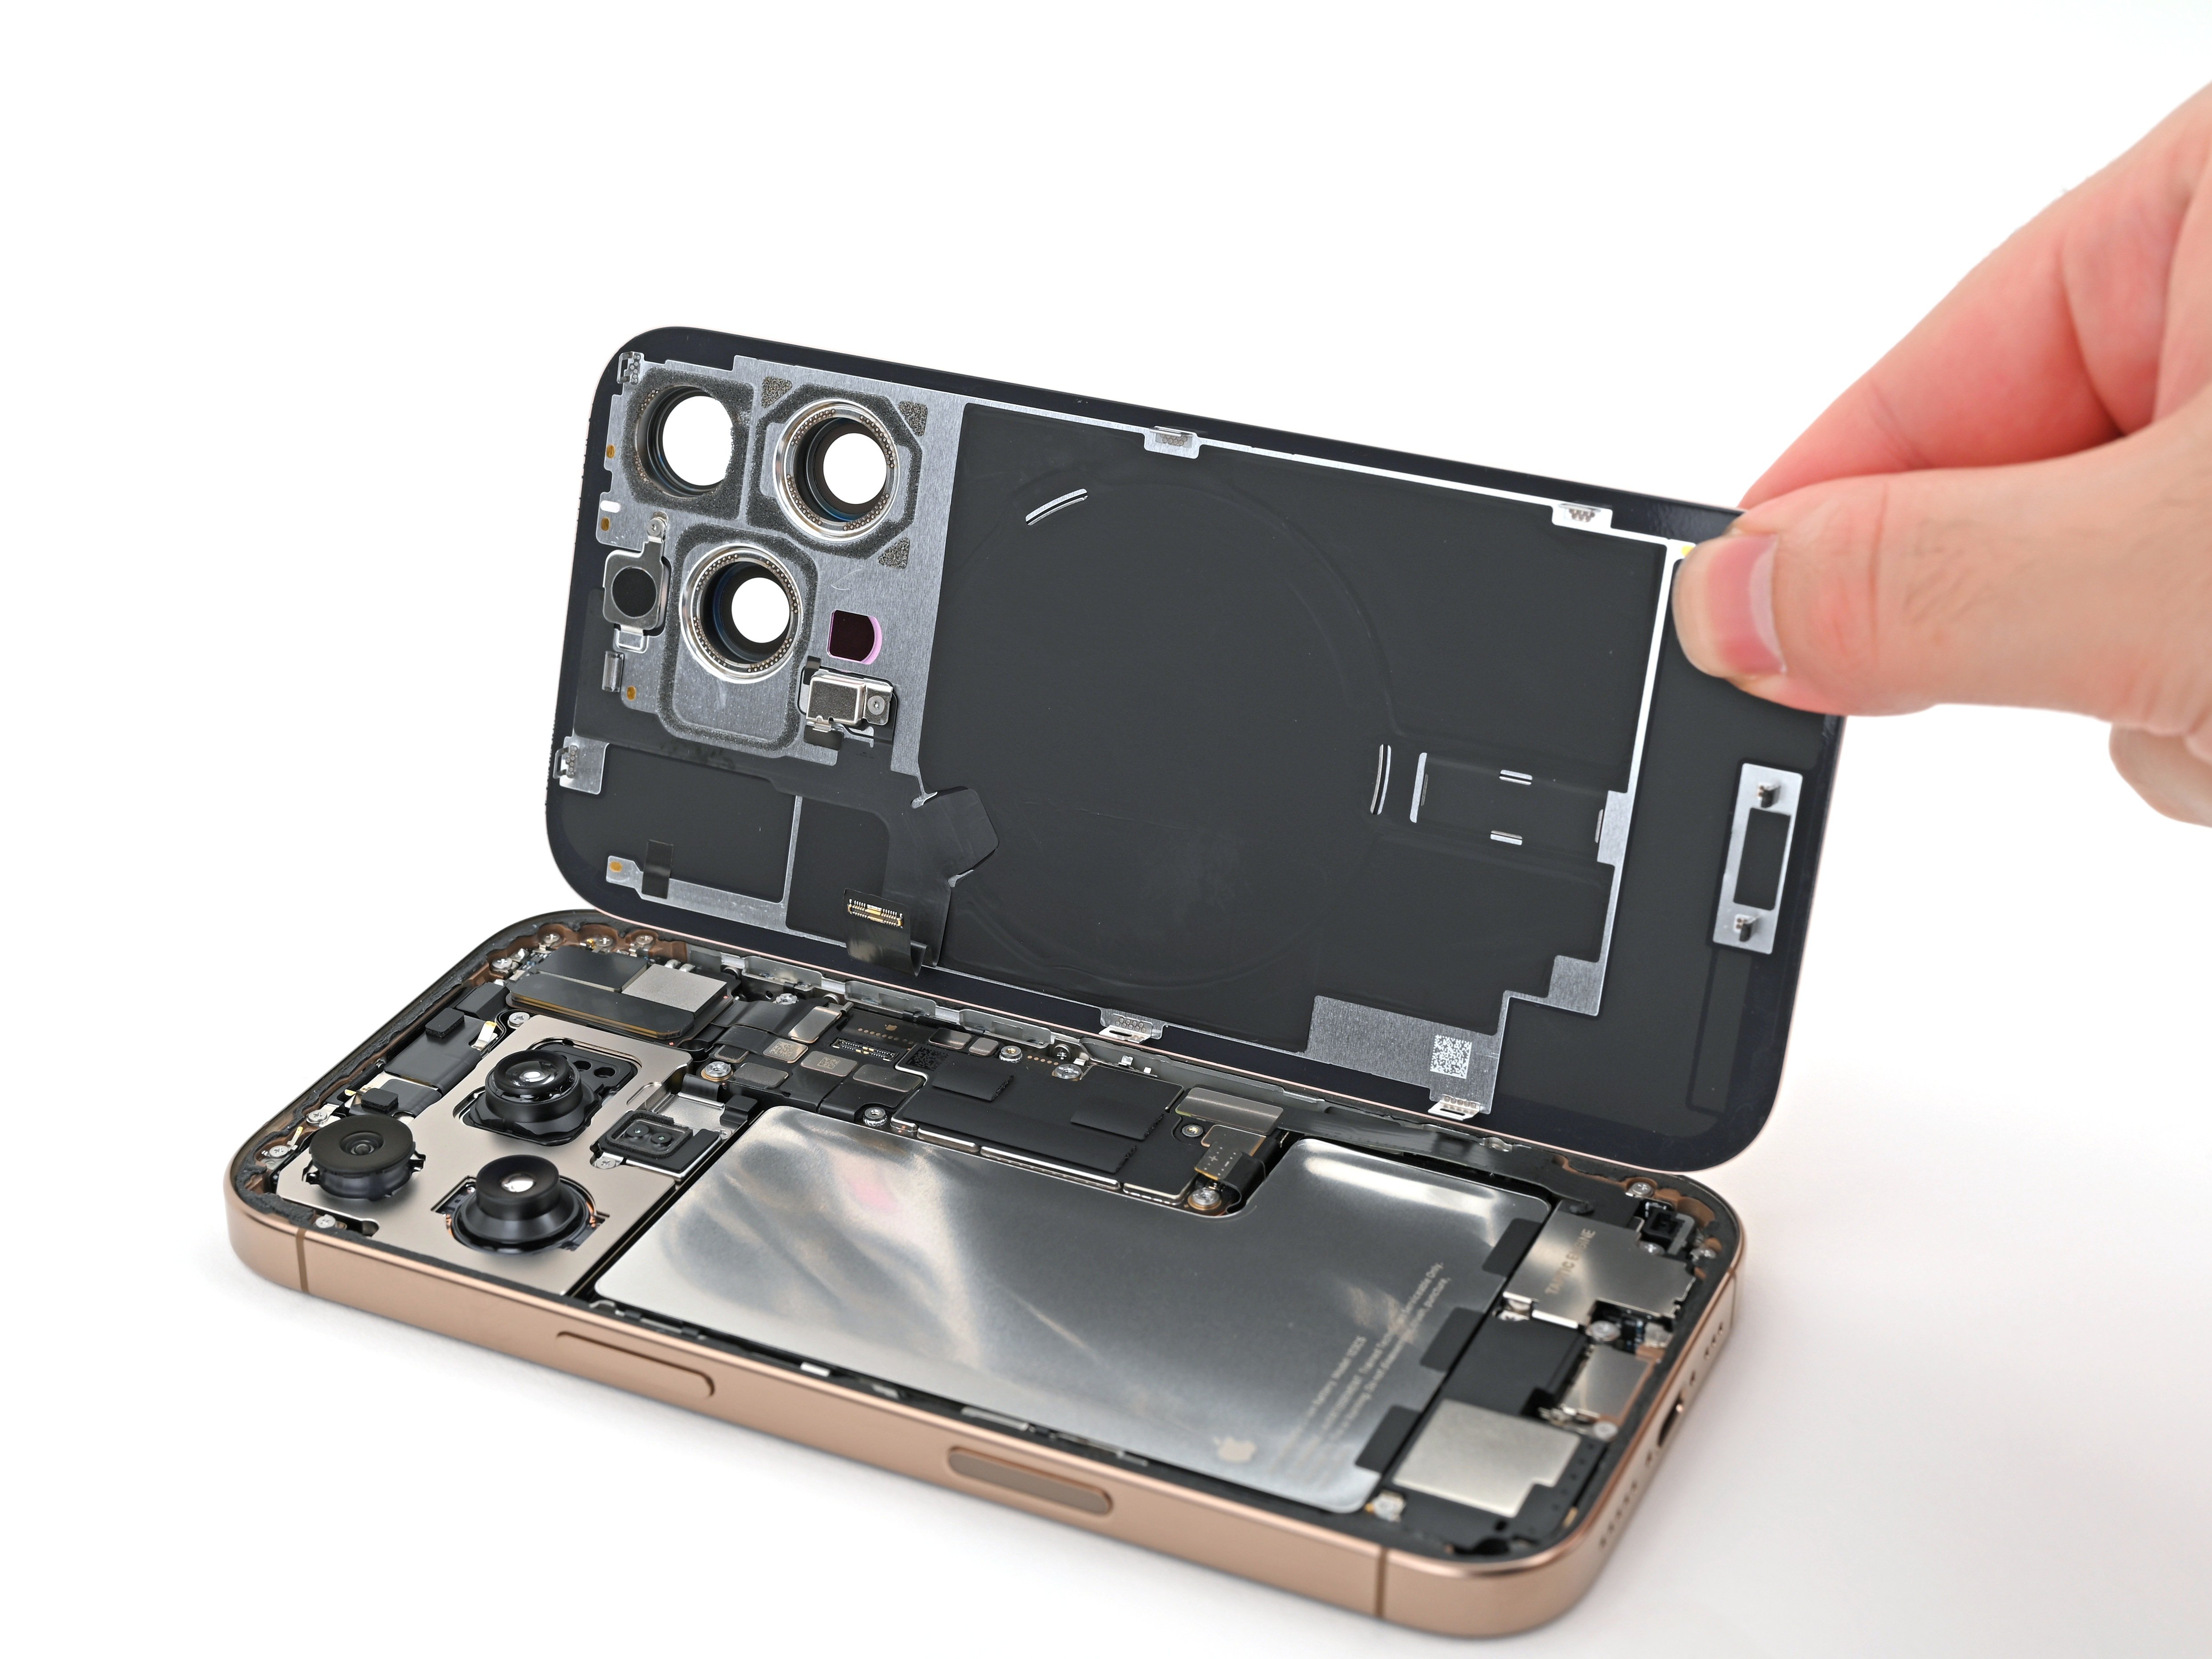
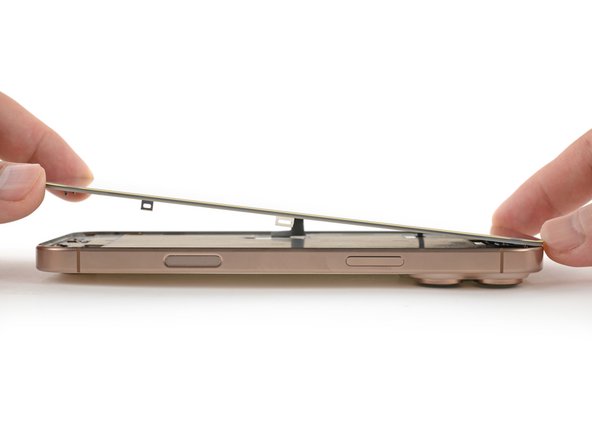
- Gently lift the screen straight up until the clips along the long edges pop free from the frame.
- Swing open the screen over the left side of the iPhone and lay it flat on your work surface for easy access.
- When putting everything back together, use this guide to reapply the adhesive and install your new screen smoothly.
Take it easy when cleaning the frame—avoid messing with the spring contacts. They can be a little tricky, so show them some love and care!
By now, the screen should be loosened from the frame. If it still feels stuck, flip back around the edges with your pick and gently check for any missed bits of adhesive or clips that might be holding it in place. Patience pays off—take your time to get all the stubborn spots free.
Step 13

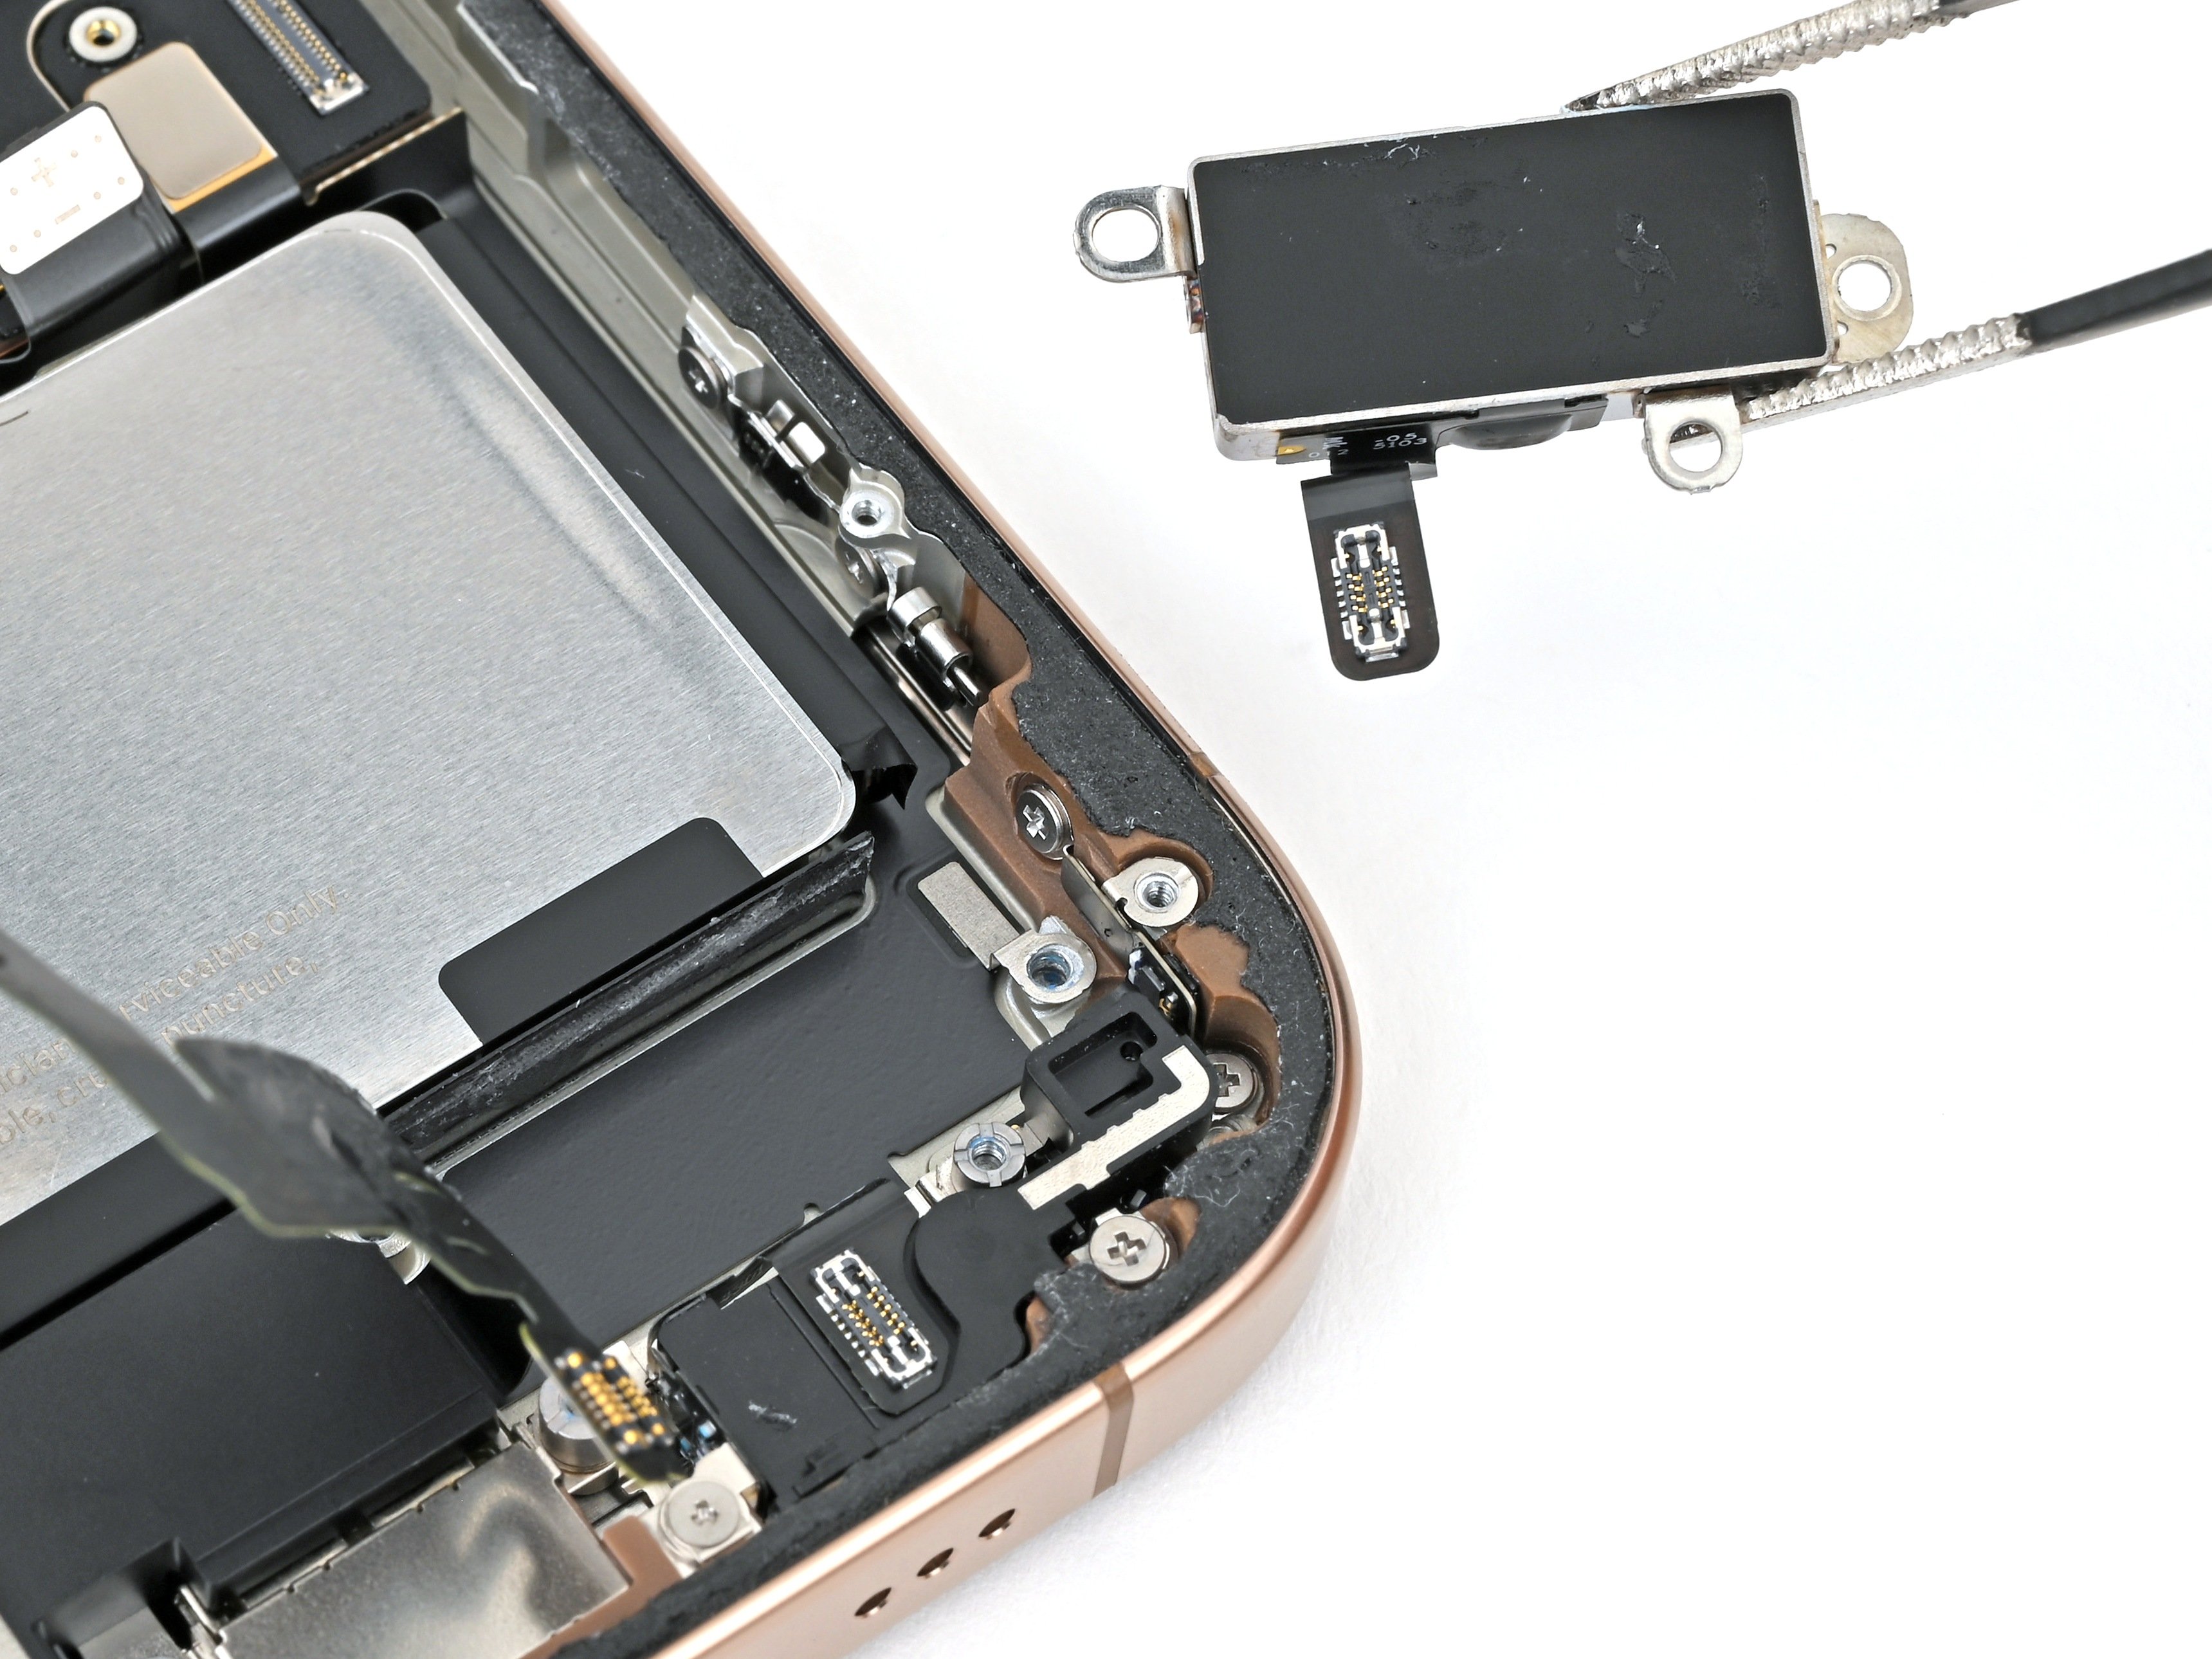
- Grab a tri-point Y000 screwdriver and gently unscrew those two tiny 1.3 mm screws holding down the front sensor and display connector covers. Easy does it—you're on your way to the next step! If you need help, you can always schedule a repair.
Step 14
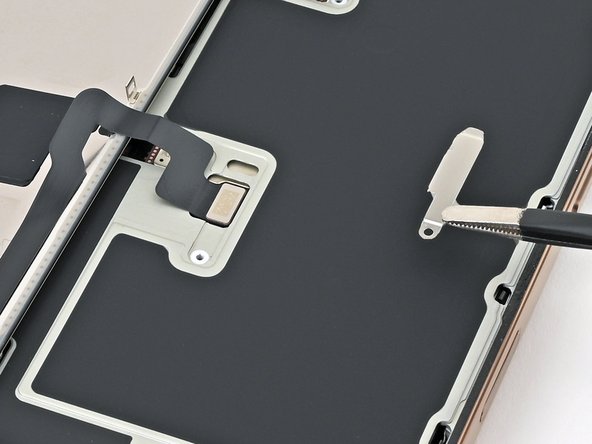


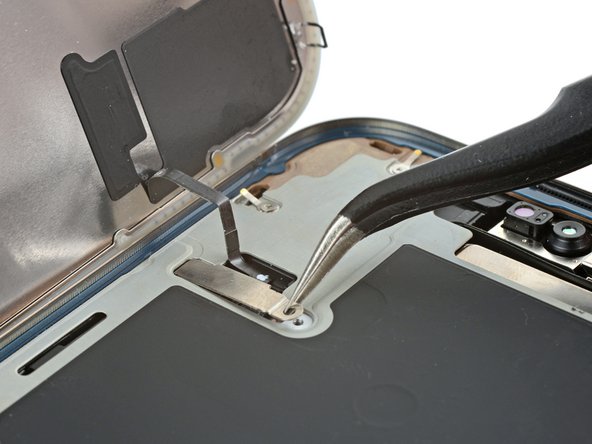
- Grab the front sensor connector cover near the screw hole with your trusty tweezers.
- Gently lift and remove the cover like a pro.
Tools Used

Step 15

- Now, do the same for the other cover – you're on a roll!
- When putting things back together, make sure to tuck the tabs under the frame cutouts, and then pop the screw in to secure the cover. Simple, right?
Step 16
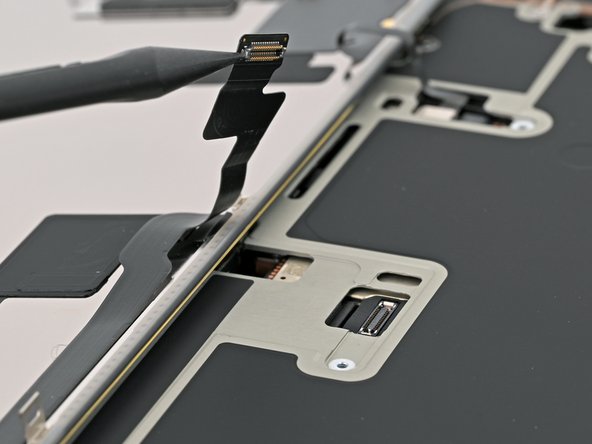

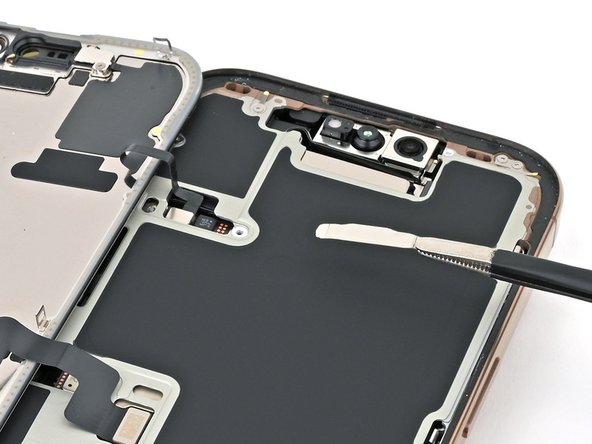
- Gently use the spudger’s tip to pop up and unplug the display press connector—easy does it!
Tools Used

Step 17

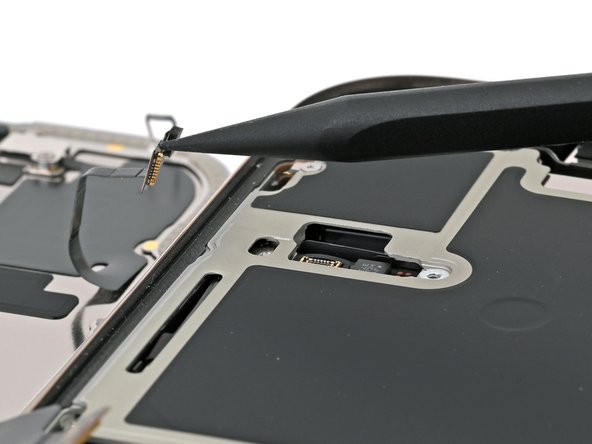
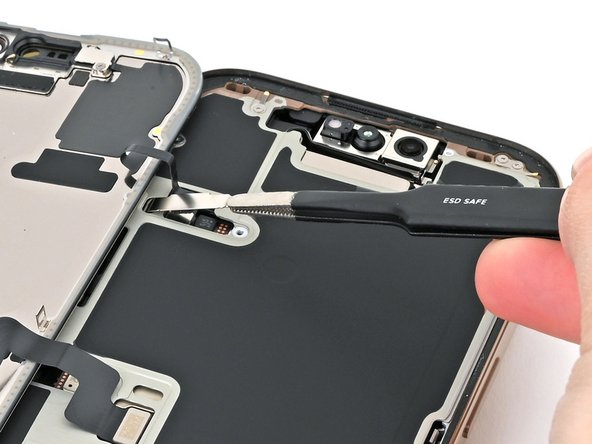
- Do the same for the front sensor press connector.
- When putting it back together, line up the connector gently over its socket and press down with your fingertip—start on one side, then the other—until you hear that satisfying click. No need to muscle it in; if it’s being stubborn, just wiggle it a bit and try again.
Step 18

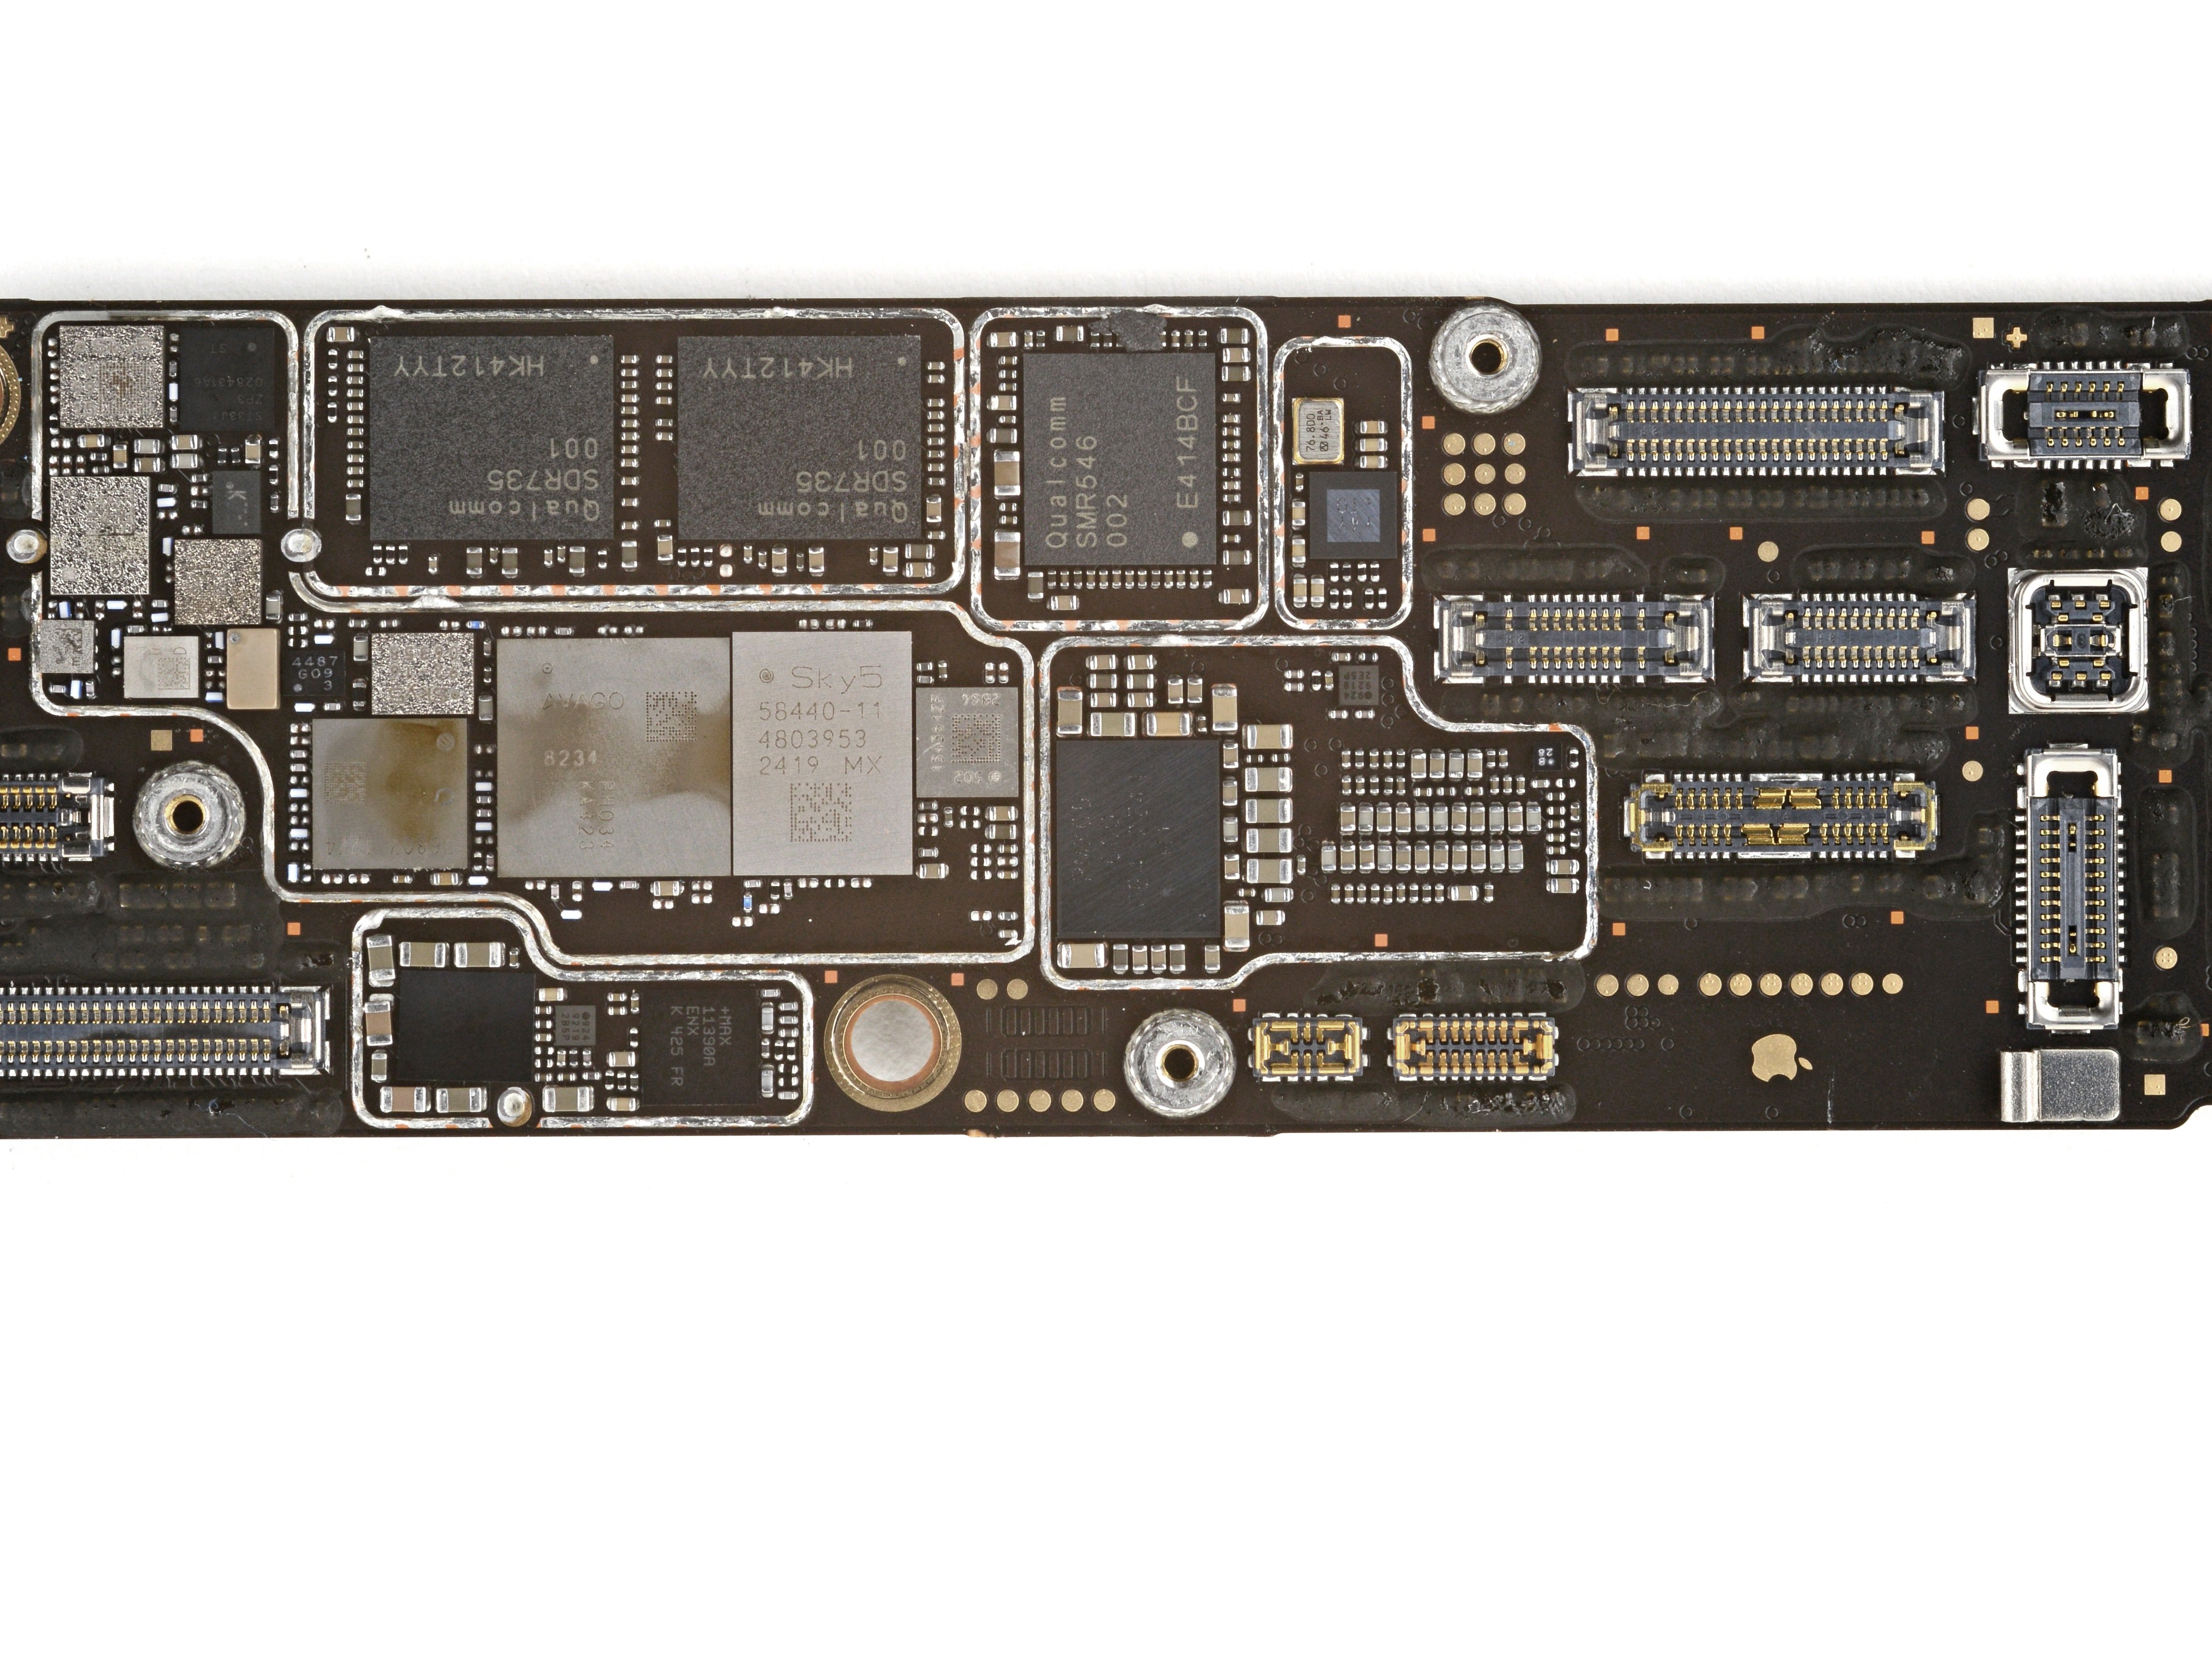
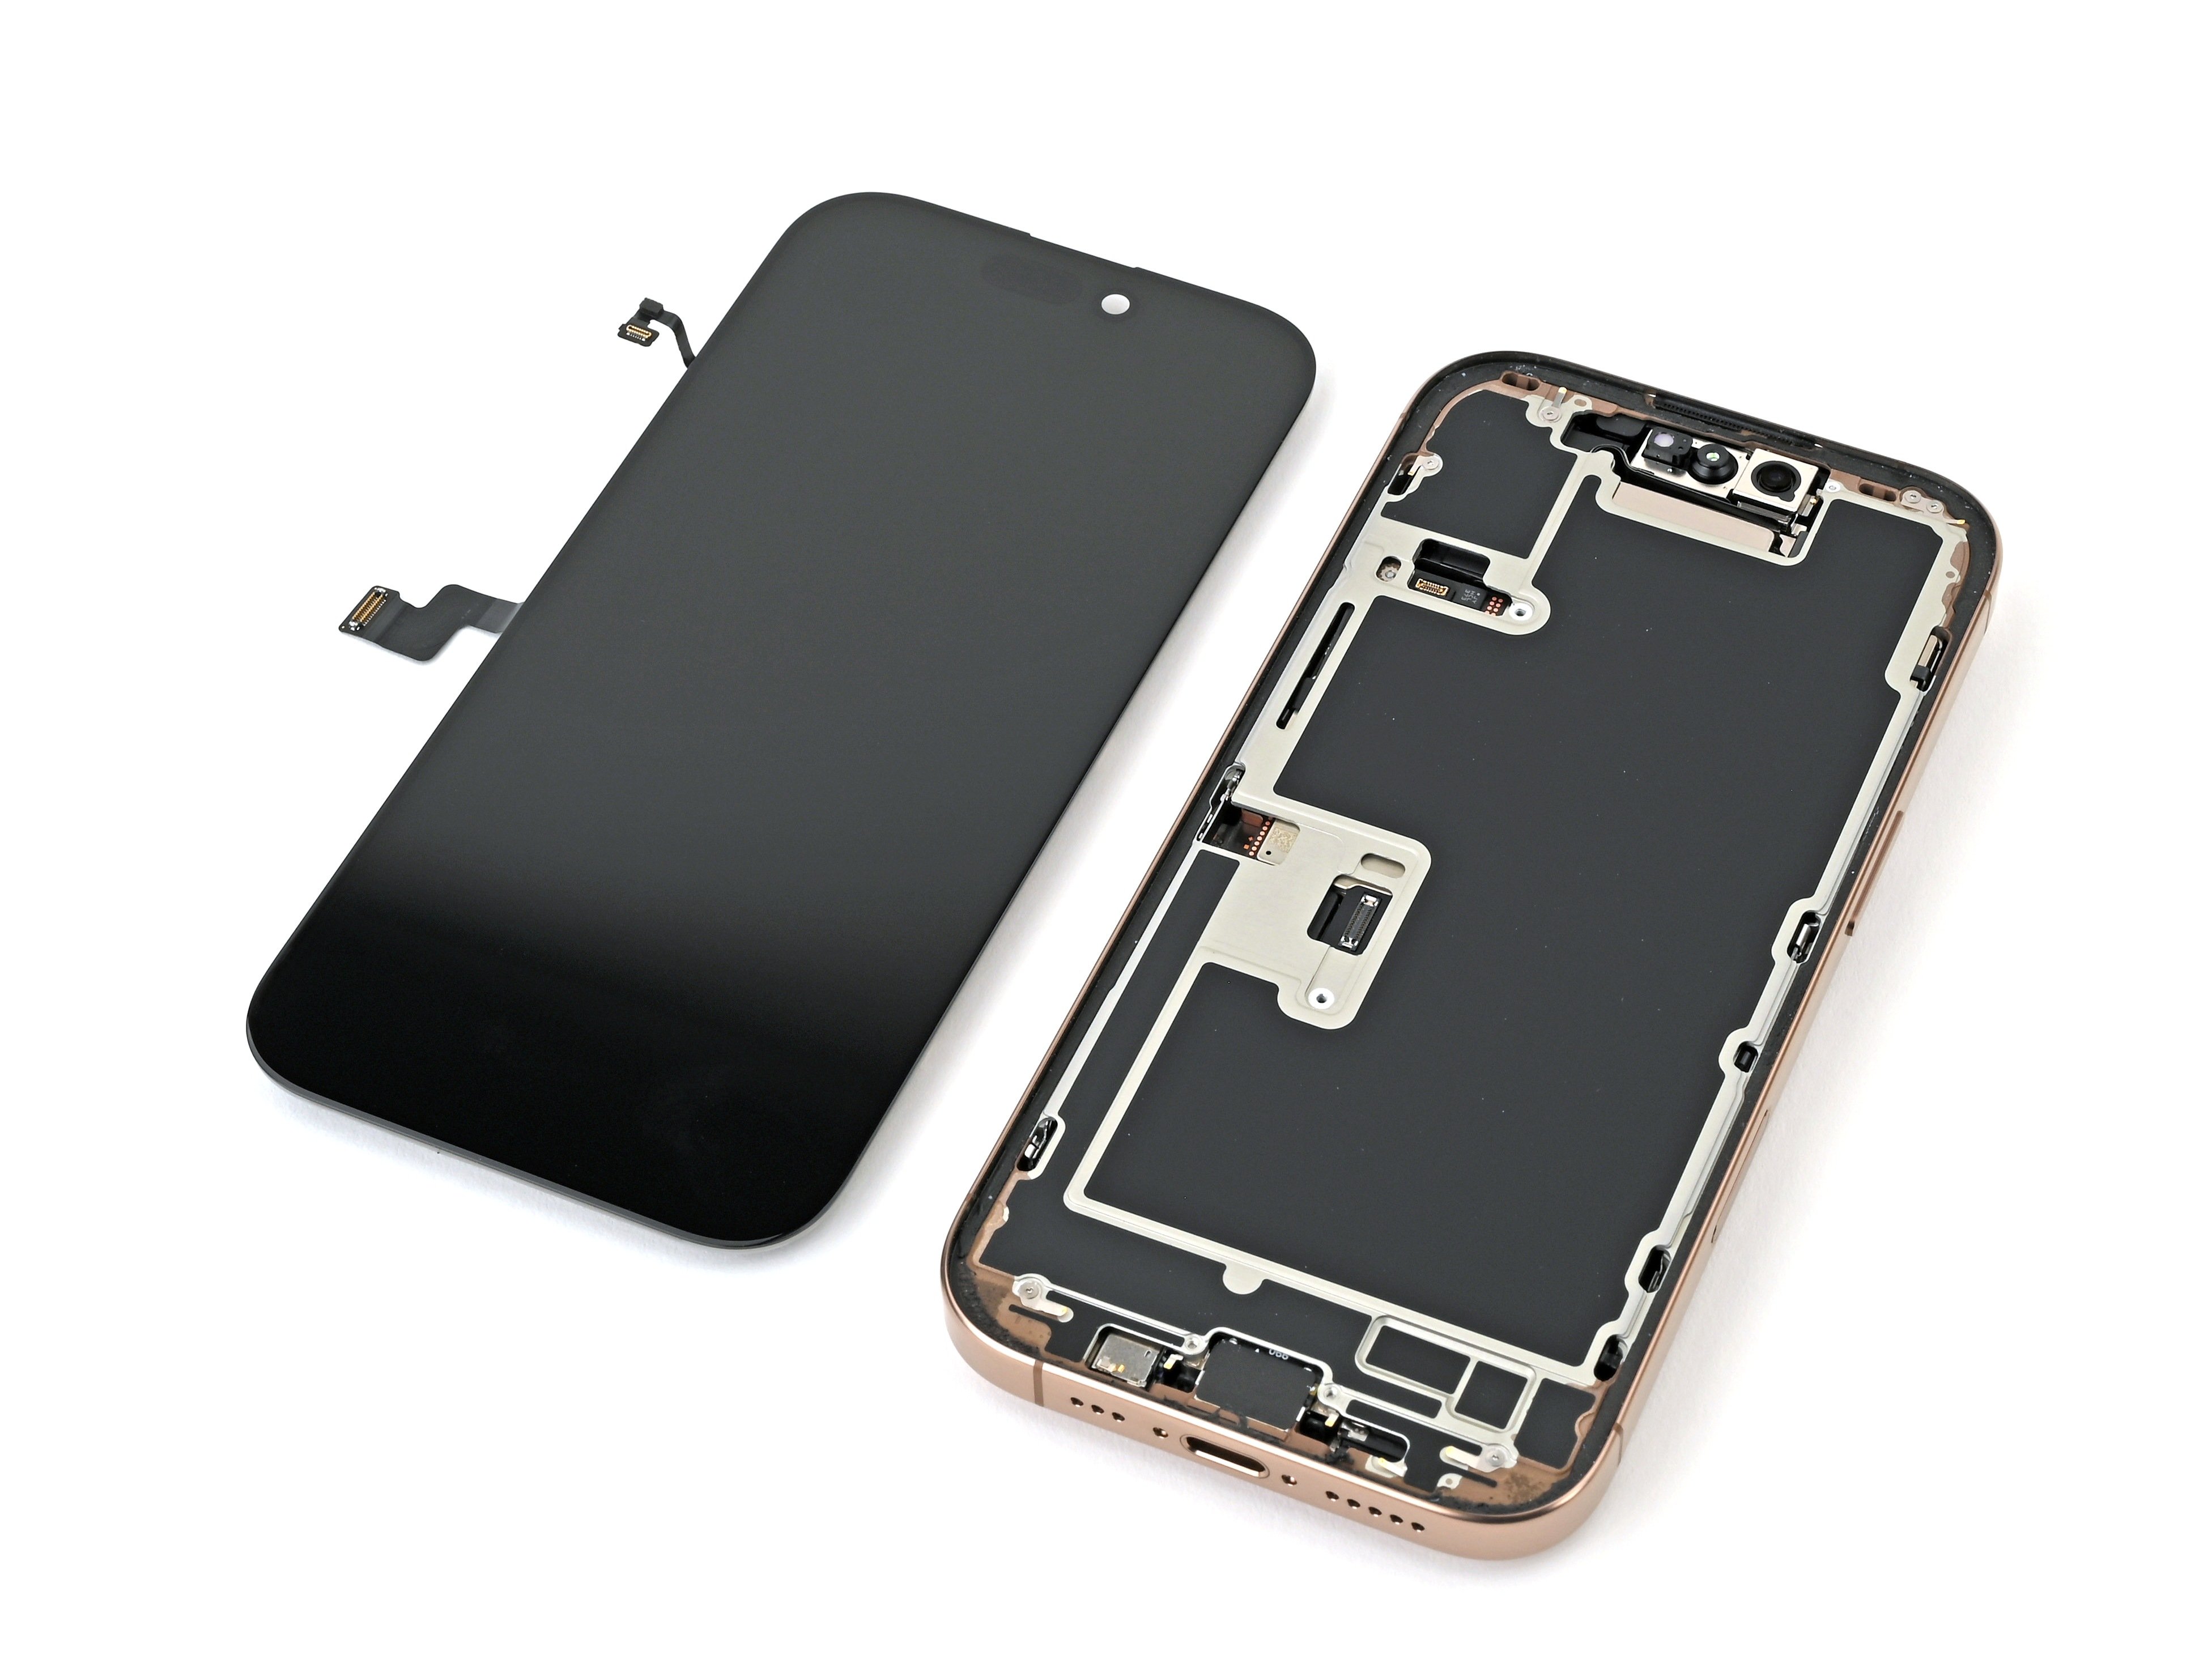
- Start by carefully removing the screen. Keep your cool and follow each step methodically—you're on your way to a successful repair. If you need help, you can always schedule a repair.
Step 19

Nice work taking your iPhone apart! Now, let's dive into putting it all back together.
While some reassembly pictures might look a bit different depending on your iPhone model, the steps you’ll follow are spot on for your device.
Step 20

Handle those delicate grounding clips with care. If one gets bent out of shape, gently bend it back into place using your fingers or a pair of tweezers. Patience is key—don’t force it, and if you need a hand, you can always schedule a repair.
Step 21

- When reinstalling your current screen, make sure to clear off any leftover adhesive from the back of the screen first. A clean surface helps everything sit perfectly. If you need a hand, you can always schedule a repair.
Step 22


- Grab a lint-free cloth (or a coffee filter if you're feeling fancy) and some high-strength (>90%) isopropyl alcohol to give the frame and screen areas where the old adhesive lived a good clean.
- For a smooth finish, swipe your cloth in one direction—no scrubbing back and forth needed!
Handle those delicate grounding clips with care. If one gets bent out of shape, just gently nudge it back into place using your fingers or a pair of tweezers. Keep it light and easy—Salvation Repair is here if you need help, just schedule a repair.
Take your time with this step. A clean frame makes it way easier for the new adhesive to stick just right, giving you a solid, lasting bond.
Tools Used
Step 23

Line up the adhesive using the camera cutout as your guide—kind of like a puzzle piece that just wants to fit in.
- Place the adhesive sheet on the frame and check if it's aligned correctly. It should sit just right!
Step 24

The adhesive is super sticky, so be careful! Don’t let it cling to anything until you’re all set to stick it to the frame.
If your adhesive is rocking more than one liner, go ahead and peel off the one that reveals the sticky side meant for the frame.
- Grab that little tab in the corner of the adhesive sheet and gently peel back the liner just enough to show about a third of the sticky surface.
Step 25


Once you stick that adhesive down, it's there for good—no sliding it around. If it's not lined up right, peel it off and grab a fresh piece.
- Line up the sticky edge of the adhesive strip with your iPhone’s frame like you’re matching puzzle pieces.
- Once it’s lined up, give it a gentle press so the adhesive sticks right where it should.
Step 26


No spare adhesive strips? No worries! You can put your iPhone back together and use it as usual for now, but just remember the water resistance won’t be up to par until you swap in new adhesive.
When your adhesive is lined up right, the edges will fit snugly and look just right.
If the adhesive edges are a bit off, gently pull the longer sides to get them perfectly aligned with the frame.
If your adhesive starts to wrinkle or crease, peel it off and try again with a fresh strip for the best results.
- Keep peeling back the adhesive liner, smoothing the adhesive down as you go. Take your time and let gravity be your guide.
Step 27


Be gentle with those delicate grounding clips. If one gets bent out of place, don't worry—just carefully nudge it back into shape with your fingers or a pair of tweezers. You've got this!
Be gentle with the pressure – too much force, and the adhesive might stretch or lose its shape.
Step 28


You might still see some liners hugging the edges—these little guys keep the adhesive from sticking where it shouldn’t while you’re putting your iPhone back together. Hold off on peeling them off just yet!
- Grab a spudger or your fingers and gently lift the pull tab that's attached to the big front liner—usually tucked away in a corner.
- Now, give that pull tab a little tug and peel off the large front liner from its adhesive. Easy does it!
Tools Used
Step 29


Now's a great moment to power on your iPhone and check that everything is working smoothly before sealing it up. Remember to shut it down completely before moving on.
When reconnecting wide press connectors like this one, line up one side carefully and press down until you hear a click, then do the same on the other side. Avoid pressing in the middle to keep those pins safe from bending and damage.
Place the connector gently over its socket and press down with your fingertip until it clicks in place. Don’t force it—if it doesn’t fit right away, try repositioning and try again.
If your iPhone doesn’t power on, plug it into a power source and give it another shot.
- Give the display connector a gentle press with your finger to snap it back in place.
- Tap the front sensor connector down so it clicks firmly.
Step 30

- Slide the display connector cover's tab neatly into its slot in the frame, then gently set the cover down where it belongs.
- Do the same dance with the front sensor connector cover.
Step 31

- Grab your tri-point Y000 driver and pop in those two 1.3 mm screws to secure the connector covers. Easy does it—just a couple twists and you're all set!
Step 32


Watch out for that sticky stuff! Avoid touching the exposed adhesive to keep things neat and easy.
- Carefully hold the screen in place while you use your fingers or a spudger to gently peel off all the liners around the edges, revealing the adhesive underneath.
- Give the frame and screen a once-over to spot any leftover liner bits and remove them—no stray liners allowed!
Tools Used
Step 33

- Gently position the top clips of the screen into their designated spots on the frame.
Step 34

If you hit some resistance, a clip around the edge might have bent and is getting squished by the frame. Check where it’s stuck and carefully nudge any bent clips back into place.
Check that the screen edge isn't squishing any cables – a little wiggle room goes a long way!
- Gently place the screen down onto the frame, starting with the top edge to get everything aligned just right.
Step 35

Heating it up loosens the glue, making it stick back together way better.
- Grab a hair dryer, heat gun, or iOpener and warm up the edges of the screen until it feels just a bit too hot to handle. You're aiming for toasty, not scorched!
Tools Used
Step 36


- Wrap your fingers around the edge of the iPhone and give it a good, confident squeeze.
Step 37


If you want to make sure the new adhesive sticks perfectly, you can use vise clamps around the edges of your device to hold it in place. It’s a quick and simple way to ensure everything sets nicely.
- Flip your iPhone so the screen is facing down on a clean, flat surface. Treat it like royalty—no crumbs allowed.
- Wrap some tape around the back glass edges to keep that sleek finish safe from any surprise scratches.
- Now, grab some coins and stack them all the way around the back glass. Build a little coin wall that matches the height of the rear camera bumps. It’s like arts and crafts, but for phone repair!
Tools Used
Step 38


Using coins might leave a tiny mark on the bottom book cover, so avoid using anything you’d miss!
Applying pressure gets that adhesive working like a charm.
- Stack 3-4 hefty books right on top of your iPhone, making sure they’re sitting nice and square.
- Let the books chill there for about 30 minutes while the magic happens.
Tools Used

Step 39
- Put your iPhone back together by working through these steps in reverse order.
- Once your repair is done, make sure to calibrate your genuine replacement screen using Apple's Repair Assistant. Just go to Settings → General → About → Parts & Service History, tap Restart & Finish Repair, and follow the prompts on screen.
- Remember to recycle your old parts responsibly at an R2 or e-Stewards certified recycling center.
- If things didn’t go exactly as planned, try some basic troubleshooting or schedule a repair to get some extra help.