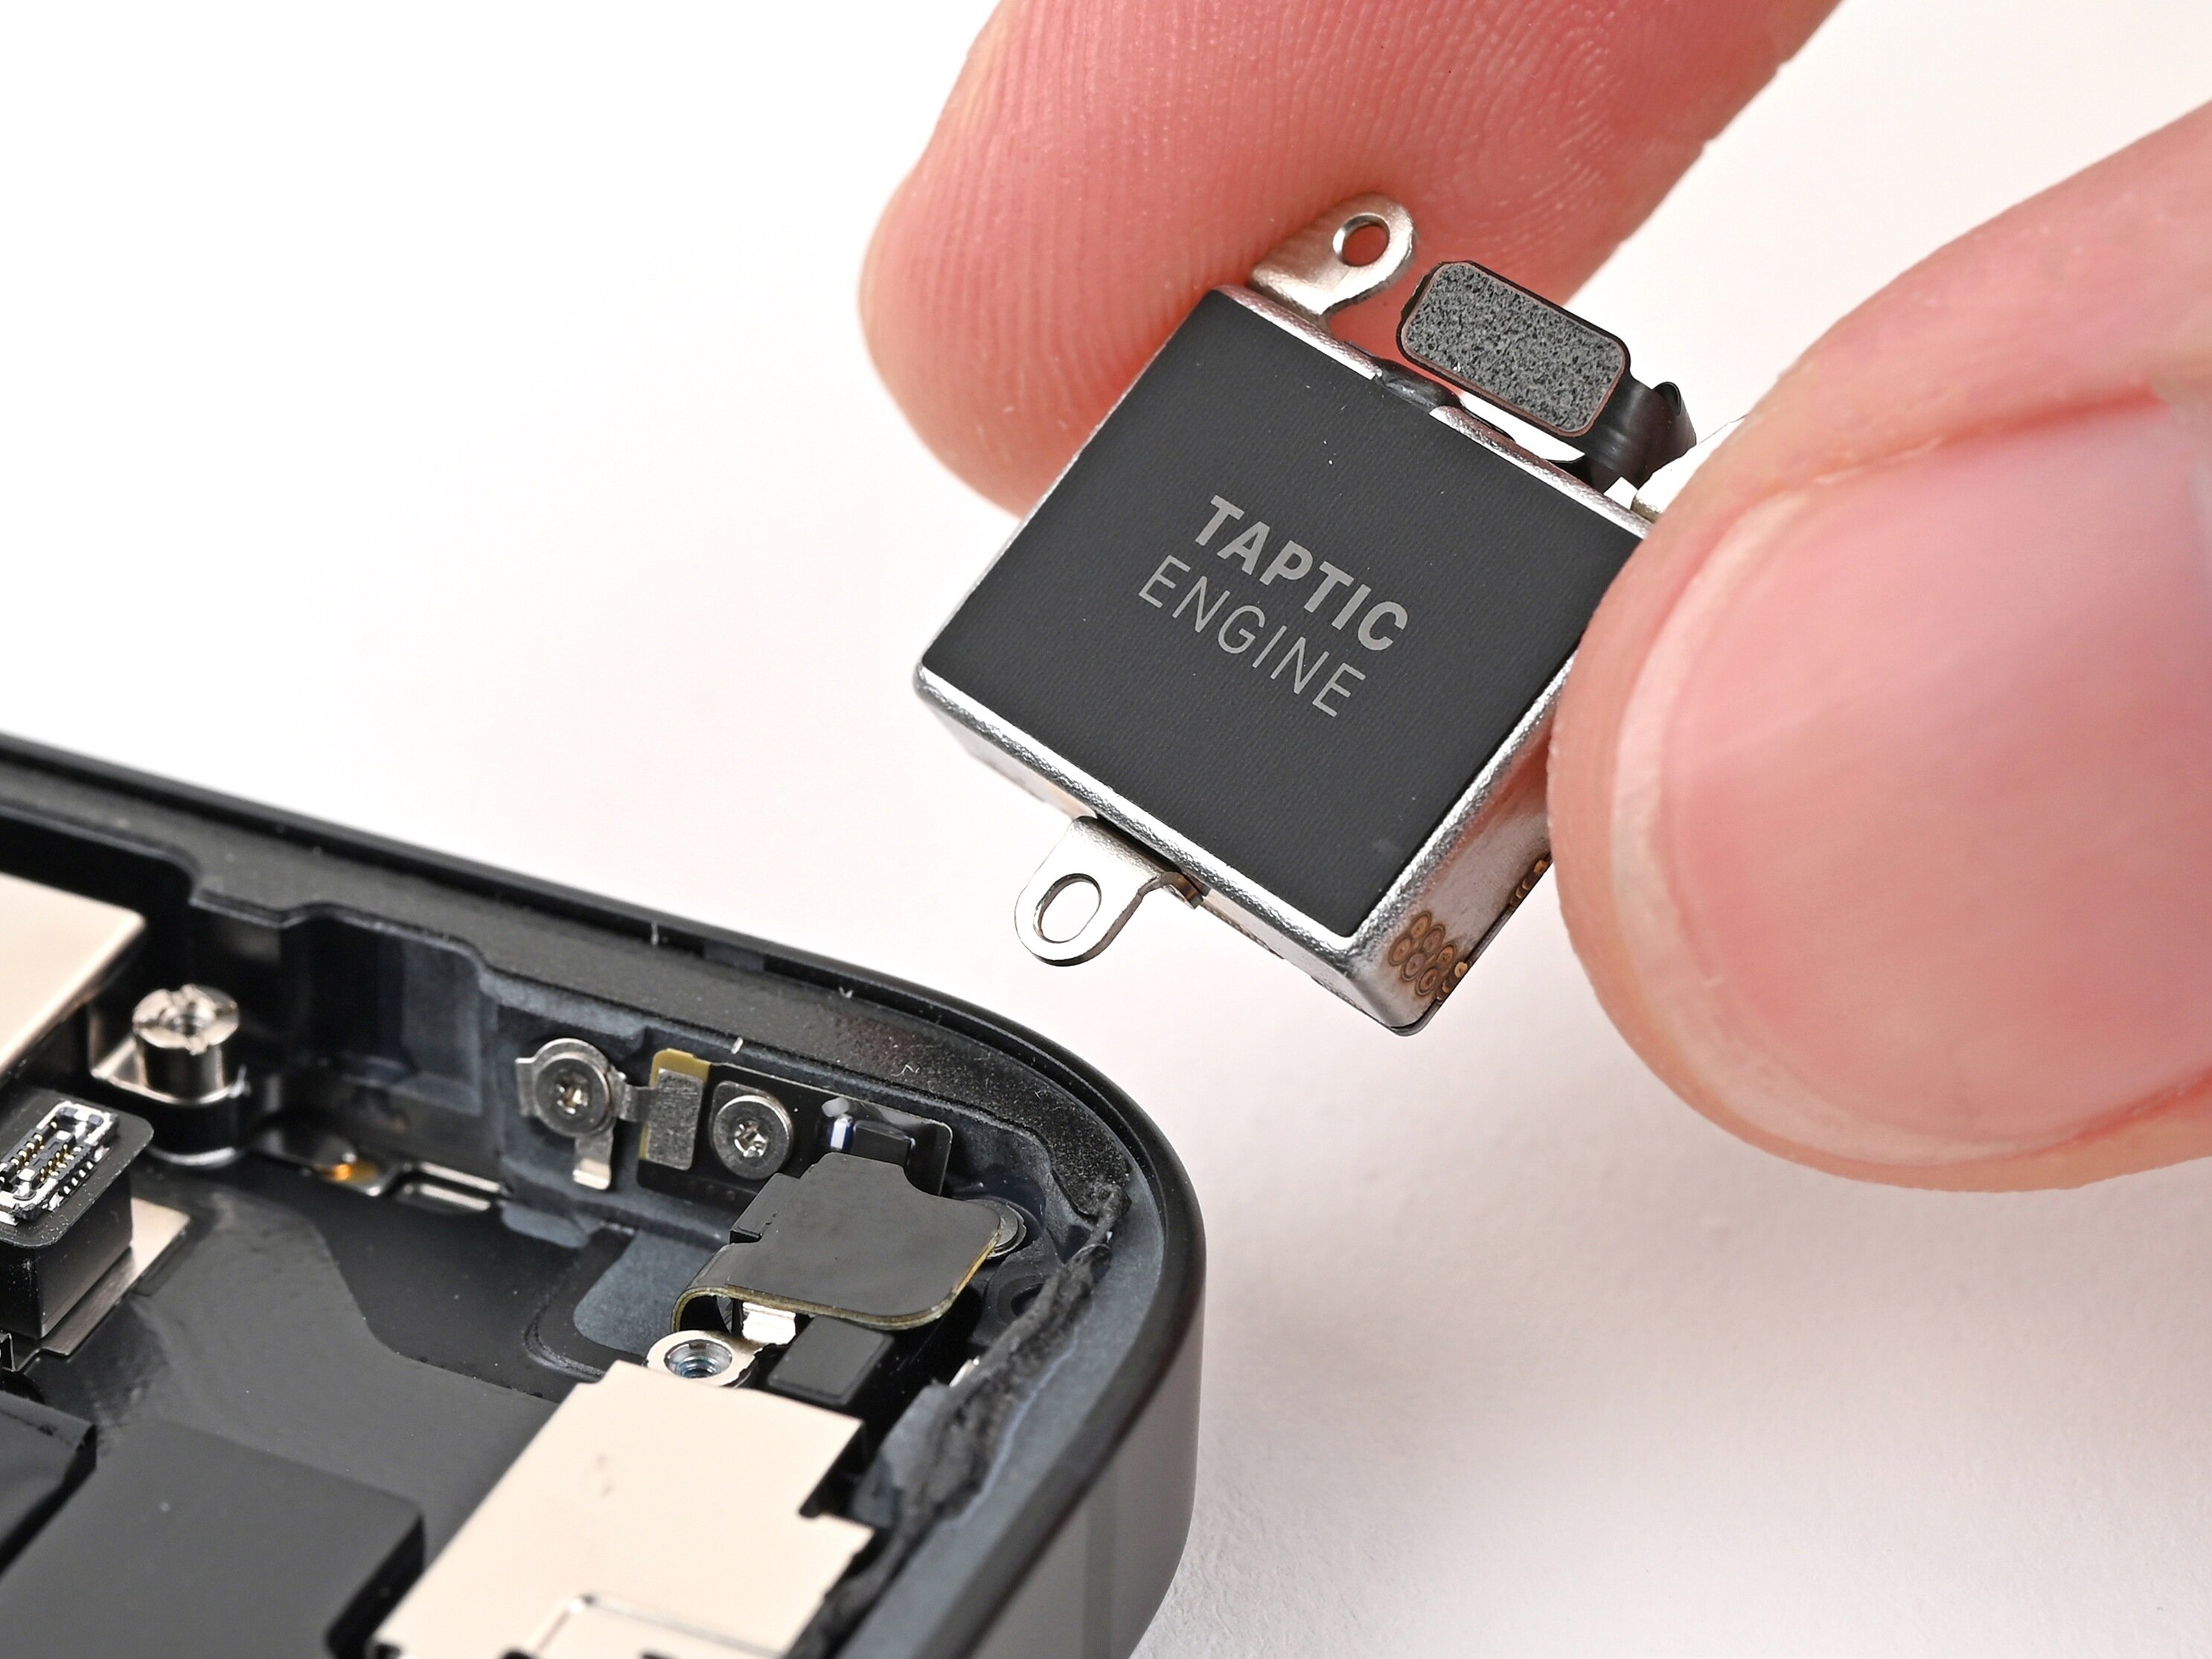
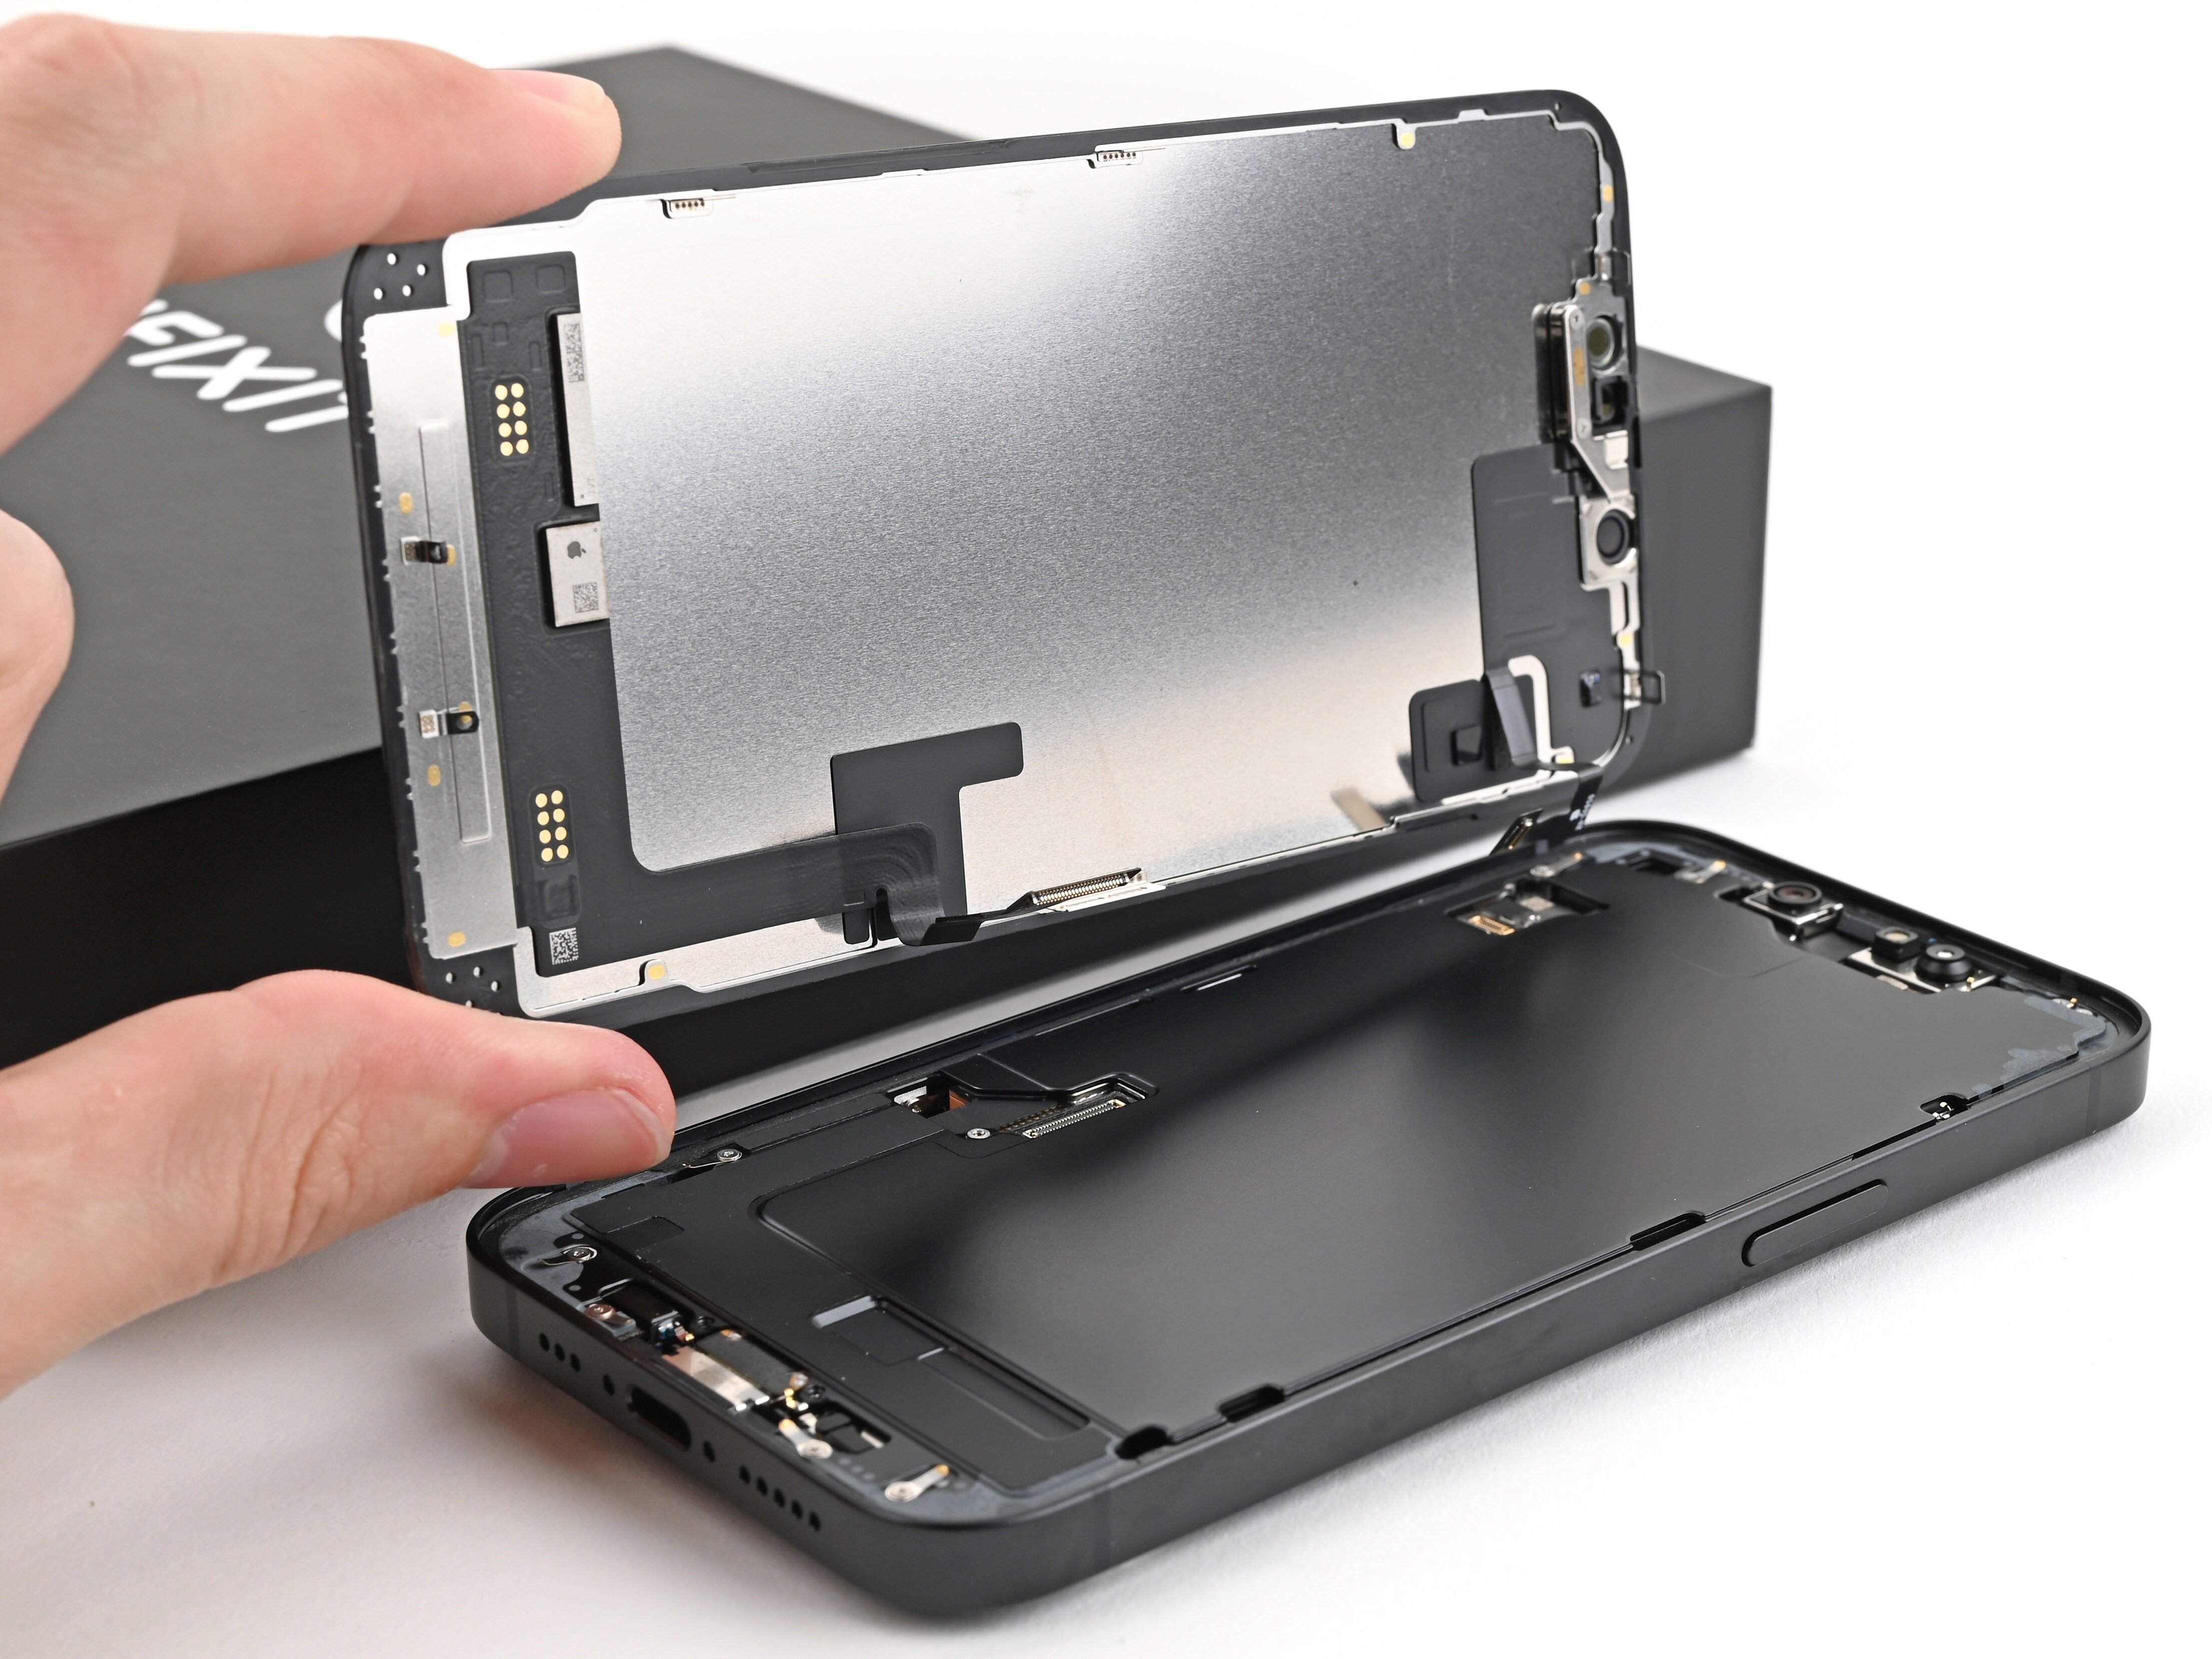
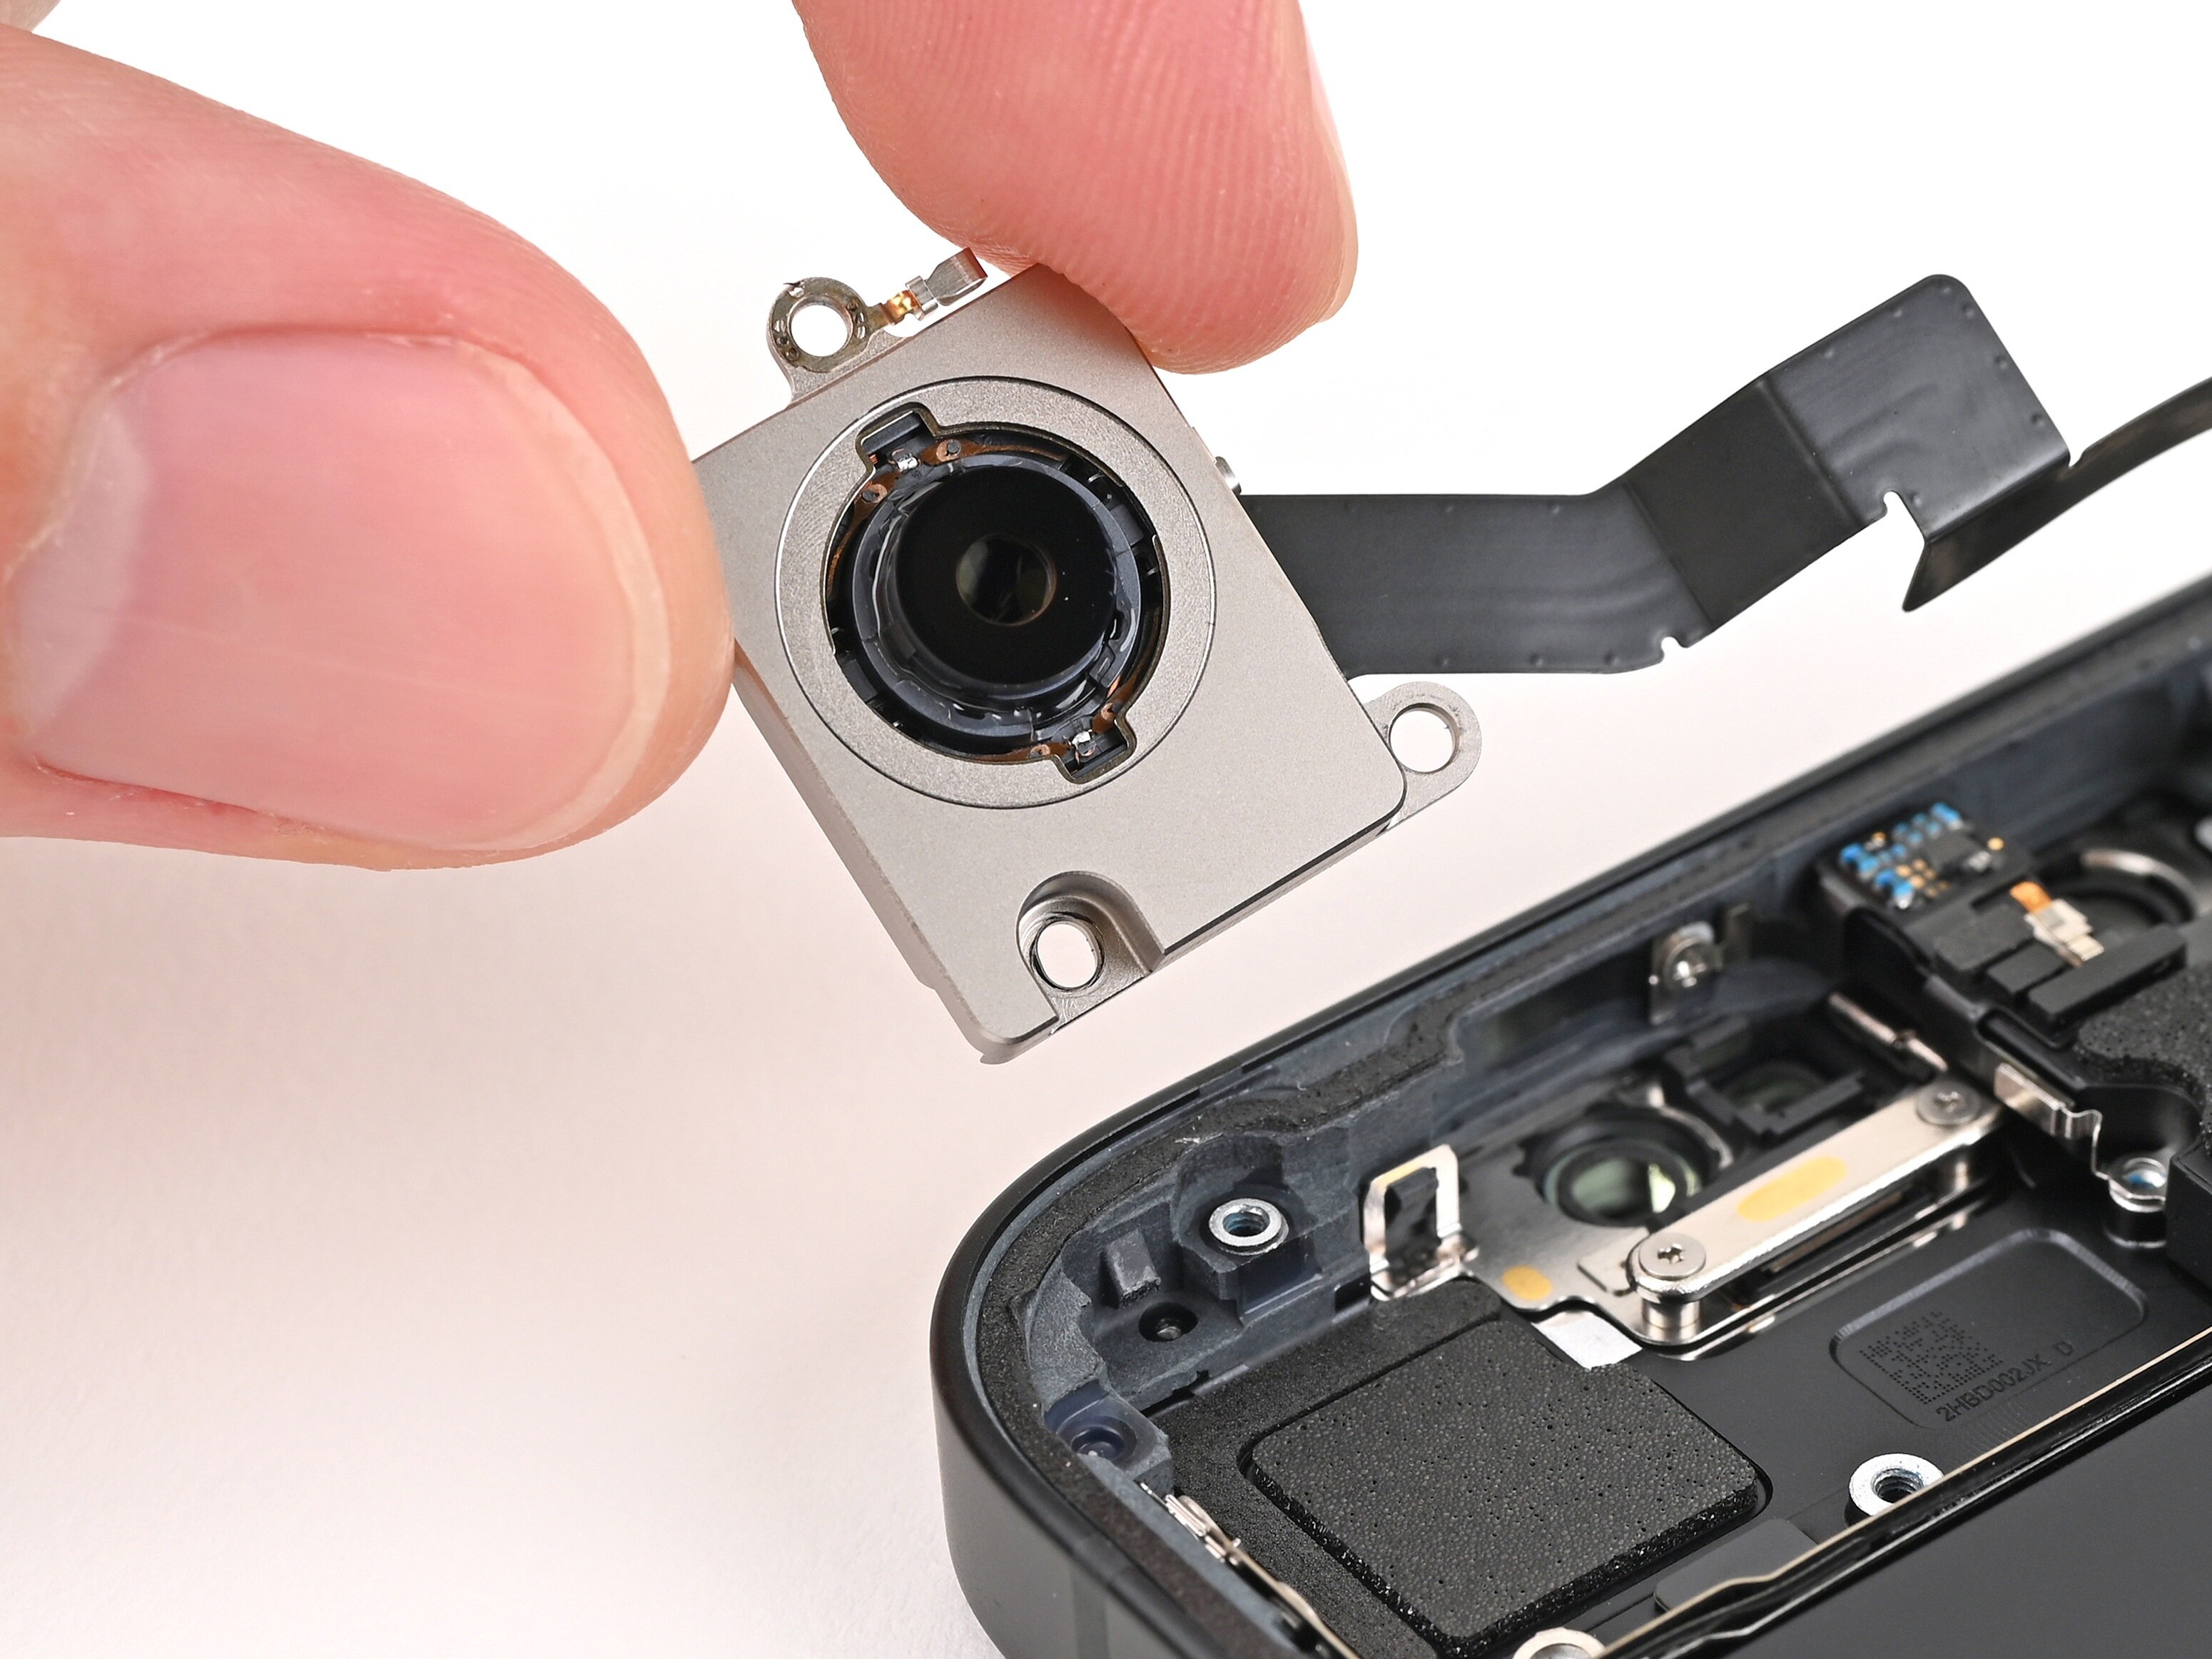
iPhone 16e Earpiece Speaker Replacement
Duration: 45 minutes
Steps: 60 Steps
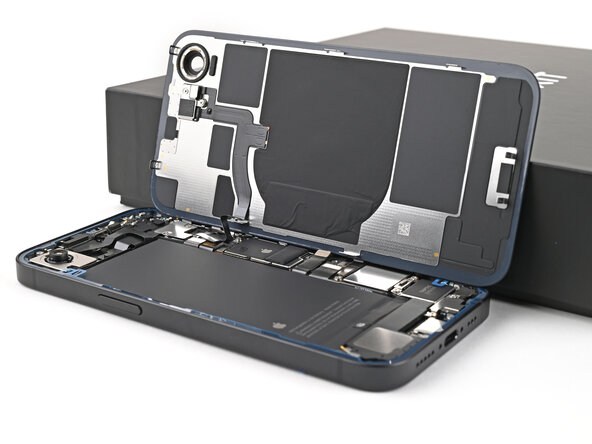
Got static or crackling sounds during calls on your iPhone 16e? It might be time to swap out the earpiece speaker. This guide walks you through replacing it — just a heads-up, you'll need a replacement back glass to finish the job. Some photos are from a different model and might look a tad different, but don’t worry, the steps stay the same. If you get stuck or need a hand, you can always schedule a repair.
Step 1
Let your phone's battery dip below 25% to keep things safe—lithium-ion batteries are more fun when they're not fully juiced up all the time.
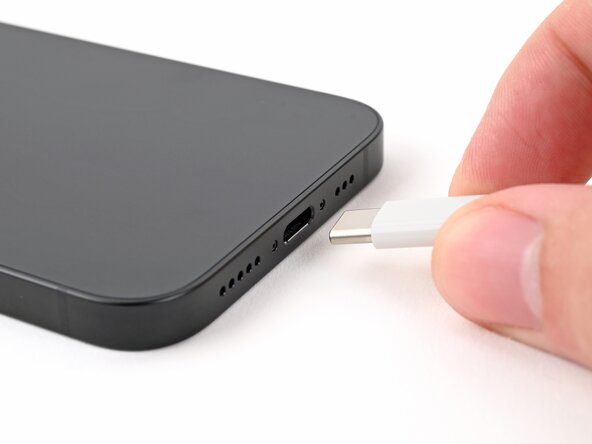
- Disconnect all cables from your phone—give it some space.
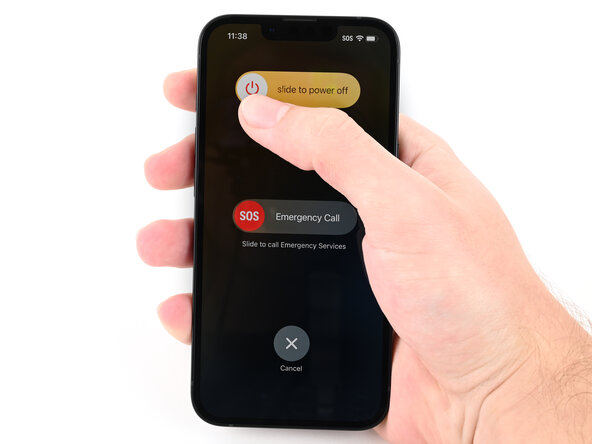
- Press and hold the power button plus either volume button, then swipe to shut down your phone. Easy does it!
Step 2
Look for a nice, flat spot near the bottom edge—your suction cup wants to stick, not slip and slide!
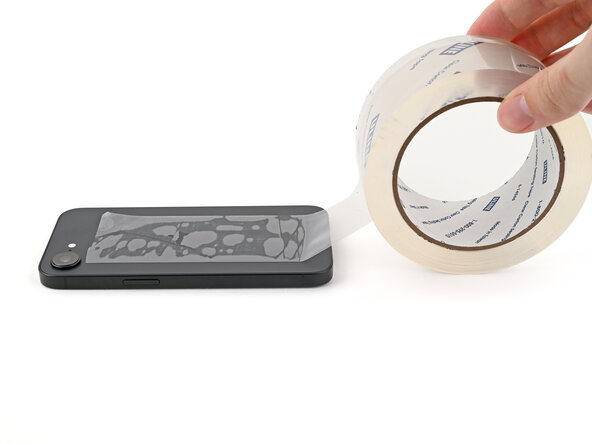
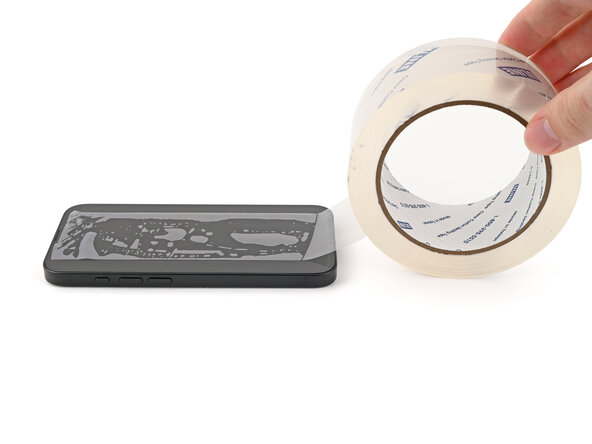
- If your screen or back glass is looking like a spider web, grab some packing tape and lay down overlapping strips across the glass. This will keep you safe and make the disassembly a breeze!
Tools Used
Step 3
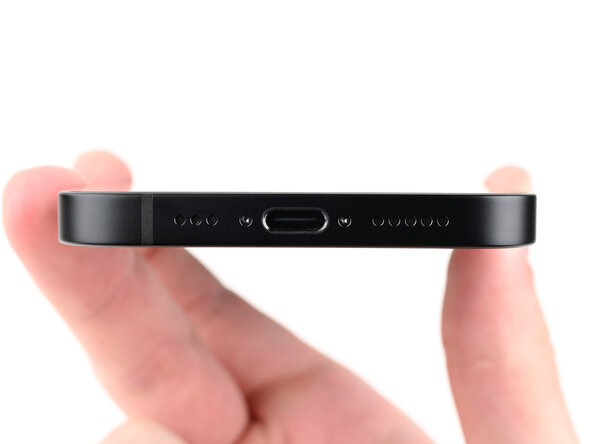
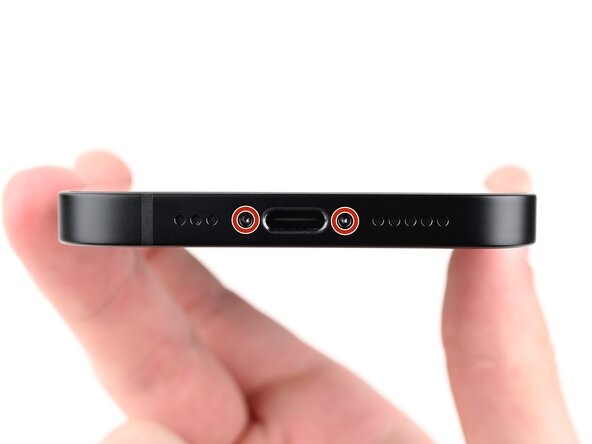
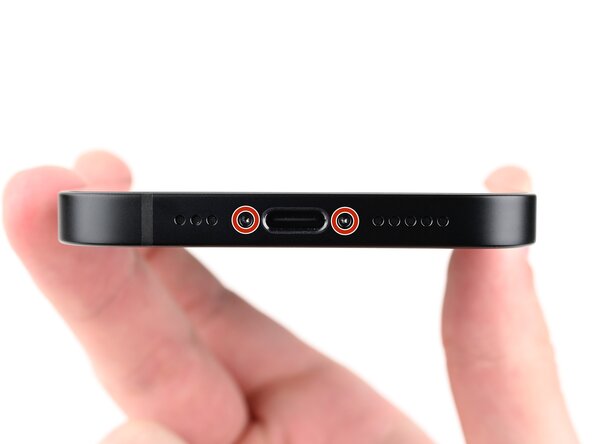
- Grab your trusty P2 pentalobe screwdriver and get ready to work some magic! Carefully unscrew the two 7.8 mm-long screws hanging out on either side of the charging port. You've got this!
Step 4
Pushing the opening pick in too deep could poke something it shouldn’t! Grab a marker and show that pick where to stop—just draw a line at the safe spot.
Feeling fancy? Mark the other corners with different measurements so you’re always in control.
Or, get creative: tape a coin to the pick, exactly 3 mm from the tip. Instant depth guard, no drama.
- Take a piece of tape and mark 3 mm from the tip with a permanent marker. This will help you identify the right spot for the opening pick. If you need a hand, you can always schedule a repair.
Step 5
Heads up! Keep the phone from getting too toasty—batteries really don't like the heat and can get damaged if things get too hot.
Another option is to grab a hair dryer or a heat gun and warm up the bottom edge of the back glass until it feels nice and toasty.
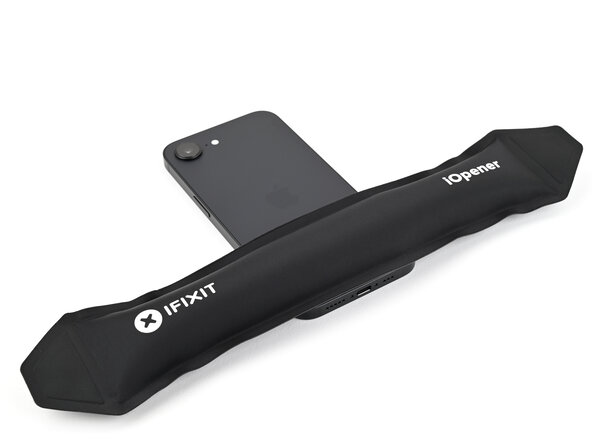
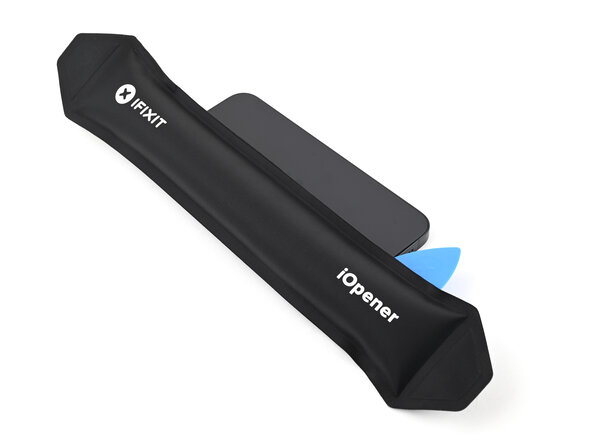
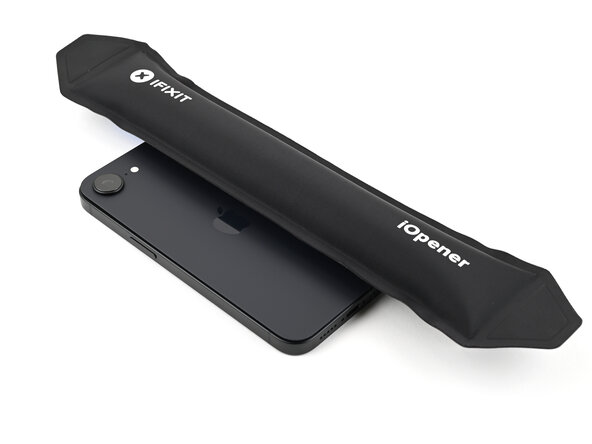
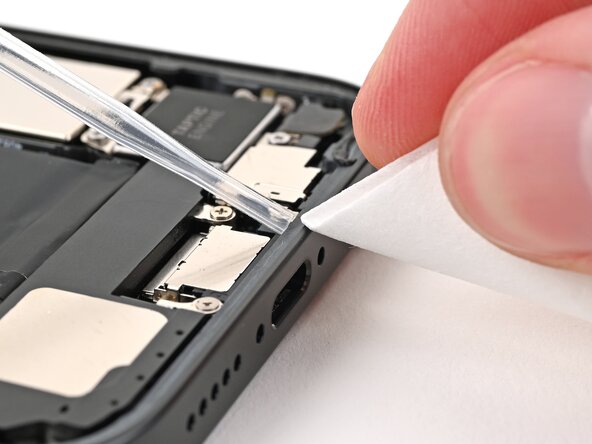
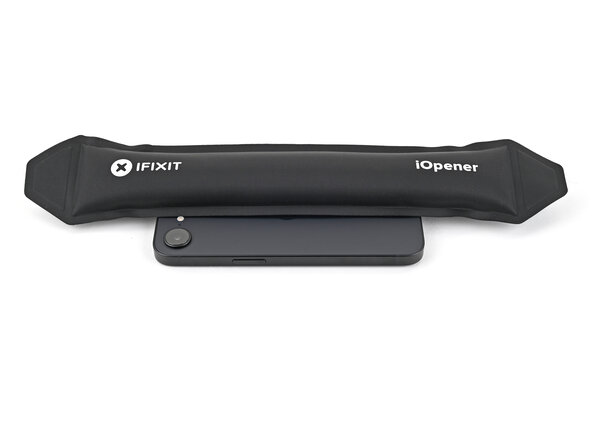
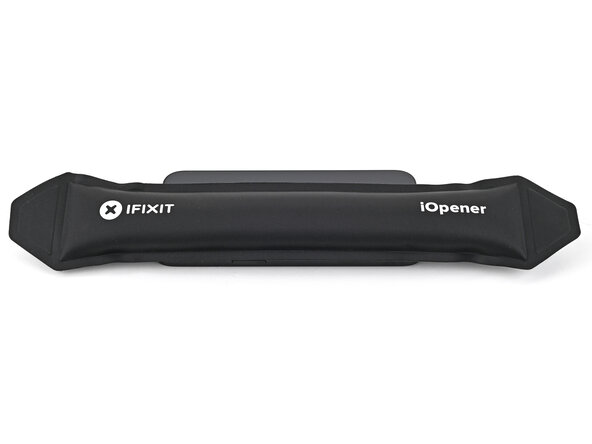
- Apply a heated iOpener to the bottom edge of the back glass for 90 seconds.
Tools Used
Step 6
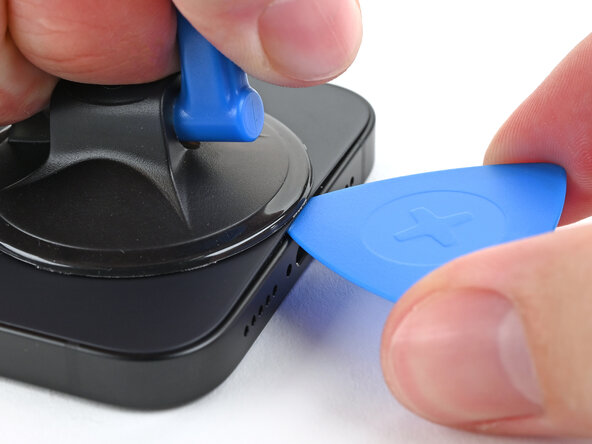
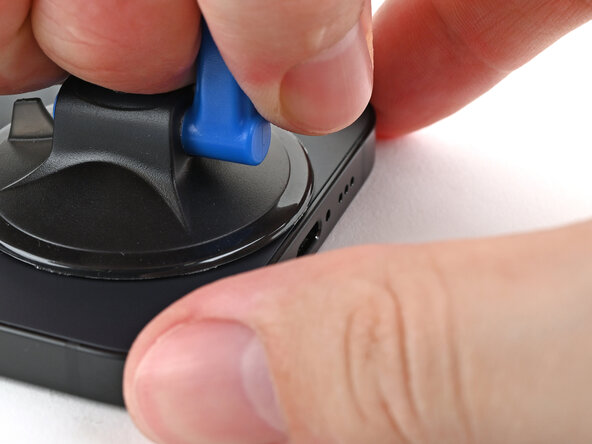
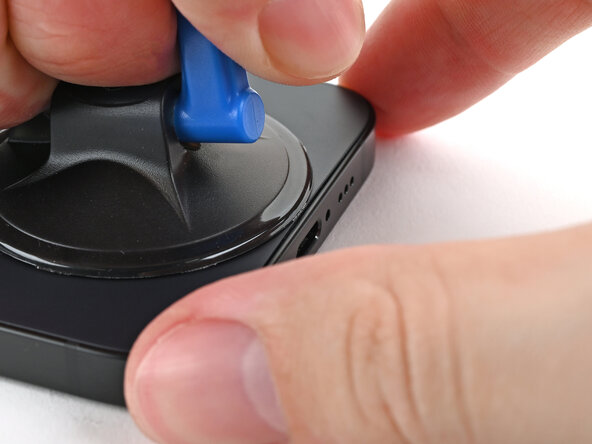
- Stick a suction cup right at the bottom edge of the back glass.
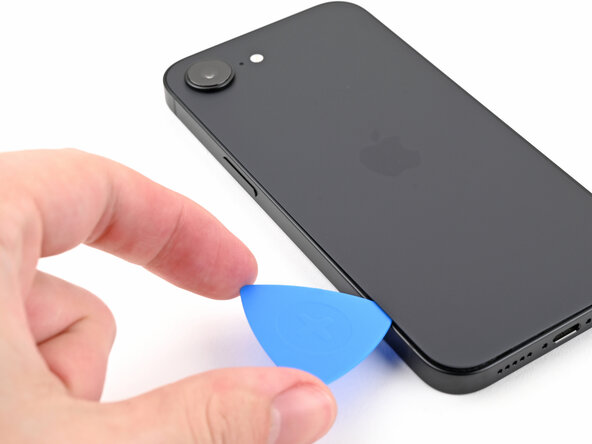
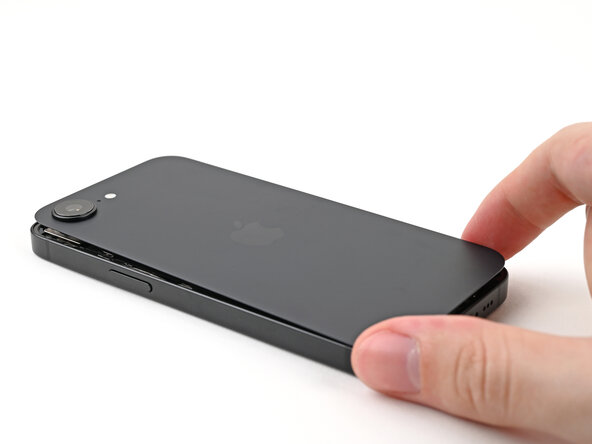
- Give the handle a firm, steady pull upward to pop open a little gap between the back glass and the frame.
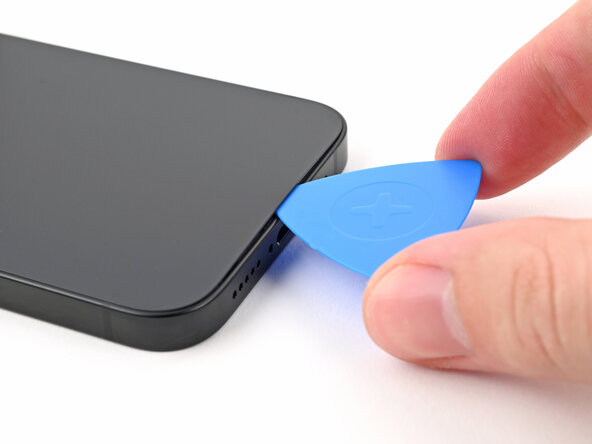
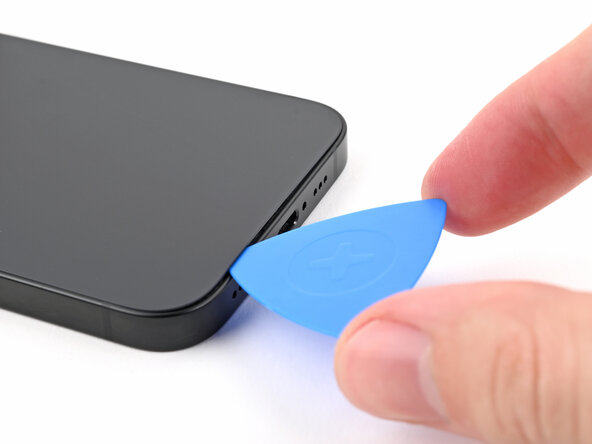
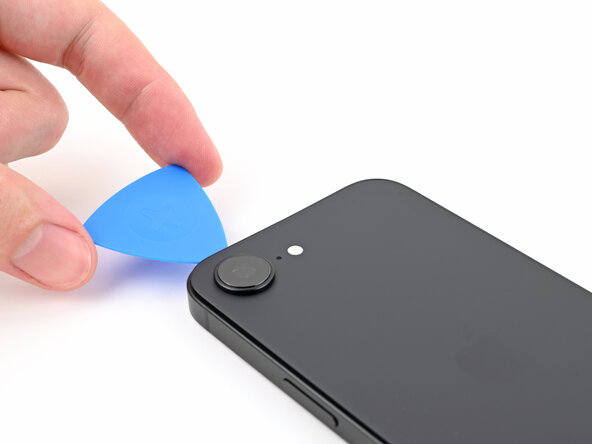
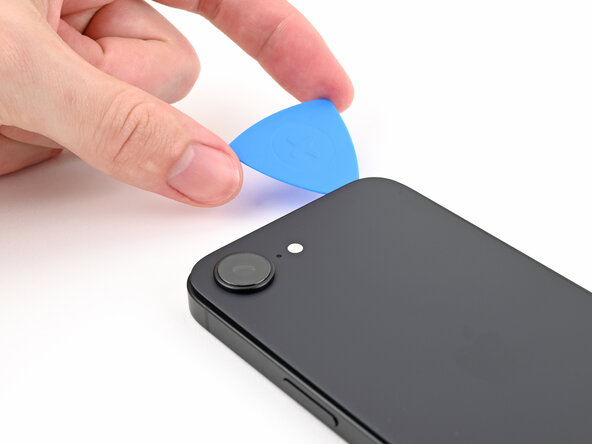
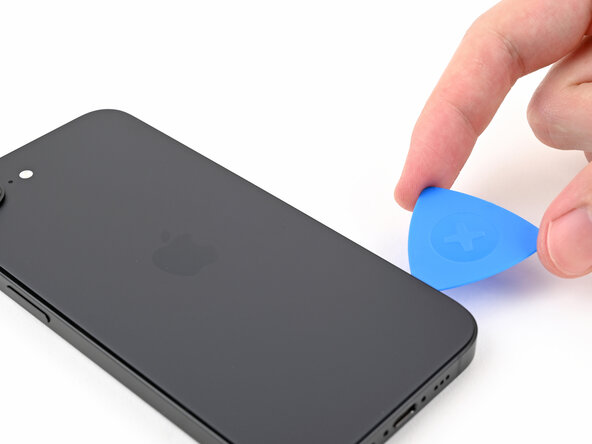
- Slip the tip of an opening pick into that gap to get things started.
Tools Used
Step 7
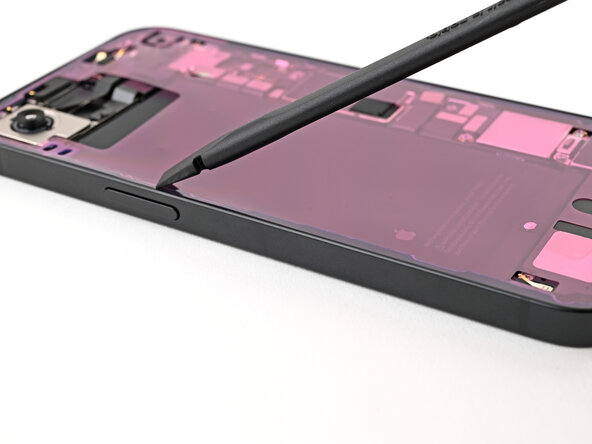
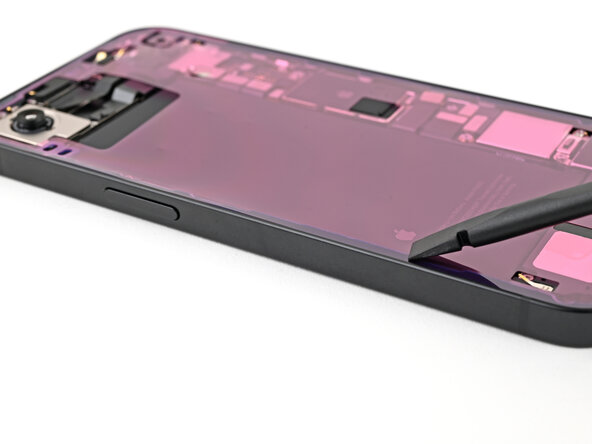
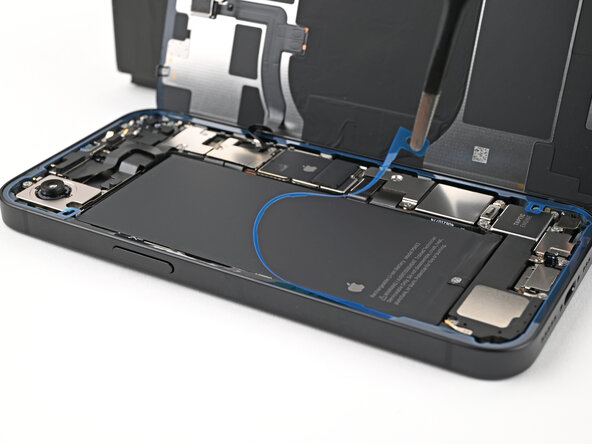
As you carefully slice through the adhesive holding the back glass, remember to keep your pick no deeper than 3 mm. This little tip will help you steer clear of any damage to sensitive areas below!
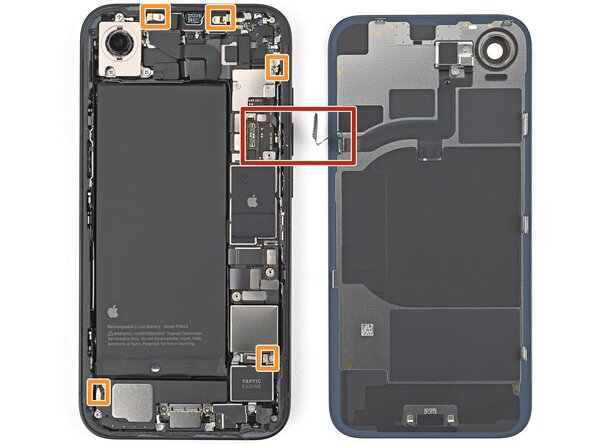
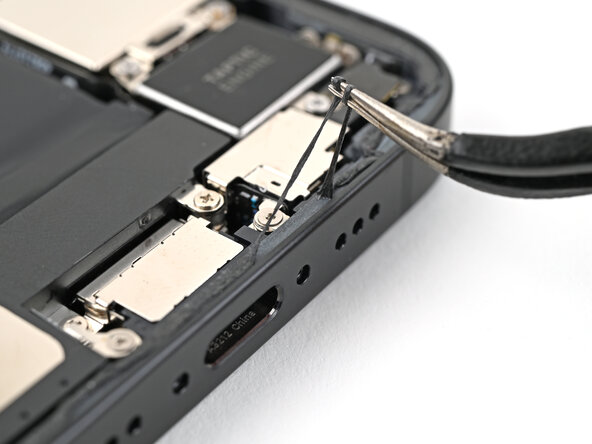
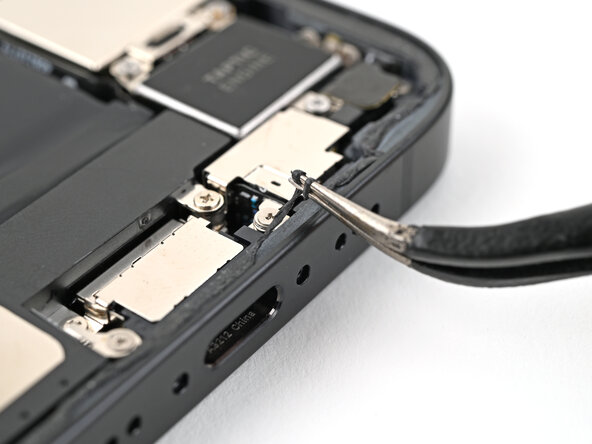
- Careful with this fragile cable that links the back glass to the phone, sitting right next to the volume up button. Treat it like it’s made of glass—because it kind of is!
- Around the edge of the phone, you'll find several spring contacts. These little guys help everything stay connected, so handle them gently.
Step 8
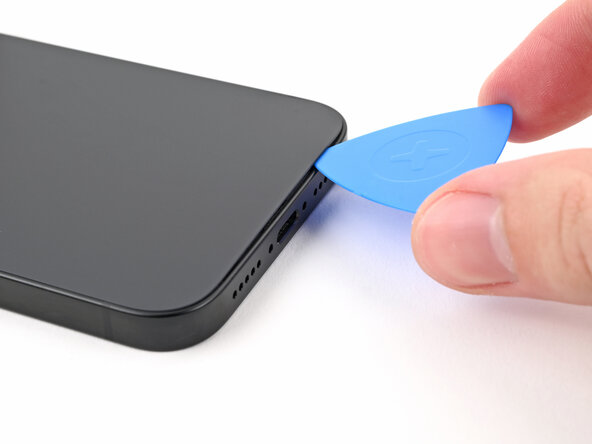
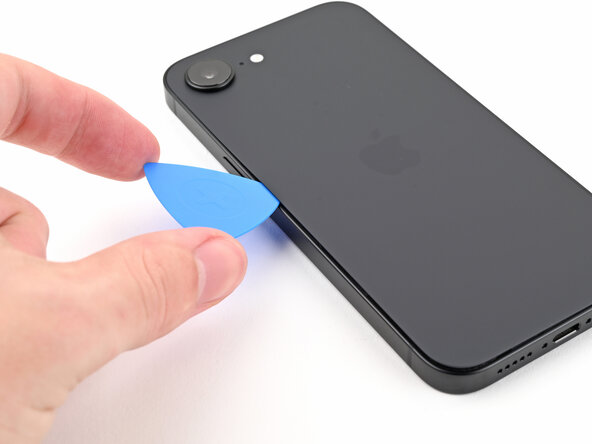
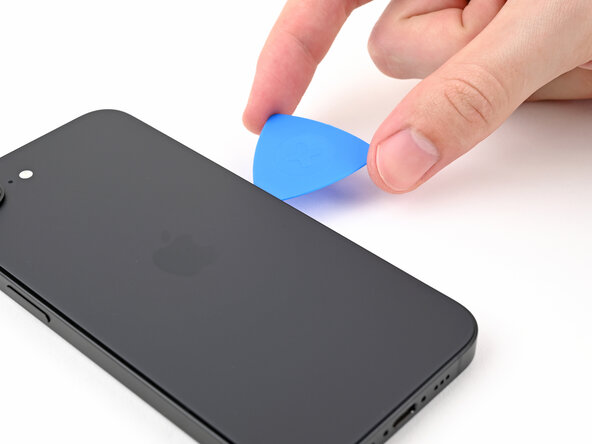
- Gently slide the opening pick along the bottom edge of the back glass to loosen the adhesive. Keep the pick close to the corner to avoid slipping. If you need a hand, you can always schedule a repair for extra help.
Step 9
Heat the back glass with a hair dryer or heat gun until it is hot to the touch.
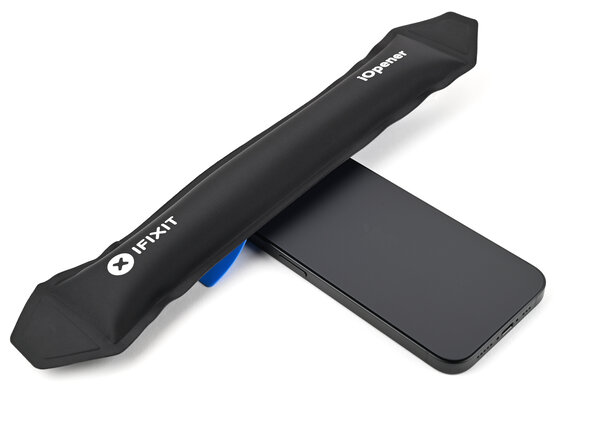
- Place a heated iOpener on the left edge of the back glass and hold it there for about 90 seconds. This will help loosen things up for the next step.
Tools Used
Step 10
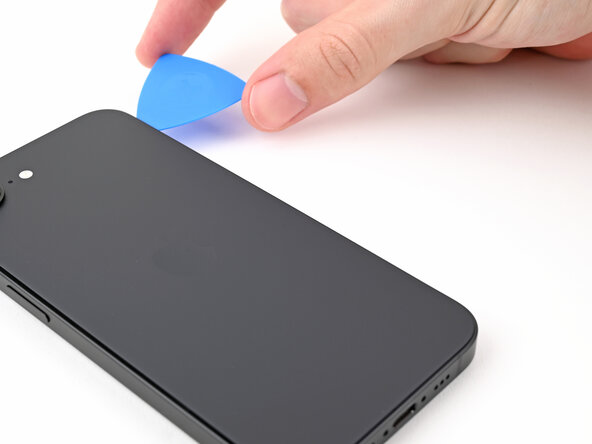
As you pass along the metal clips, you'll notice them click and pop, giving a little satisfying release sound and feel. Keep steady—you're almost there! If you need a hand or run into trouble, just schedule a repair with Salvation Repair to get back on track.
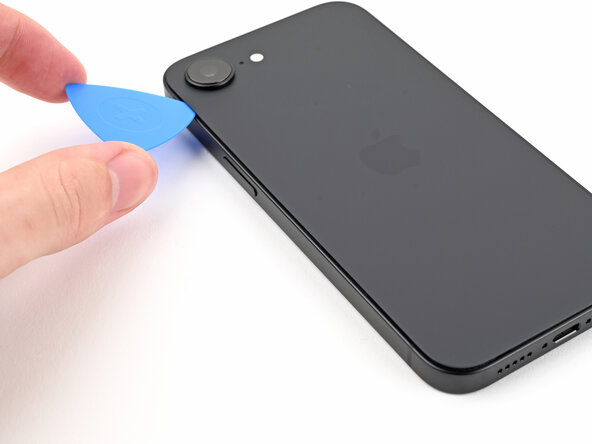
- Grab the opening pick and gently spin it around the bottom left corner. Slide it along the left edge to peel back the adhesive and pop those metal clips loose.
- Leave the pick hanging out near the top left corner—you're almost there!
Step 11
Grab your hair dryer or heat gun and get ready to heat up the back glass. Keep going until it's nice and warm to the touch—just hot enough to work with. You'll know you're there when it feels like the perfect cup of coffee temperature, but definitely not too hot to handle.
- Heat up an iOpener and press it against the top edge of the back glass for about 90 seconds. That’ll loosen things up and make it easier to get the job done!
Tools Used
Step 12
As you glide through, you'll hear and feel those little metal clips letting go. It's like music to your ears!
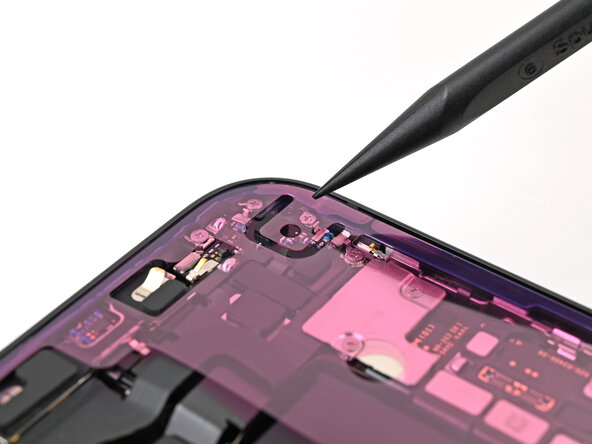
- Twist that opening pick around the top left corner, then glide it along the top edge to break free the adhesive and pop those metal clips loose. You’ve got this!
- Keep that opening pick snugly in the top right corner while you work your magic.
Step 13
Grab your hair dryer or heat gun and gently warm up the back glass until it’s comfortably hot to the touch. No need to overdo it—just enough to make it a little toasty!
- Gently press a heated iOpener to the right edge of the back glass and hold it there for about 90 seconds. This will help loosen things up for the next step.
Tools Used
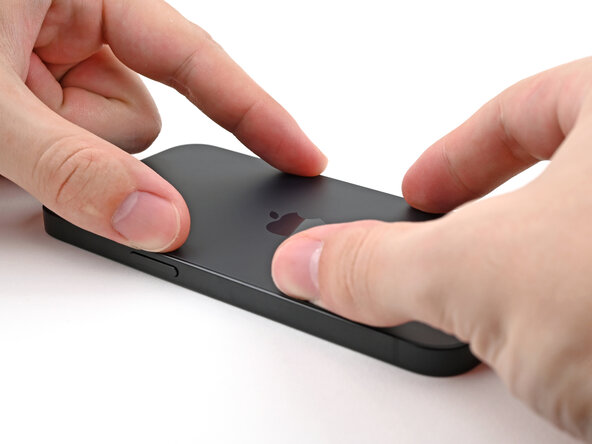
Step 14
Keep your pick shallow—no deeper than 3 mm! You don't want to accidentally clip a cable that's hiding underneath.
You'll get a satisfying click and a little nudge as the metal clip lets go.
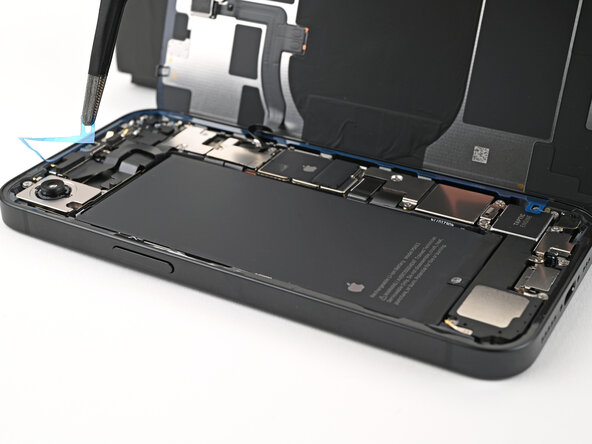
- Gently rotate the opening pick around the top right corner and slide it down along the right edge to loosen the remaining adhesive and release the metal clip. Take your time—this part can be a little tricky, but you've got this!
Step 15
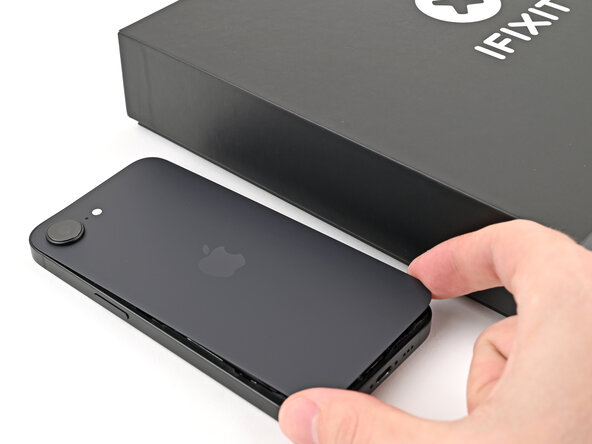
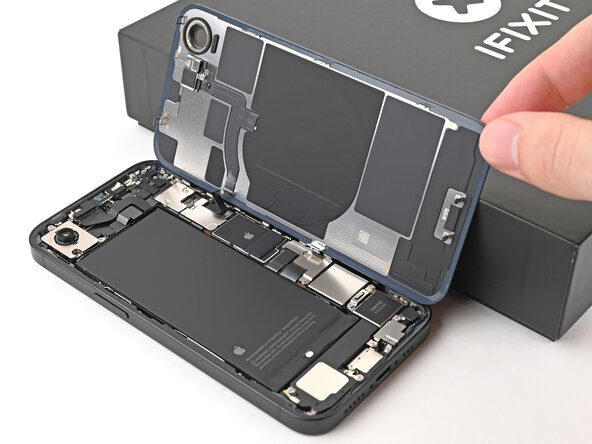
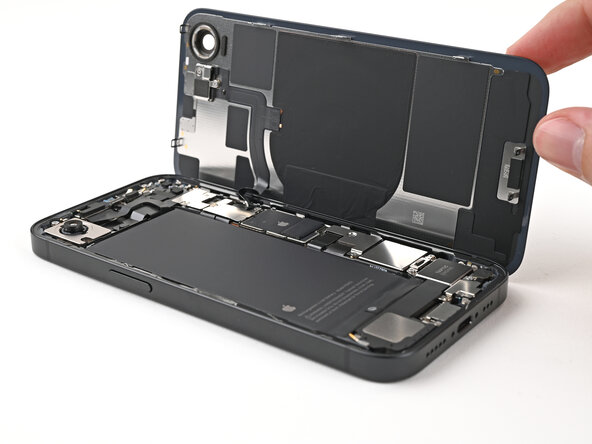
Your back glass adhesive should be totally free by now. If it's still hanging on, just give it another gentle run with your opening pick to catch any stubborn spots.
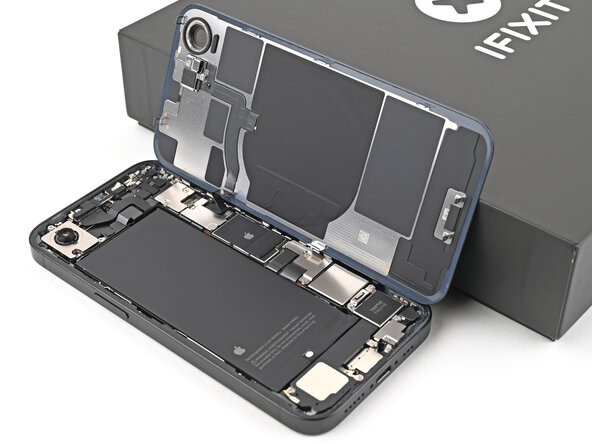
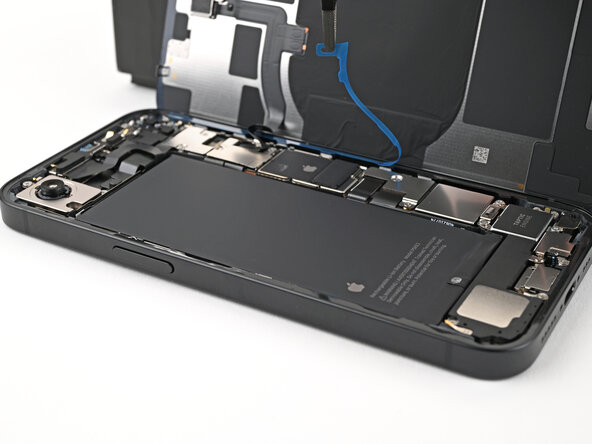
- Gently swing the back glass open to the right side of your phone and prop it up with something sturdy and clean. Keep it upright and secure while you work your repair magic!
Step 16
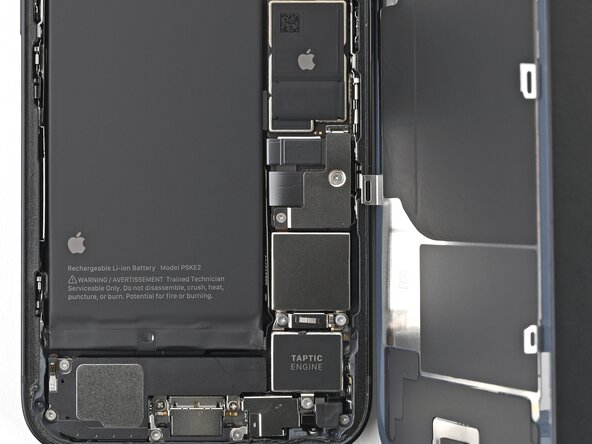
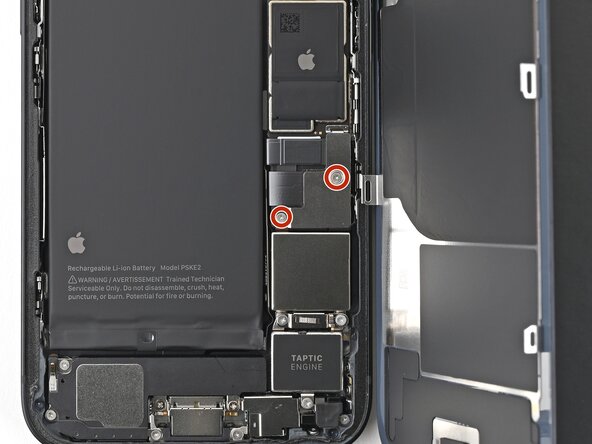
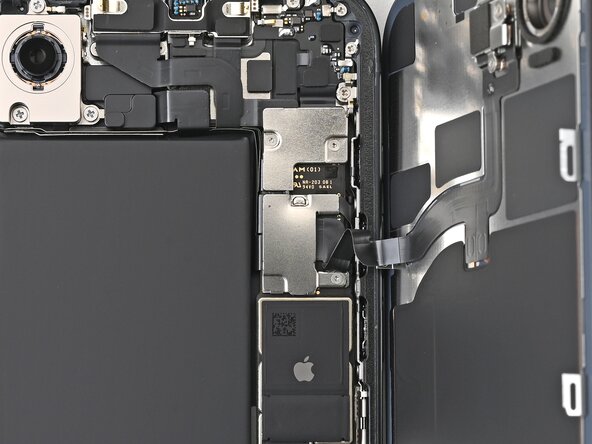
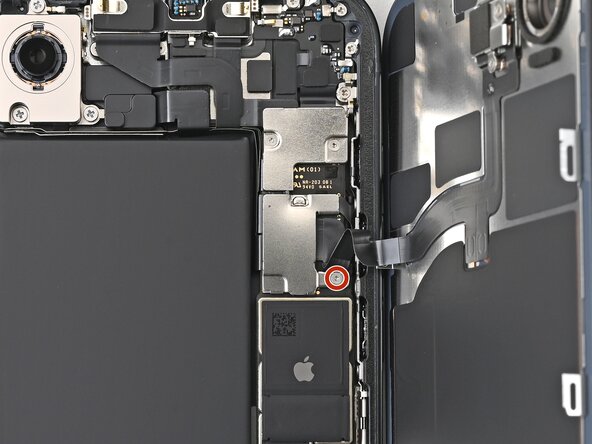
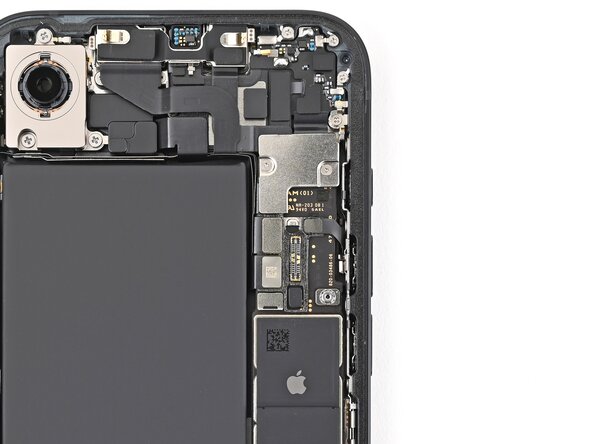
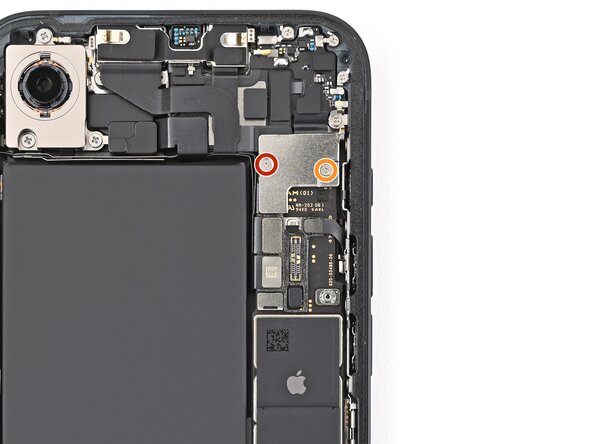
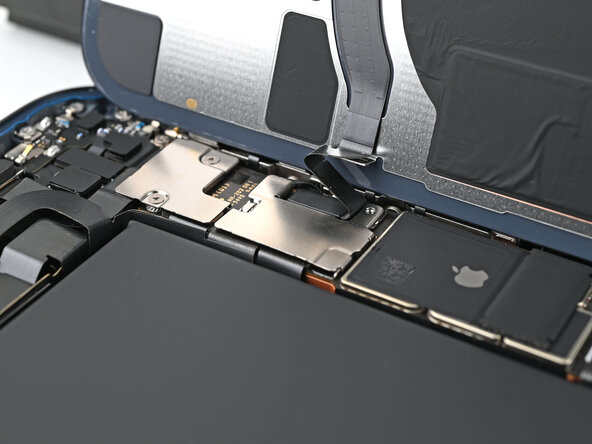
- Grab your tri-point Y000 screwdriver and carefully unscrew the two 1.3 mm-long screws holding down that lower connector cover. Easy does it!
Tools Used
Step 17
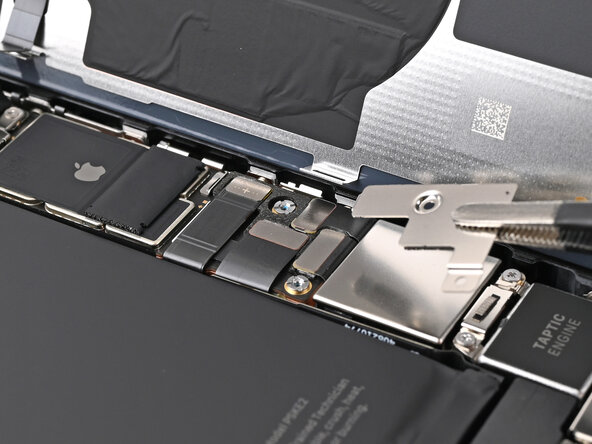
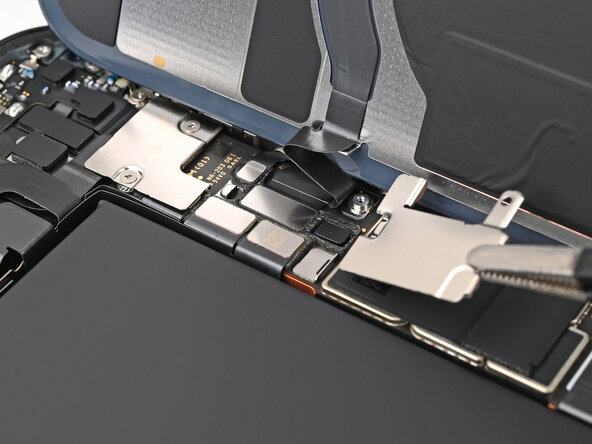
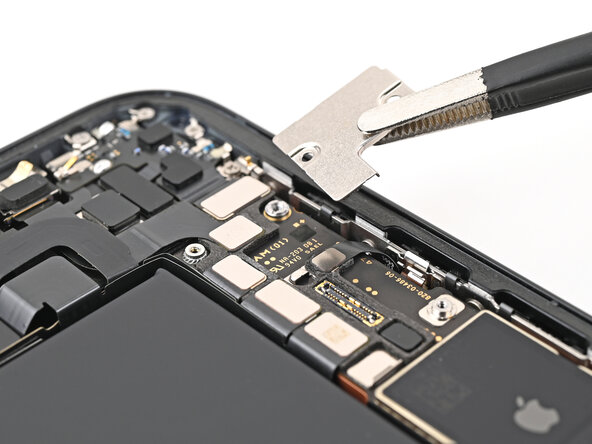
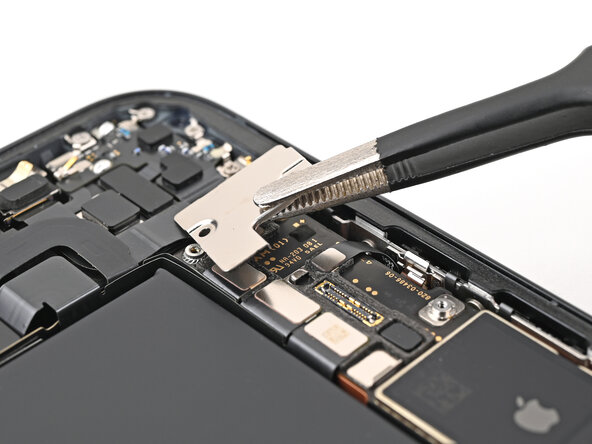
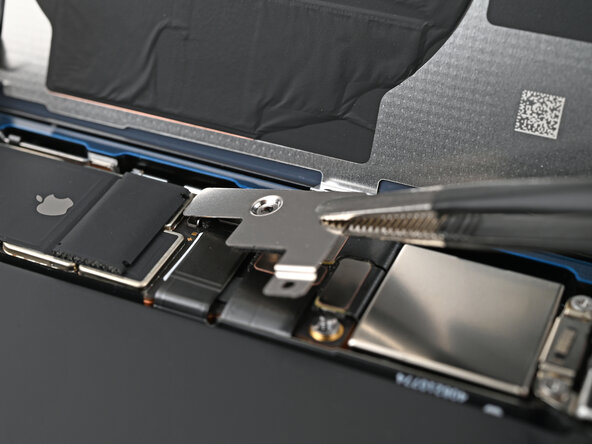
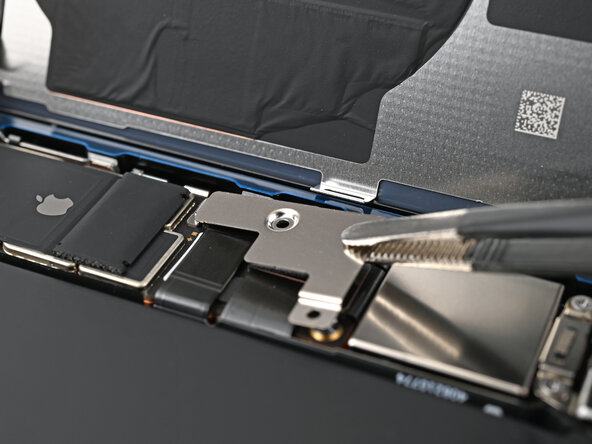
- Grab some tweezers or just use your fingers to gently lift the lower connector cover. Slide it up towards the top of the phone to pop it free from its metal clip.
- Now, go ahead and remove that lower connector cover.
Tools Used
Step 18
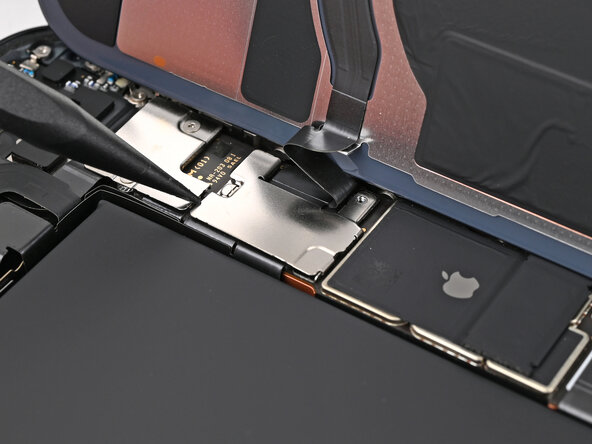
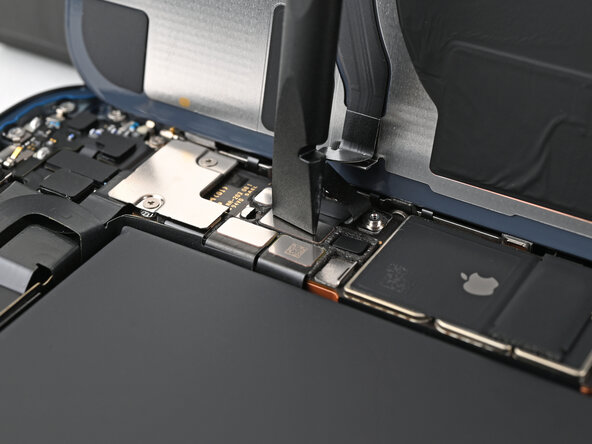
- Grab that trusty spudger and gently pry up to disconnect the battery press connector. You've got this!
Tools Used
Step 19
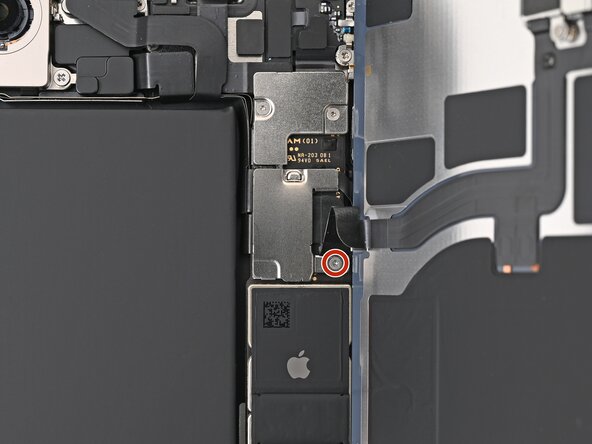
- Grab a tri-point Y000 screwdriver and gently unscrew the 1.0 mm-long screw holding down the middle connector cover. Keep it steady while you turn—no need to strip the screw! If you need a hand, you can always schedule a repair.
Tools Used
Step 20
The middle connector cover is snugly fit into two metal clips positioned at the top and bottom.
Step 21
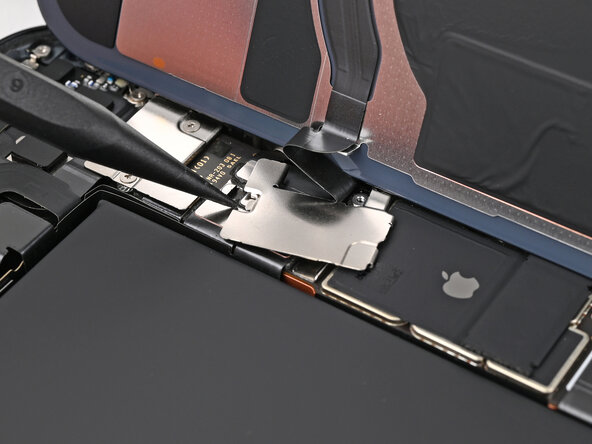
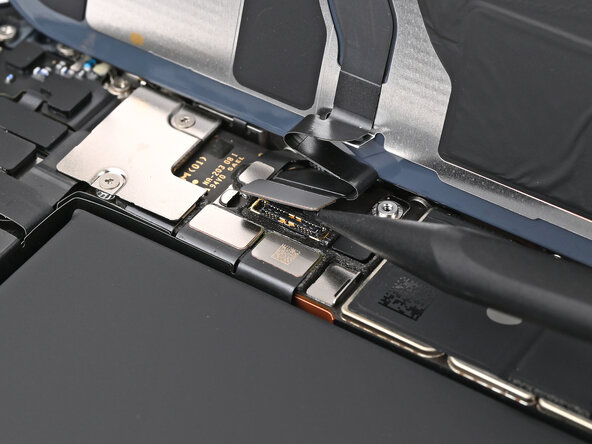
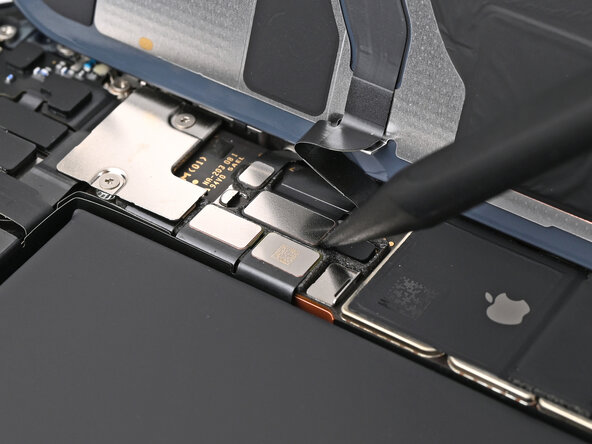
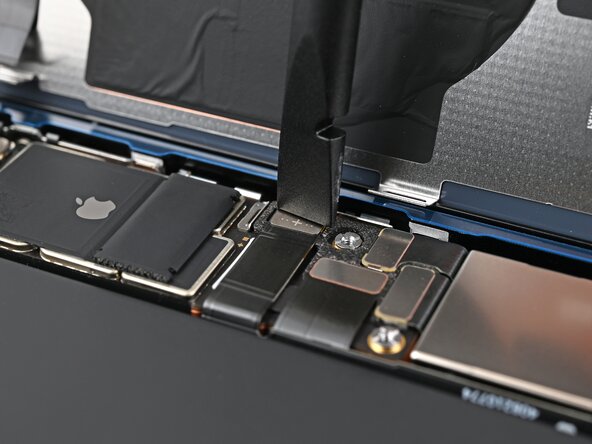
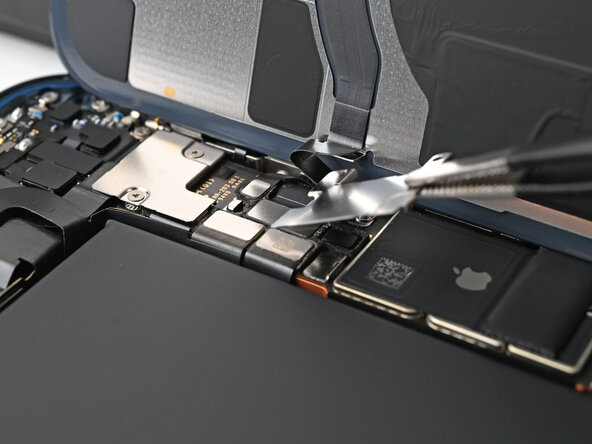
- Gently pry up the wireless charging coil press connector with the tip of a spudger—think of it as giving it a friendly lift-off. When it’s free, carefully disconnect it to keep everything working smoothly. If you need a hand with the next step, schedule a repair.
Tools Used
Step 22
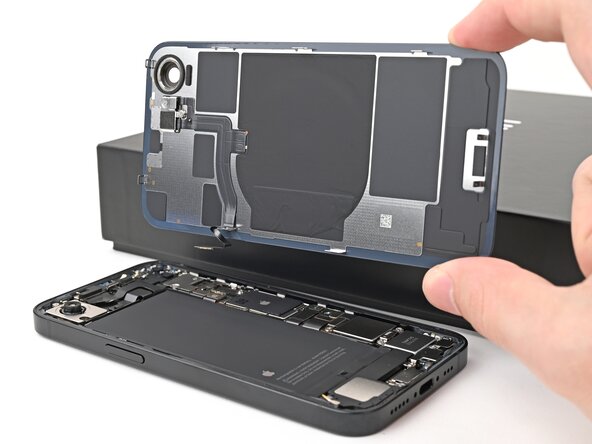
- Gently pop the back glass off the frame and set it aside.
Step 23
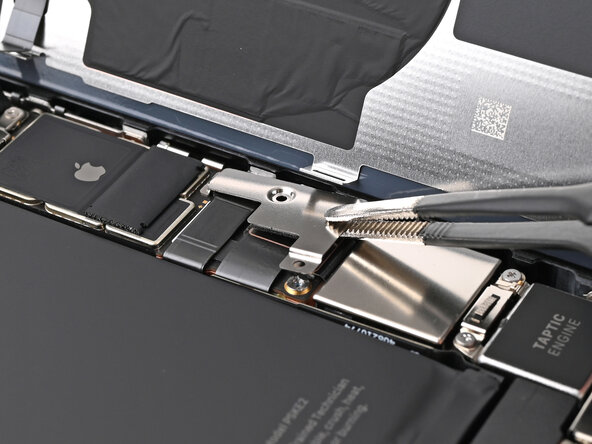
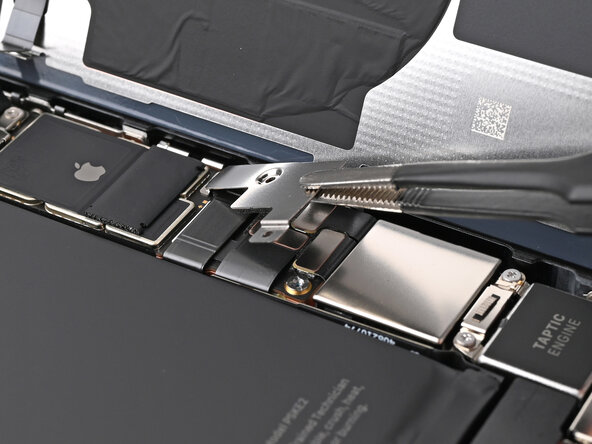
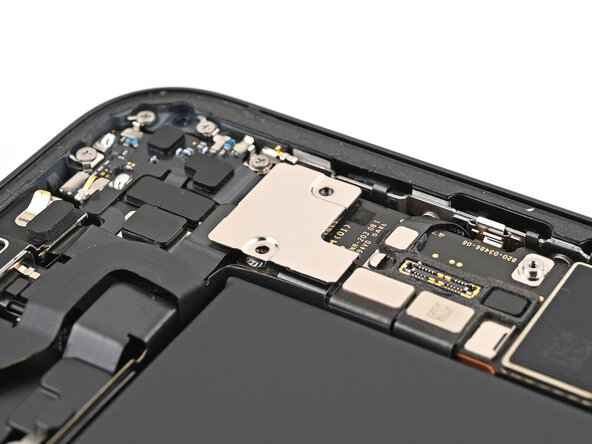
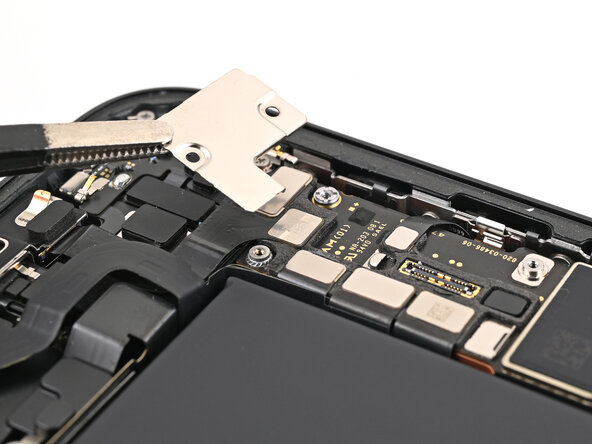
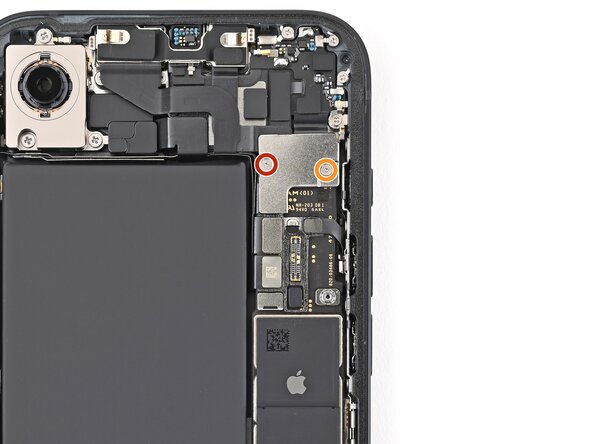
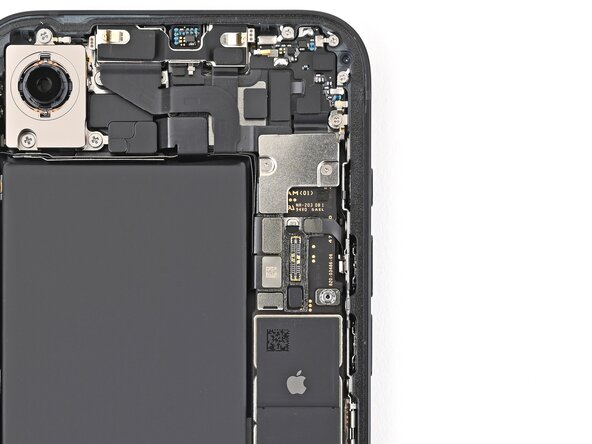
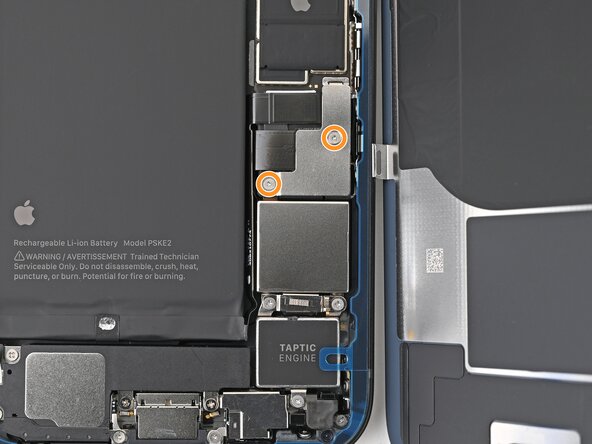
- Grab your trusty tri-point Y000 screwdriver and unscrew the two little rebels holding down the top connector cover:
- One screw is a nimble 1.0 mm long.
- The other is a slightly taller 1.3 mm screw.
Tools Used
Step 24
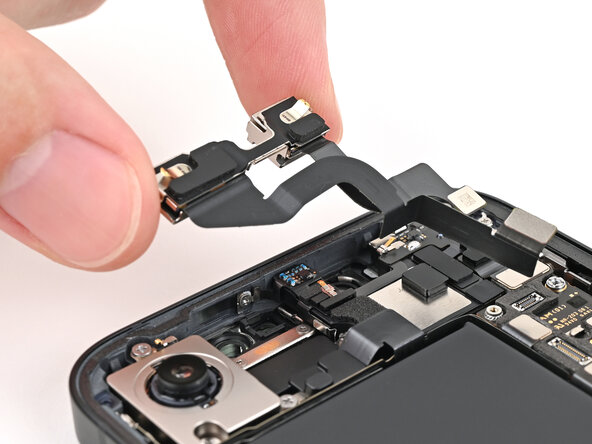
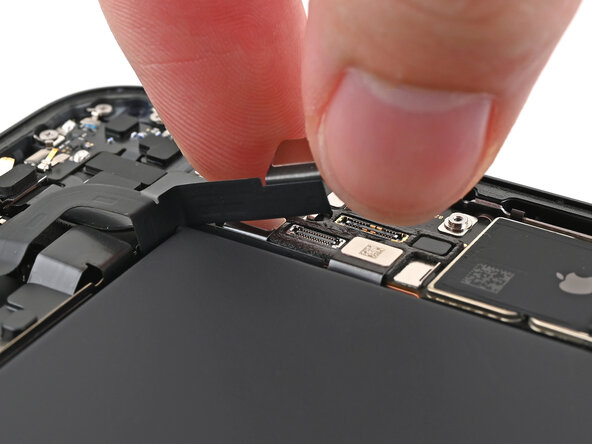
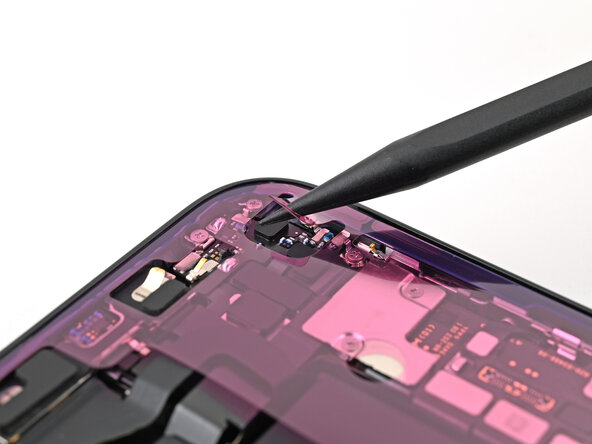
- Gently grab the front camera bracket with tweezers or your fingers and lift it out.
Tools Used
Step 25
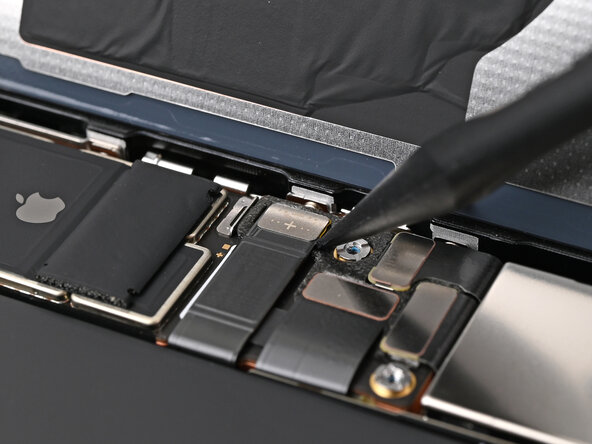
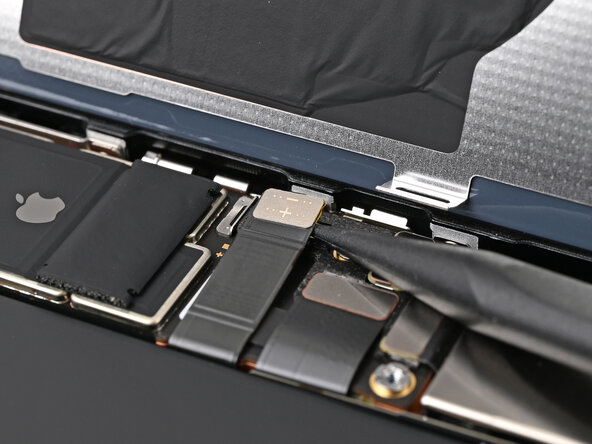
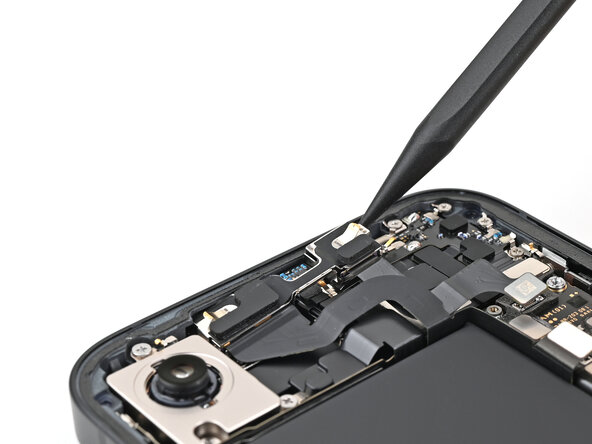
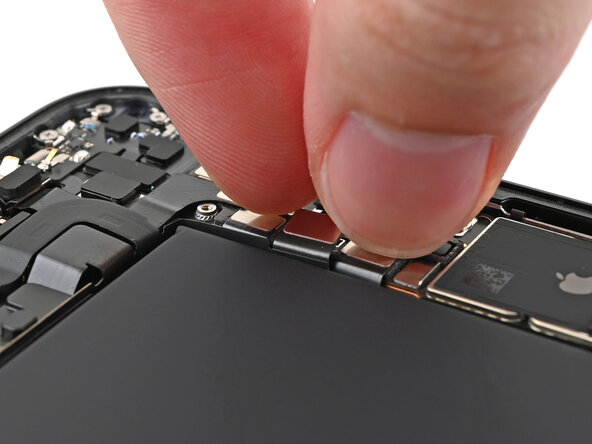
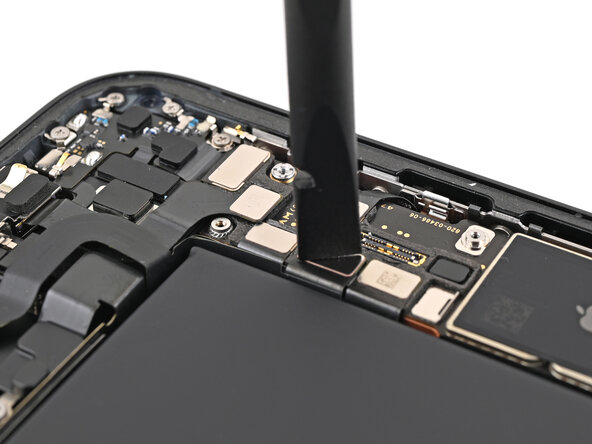
- use a spudger to carefully pry up and disconnect the two front camera assembly press connectors, then set them aside where they won't get lost
Tools Used
Step 26
- Slip the tip of your spudger between the front camera assembly and the frame—like you’re sneaking a cookie before dinner.
- Gently lift the front camera assembly until you’ve got a good grip with your fingers. No need to wrestle it, just a smooth lift.
- Take out the front camera assembly. That’s one less thing in the way!
Tools Used
Step 27
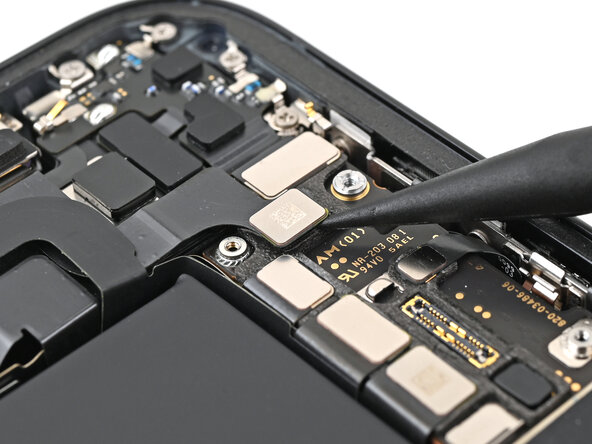
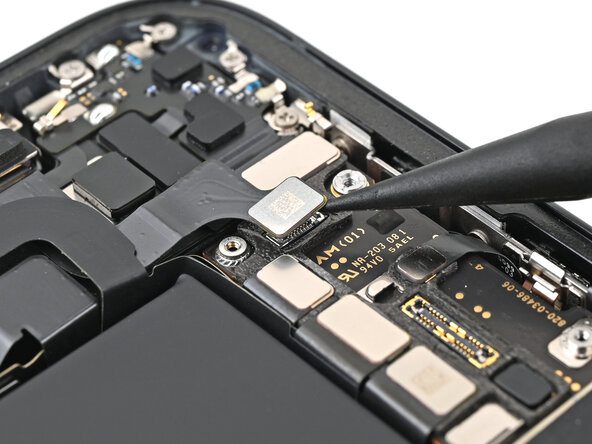
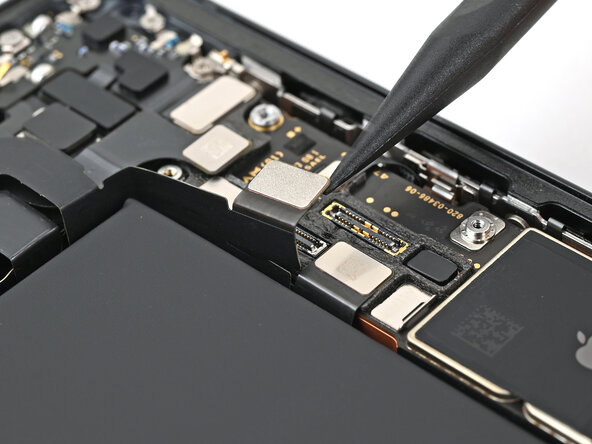
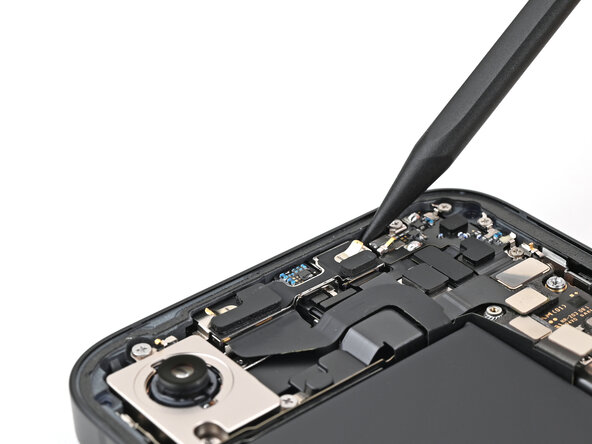
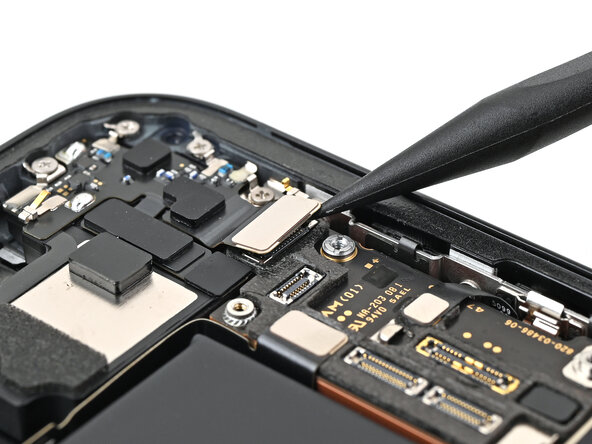
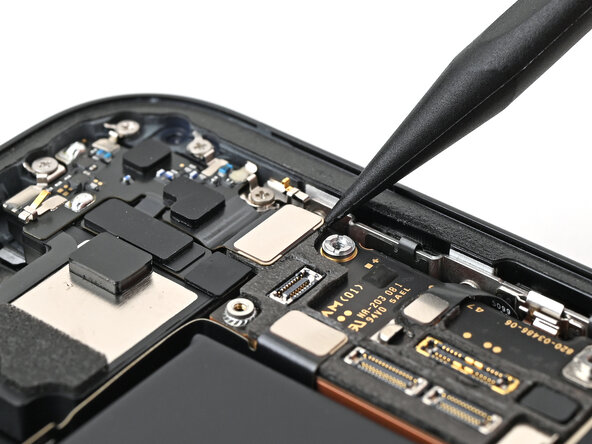
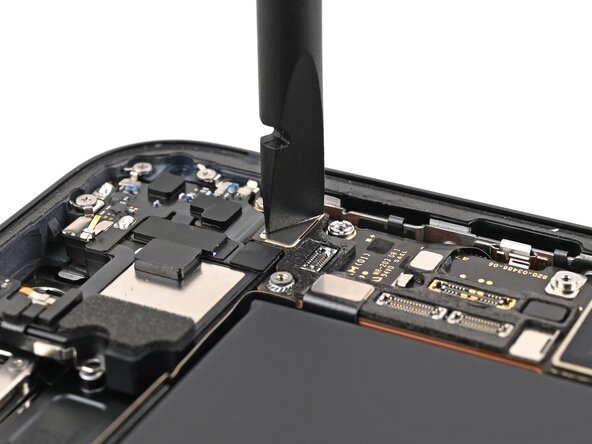
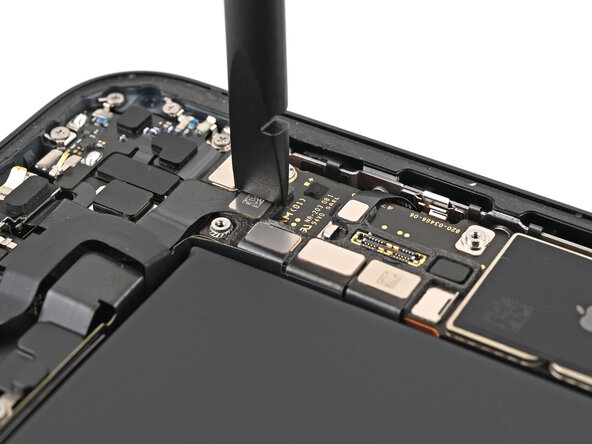
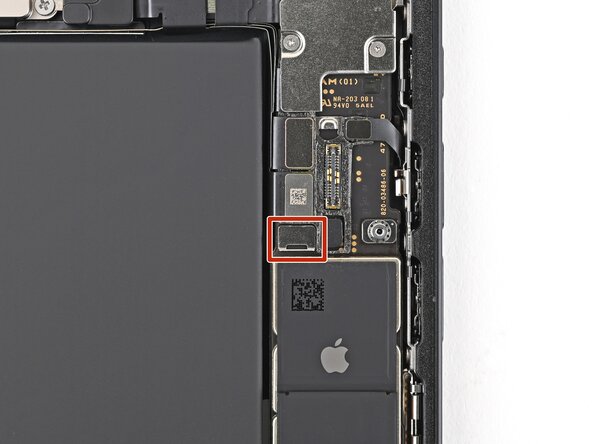
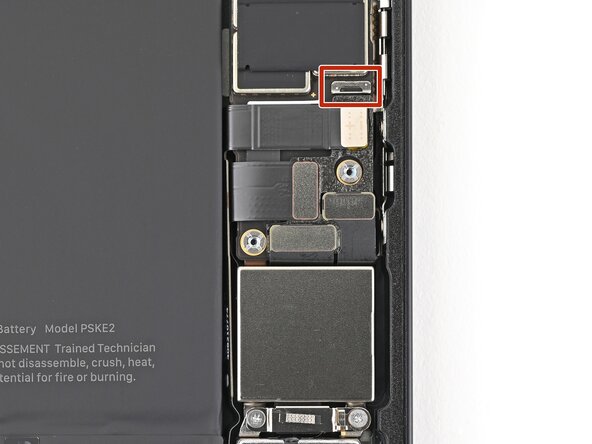
- Gently use the tip of a spudger to lift and unplug the earpiece speaker press connector. Keep it smooth and steady!
Tools Used
Step 28
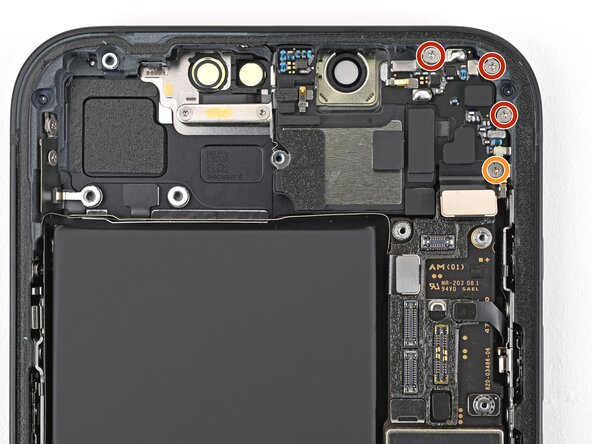
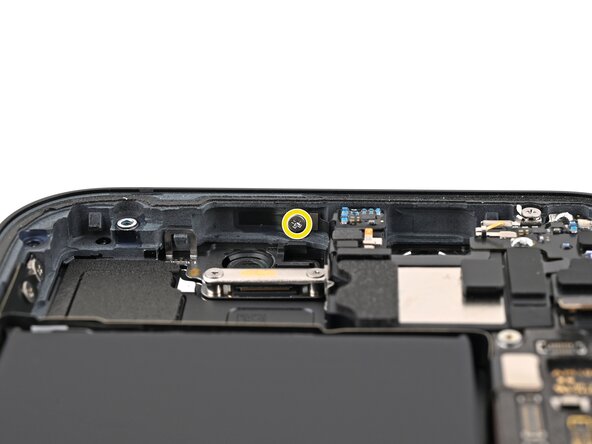
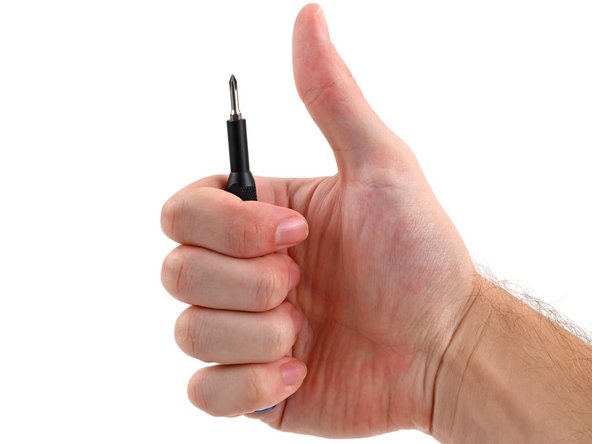
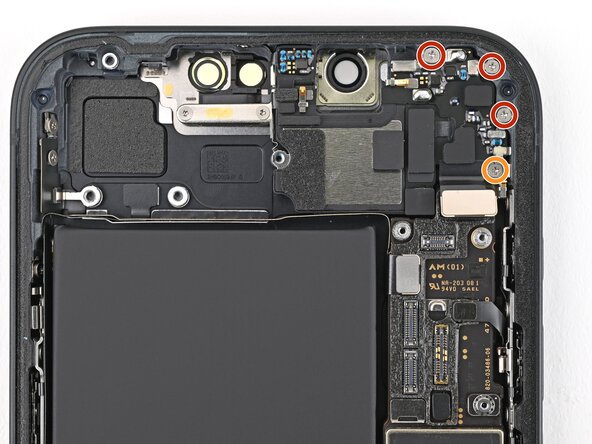
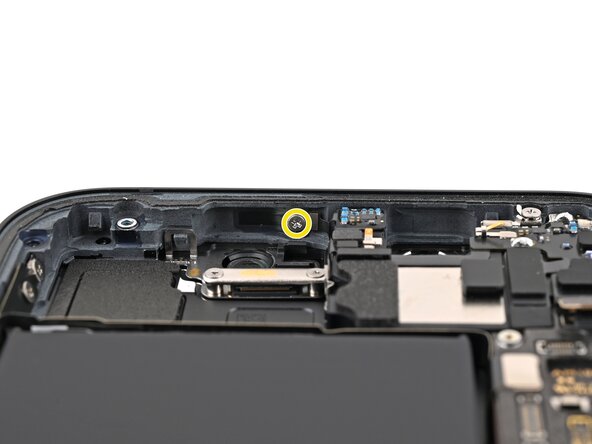
- Grab your trusty Phillips screwdriver and take out the five screws holding the earpiece speaker in place:
- Three screws, each 1.5 mm long
- One screw, 1.6 mm long
- One tiny 1.1 mm screw tucked on the inner wall of the frame, just above the front camera hole
Step 29
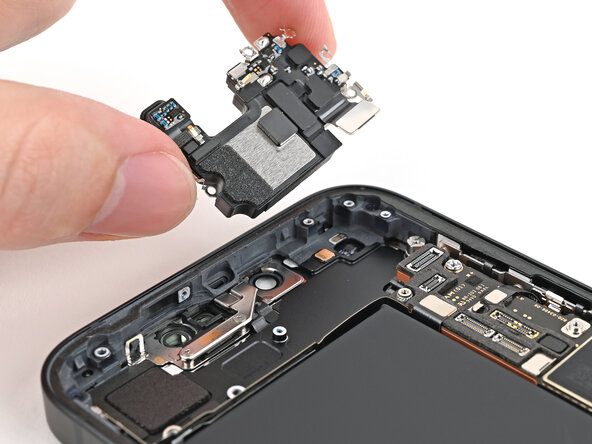
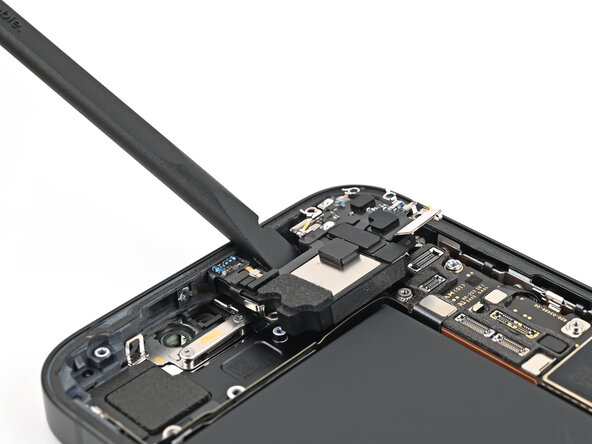
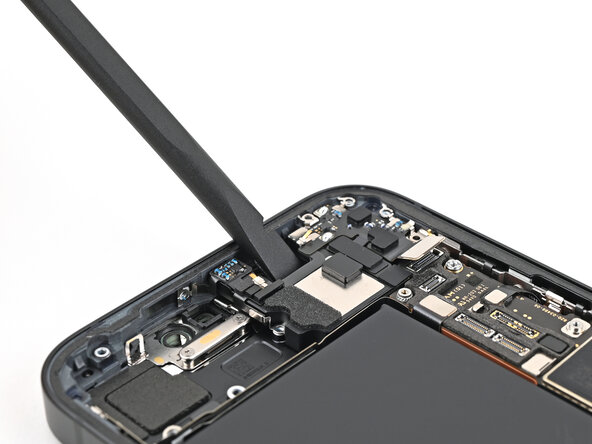
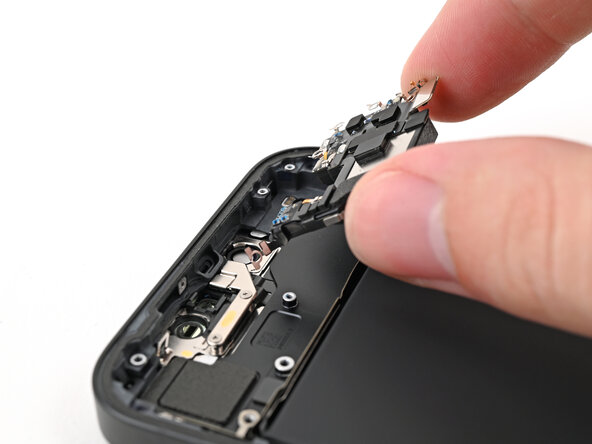
- Gently slide the flat end of your spudger into the small gap near the front camera, between the earpiece speaker and the frame. No rush, just a smooth move!
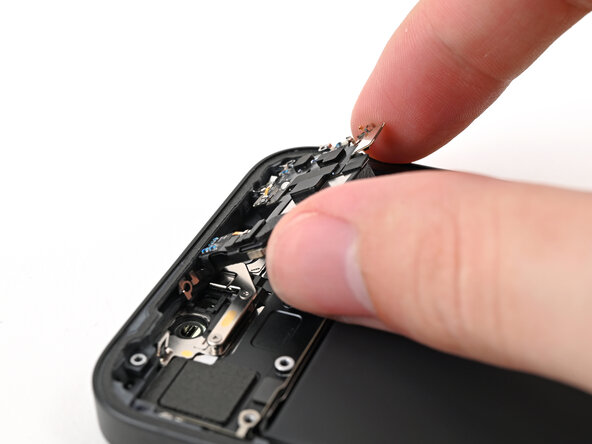
- Now, give the earpiece speaker a little nudge and carefully lift it out. Easy does it!
Tools Used
Step 30
- Nice work getting everything apart! Now let’s walk through putting your device back together step by step.
Step 31
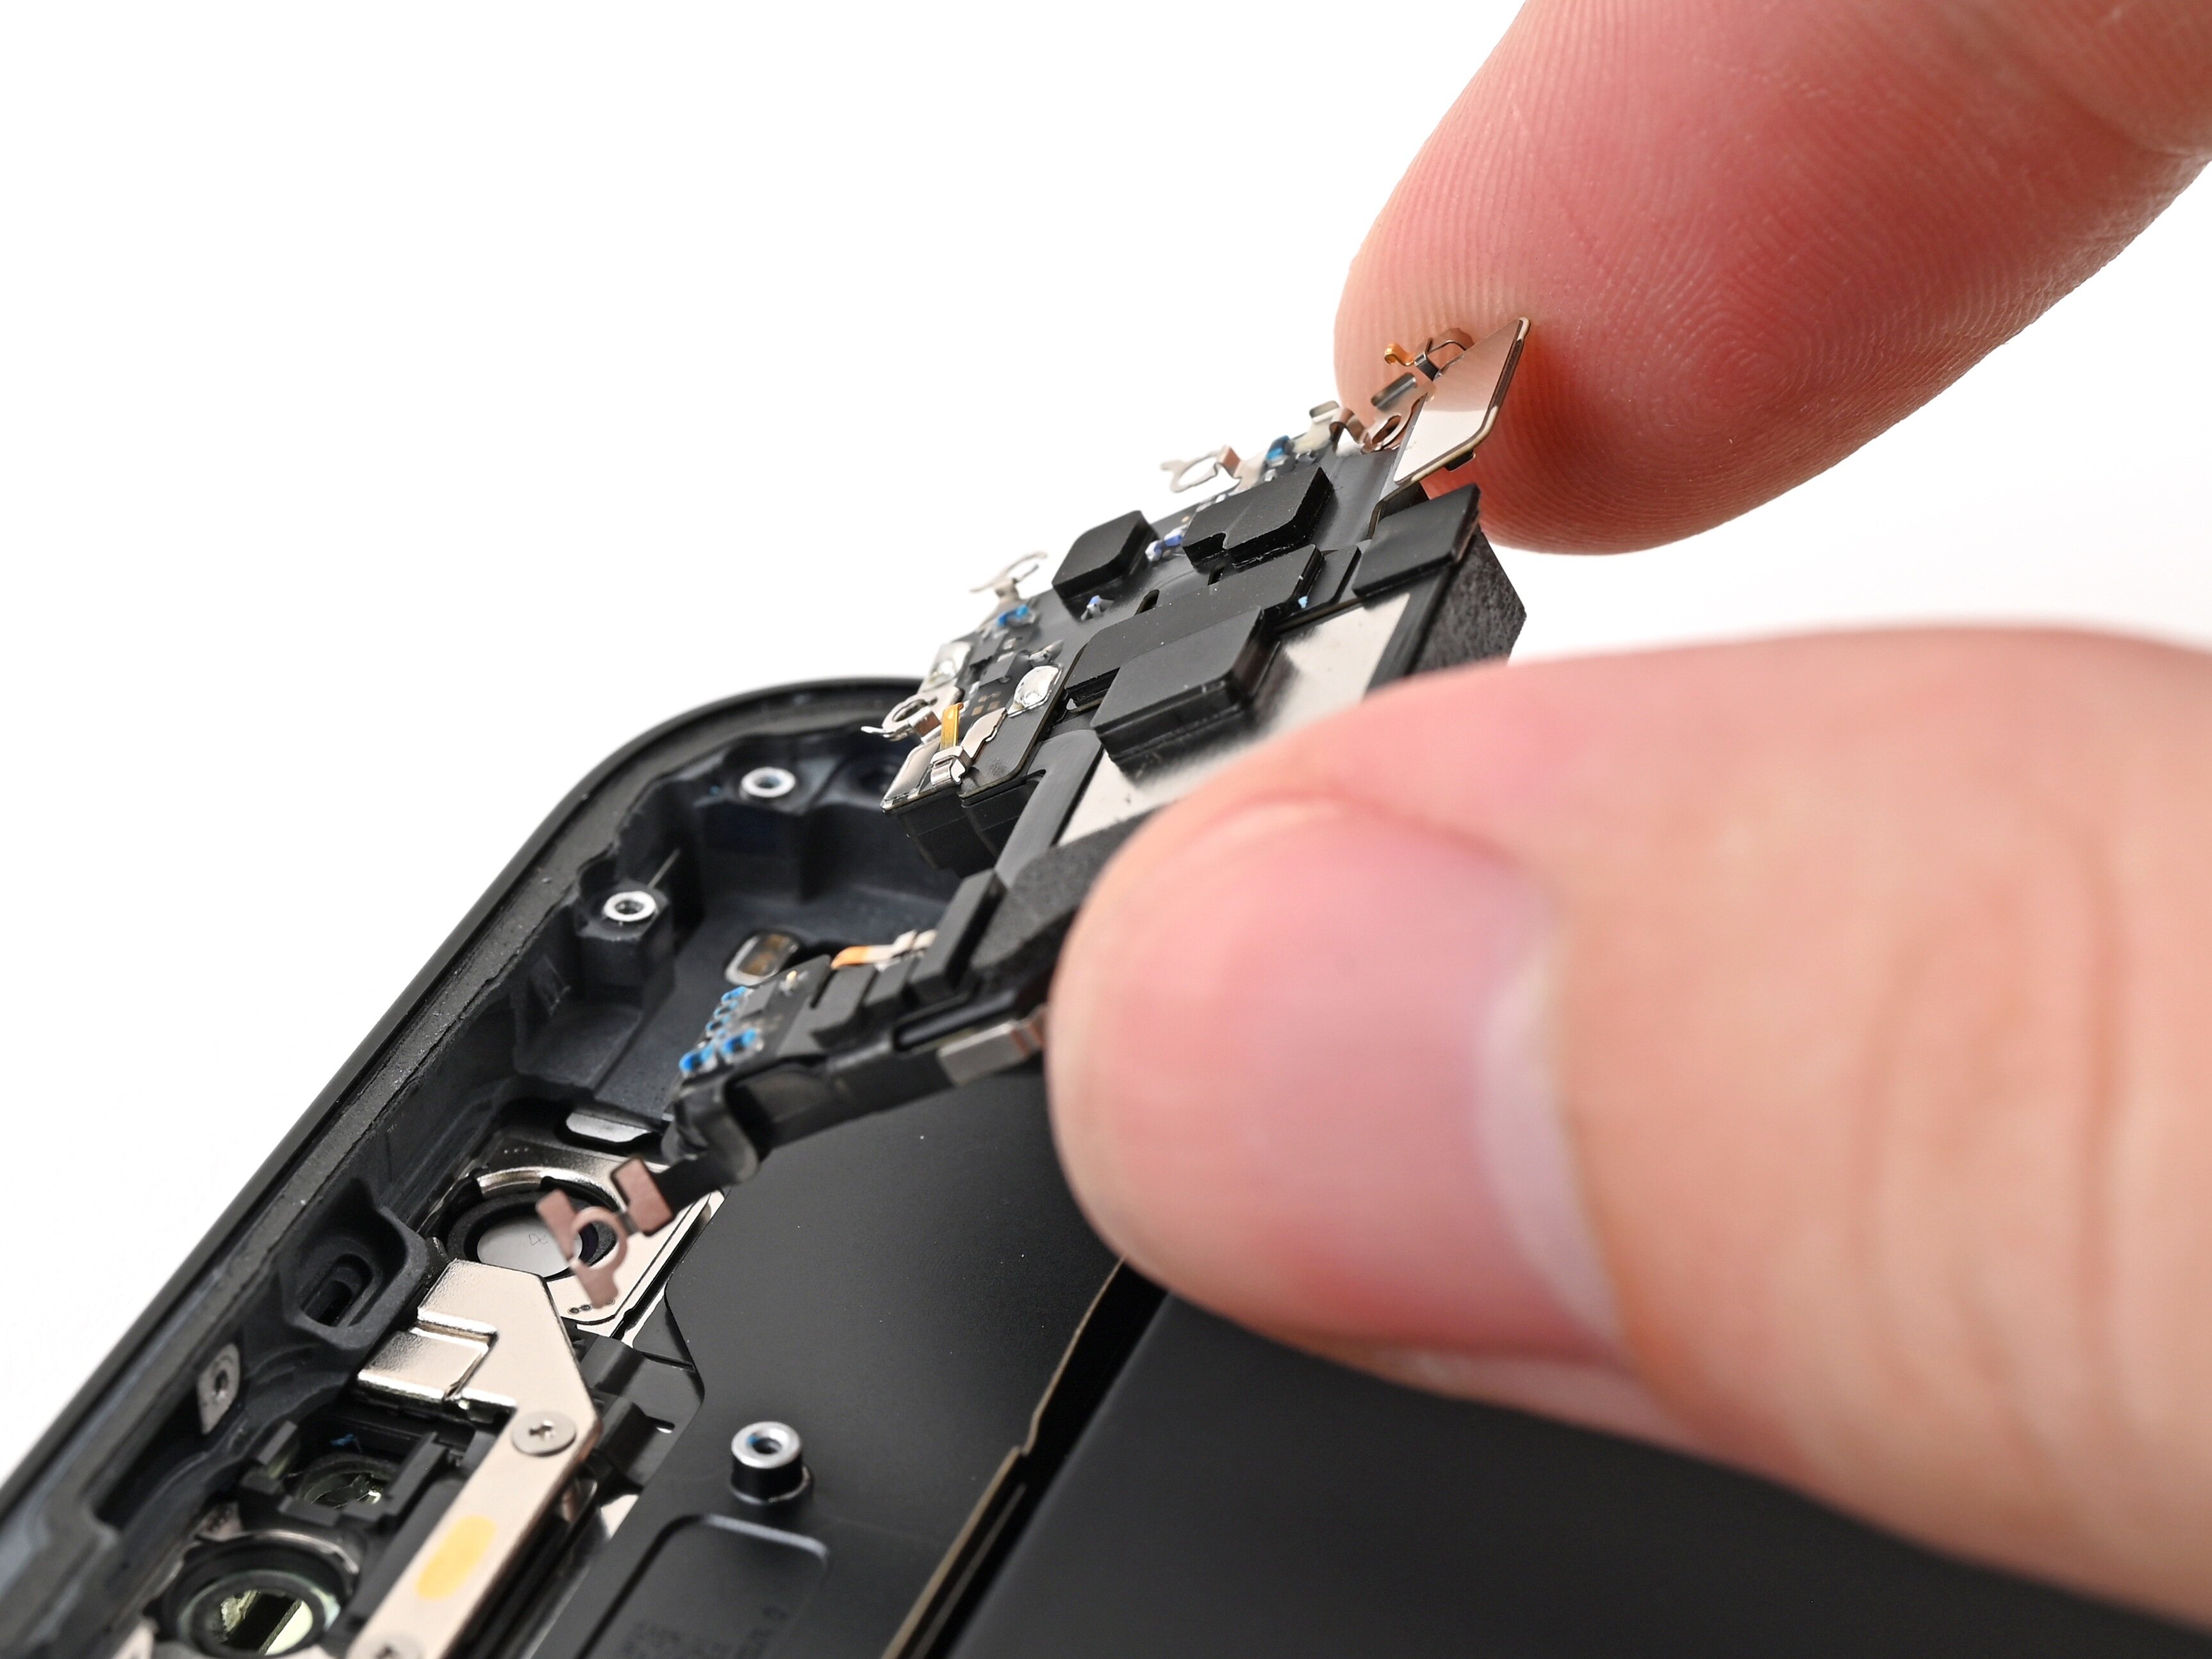
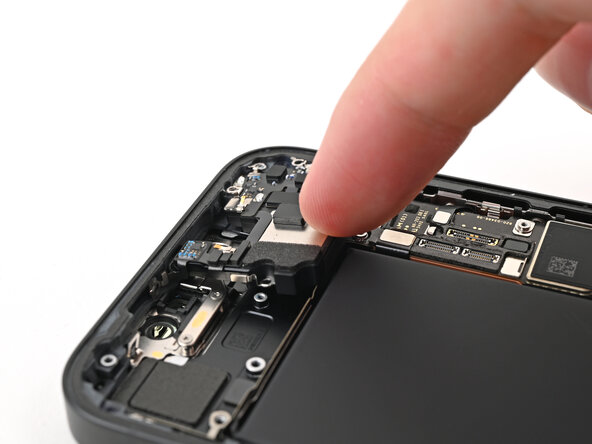
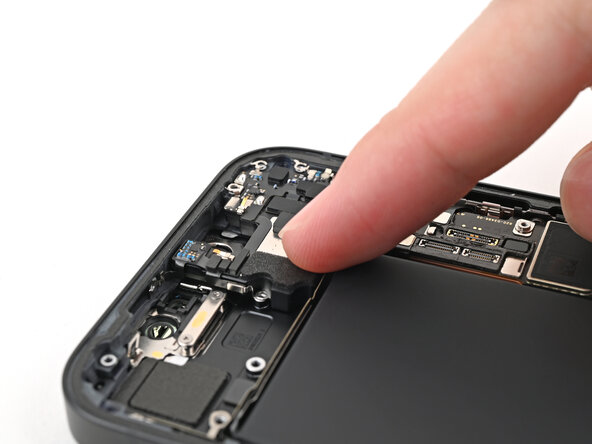
- Line up the top left corner of the earpiece speaker with the sound channel to get everything sitting just right.
Step 32
When you press down the battery, keep an eye on the cable up top—it shouldn’t sneak under the earpiece speaker.
- Gently press the earpiece speaker onto the frame until it sits nice and flat.
Step 33
- Grab your Phillips screwdriver and lock in those five screws to secure the earpiece speaker:
- Three screws, each 1.5 mm long
- One screw, 1.6 mm long
- One screw, 1.1 mm long—this one goes on the inner wall of the frame, right above the front camera cutout
Step 34
- Gently use a spudger or your fingers to press the earpiece speaker connector into place. Take your time—this is a small but important step in the process!
Tools Used
Step 35
- Gently slide the front camera assembly into its designated spot in the frame.
- Press it down lightly to make sure it sits snug and flat.
Step 36
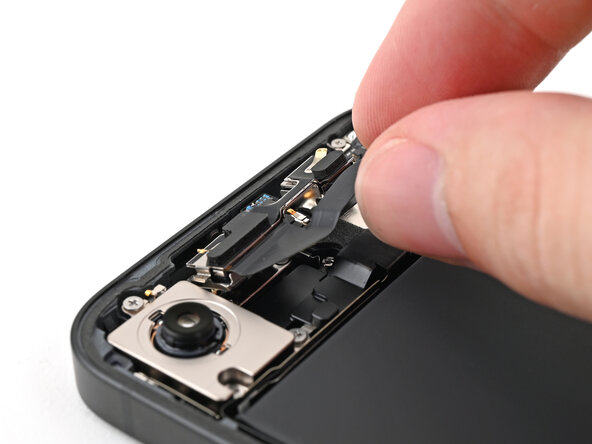
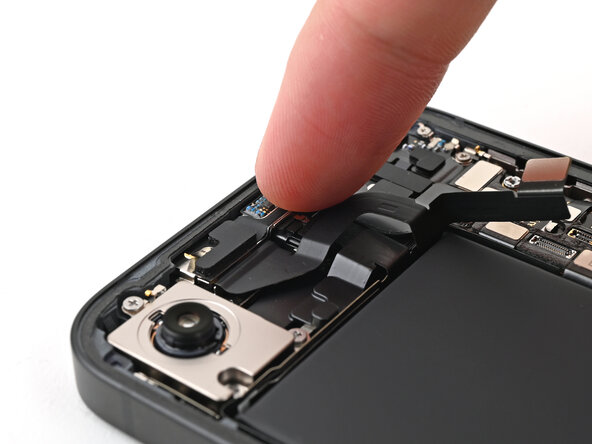
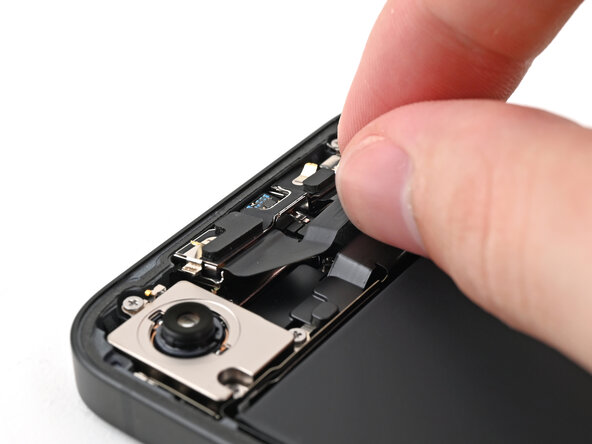
- Gently tuck that rear camera assembly cable right into its cozy slot along the battery, making sure it's snug and happy.
Step 37
- Reconnect front camera assembly press connectors, using spudger or fingers, to complete this step, bringing device closer to fully functional state, soon device will be good as new
Tools Used
Step 38
- Gently place the front top connector cover right over the logic board, lining it up with the three press connectors.
Step 39
- Grab your tri-point Y000 screwdriver and gently fasten the two screws holding down the top connector cover:
- One screw, 1.0 mm long
- One screw, 1.3 mm long
Tools Used
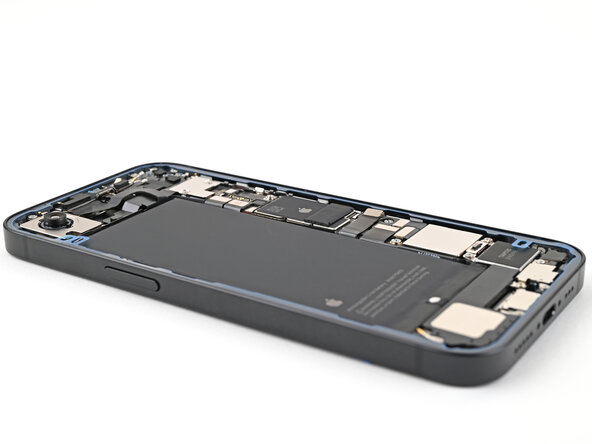
Step 40
You might want to gather up that adhesive with the tip of a spudger before giving it a gentle grasp with tweezers.
- Grab some tweezers to gently lift and peel away the adhesive around the edges of the frame—think of it as peeling a sticker, but more careful.
- Next, grab a coffee filter or a lint-free cloth, dab it in some high-concentration isopropyl alcohol (>90%), and give any leftover adhesive a good wipe-down to keep things squeaky clean.
Step 41
Your adhesive might have a different liner color or pull tab spots. No worries—just keep an eye out for those details as you go!
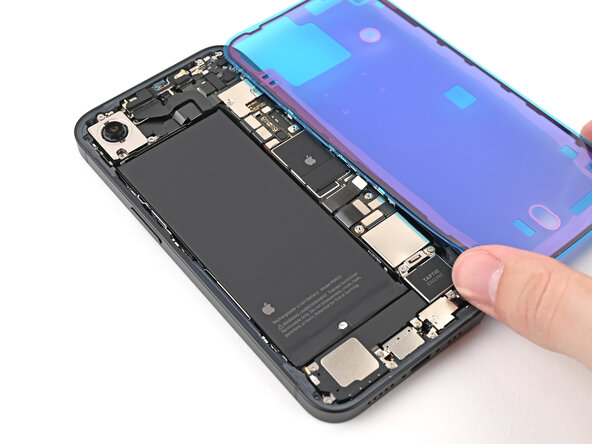
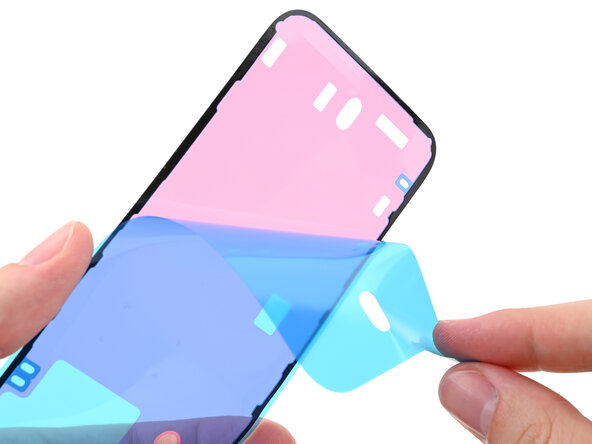
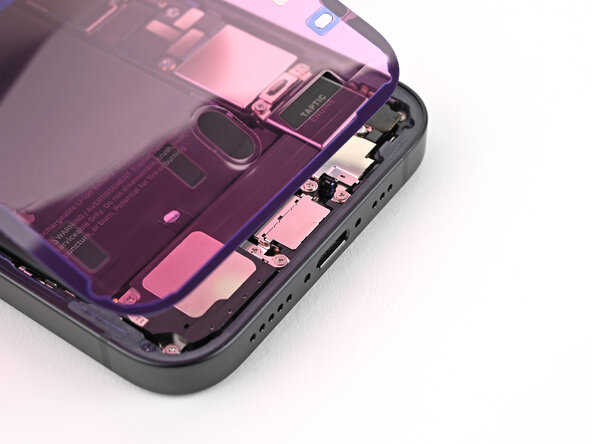
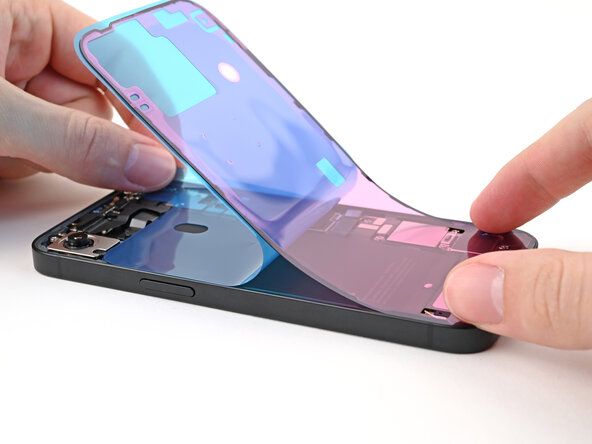
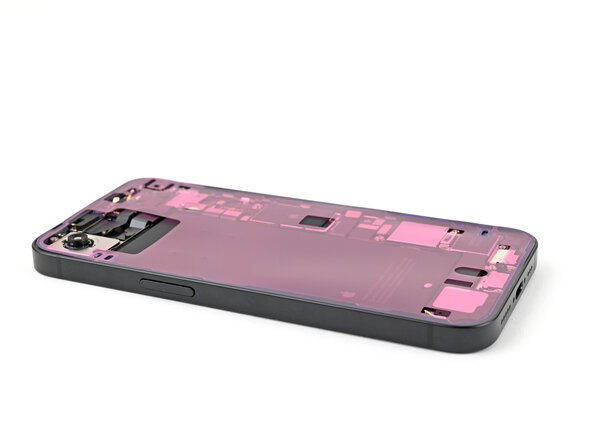
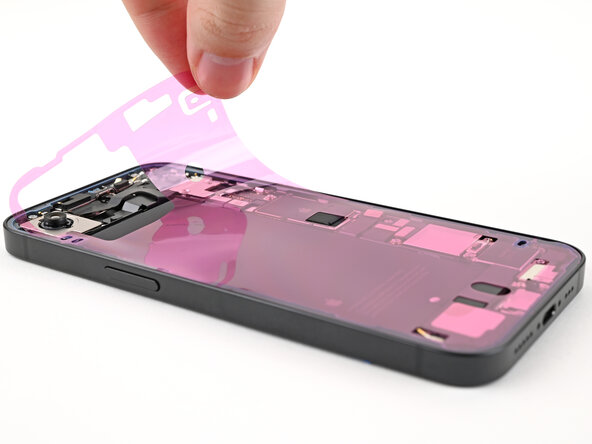
- Get your replacement adhesive ready and place it over the frame, making sure the larger blue liner is facing down and the pull tab is snugly in the bottom-right corner. You're doing great!
- Check out the camera cutout and those nifty notches along the edges to help you see how the adhesive will fit perfectly into the frame. Keep it up!
Step 42
Once the adhesive sticks, it's locked in—no sliding it around. If you need a redo, you'll have to peel it off and start fresh with new adhesive.
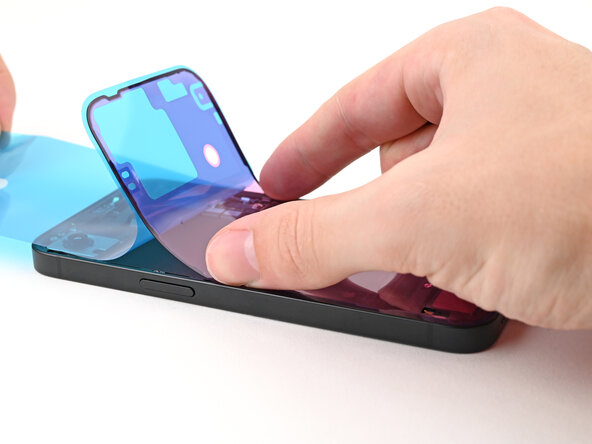
- Grab that pull tab and start peeling back the liner from the bottom—just don’t go all the way yet.
- Keep the blue liner tucked aside, then line up the adhesive with the bottom edge of your iPhone like a boss.
- Press the bottom edge of the adhesive into its spot in the frame, making sure those spring contacts are chilling right inside their cutouts in the liner.
Step 43
When you're aligning the adhesive, make sure the lower edge is spot on – everything else, including the side and top edges, should fall right into place. If it’s a little off, no worries! Just peel it off and try again with a fresh set.
If your adhesive is misaligned and you're out of spares, don’t panic! You can temporarily put your phone back together and use it as usual, but just keep in mind your phone’s water resistance will take a hit until you replace the adhesive. For a permanent fix, feel free to schedule a repair.
- Keep peeling the back liner off the adhesive, making sure to press it firmly into place along the edges of your iPhone's frame.
Step 44
- Grab the flat end of your spudger and gently press the adhesive down along the edge of the frame. Make sure it’s snug and secure all the way around—your device will thank you for the extra TLC!
Tools Used
Step 45
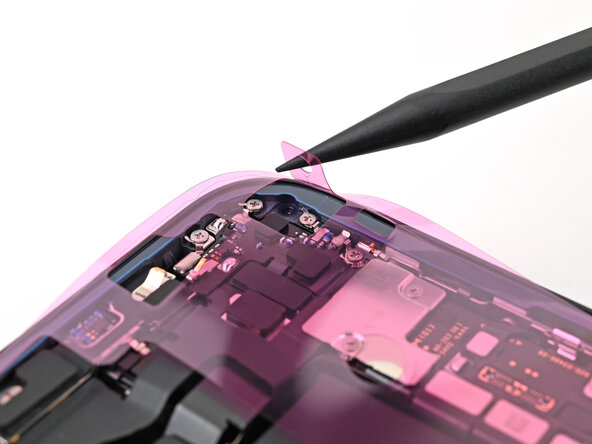
- Gently use the tip of a spudger to lift the pull tab in the top right corner of the pink adhesive liner. Once it's up a bit, you can easily grab it with your fingers.
Tools Used
Step 46
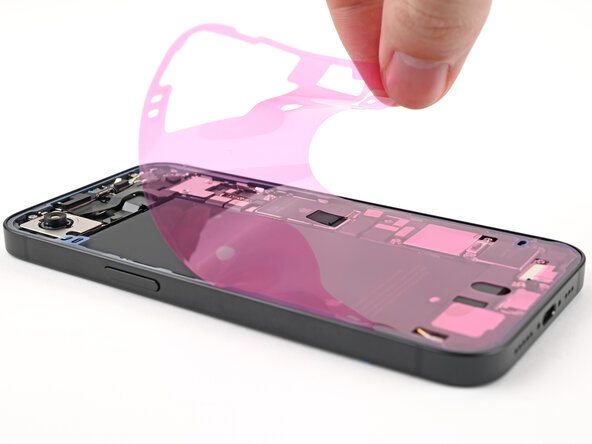
- Grab the pull tab and peel off that pink liner to reveal the cool blue liners underneath. Let’s keep rolling!
Step 47
- Prop up the back glass along the right edge of your iPhone with a sturdy object like a box to keep it from falling. This keeps things safe and steady while you work.
- Next, use the flat end of a spudger—or your finger—to gently connect the charging coil press connector, followed by the battery press connector. Take your time and keep things smooth.
Tools Used
Step 48
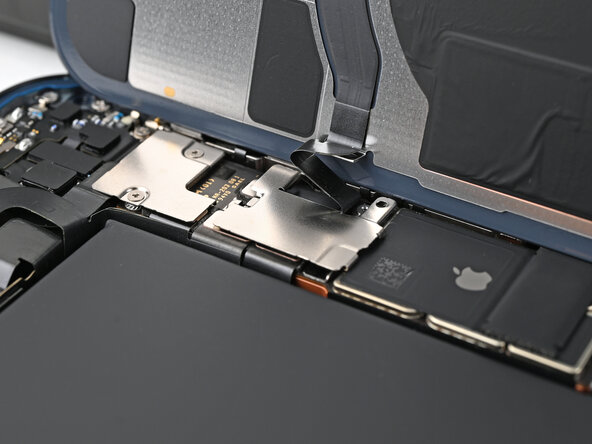
- Gently place the middle connector cover over the wireless charging coil press connector, letting it hang just a bit over the bottom clip slot on the logic board. It's all about that perfect fit!
Step 49
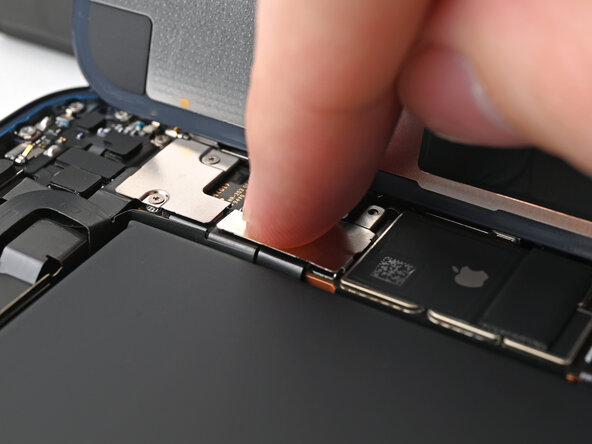
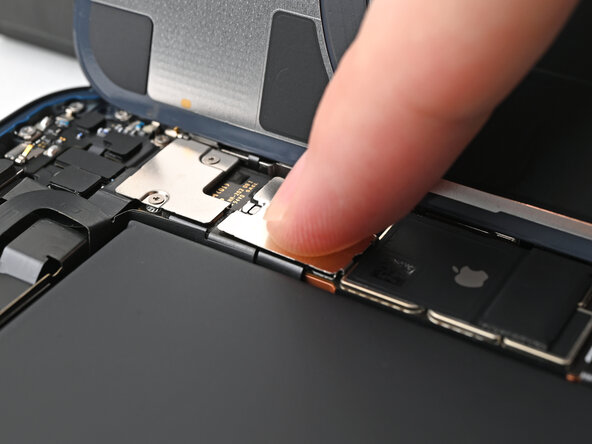
- Press the cover down onto the logic board using your finger.
- While holding it down, slide the cover upward so the metal clips snap perfectly into place on the logic board.
Step 50
- Grab your tweezers and carefully place the top of the lower connector cover into its slot on the logic board. Make sure it fits nice and snug!
- Now, gently lay the lower connector cover over the press connector, making sure everything lines up perfectly.
Tools Used
Step 51
- Grab your tri-point Y000 screwdriver and pop in the 1.0 mm screw to secure that middle connector cover nice and snug.
- Next, use your tri-point Y000 screwdriver to tighten down the two 1.3 mm screws holding the lower connector cover in place. Steady hands, you got this!
Tools Used
Step 52
You might have to keep the back glass hovering just above the frame—don't let it stick to the adhesive yet—while you peel off the liner along the right edge. Steady hands win the day!
- Grab your tweezers and grab hold of those three blue pull tabs. Gently peel them back to reveal the sticky stuff underneath. Easy does it—you're just exposing the adhesive so you can move on to the next step. If you need a hand, you can always schedule a repair.
Tools Used
Step 53
- Gently place the back glass over the phone and make sure it lines up perfectly with the frame.
Step 54
- Gently set the back glass down onto the frame and give it a little press until you hear those clips click into place.
- Give the edges of the back glass a little love tap to make sure all the clips are snug and secure.
Step 55
- Warm up the edges of the back glass with a heat source like an iOpener, hair dryer, or heat gun until it feels hot to the touch. This helps the adhesive loosen and makes removal easier. Then, press firmly around the entire perimeter of the back glass. If you have screen vise clamps, use them to help secure the new adhesive's bond. No clamps? No problem—keep reading for more tips on keeping the back glass in place. If you need assistance at any point, you can always schedule a repair.
Tools Used
Step 56
To ensure your iPhone's back glass bonds evenly and stays sturdy, make sure to account for the camera bump. If you've misplaced your original box, no worries—just skip this step and try an alternative method instead. Need a hand? You can always schedule a repair if things get tricky.
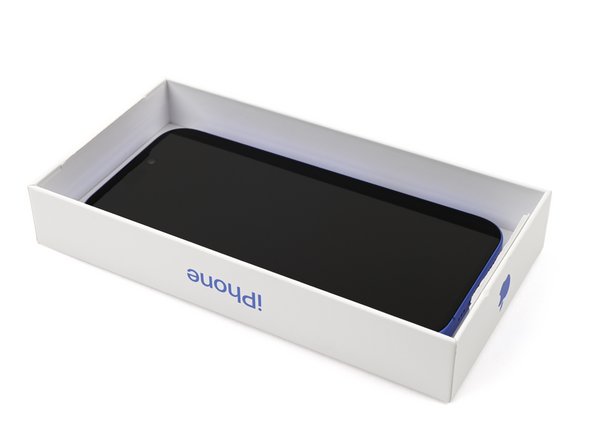
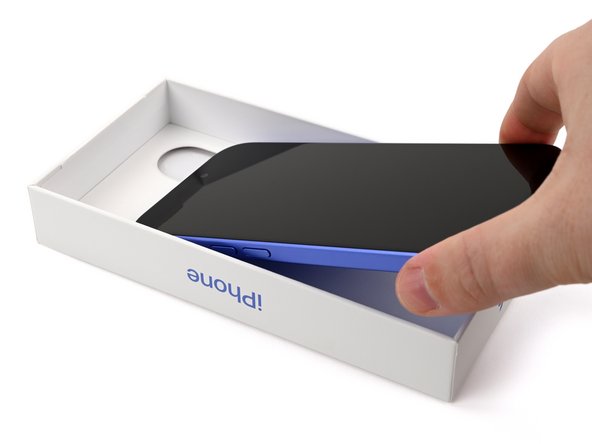
- Got the box your iPhone arrived in? Awesome! Grab the lid and set it down on a nice, flat surface.
- Now, gently place your iPhone screen-side-up into the lid, making sure the camera bump finds its cozy spot in the recess.
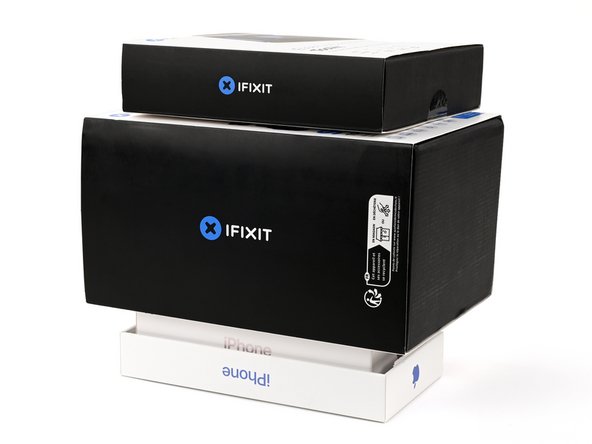
- Next, find something that’s about the same size as your iPhone but a bit taller than the box sides. Stack it on top of your iPhone, then add a few hefty items to really weigh it down.
- Let those heavyweights do their thing for at least thirty minutes. Remember, if the items are on the lighter side, give them a bit more time. For best results, letting them stack overnight is ideal!
Step 57
Don't have the original box for your iPhone? No worries! Just follow the next three steps to give that back glass a perfect, even compress. It's easier than it sounds, and you’ve got this!
- Gently set the iPhone screen-down on a soft, flat surface—think of it as laying it down for a quick rest.
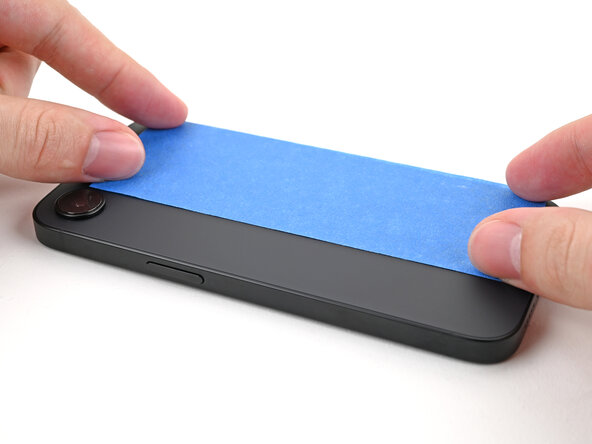
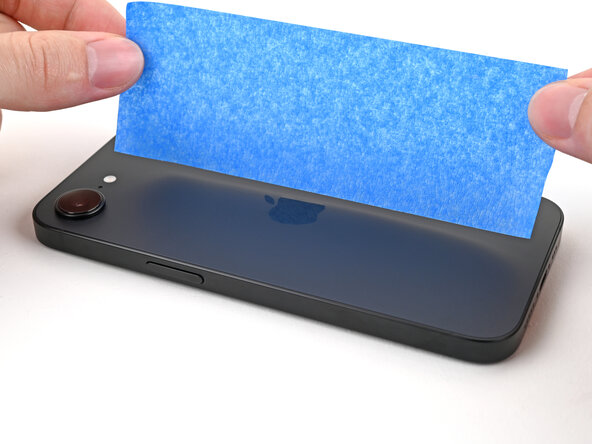
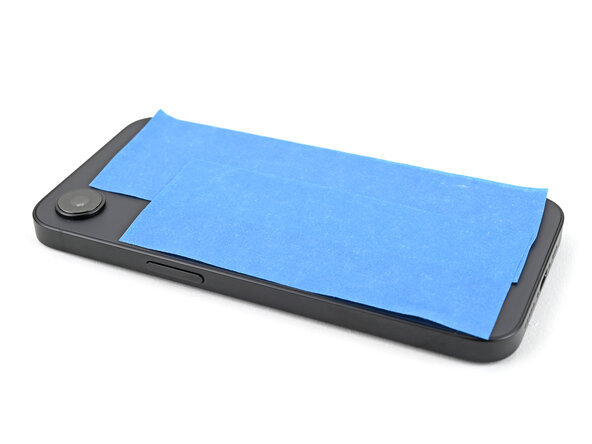
- Stick some tape on the back glass to keep it safe and scratch-free during the process.
Step 58
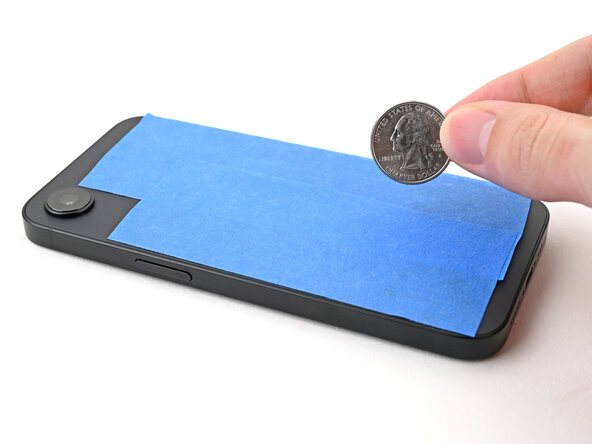
Since coins come in different thicknesses, you might have to stack a few to get the perfect fit.
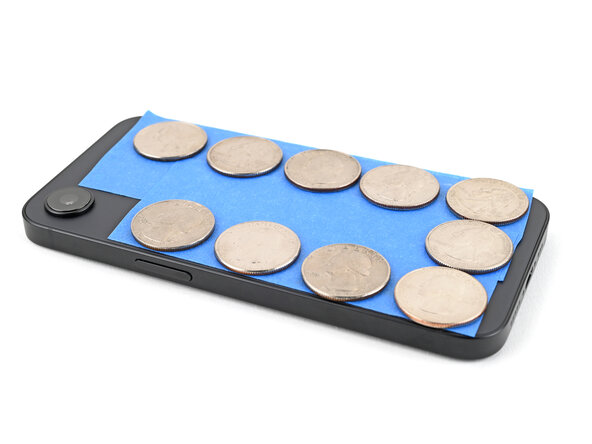
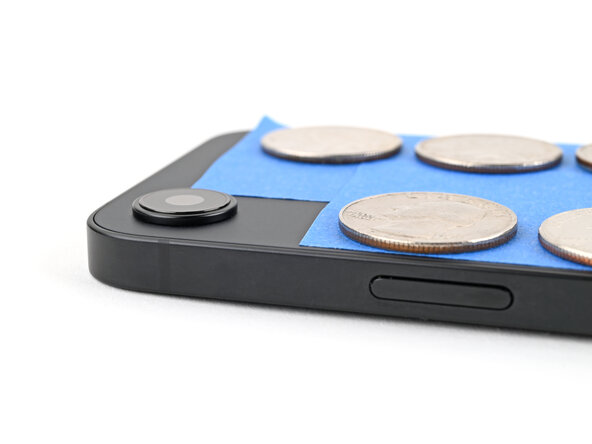
- Place a layer of coins or other similarly thick objects along the edges of the back glass, just like you’re setting up the perfect foundation for a DIY masterpiece.
- Make sure the coins are spaced evenly, and don’t forget—aim for a thickness that matches or beats the camera bump. You got this!
Step 59
Heads up: those coins might leave a mark, so keep anything precious out of the stack.
- Grab a stack of hefty books or other solid objects and give your iPhone a little weightlifting session.
- Let those weights sit there for at least thirty minutes. If they’re on the lighter side, feel free to let them chill a bit longer. For the best results, consider leaving them stacked overnight!
Step 60
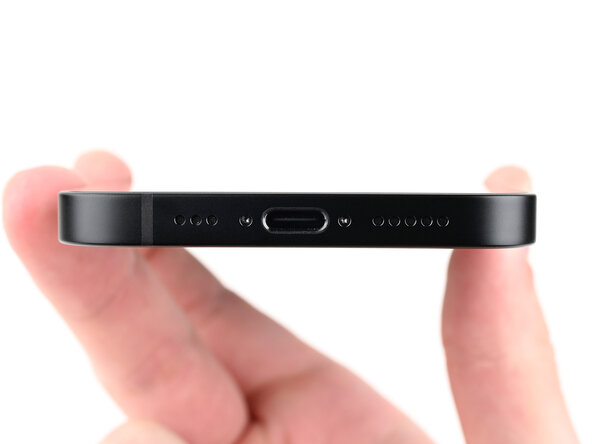
- Grab your P2 pentalobe screwdriver and carefully secure the two 7.8 mm screws on each side of the charging port. You’ve got this!
