iPhone SE – Replacing the screen
Duration: 45 min.
Steps: 20 Steps
Welcome to the ultimate guide for swapping out your iPhone SE’s faulty display! If your glass is cracked, your 3D touchscreen is playing hard to get, or your LCD is stuck in a black hole (or flickering like a disco ball), then it’s time for a change. Stick with us as we guide you step-by-step through this repair adventure! For a hassle-free experience, you can also schedule a repair.
Step 1
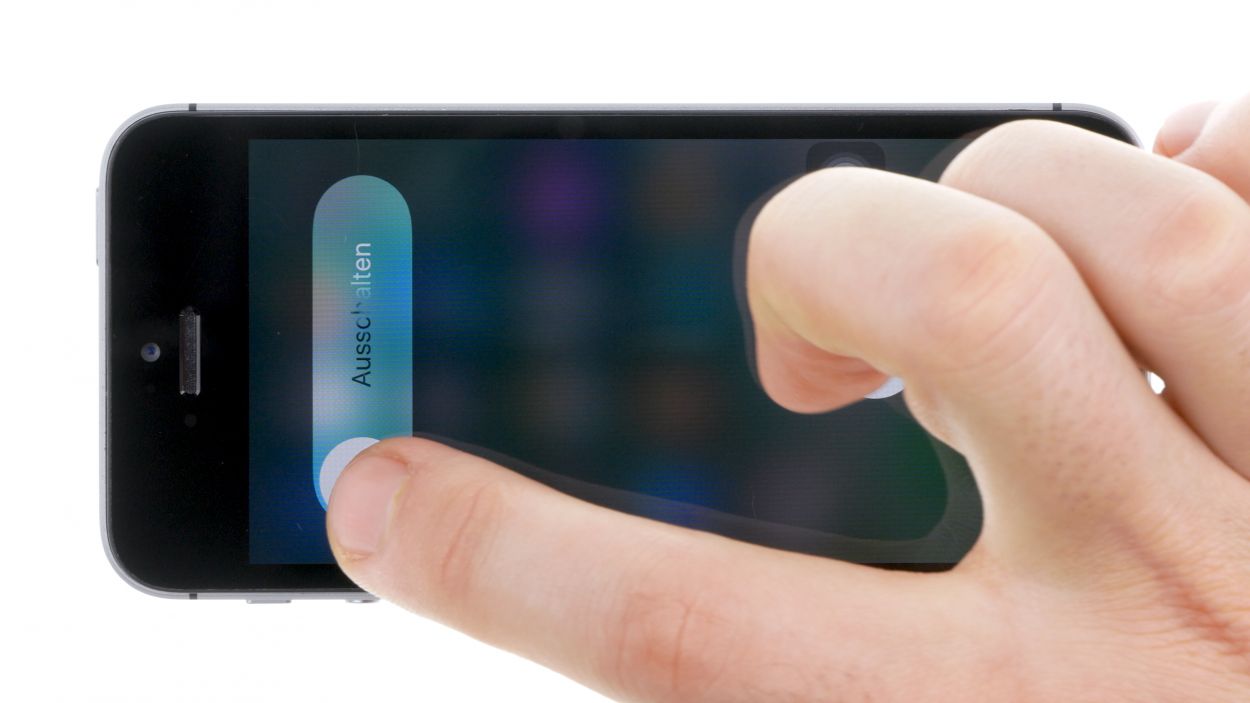
– Turn your iPhone off completely to avoid damaging it during the repair.
– Press the standby button for about three seconds until the slider appears.
– Wipe it from left to right. Now your iPhone will shut down completely, which can take about ten seconds.
Step 2

2 × Pentalobe
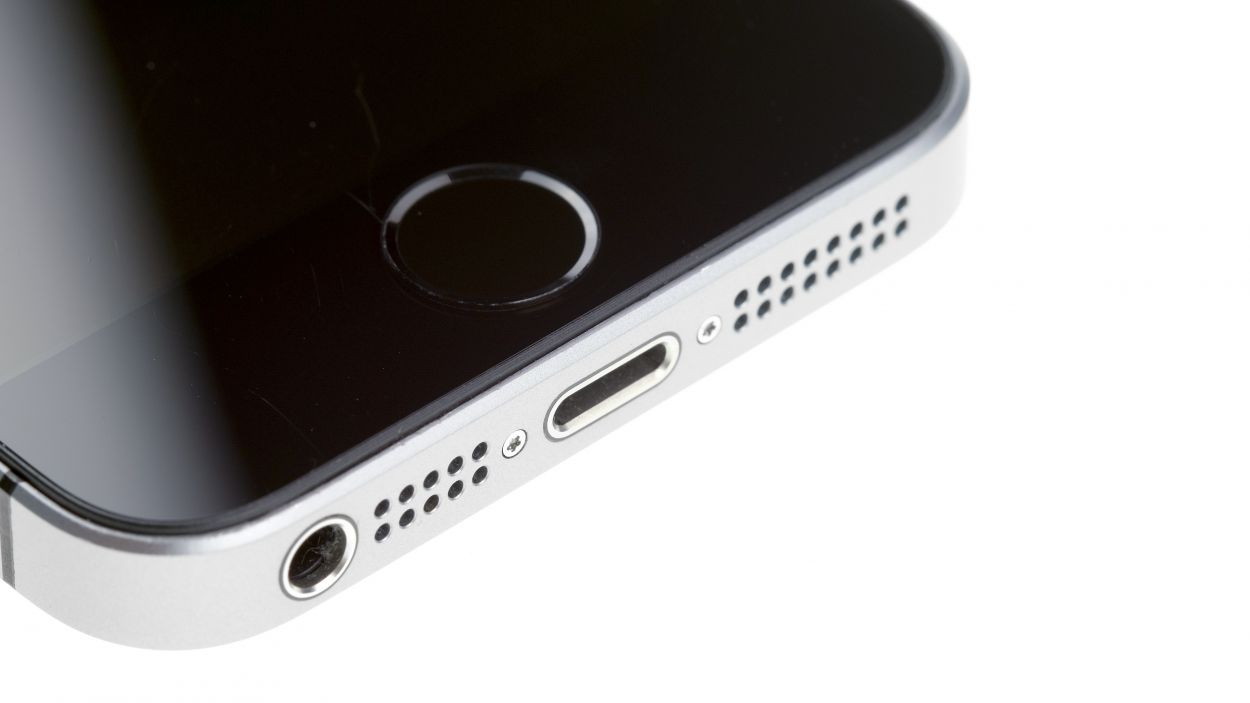
– Grab your trusty pentalobe screwdriver – it’s your new best friend for opening up the iPhone SE!
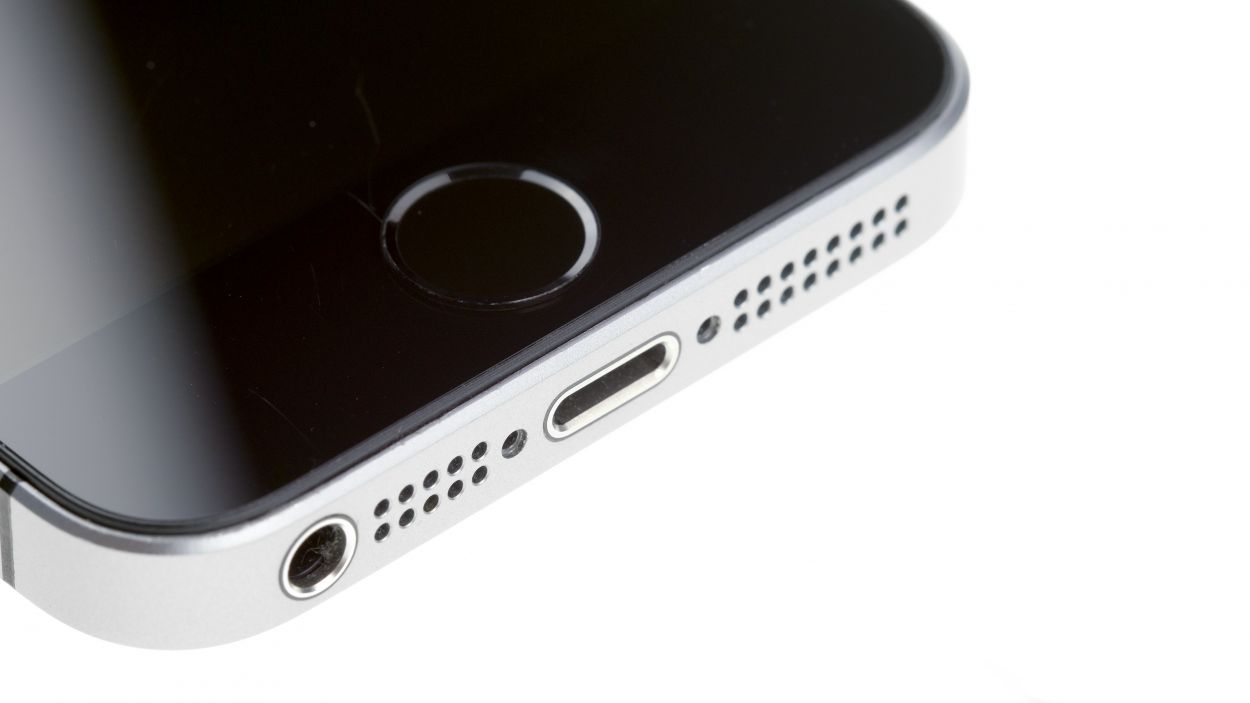
– Now, let’s tackle those two pentalobe screws at the bottom of the enclosure. They’re hanging out on either side of the Lightning connector. Make sure to keep these little guys safe in the same box so they don’t wander off!
Step 3
Watch out for those pesky shards! Broken glass can be sharp, so handle with care.
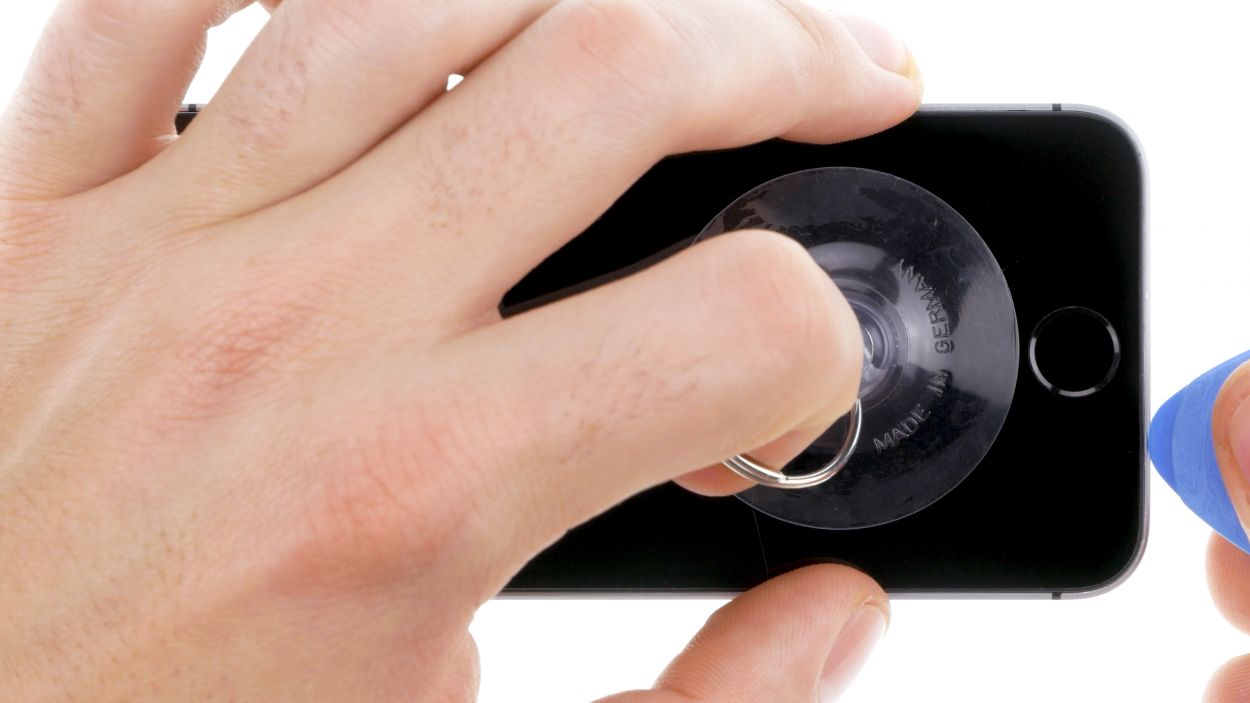
– Place your iPhone SE on a soft, clean surface to keep that back looking pristine.
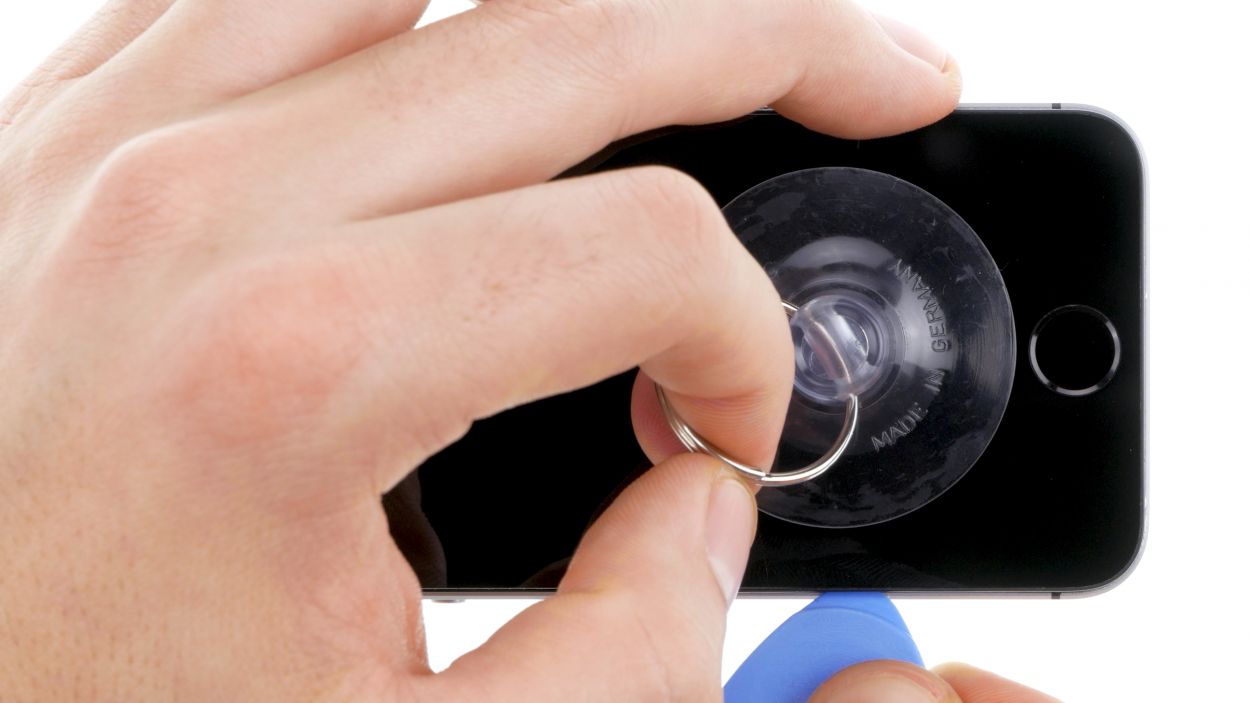
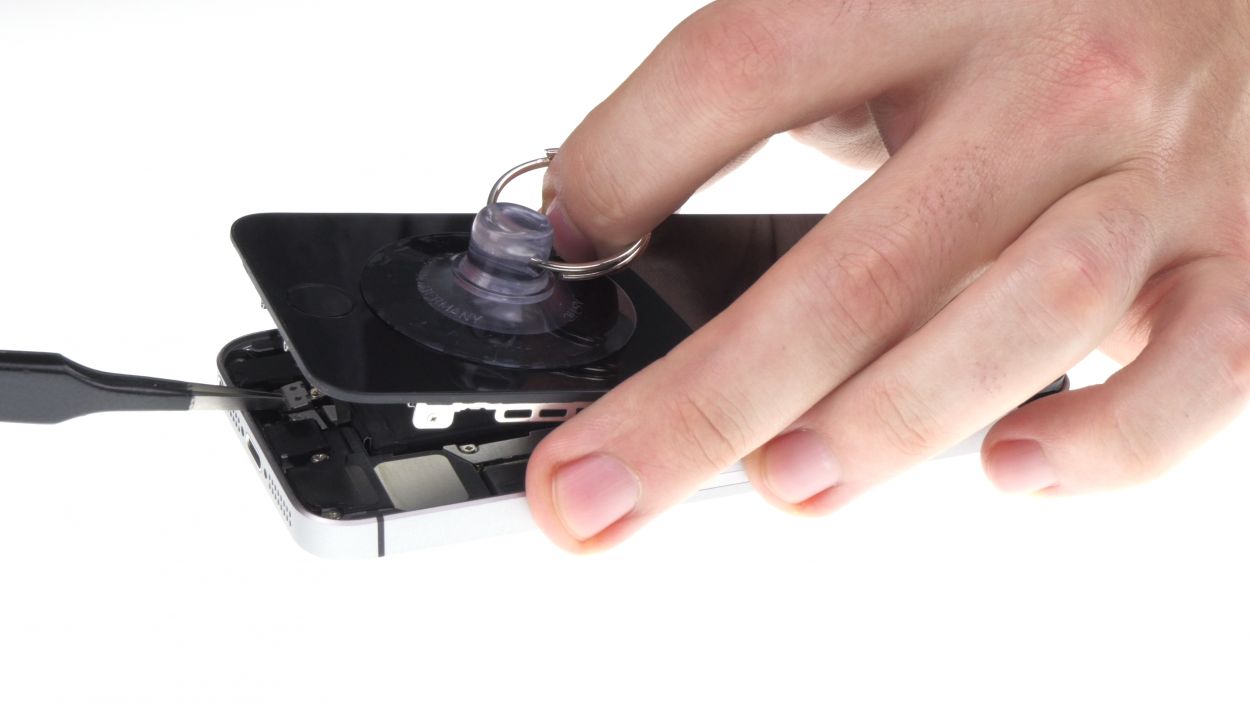
– Ready to lift the display? Grab a suction cup and a hard plastic pick! If your screen is in rough shape, slap some tape over it first—safety first, right? We don’t want any glass surprises.
– If you can, position the suction cup over the Home button (if not, just next to it). While you lift the display with the suction cup, use the hard plastic pick to press down on the aluminum frame. Slide that pick between the frame and the display. It might take a few tries, but you got this!
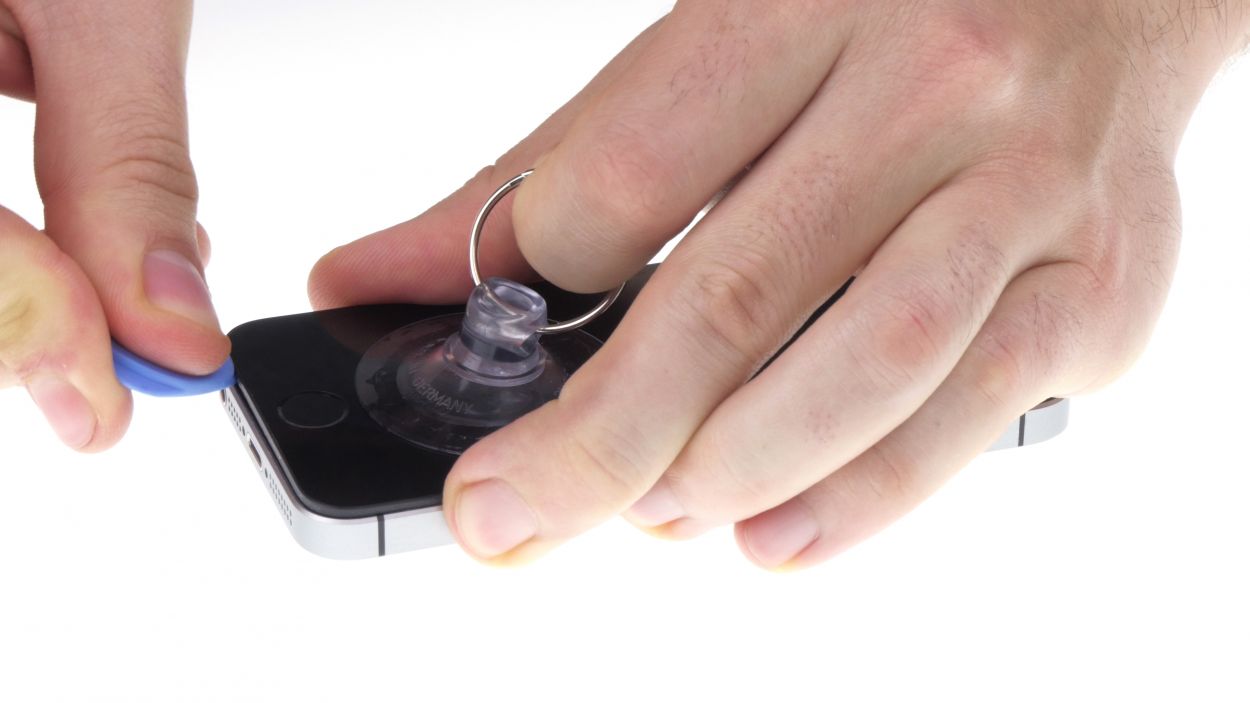
– Once you’ve created a tiny gap, gently twist the pick to open it up a bit more.
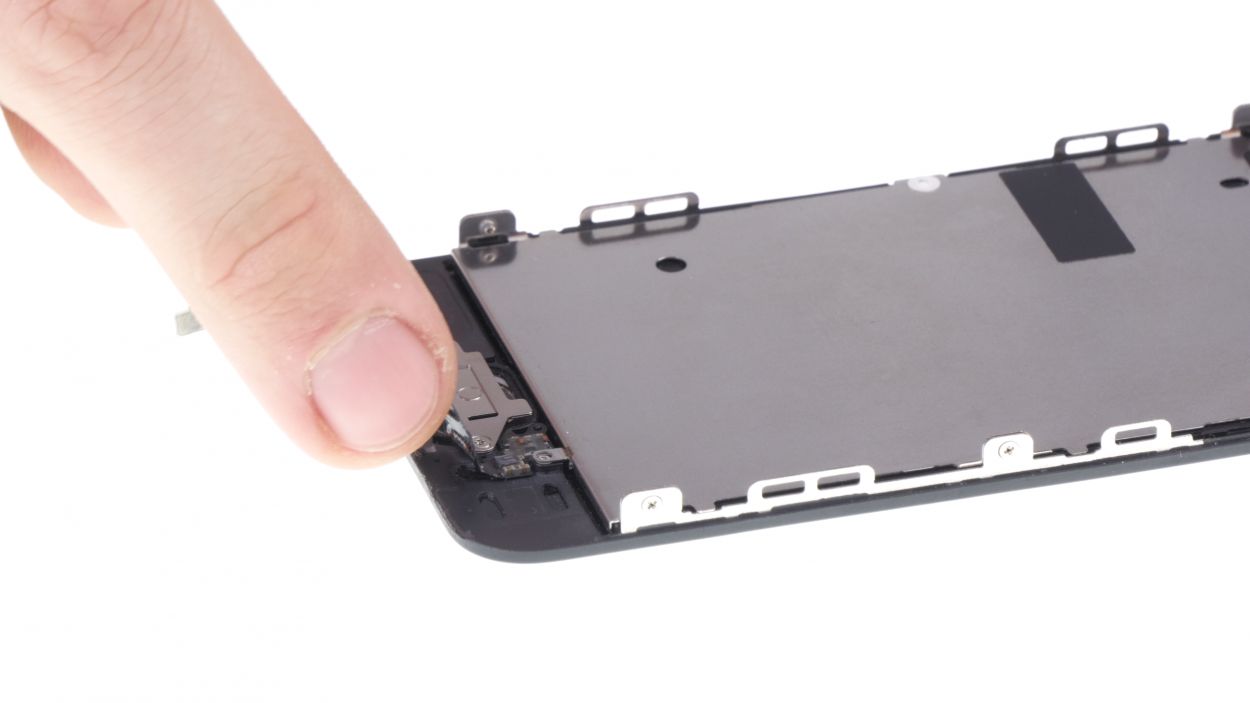
– When you can lift the display a few millimeters, carefully work your way around the edges until it’s loose on both sides. Don’t fully remove the display just yet; we need to disconnect the Home button first.
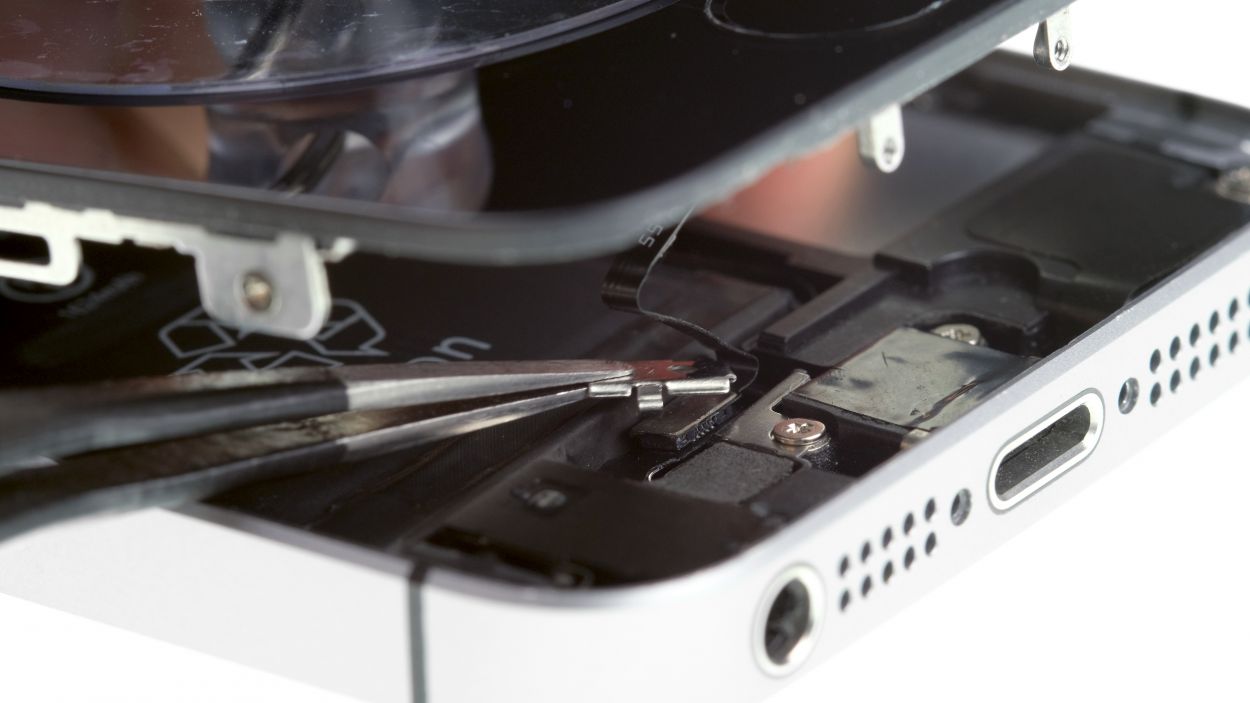
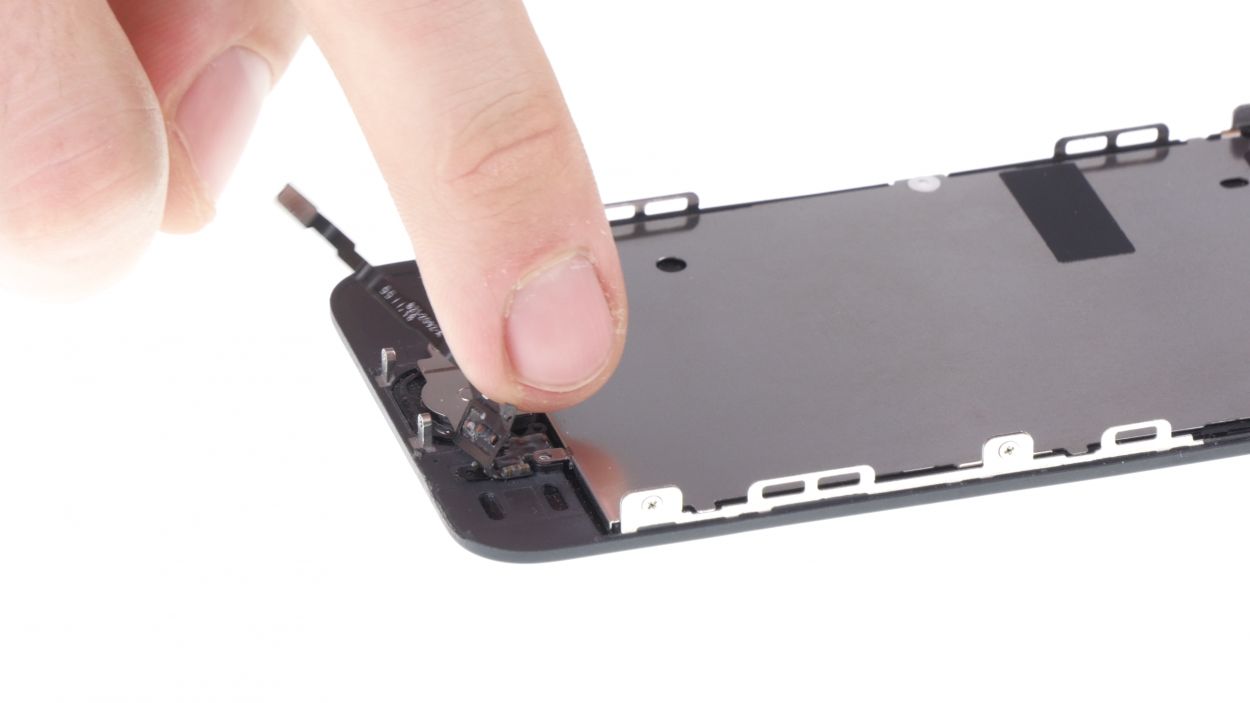
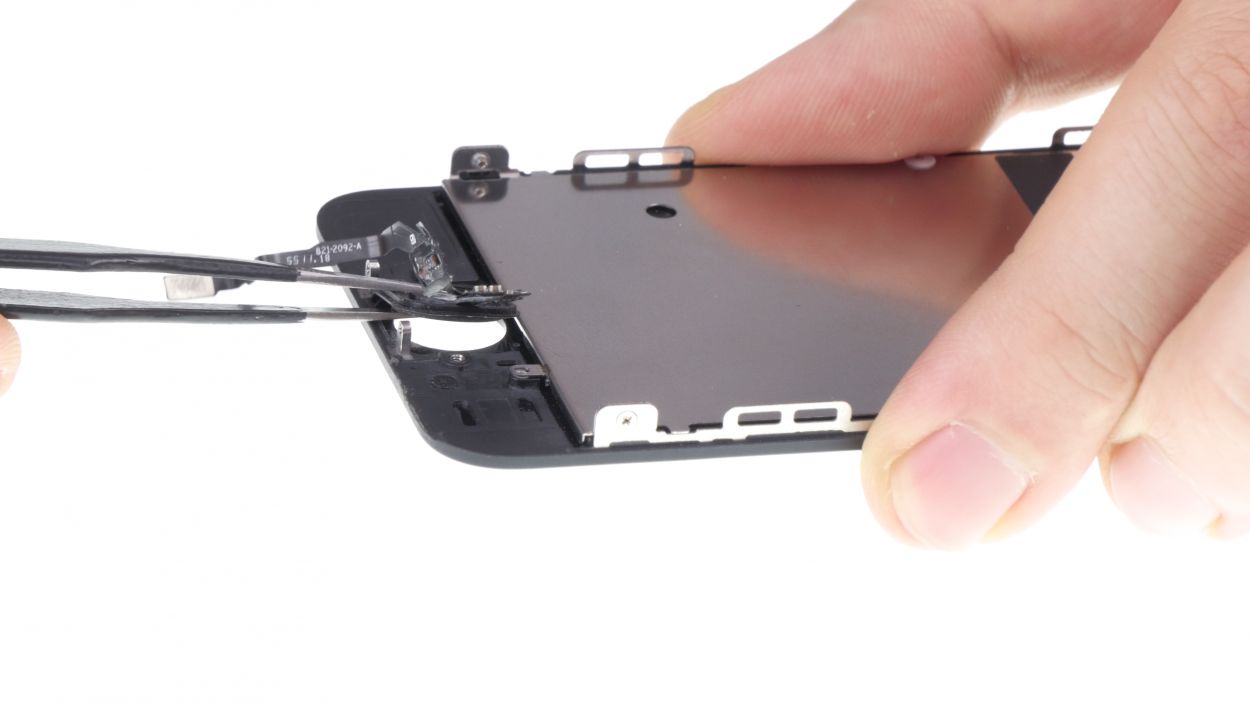
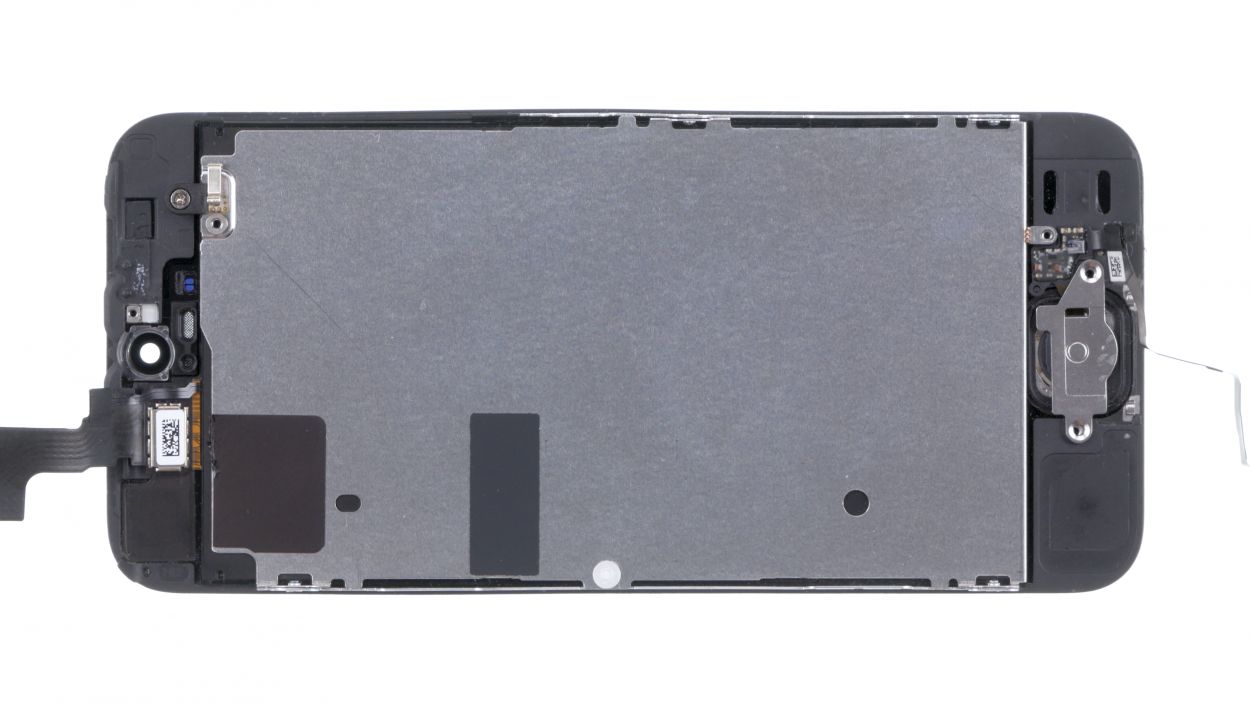
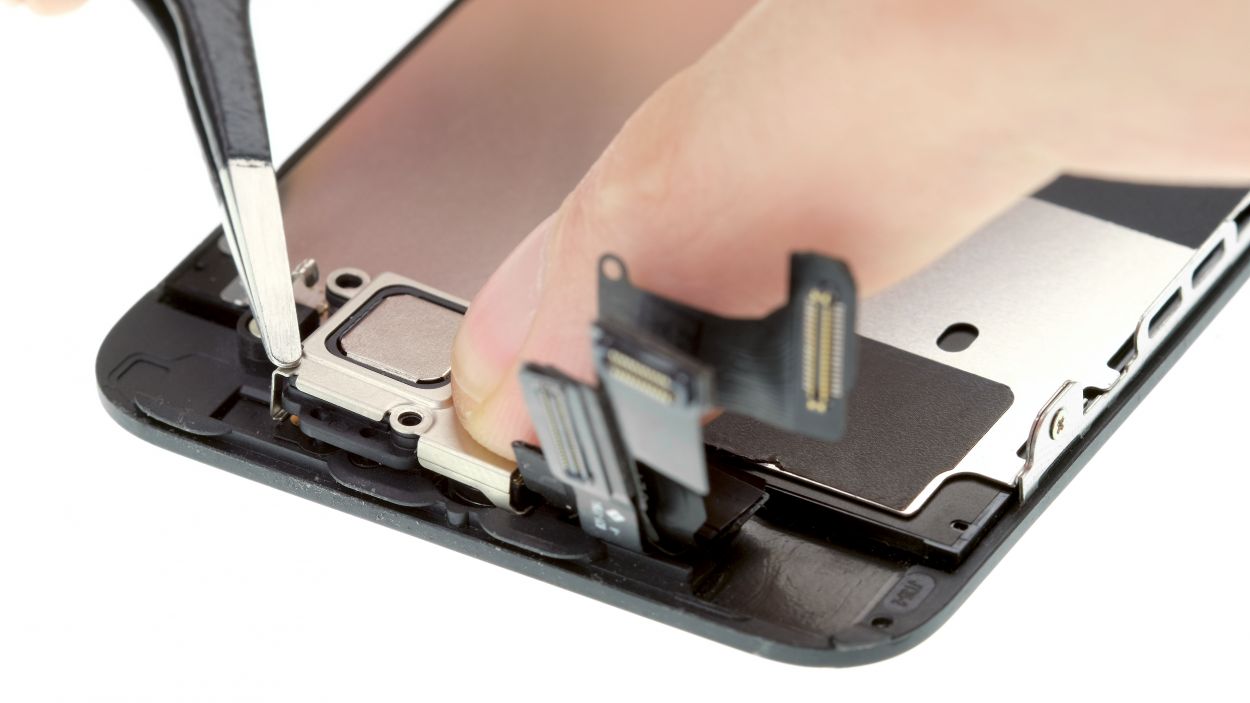
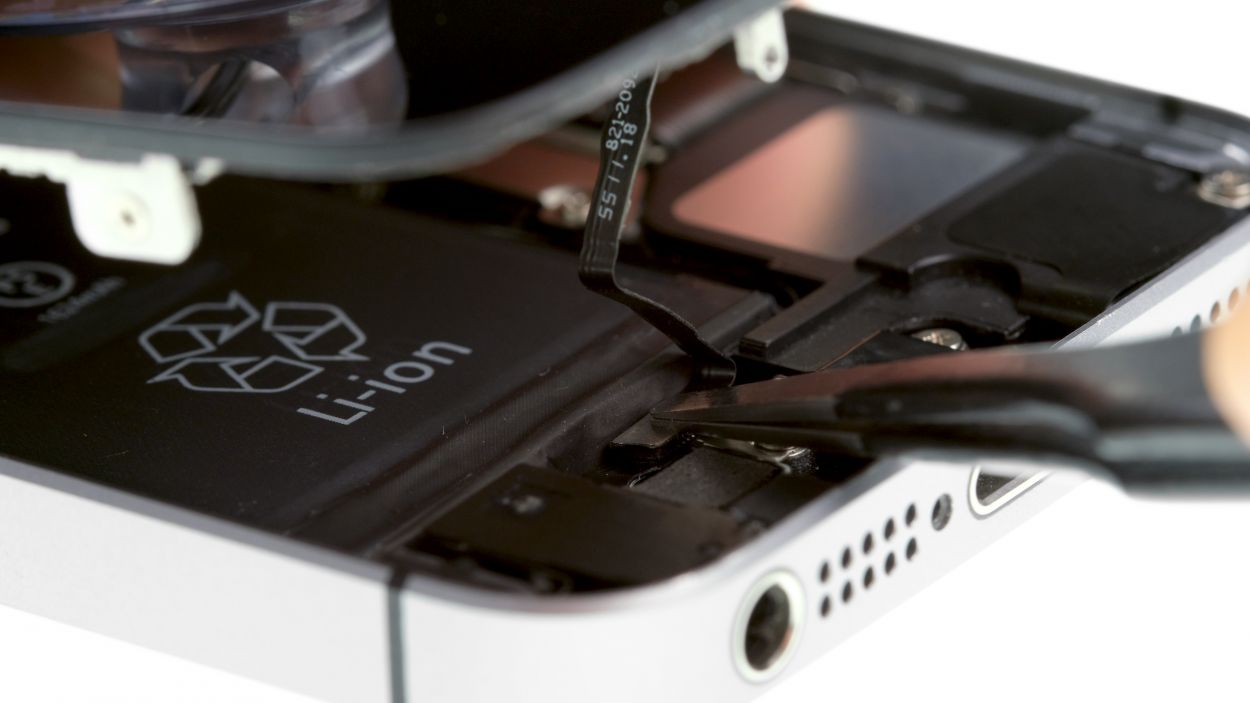
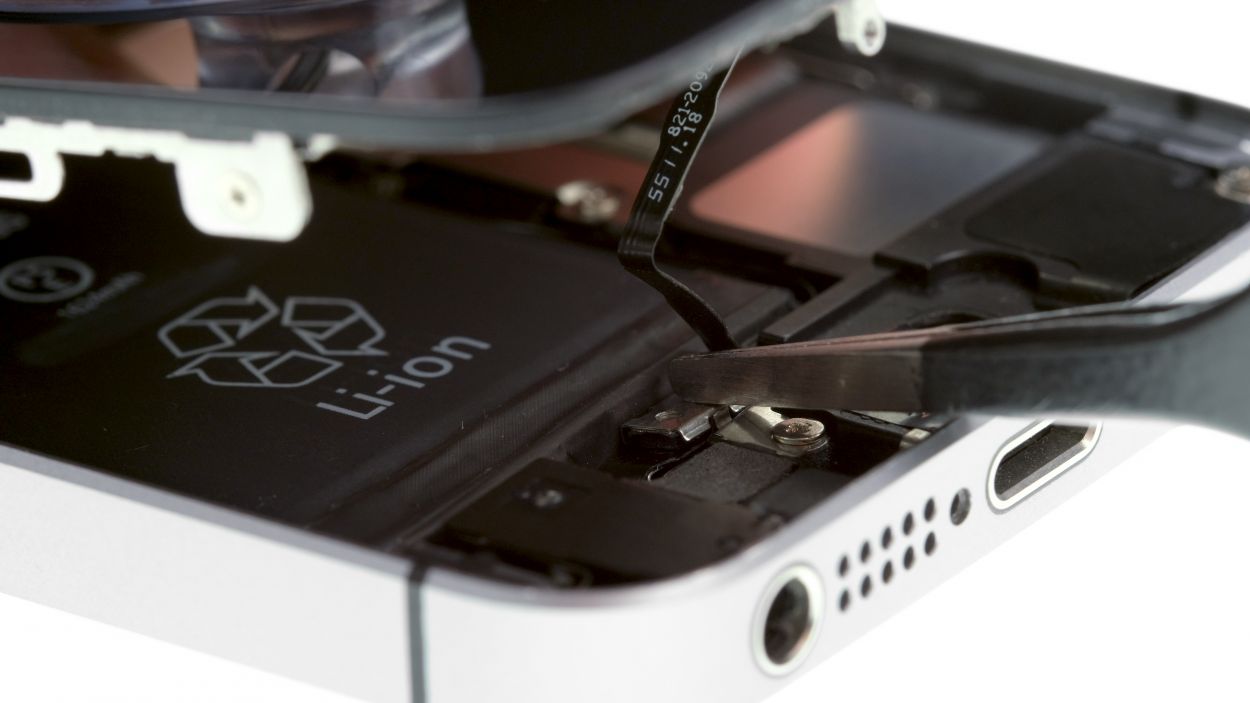
– There’s a metal cover blocking the Home button. Use a pair of tweezers to gently detach that cover.
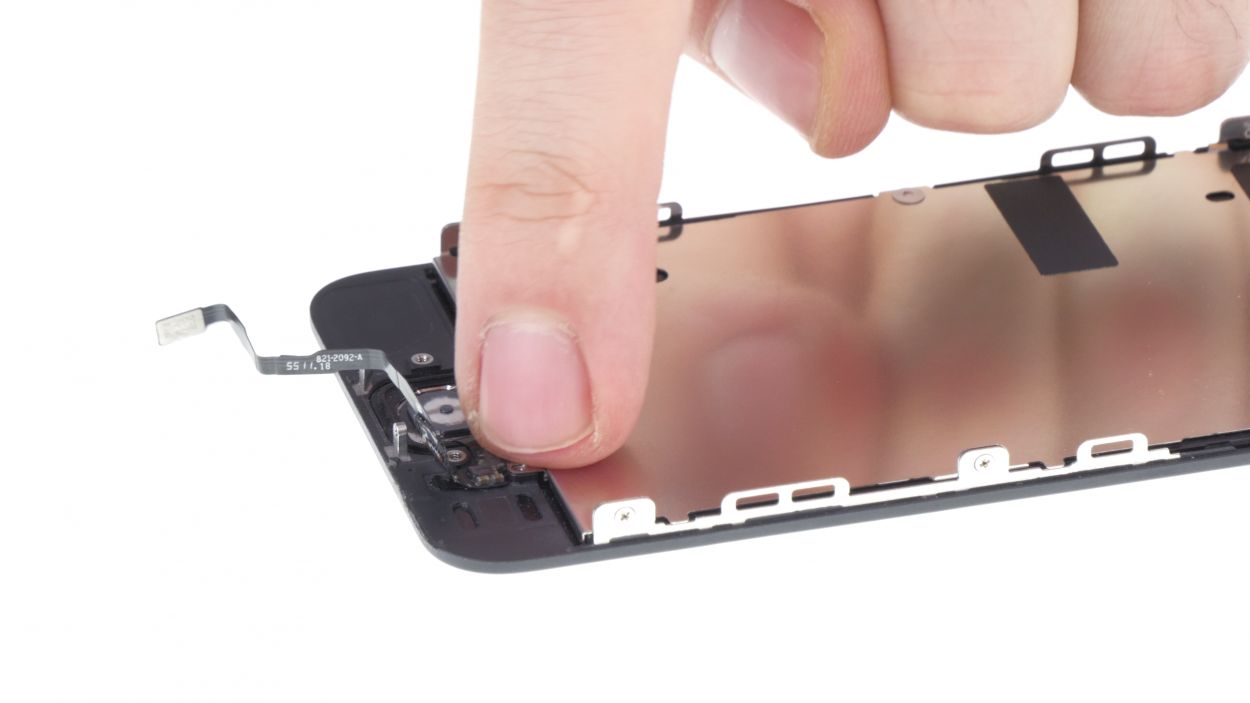
– With the cover off, you can now disconnect the Home button from the flexible flat Lightning cable.
Step 4

2 × 1.5 mm Phillips
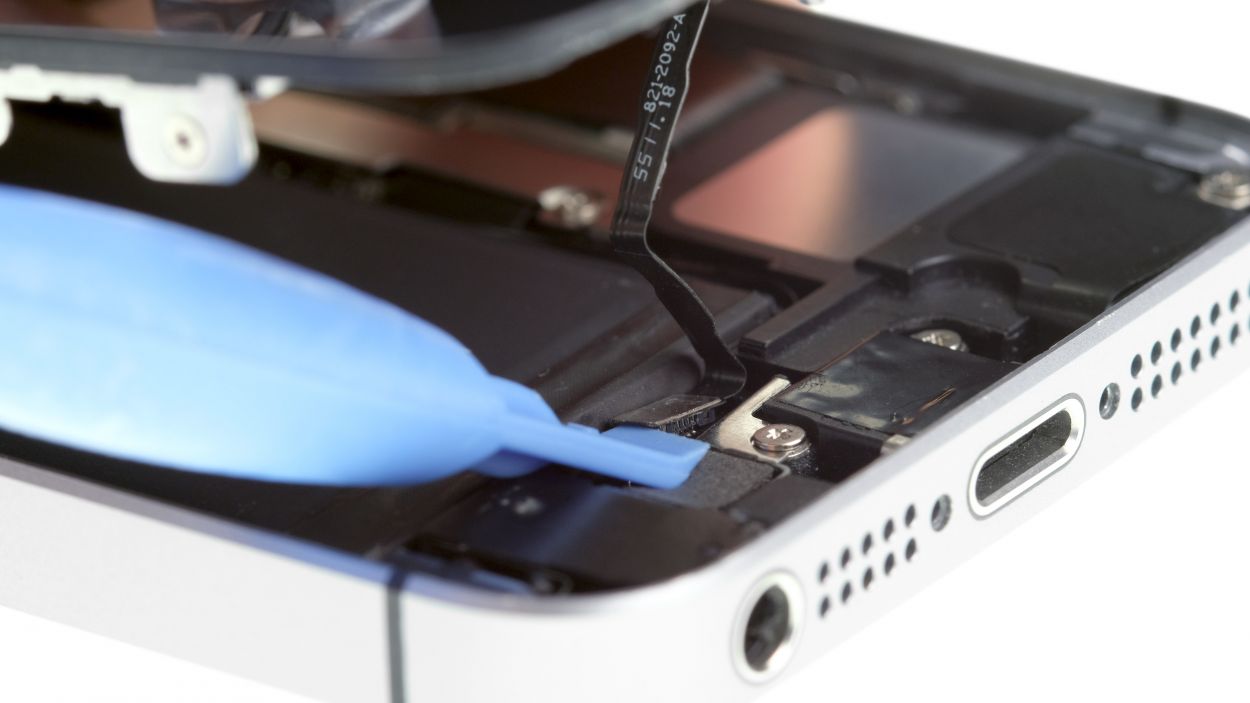
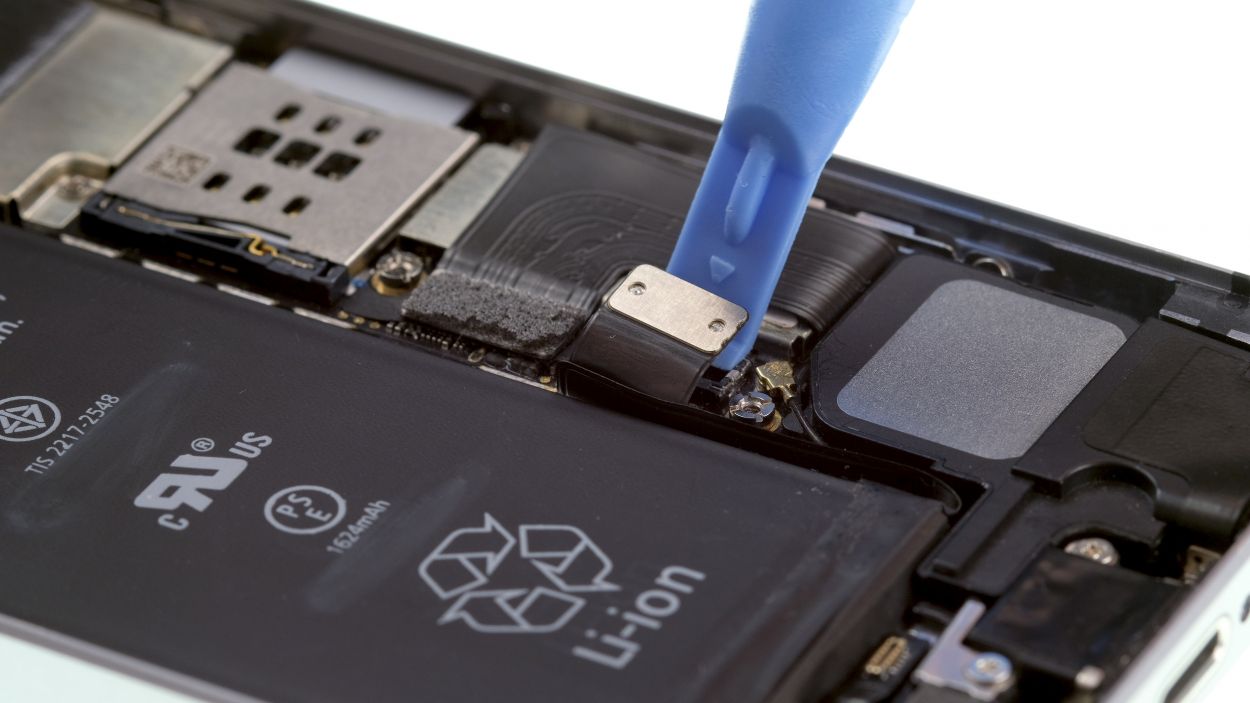
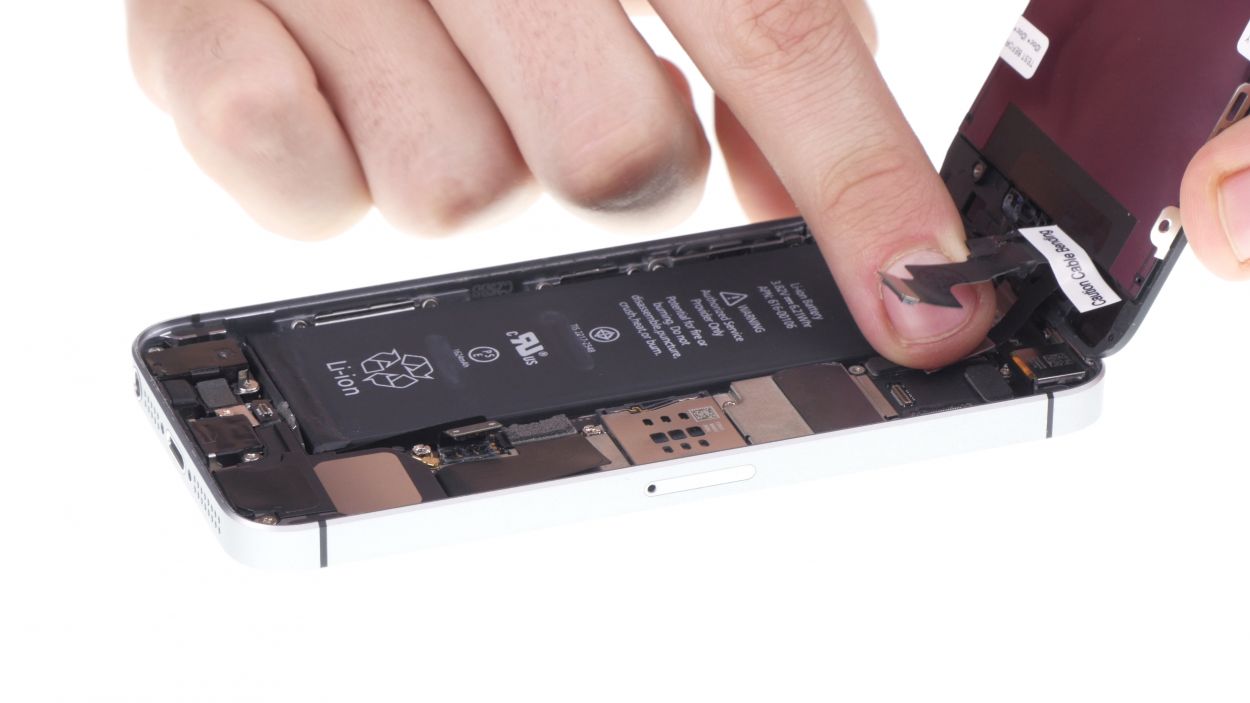
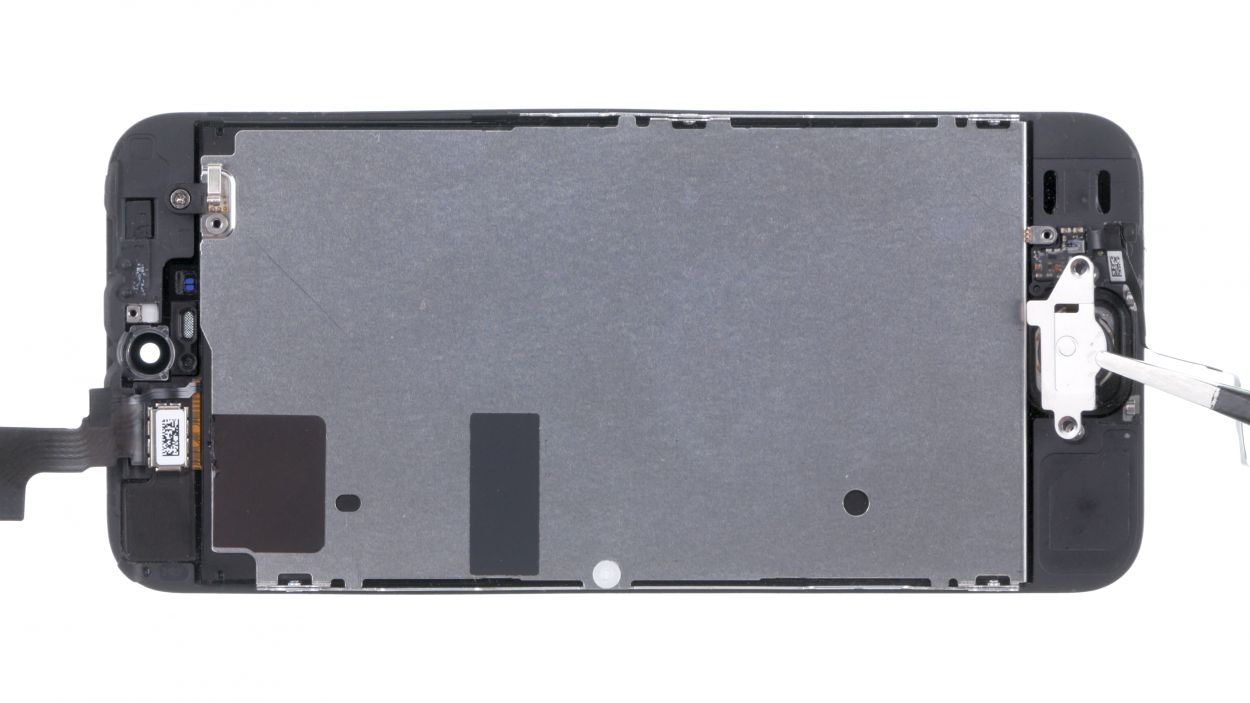
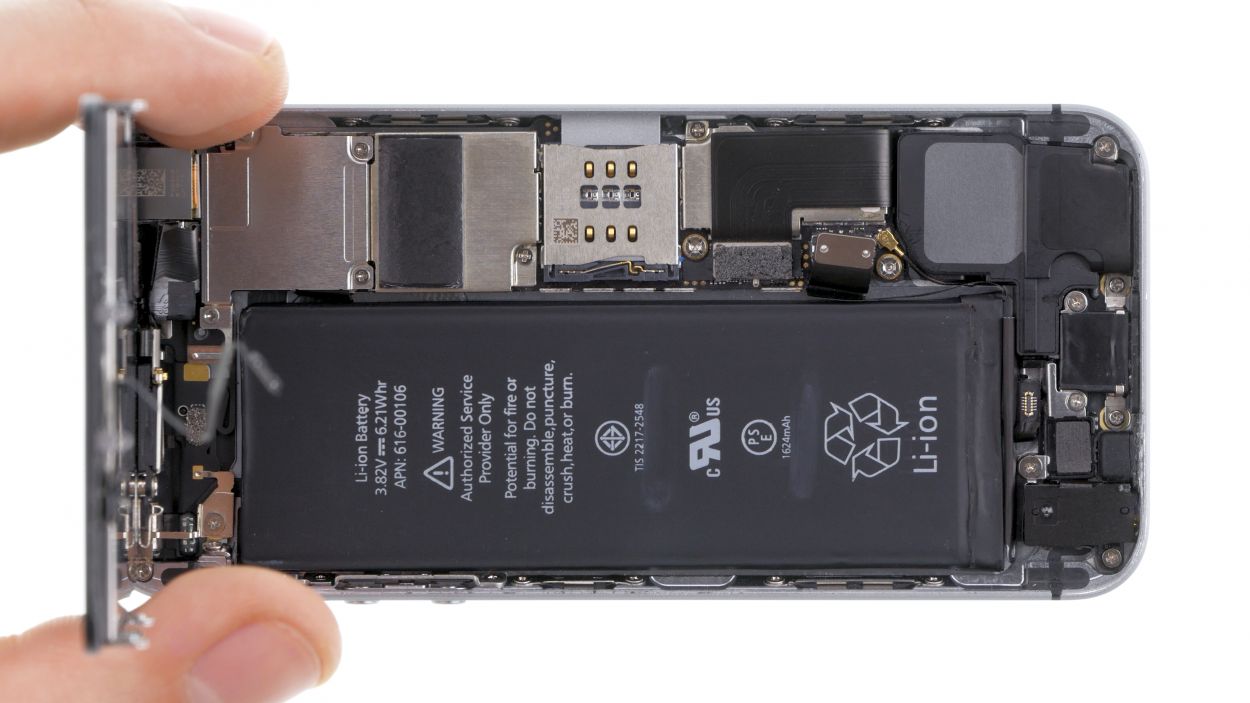
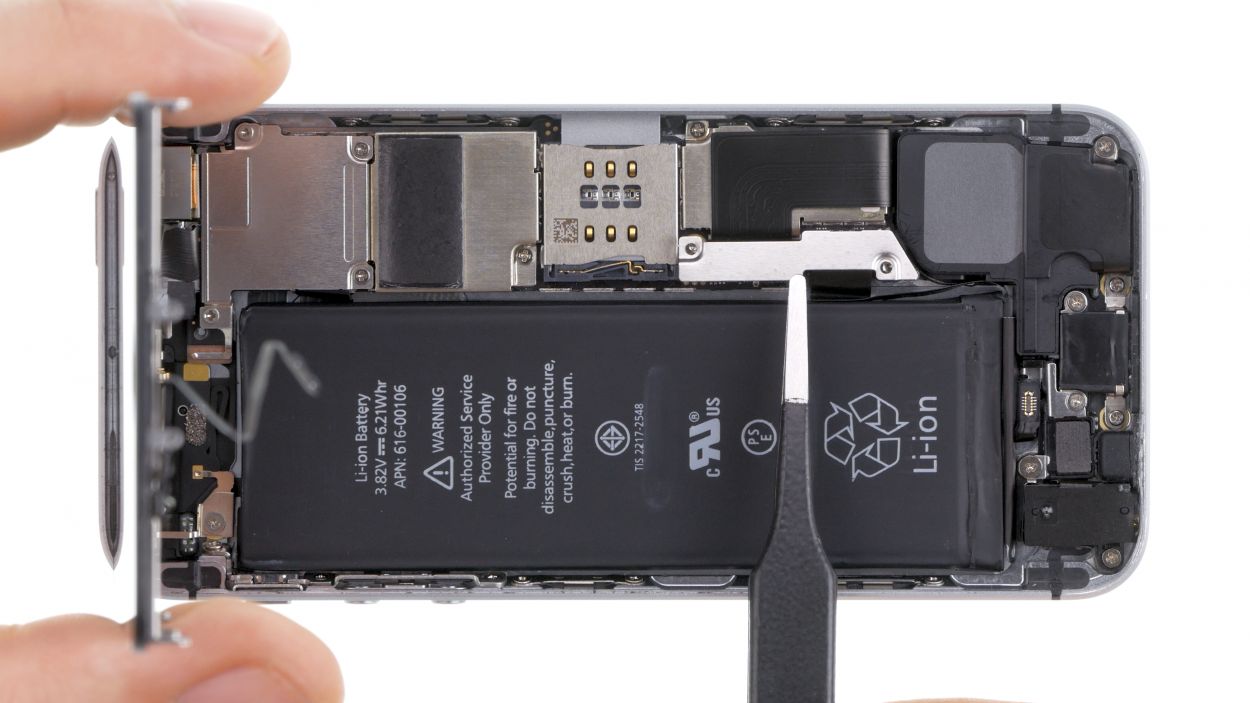
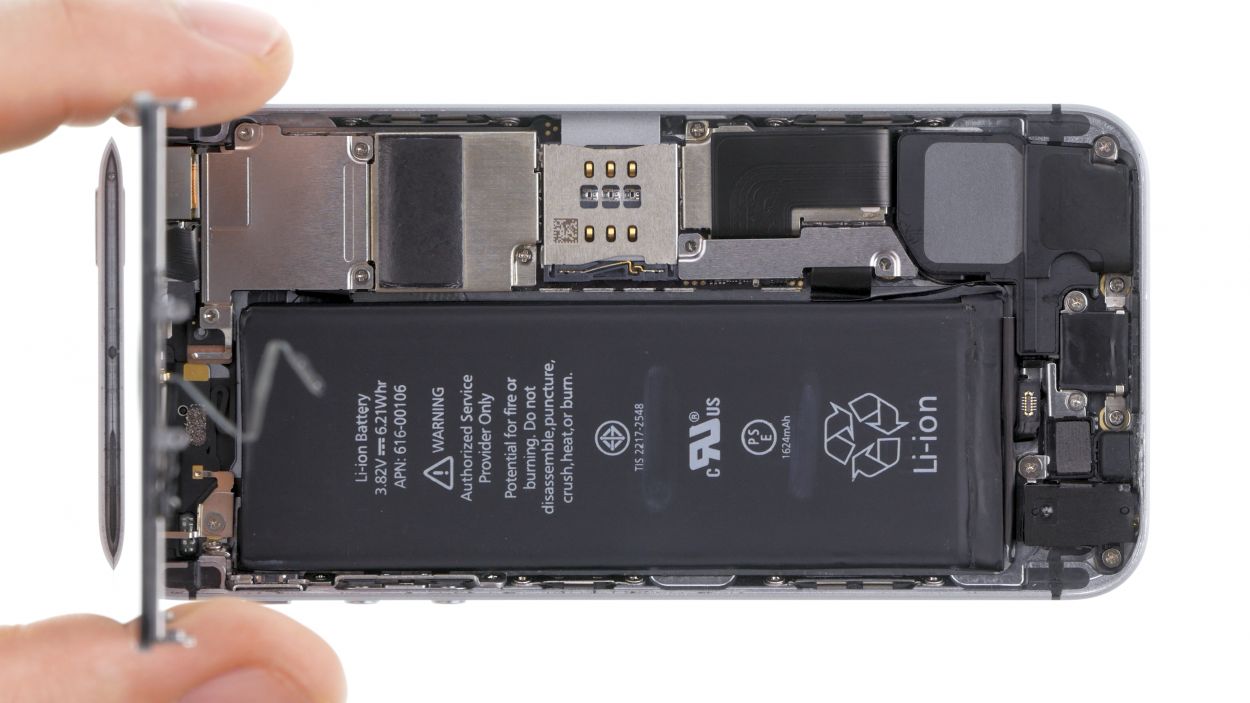
– Underneath a cover, you’ll find the battery contact and the flexible flat Lightning cable contact. This cover is held in place by two Phillips screws. Grab your Phillips screwdriver and remove those screws, then use tweezers to lift the cover off. Don’t forget to keep all the little parts cozy in the same compartment of your organizer tray!
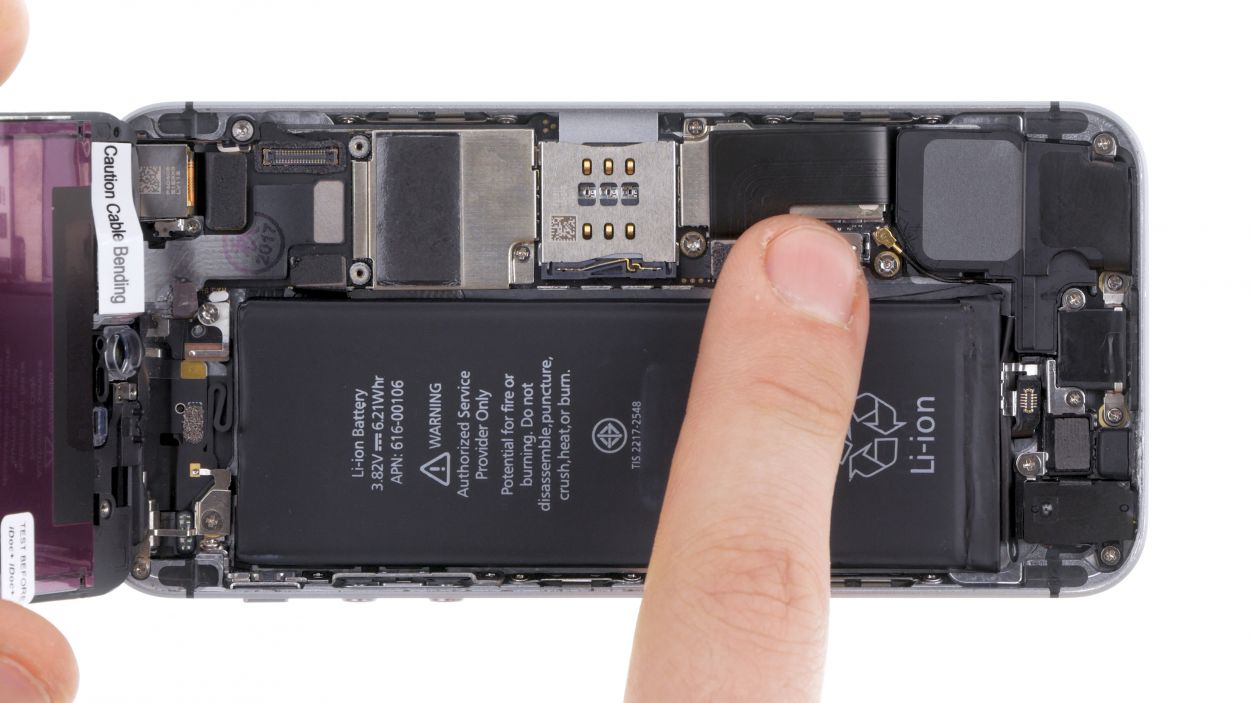
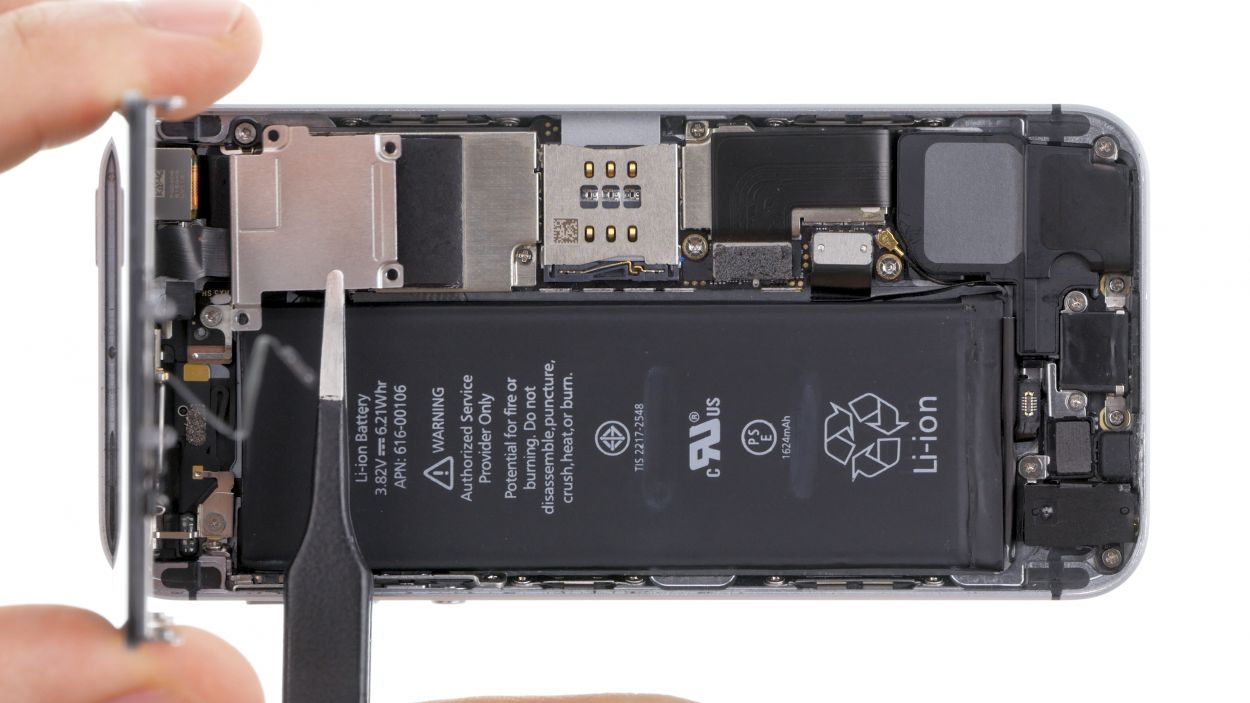
– Now, let’s gently detach the battery contact using a spudger. Slide the pointed tip of the spudger just below the connector. If you’re feeling adventurous and don’t have a spudger handy, your fingernail can do the trick too!
Step 5
1 × 1.4 mm Phillips
1 × 1.5 mm Phillips
2 × 1.1 mm Phillips
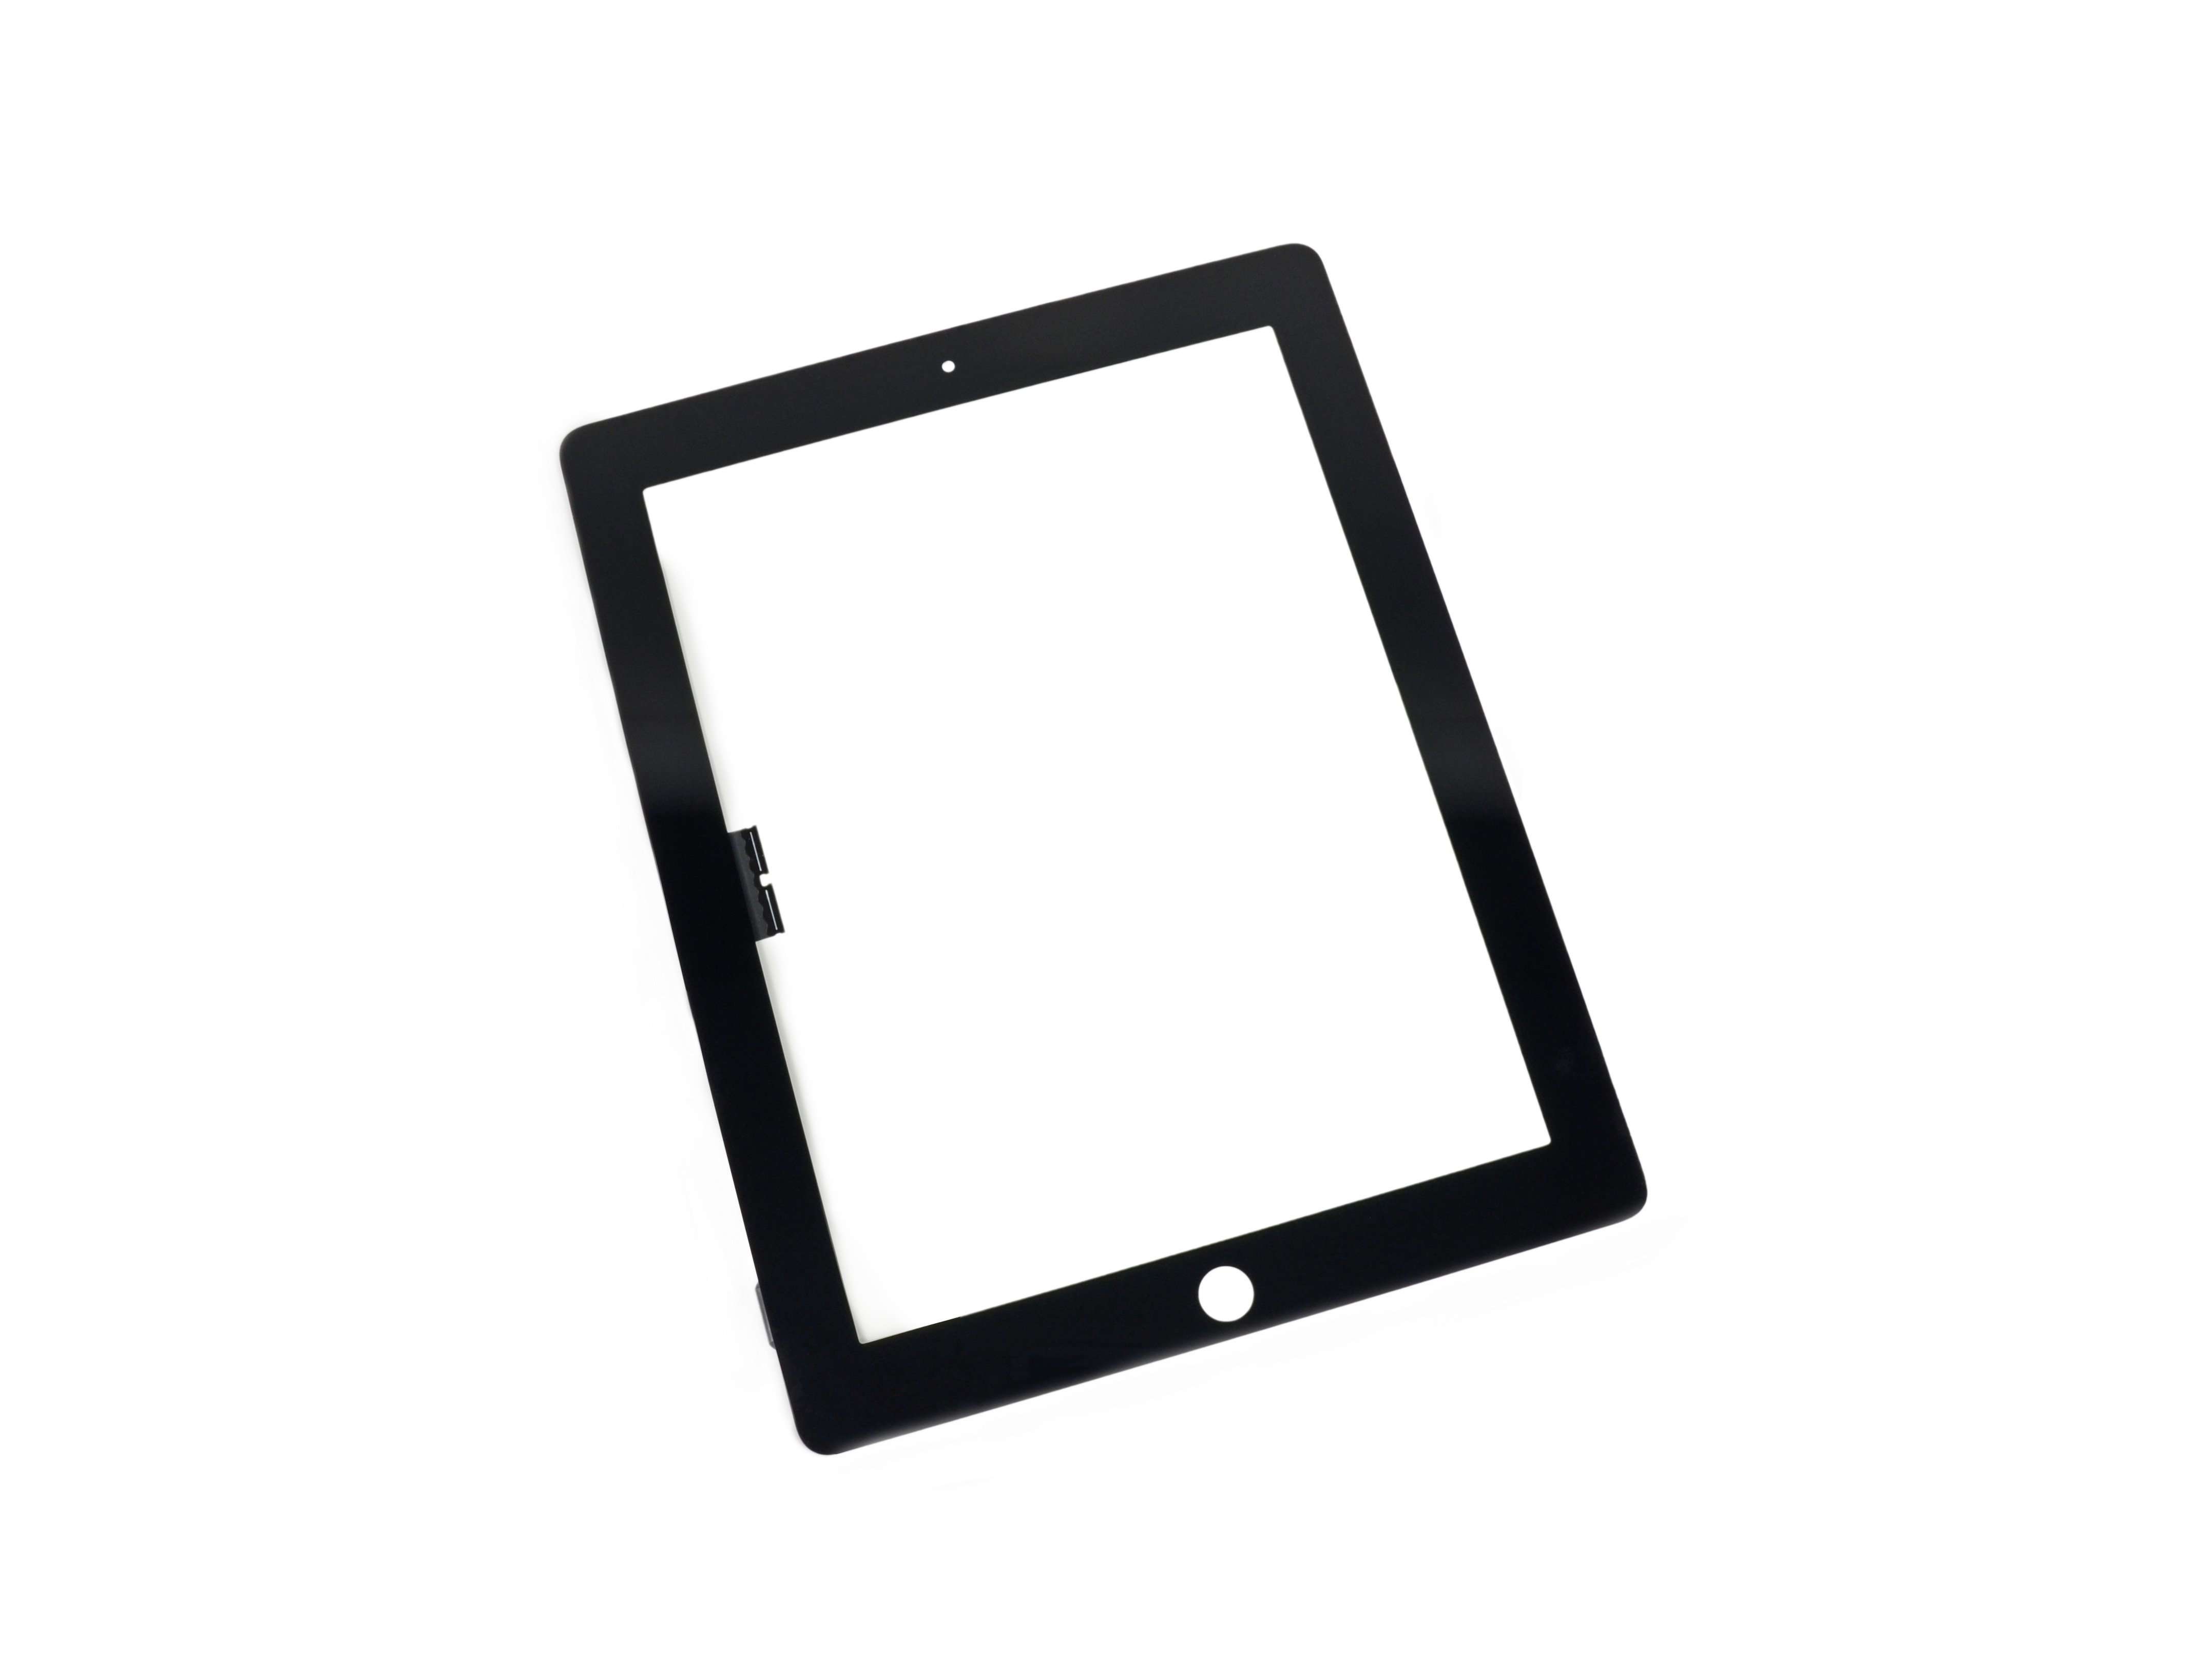
LCD
Digitizer
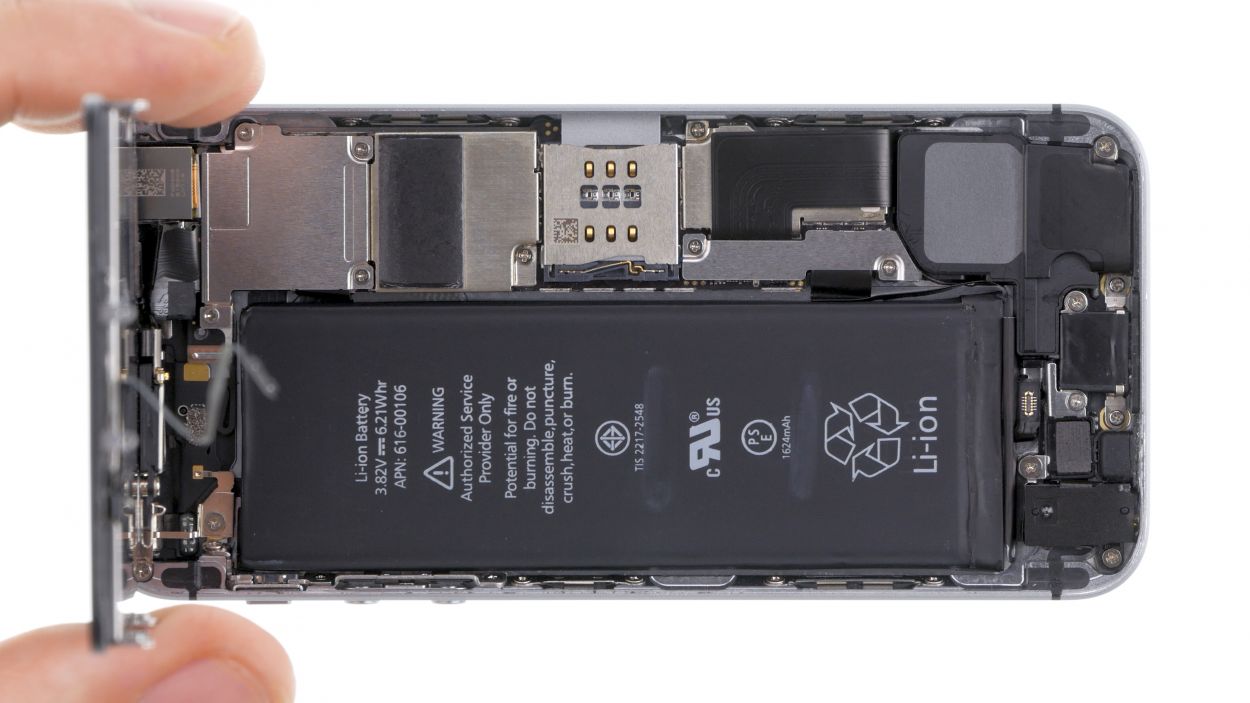
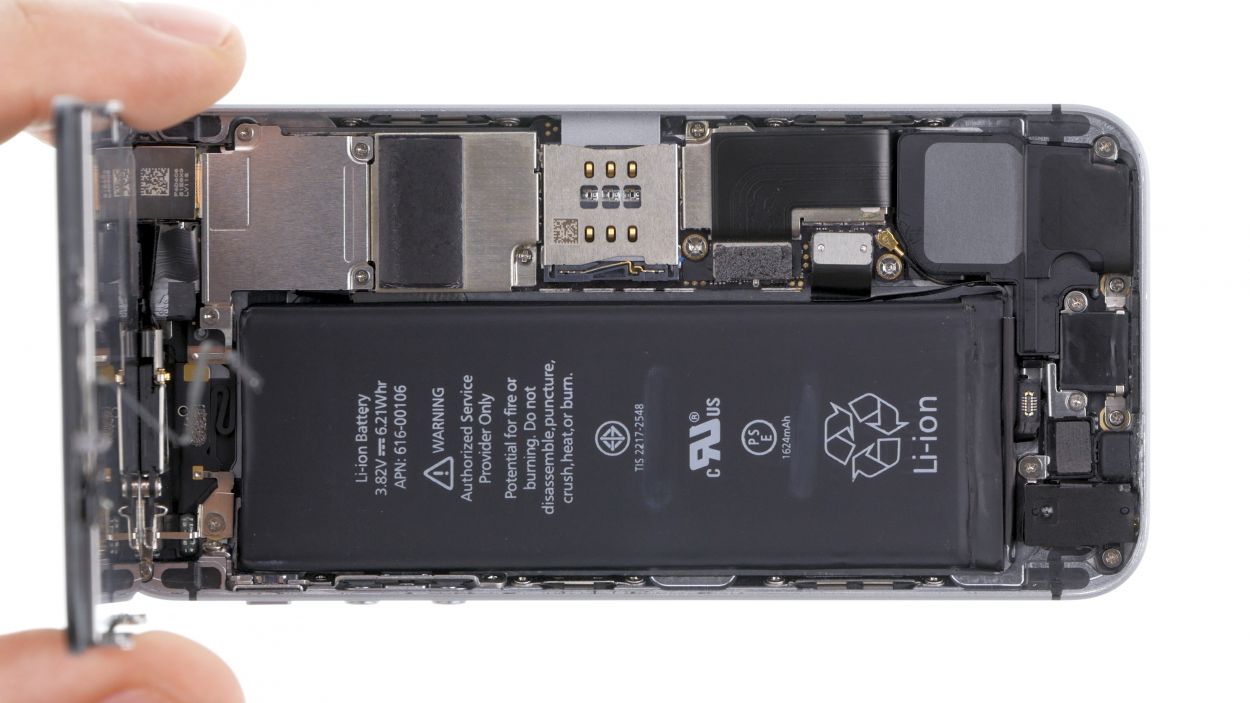
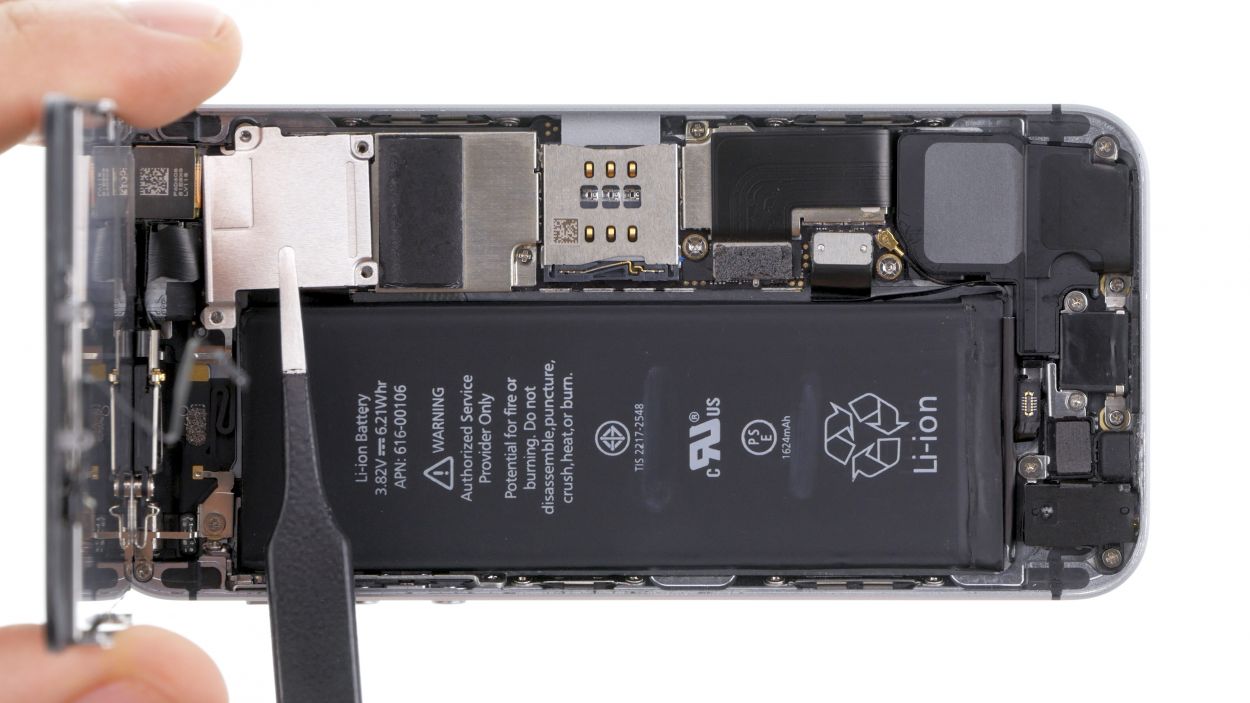
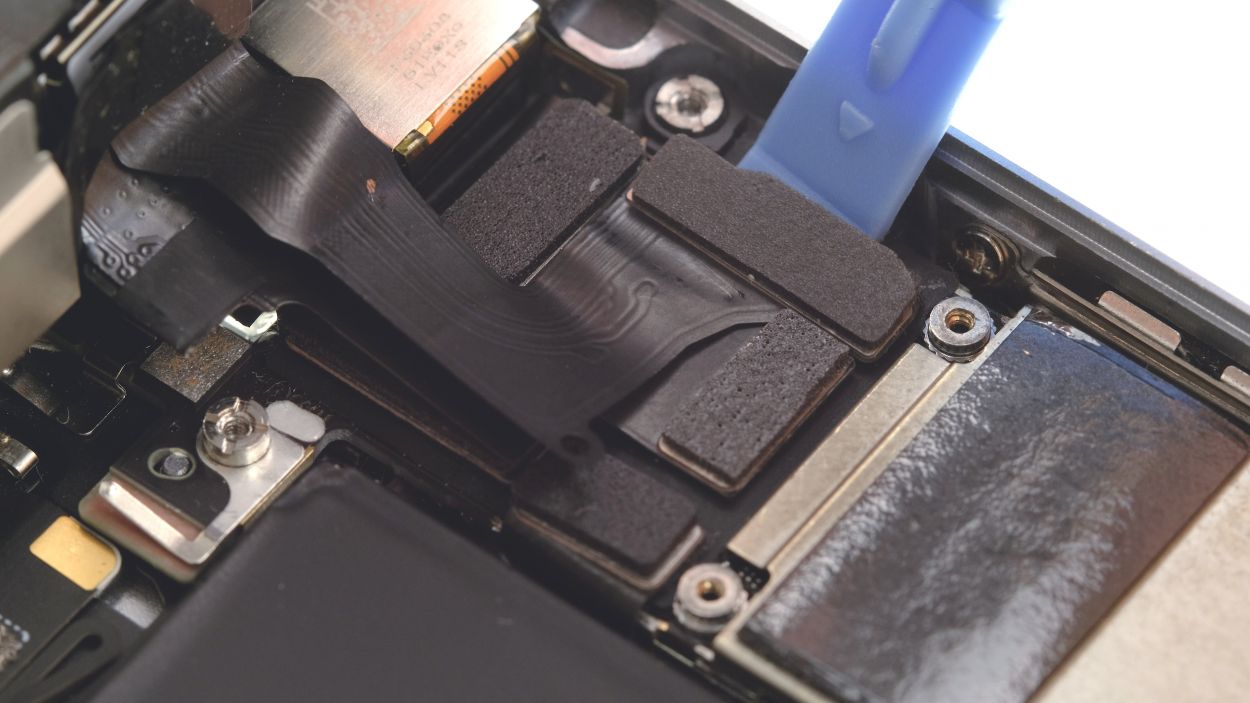
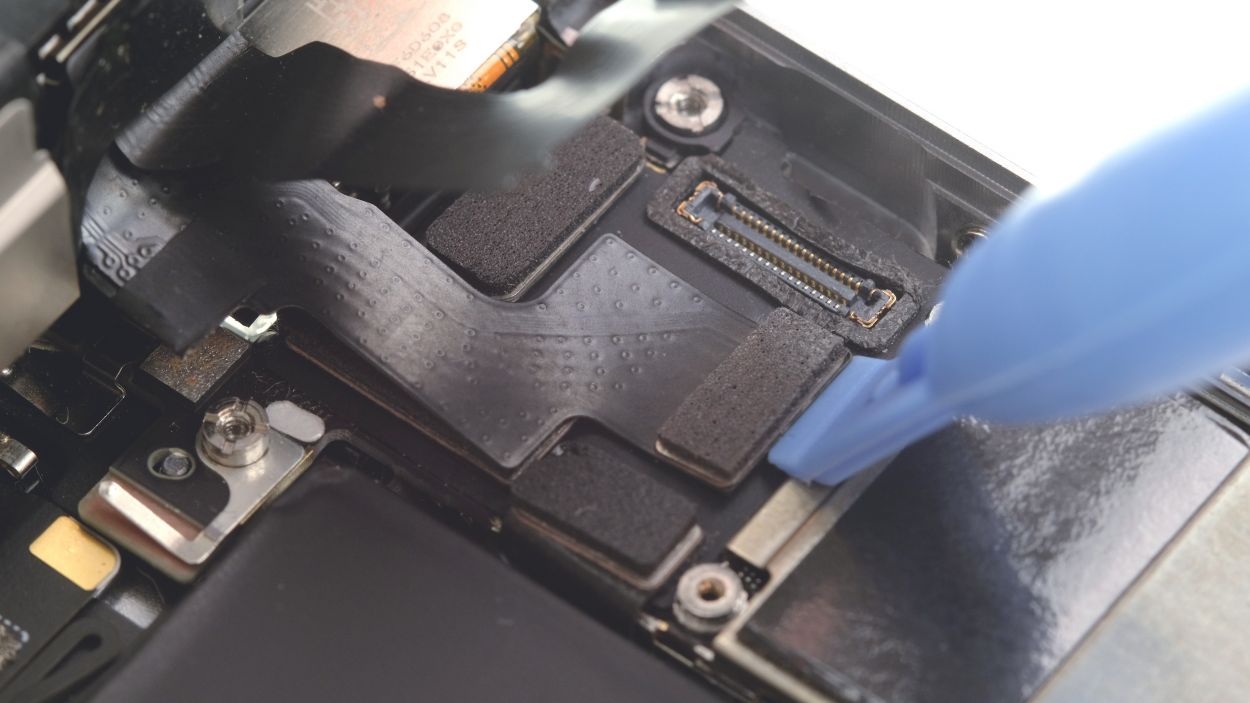
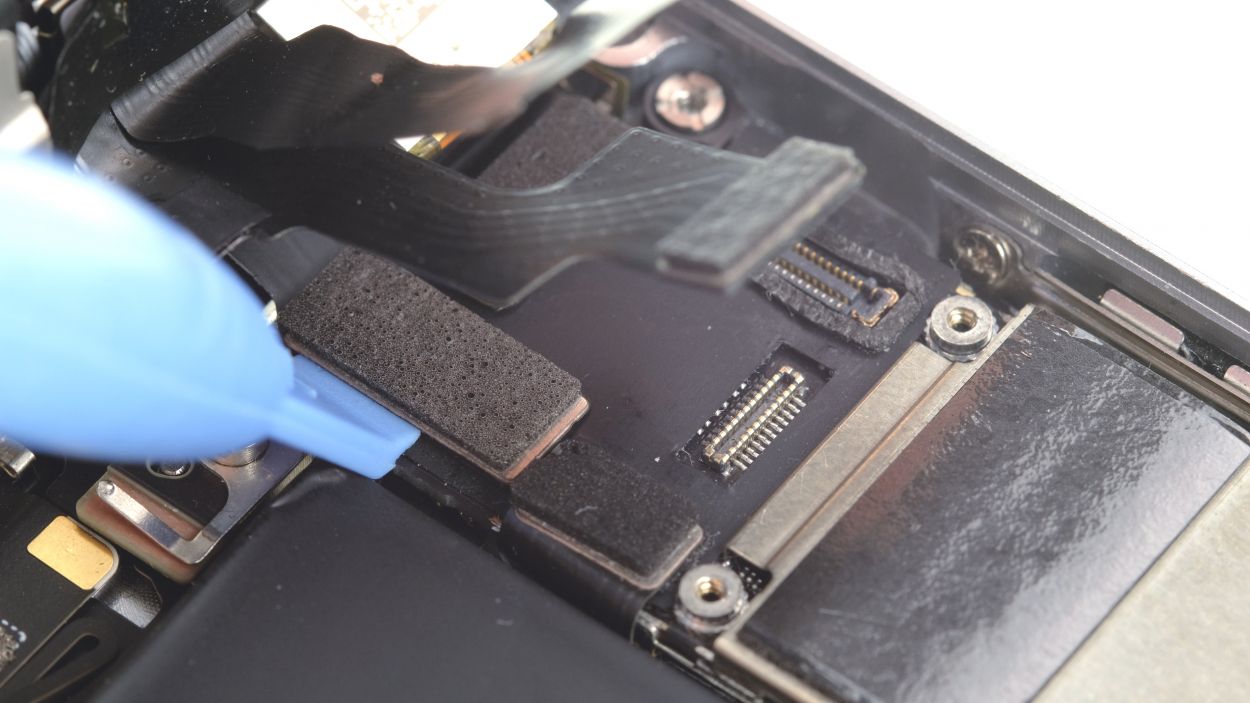
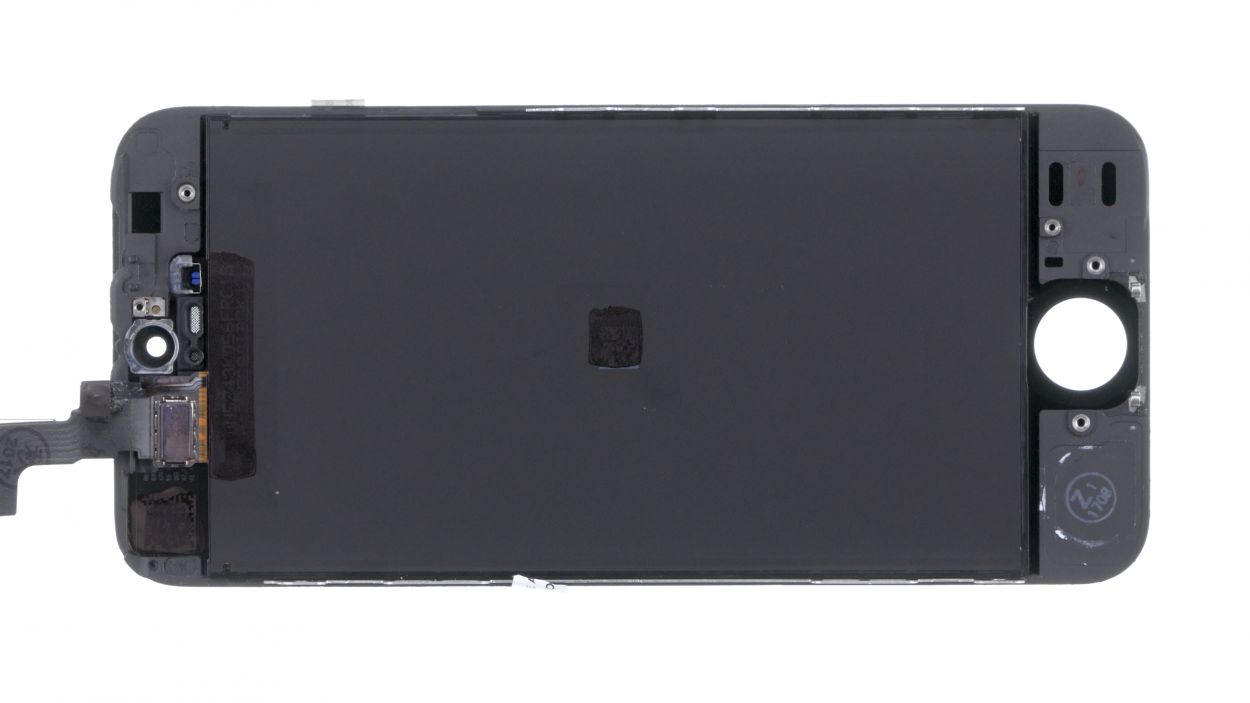
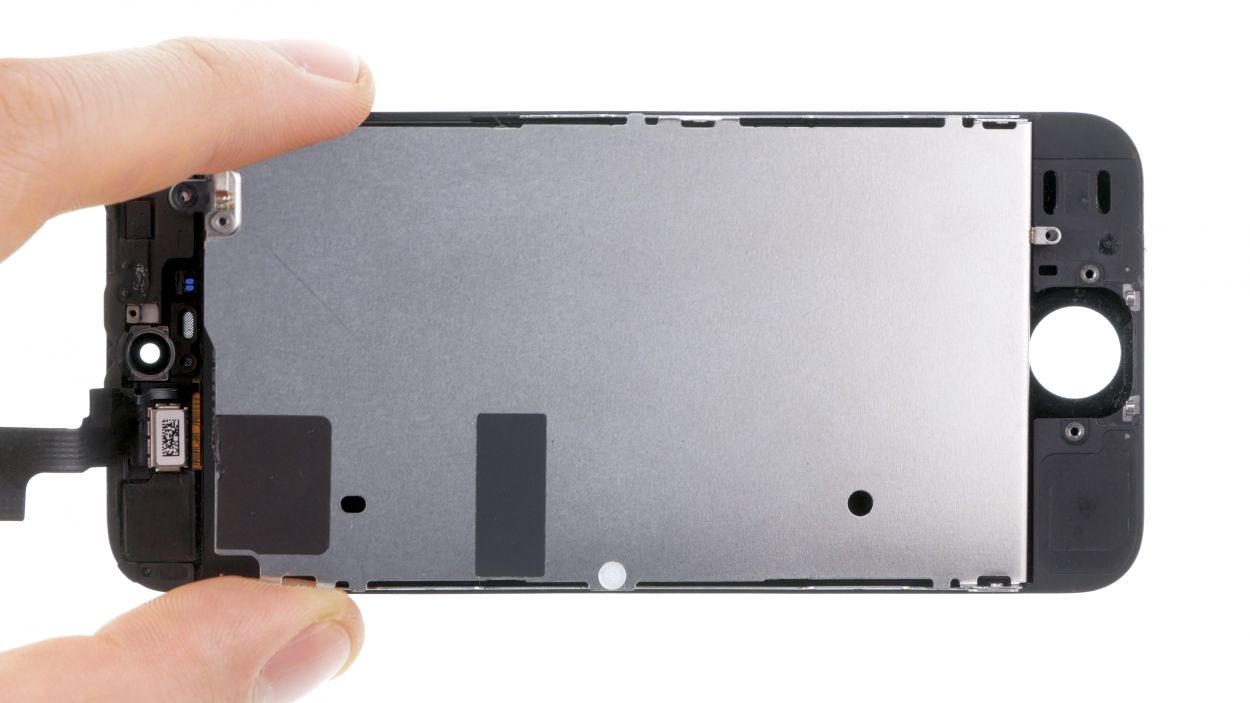
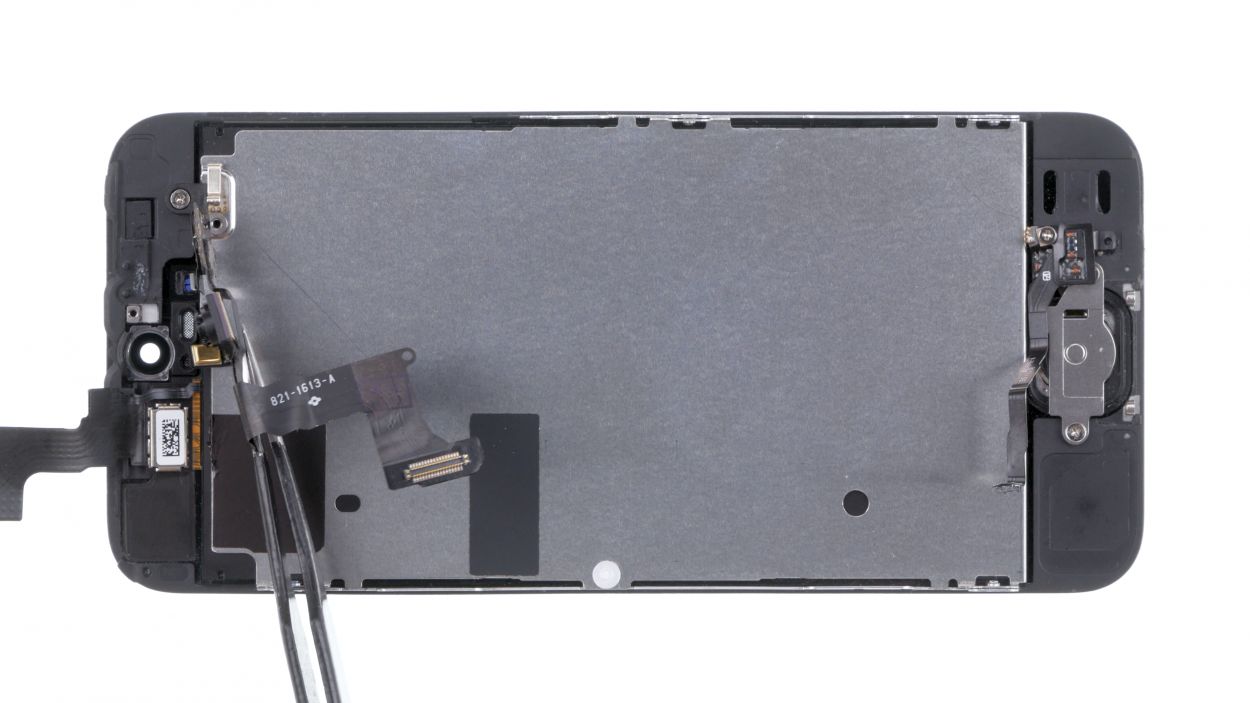
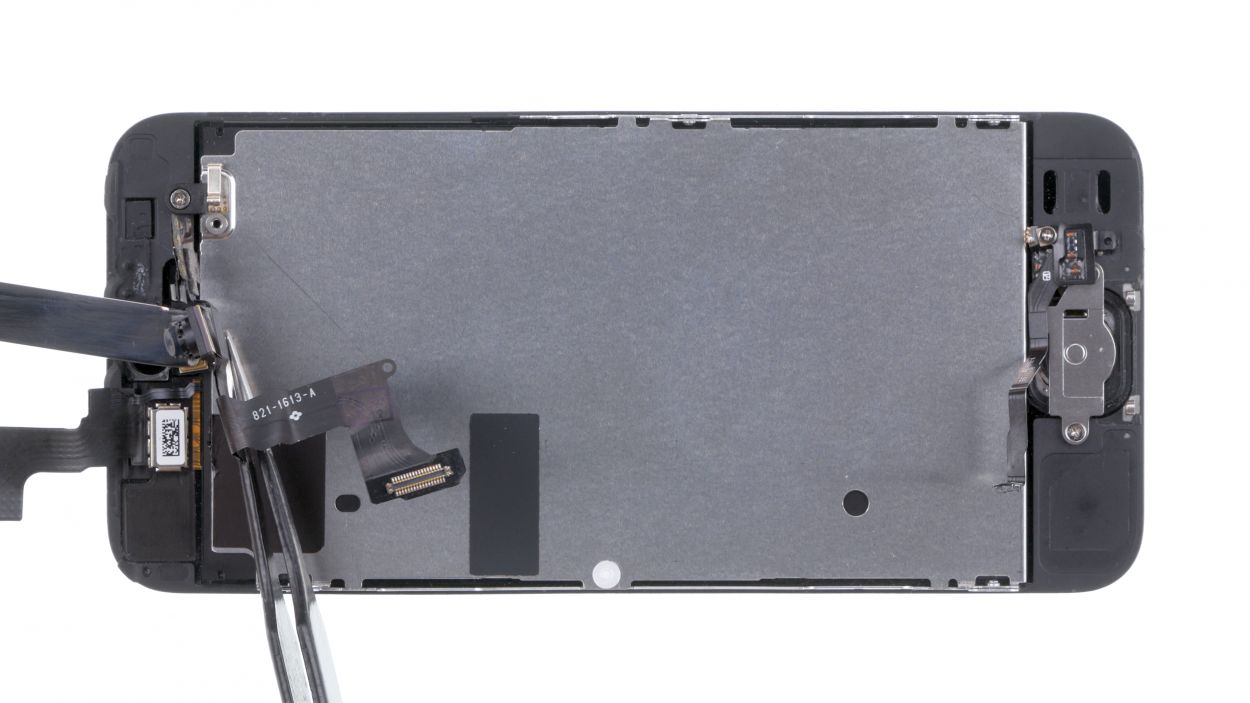
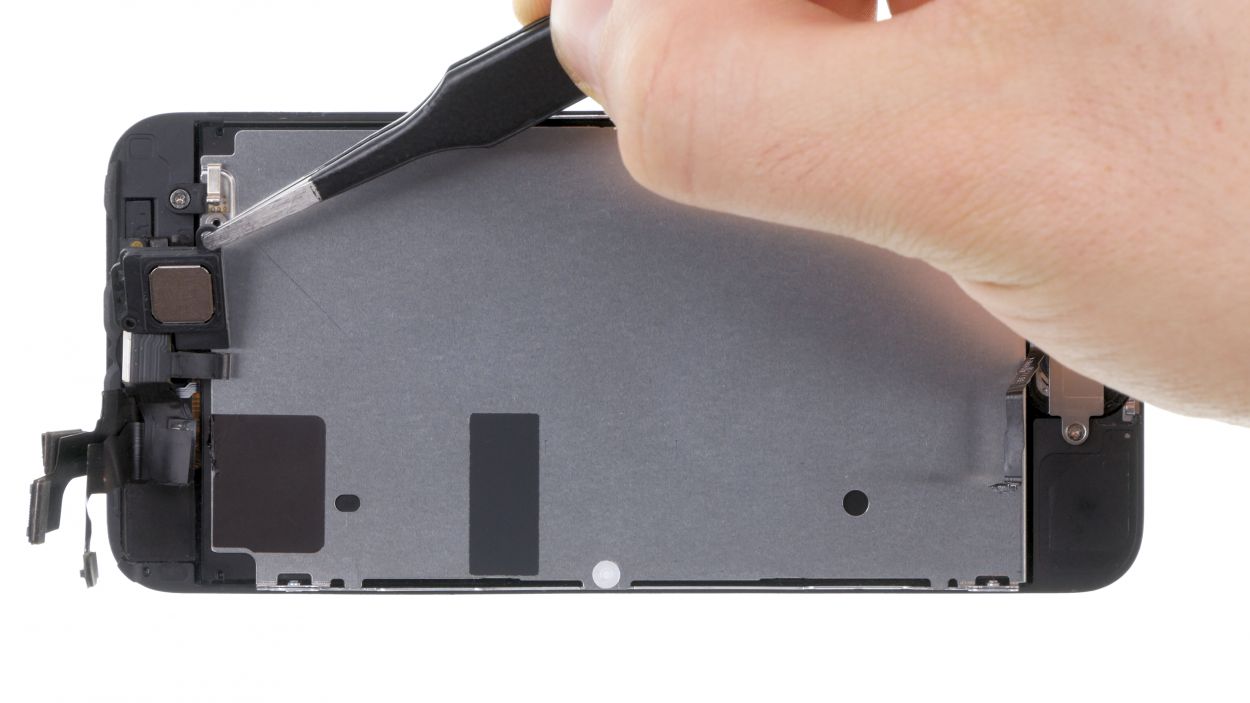
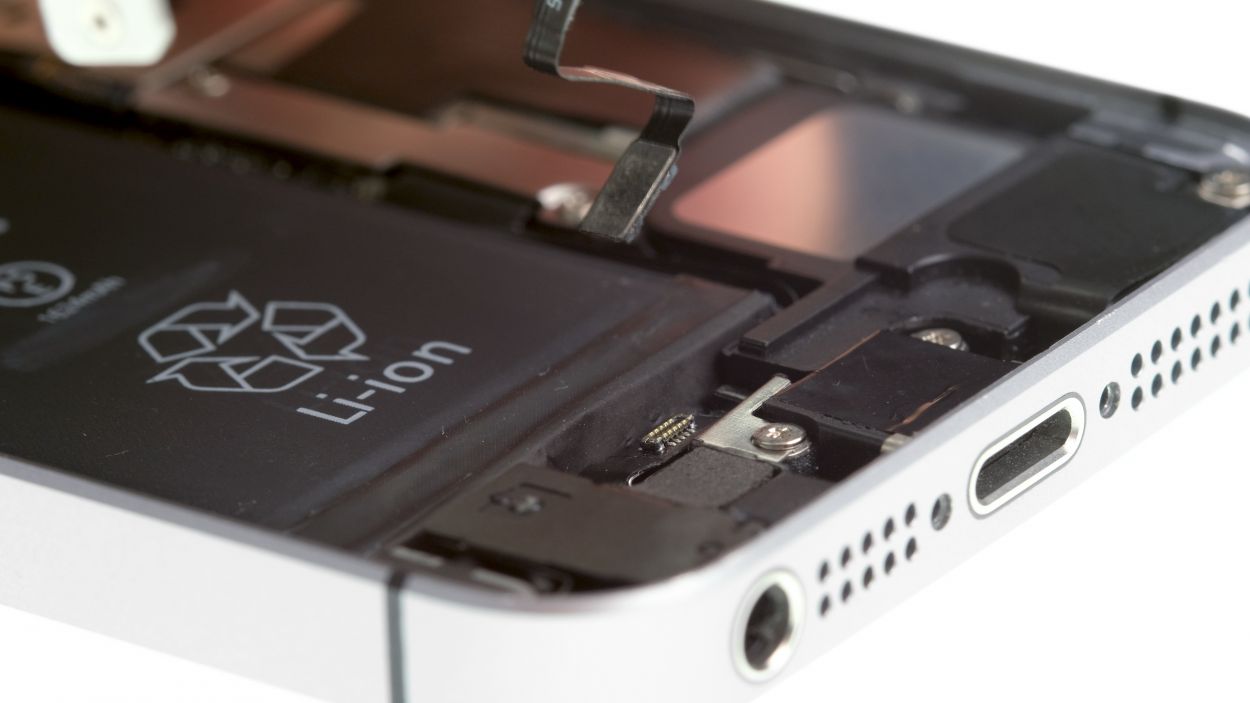
– First, let’s tackle those four Phillips screws holding down the silver cover. Make sure to keep them in a safe spot together so they don’t get lost! Once they’re out, gently lift the cover off and say goodbye to it.
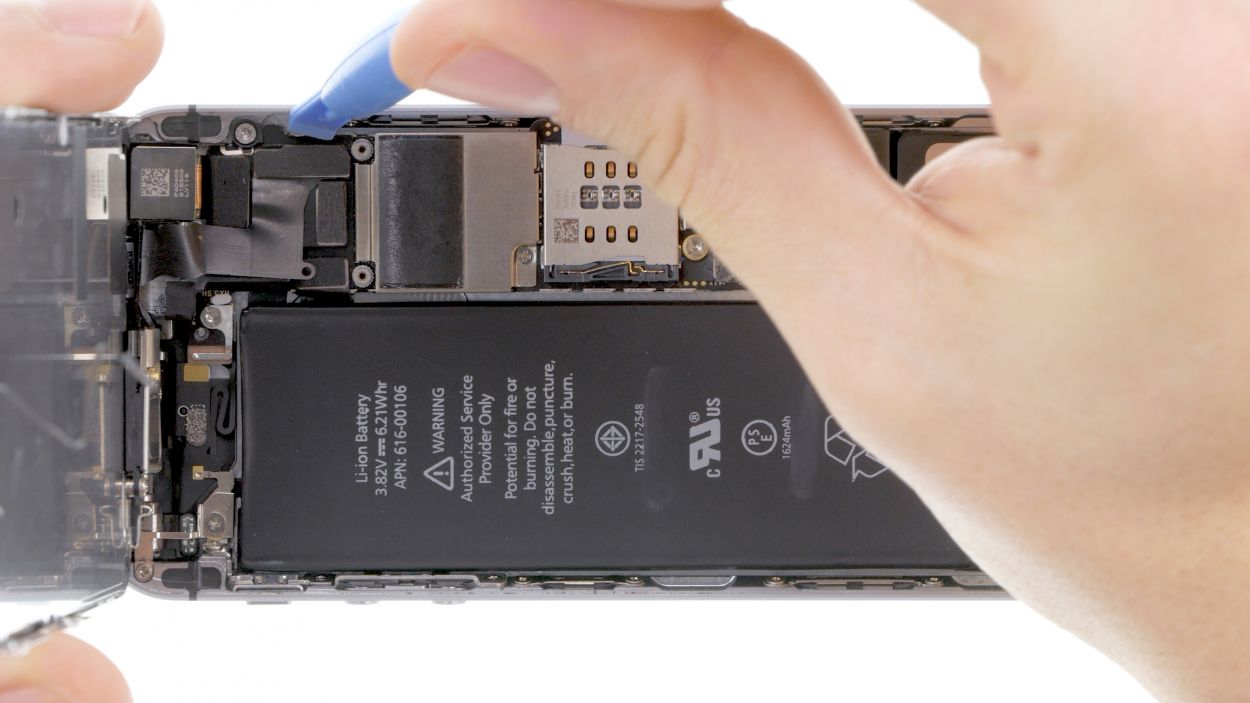
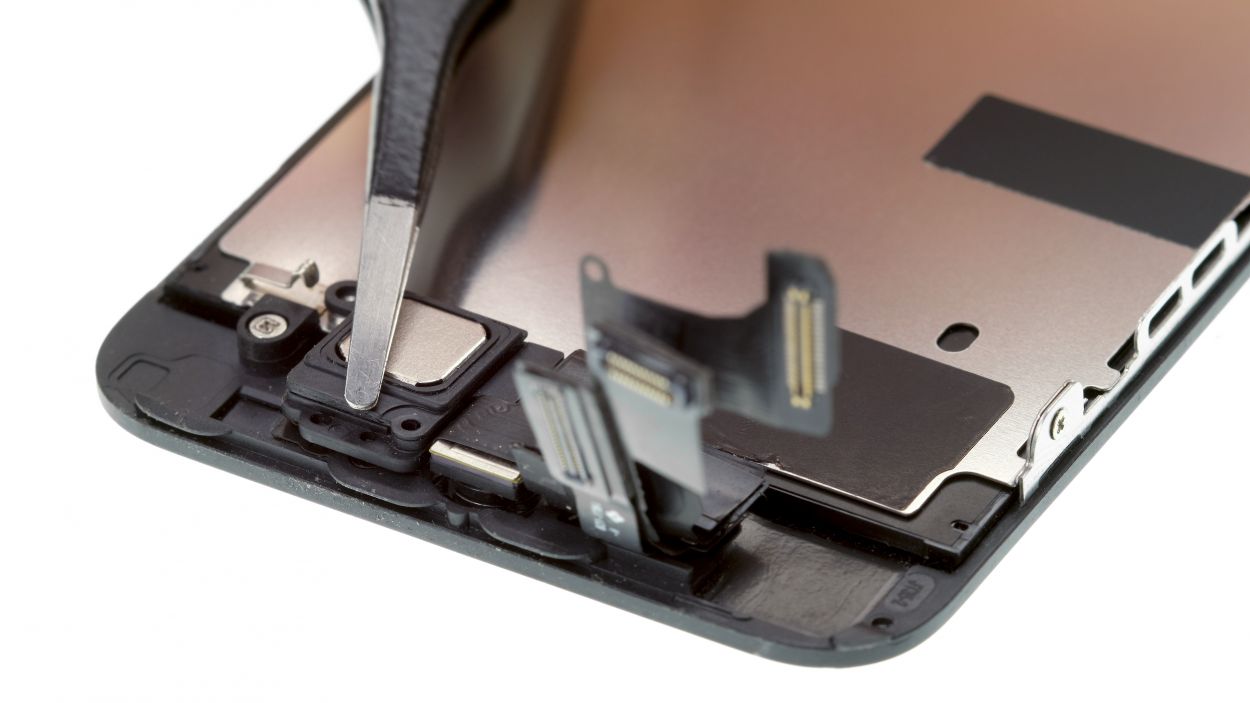
– Next up, it’s time to disconnect three overlapping connectors, following the order shown below. Take your time and be gentle! Use the pointed tip of your spudger, just a smidge below each contact, and lift it up carefully.
Step 6
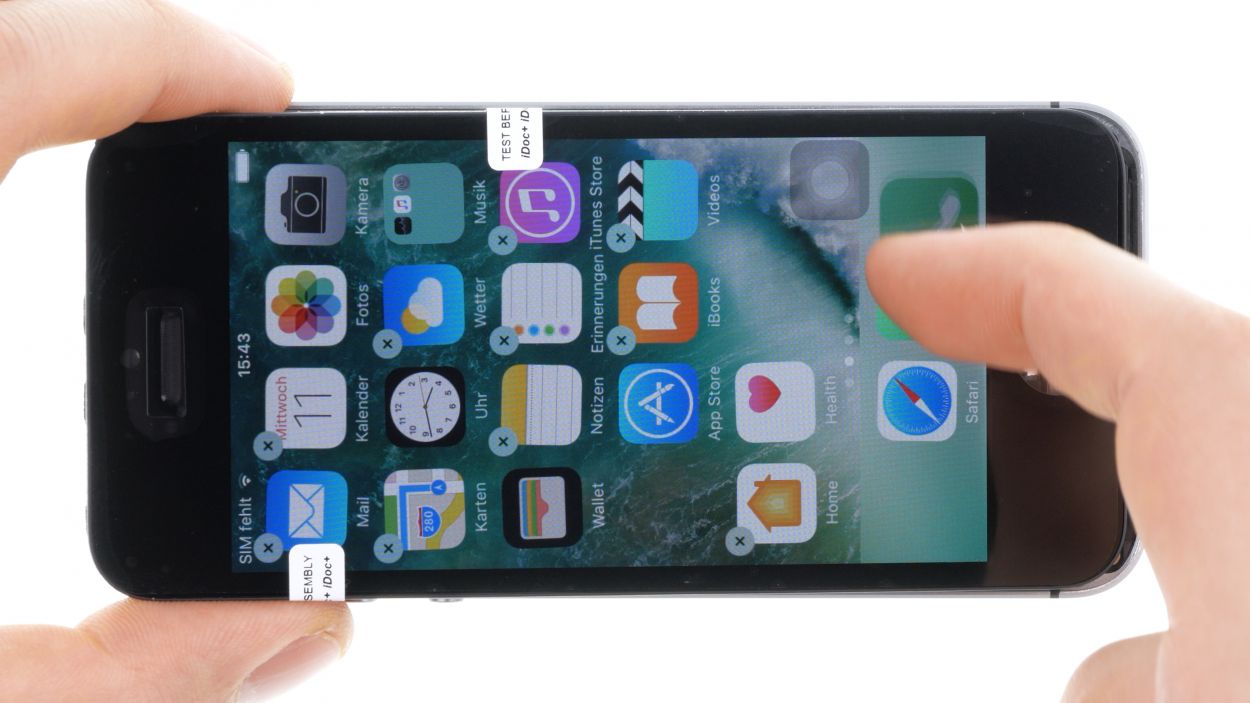
– First, let’s give that new display assembly a quick test drive! Connecting the LCD can be a bit of a puzzle, so take your time.
– Don’t forget to reconnect the battery too—it’s like giving your phone a little hug!
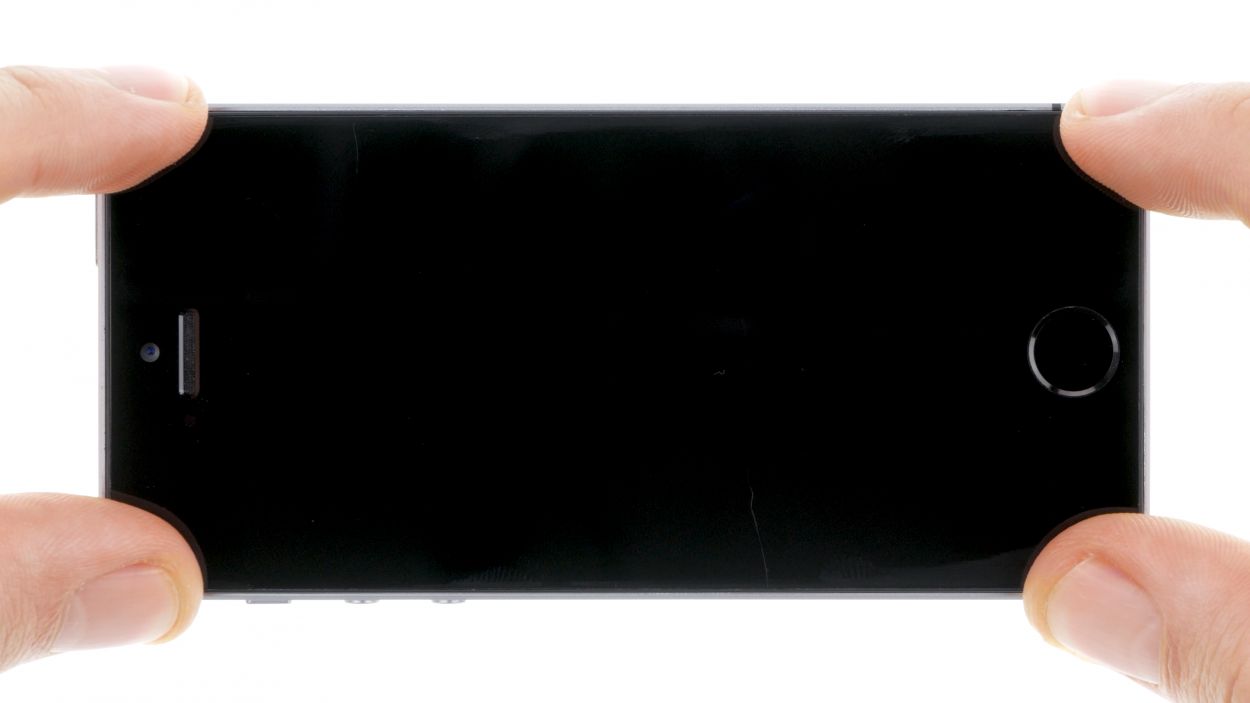
– Now, power up your iPhone and see if the LCD and touchscreen are ready to party! Double-check that all connectors are snugly in place. If things aren’t looking right, like a black screen or funky stripes, something might be off.
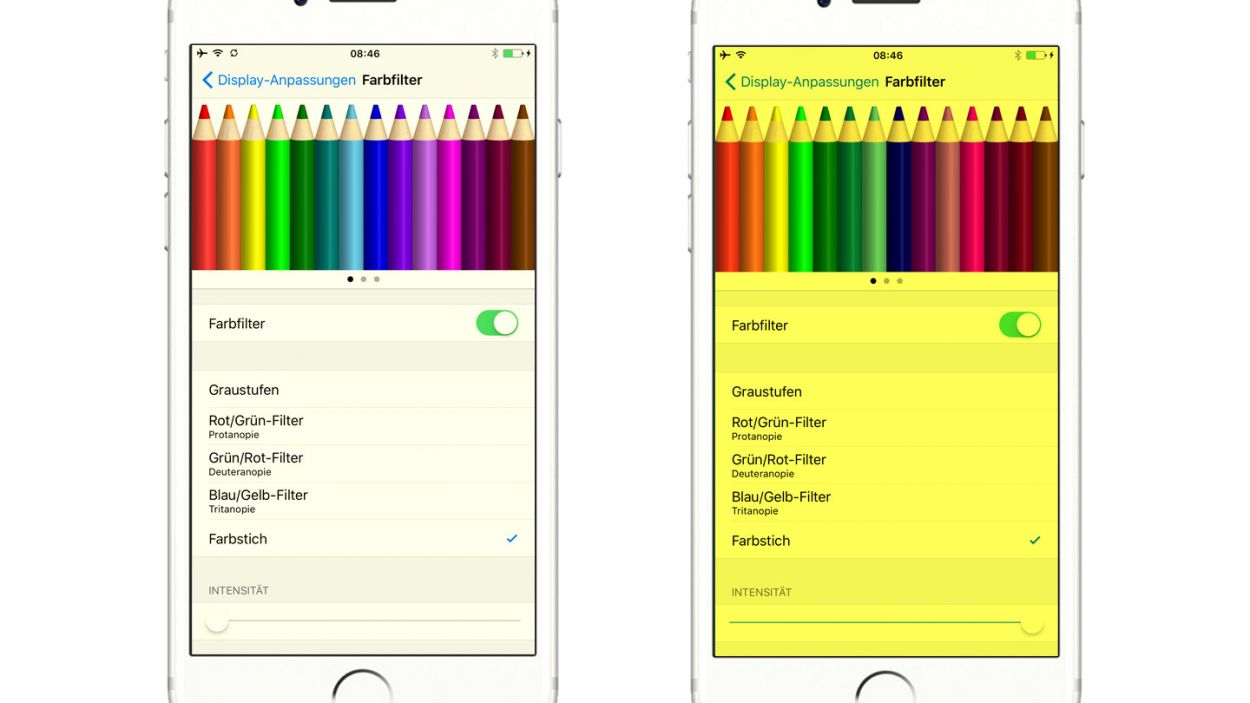
– And if your display seems a tad yellow, check out the last step of this guide for some helpful tips!
Step 7
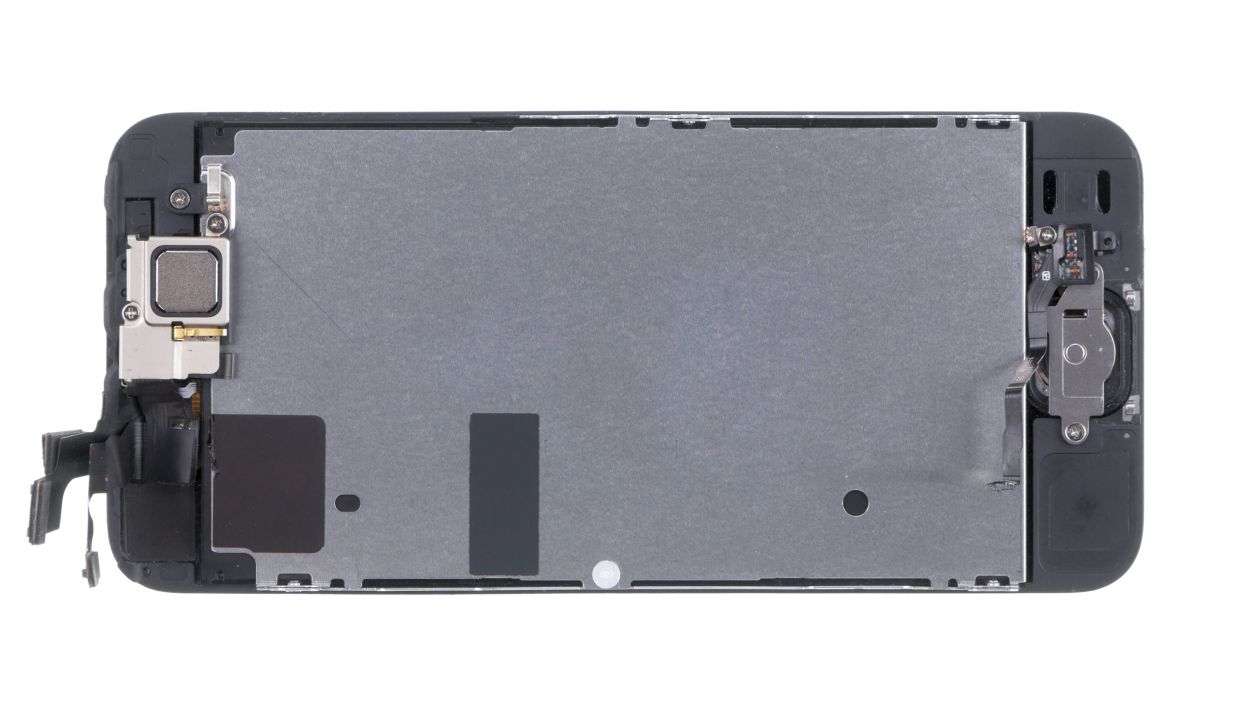
1 × 4.0 mm Phillips
1 × 2.2 mm Phillips
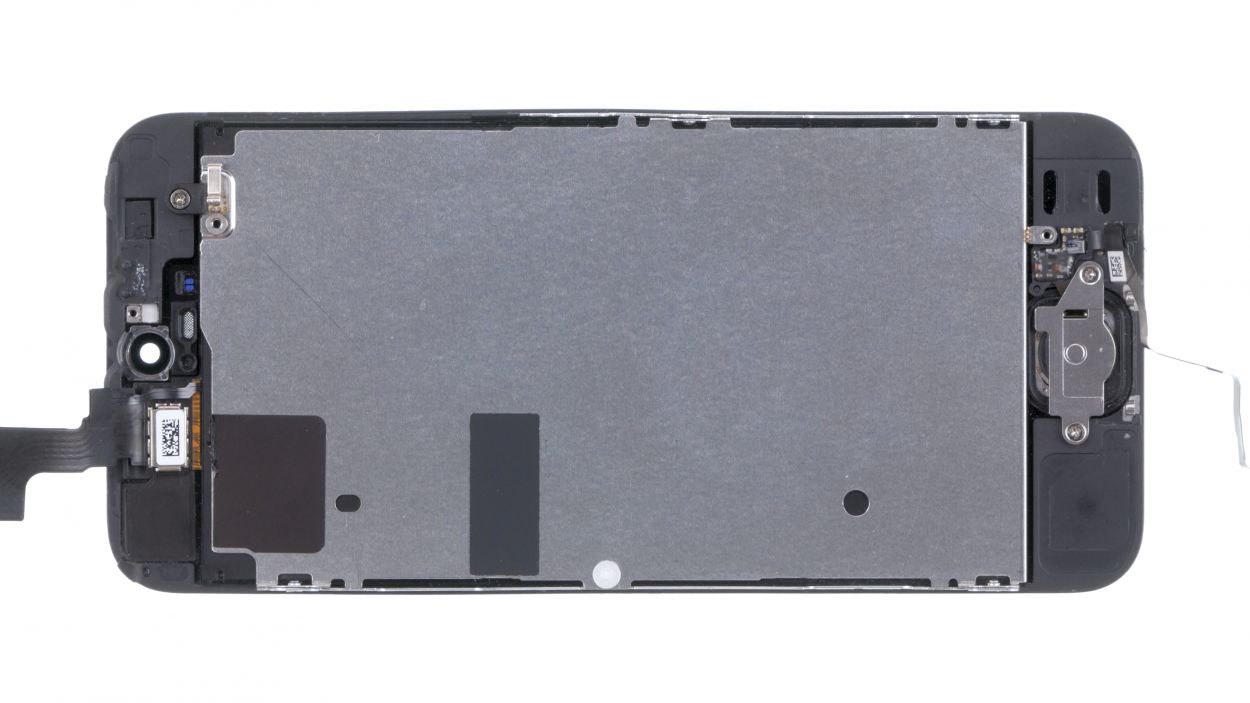
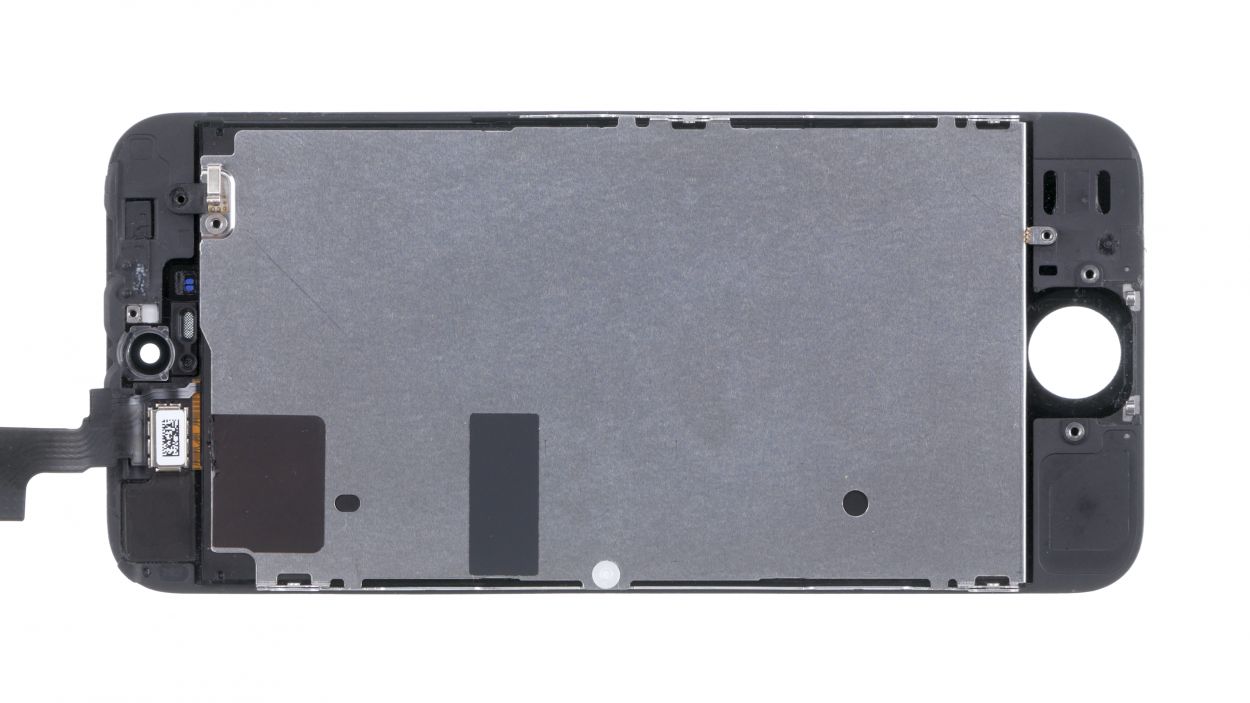
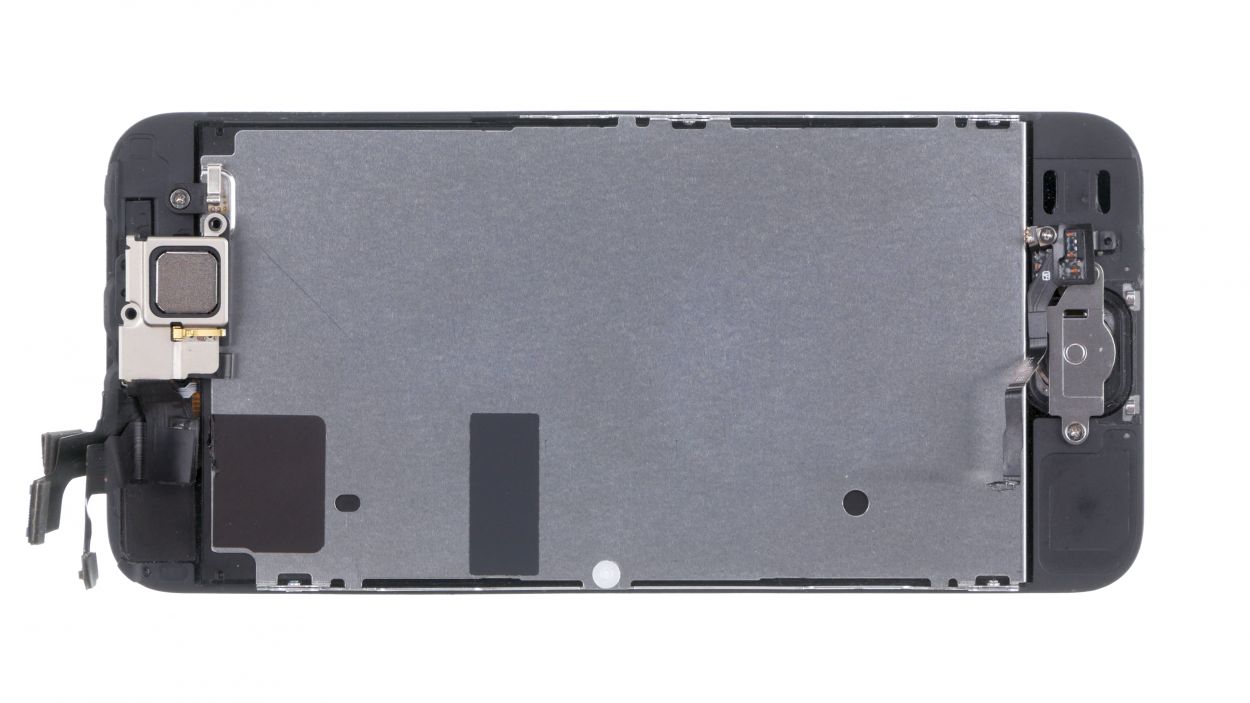
– The earpiece is snugly nestled on the back of the display unit. First things first, grab your Phillips screwdriver and remove those two screws from the earpiece cover. Don’t forget to toss them into the same container so they don’t go on an adventure!
– Next, gently lift off the cover and keep it with the screws you just removed. They’re a team, after all!
– Now it’s time to say goodbye to the earpiece! Carefully remove it and you’re one step closer to your repair goal!
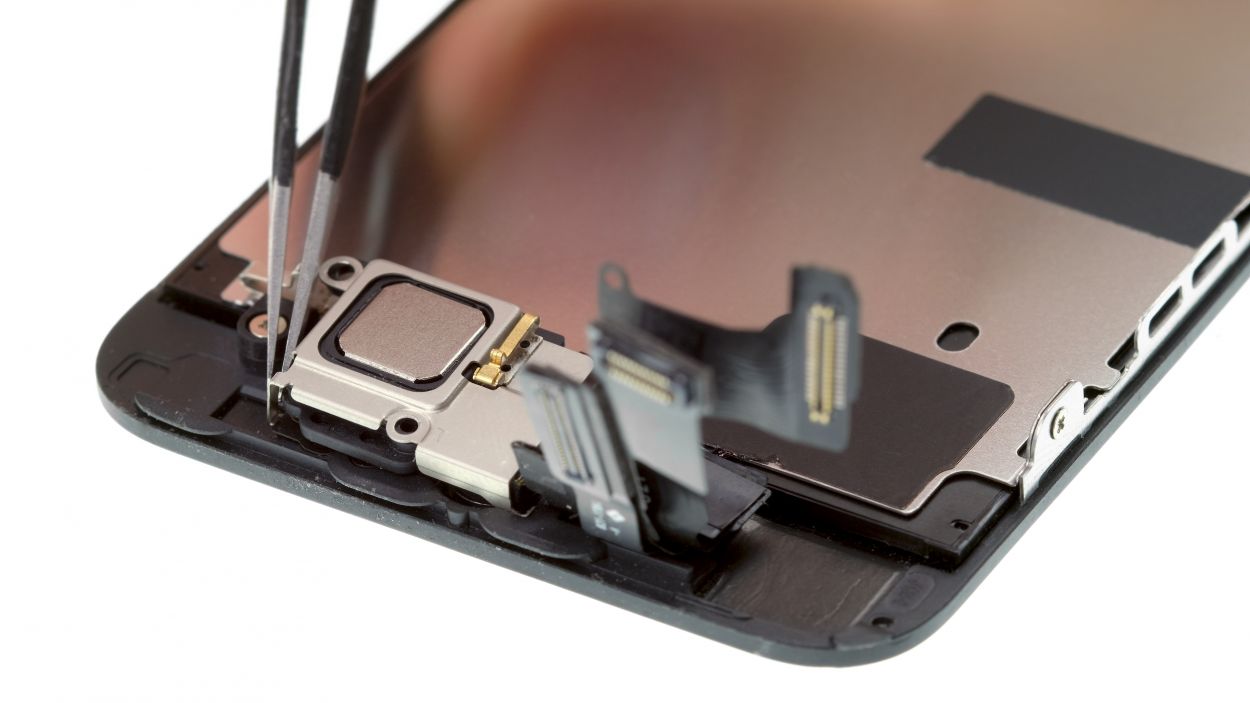
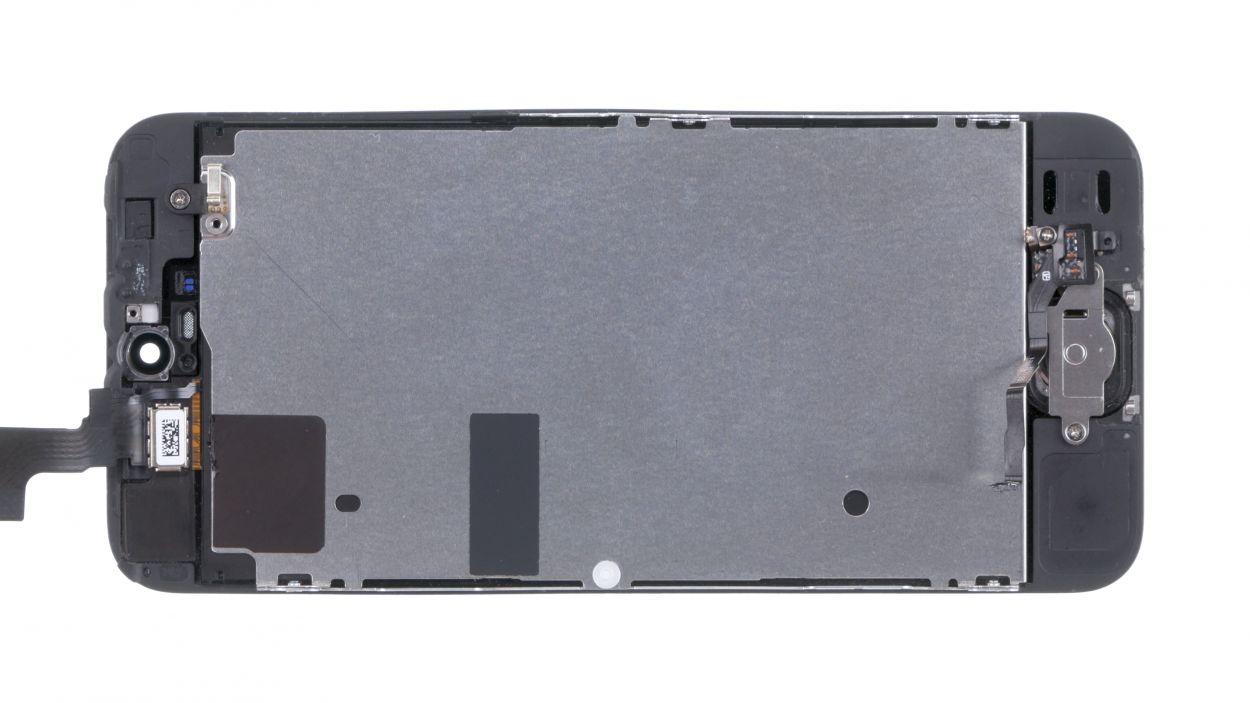
Step 8
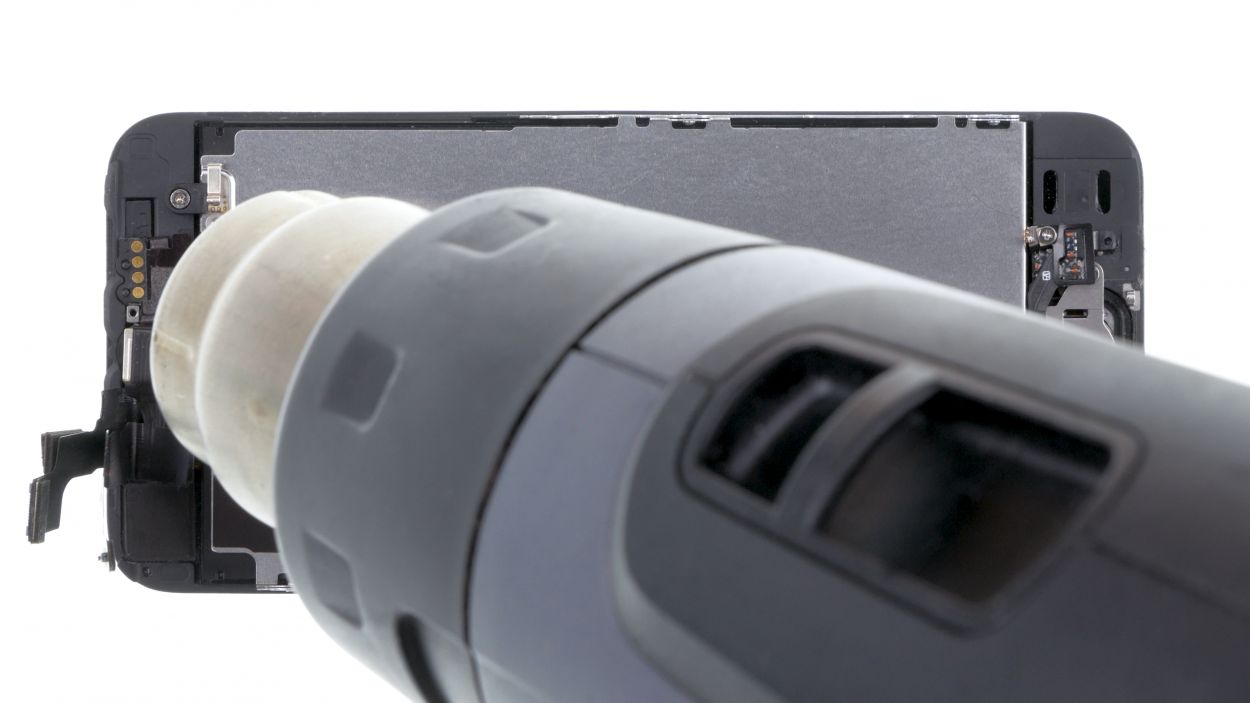
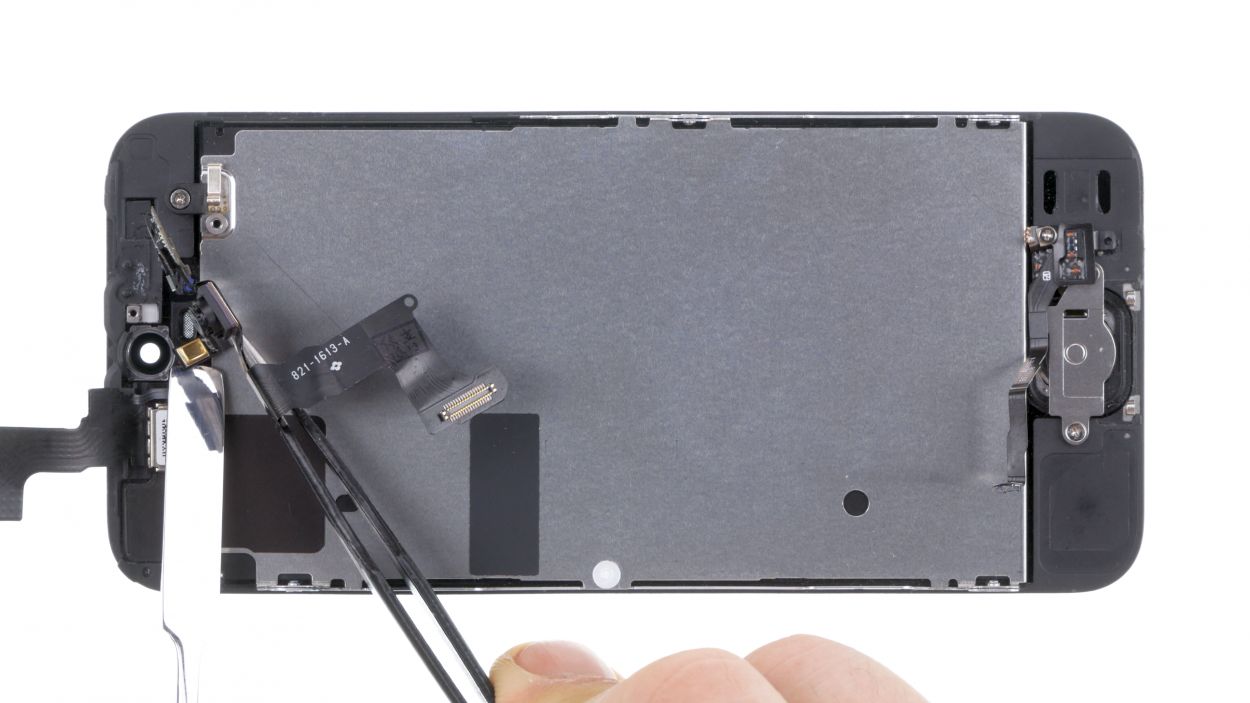
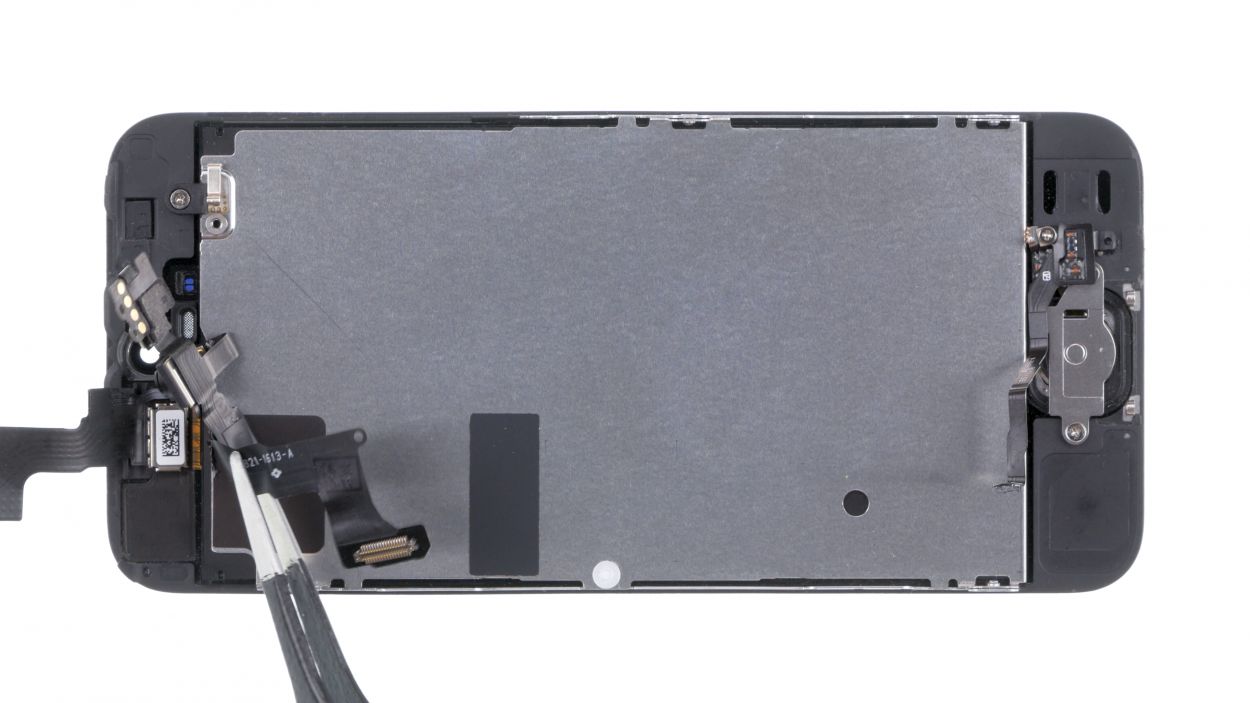

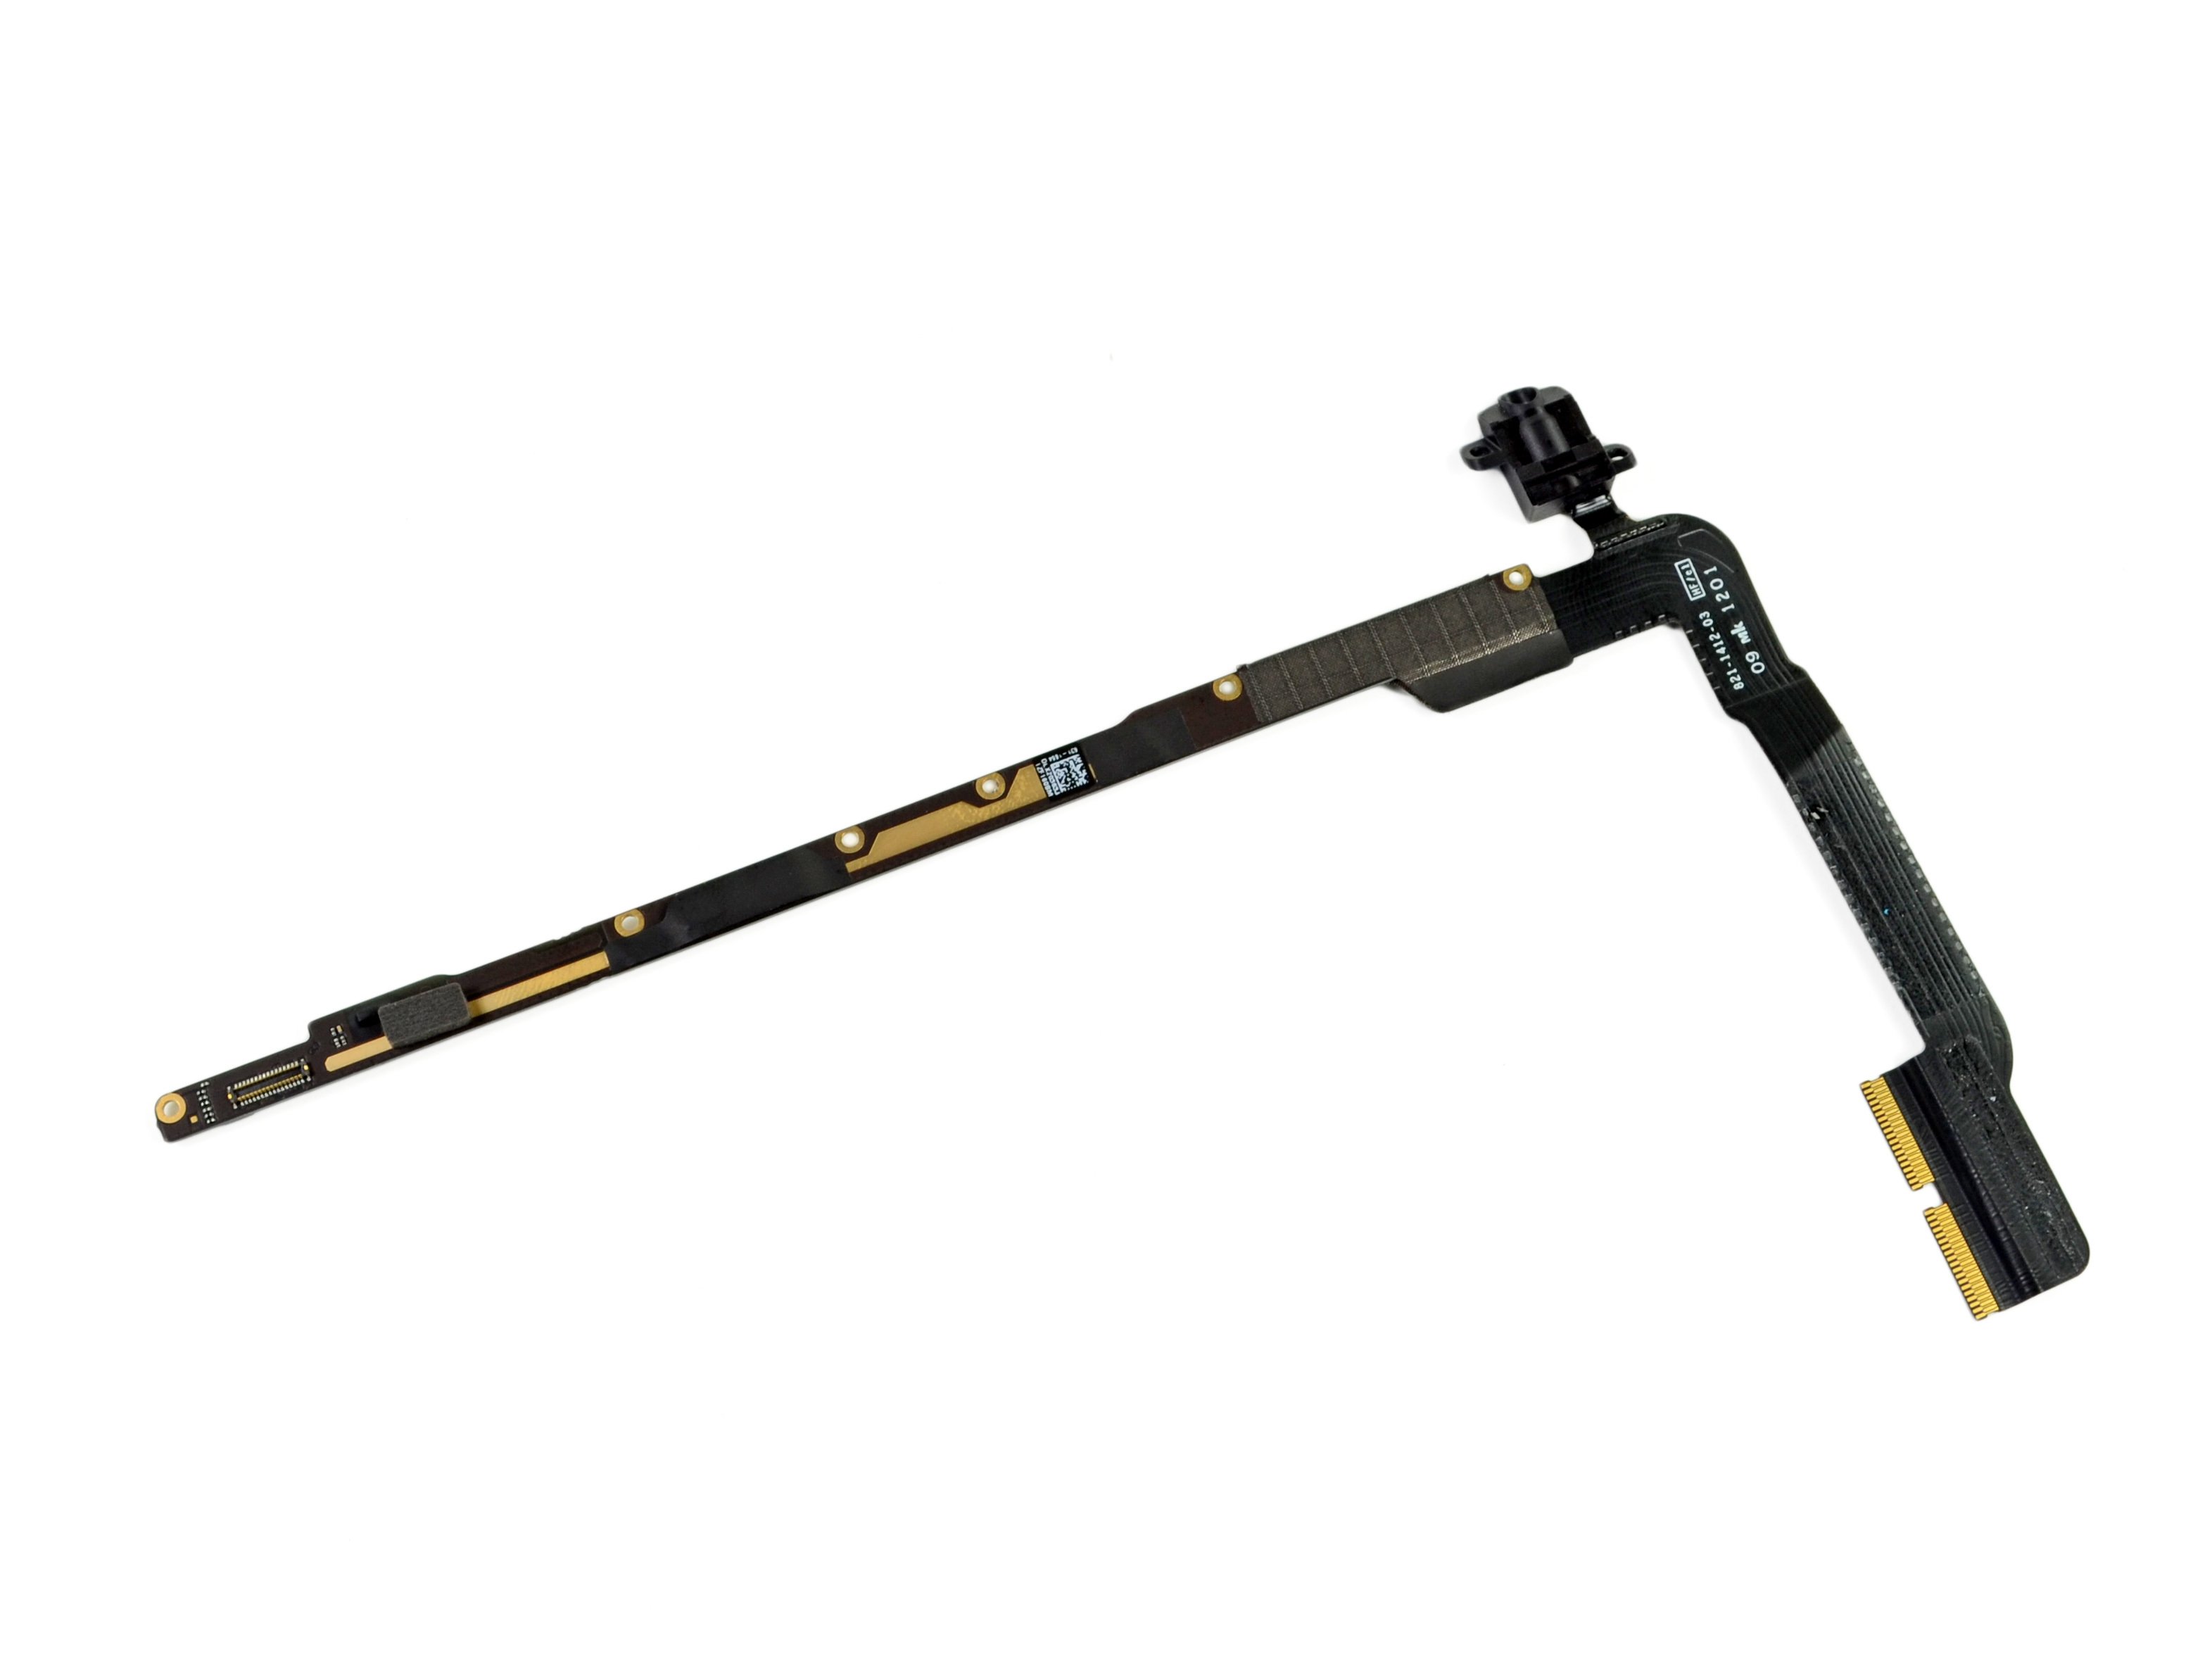
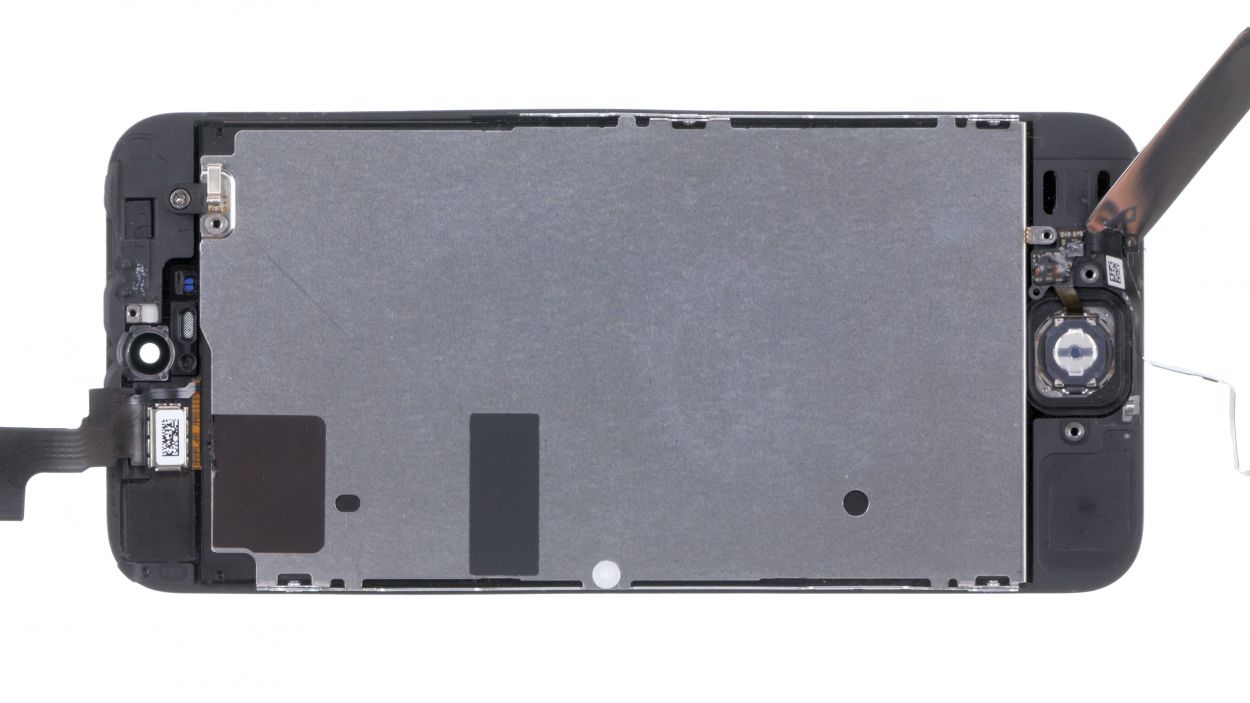
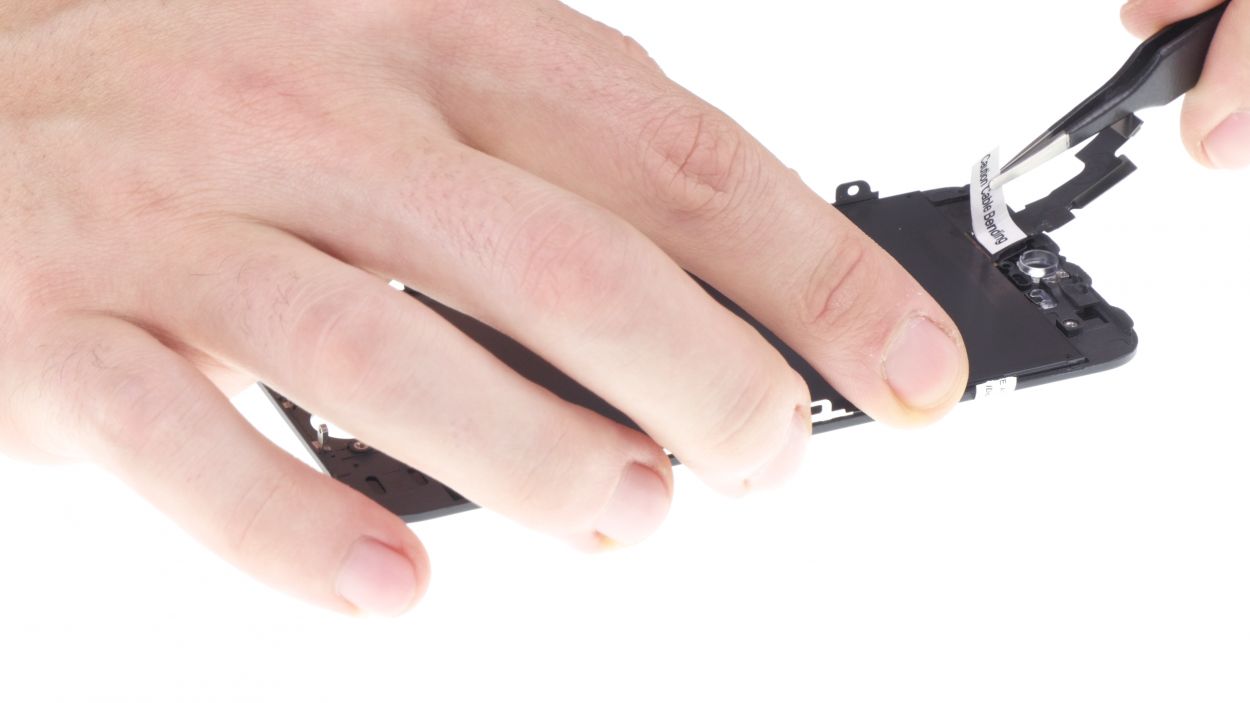
– Alright, let’s tackle that cable set in two smooth moves! First, gently lift those sensors by sliding the spudger under the ribbon cable right where the earpiece hangs out. It’s just a tad glued down, so be patient!
– Now, you can lift the entire cable set and fold it over towards the rear panel. With a steady hand, use your tweezers to carefully detach the ambient microphone. You’re doing great!
Step 9
1 × Phillips
2 × 1.2 mm Phillips
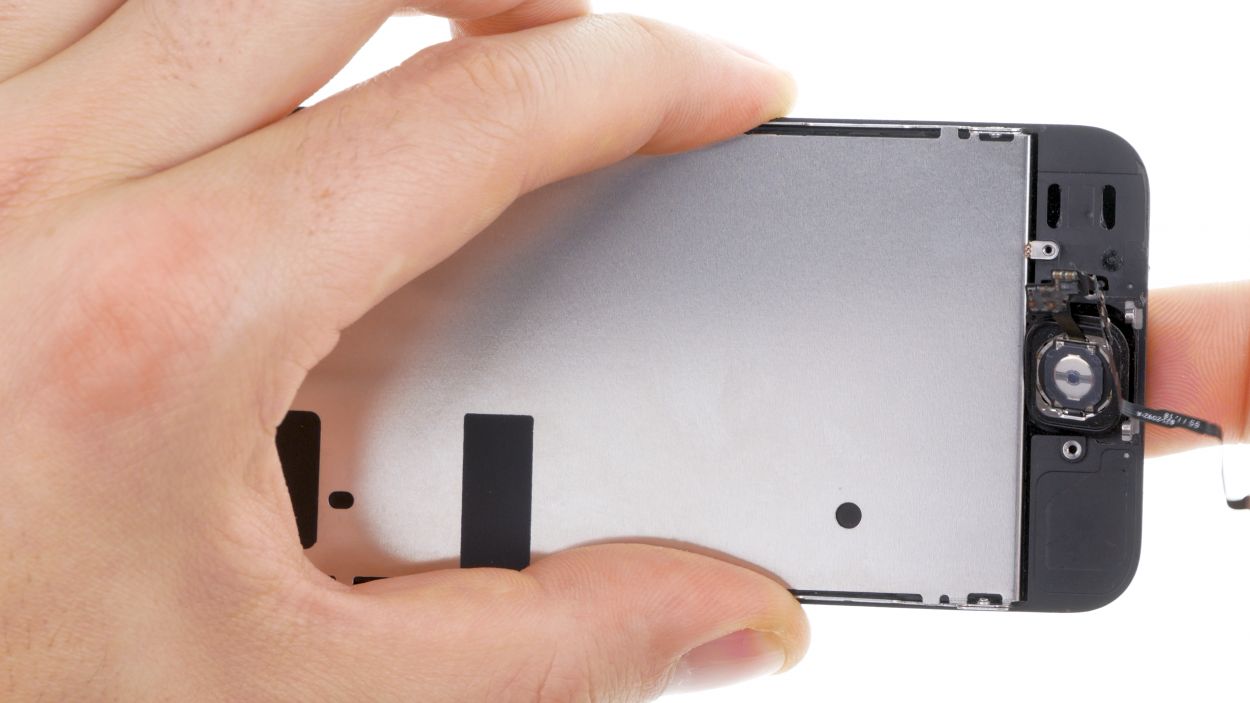
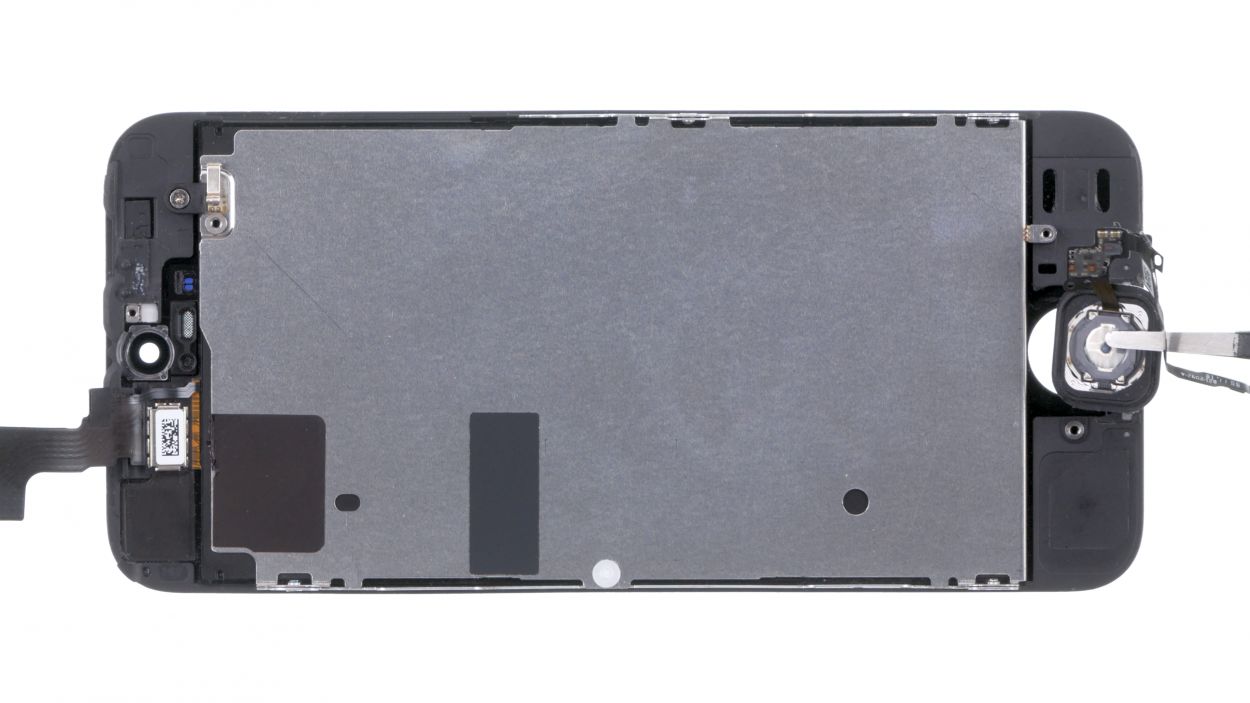
– First, let’s get that Home button cable free by unscrewing the lone Phillips screw that’s holding it down. Once that’s done, give it a little fold up!
– Next, say goodbye to the two equally sized Phillips screws on the home button bracket. Once they’re out, gently lift off the bracket and keep everything together for safekeeping.
– Now, grab that trusty steel laboratory spatula and slide it carefully beneath the glued cable set to release it.
– The Home button is snugly glued to the screen from the inside. Use your finger to gently press the button inward from the front side to help it out.
– Once the cable set is free, you can lift it out with ease!
Step 10
4 × 1.1 mm Phillips
1 × 2.5 mm Phillips
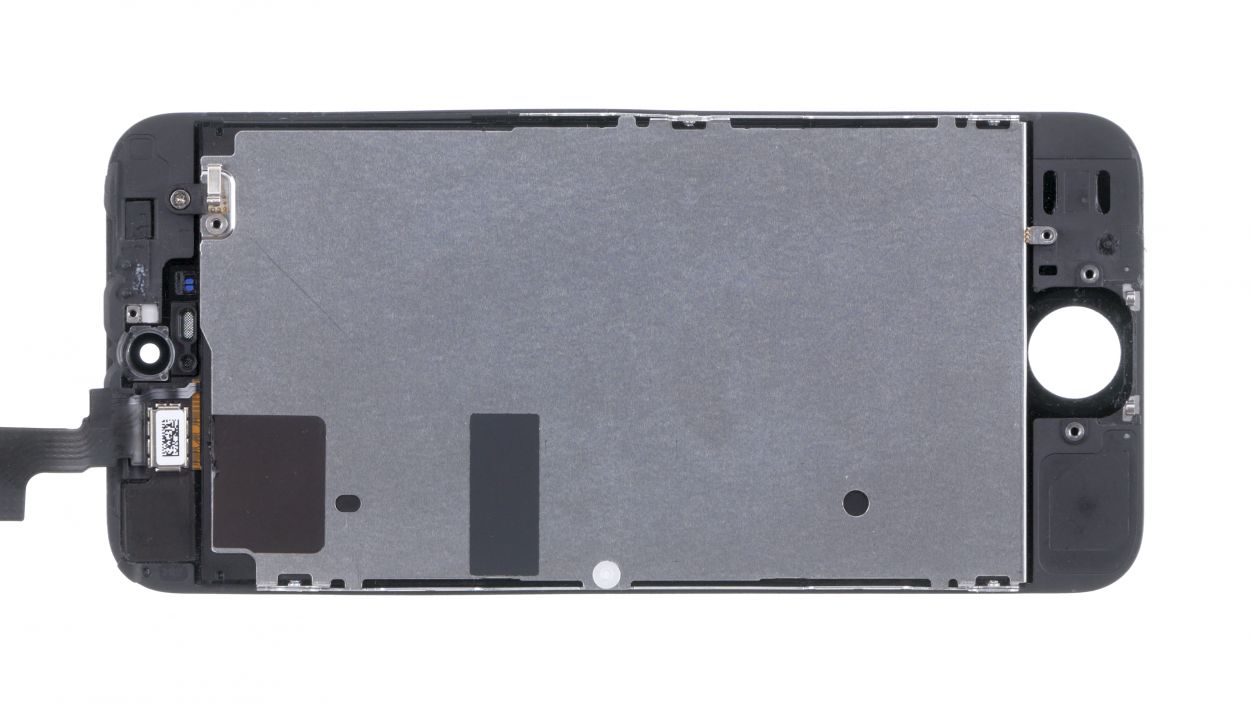
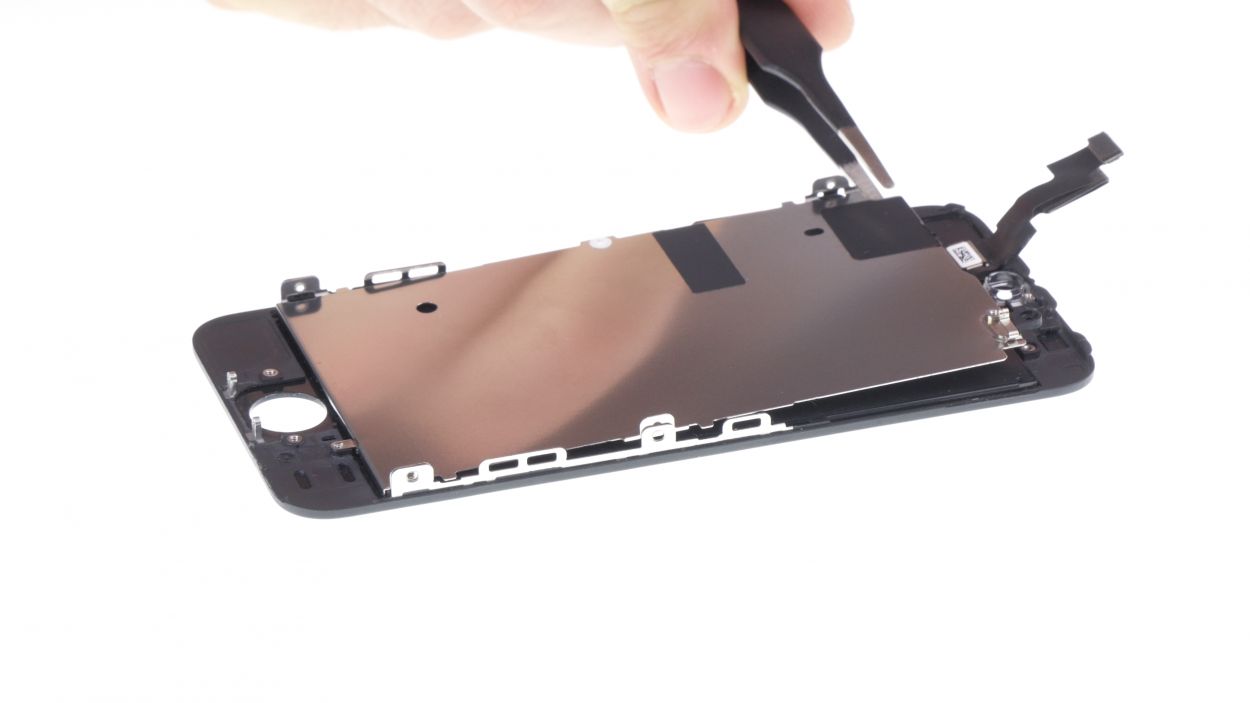
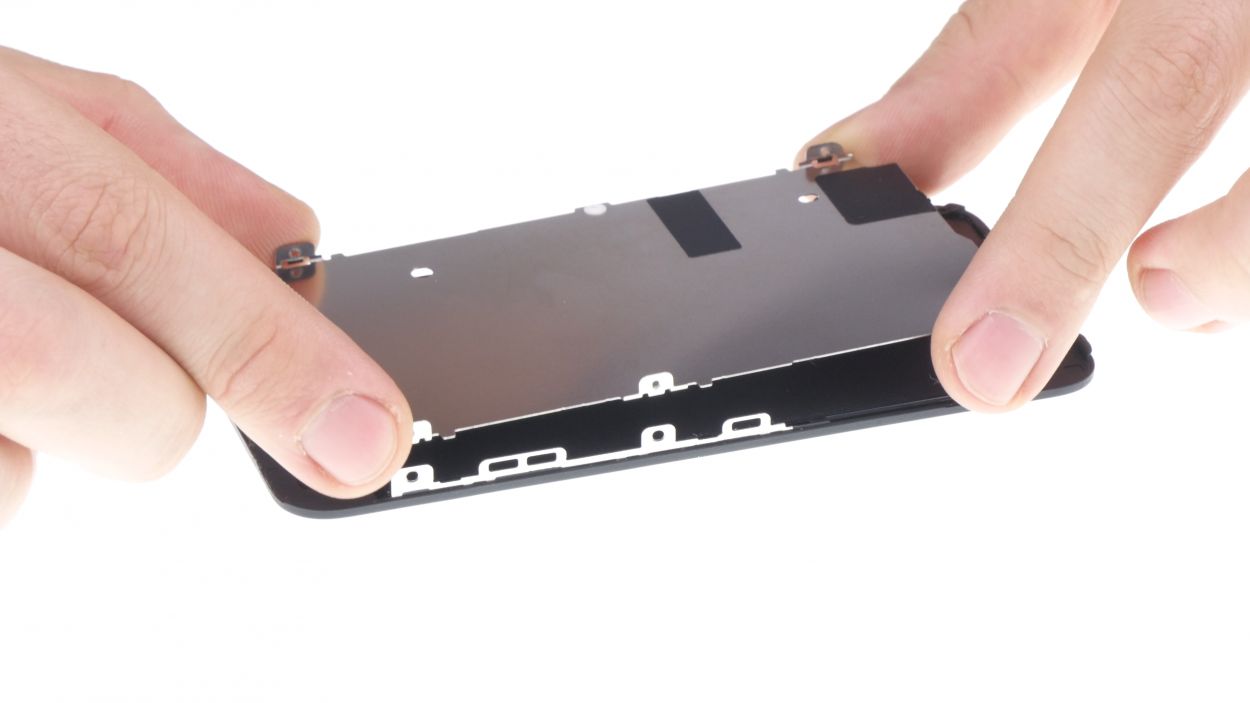
– Unscrew those 5 Phillips screws that are keeping the rear panel cozy with the display.
– Gently lift off the rear panel and set it aside.
Step 11
Front camera holder
Proximity sensor holder
Earpiece gasket
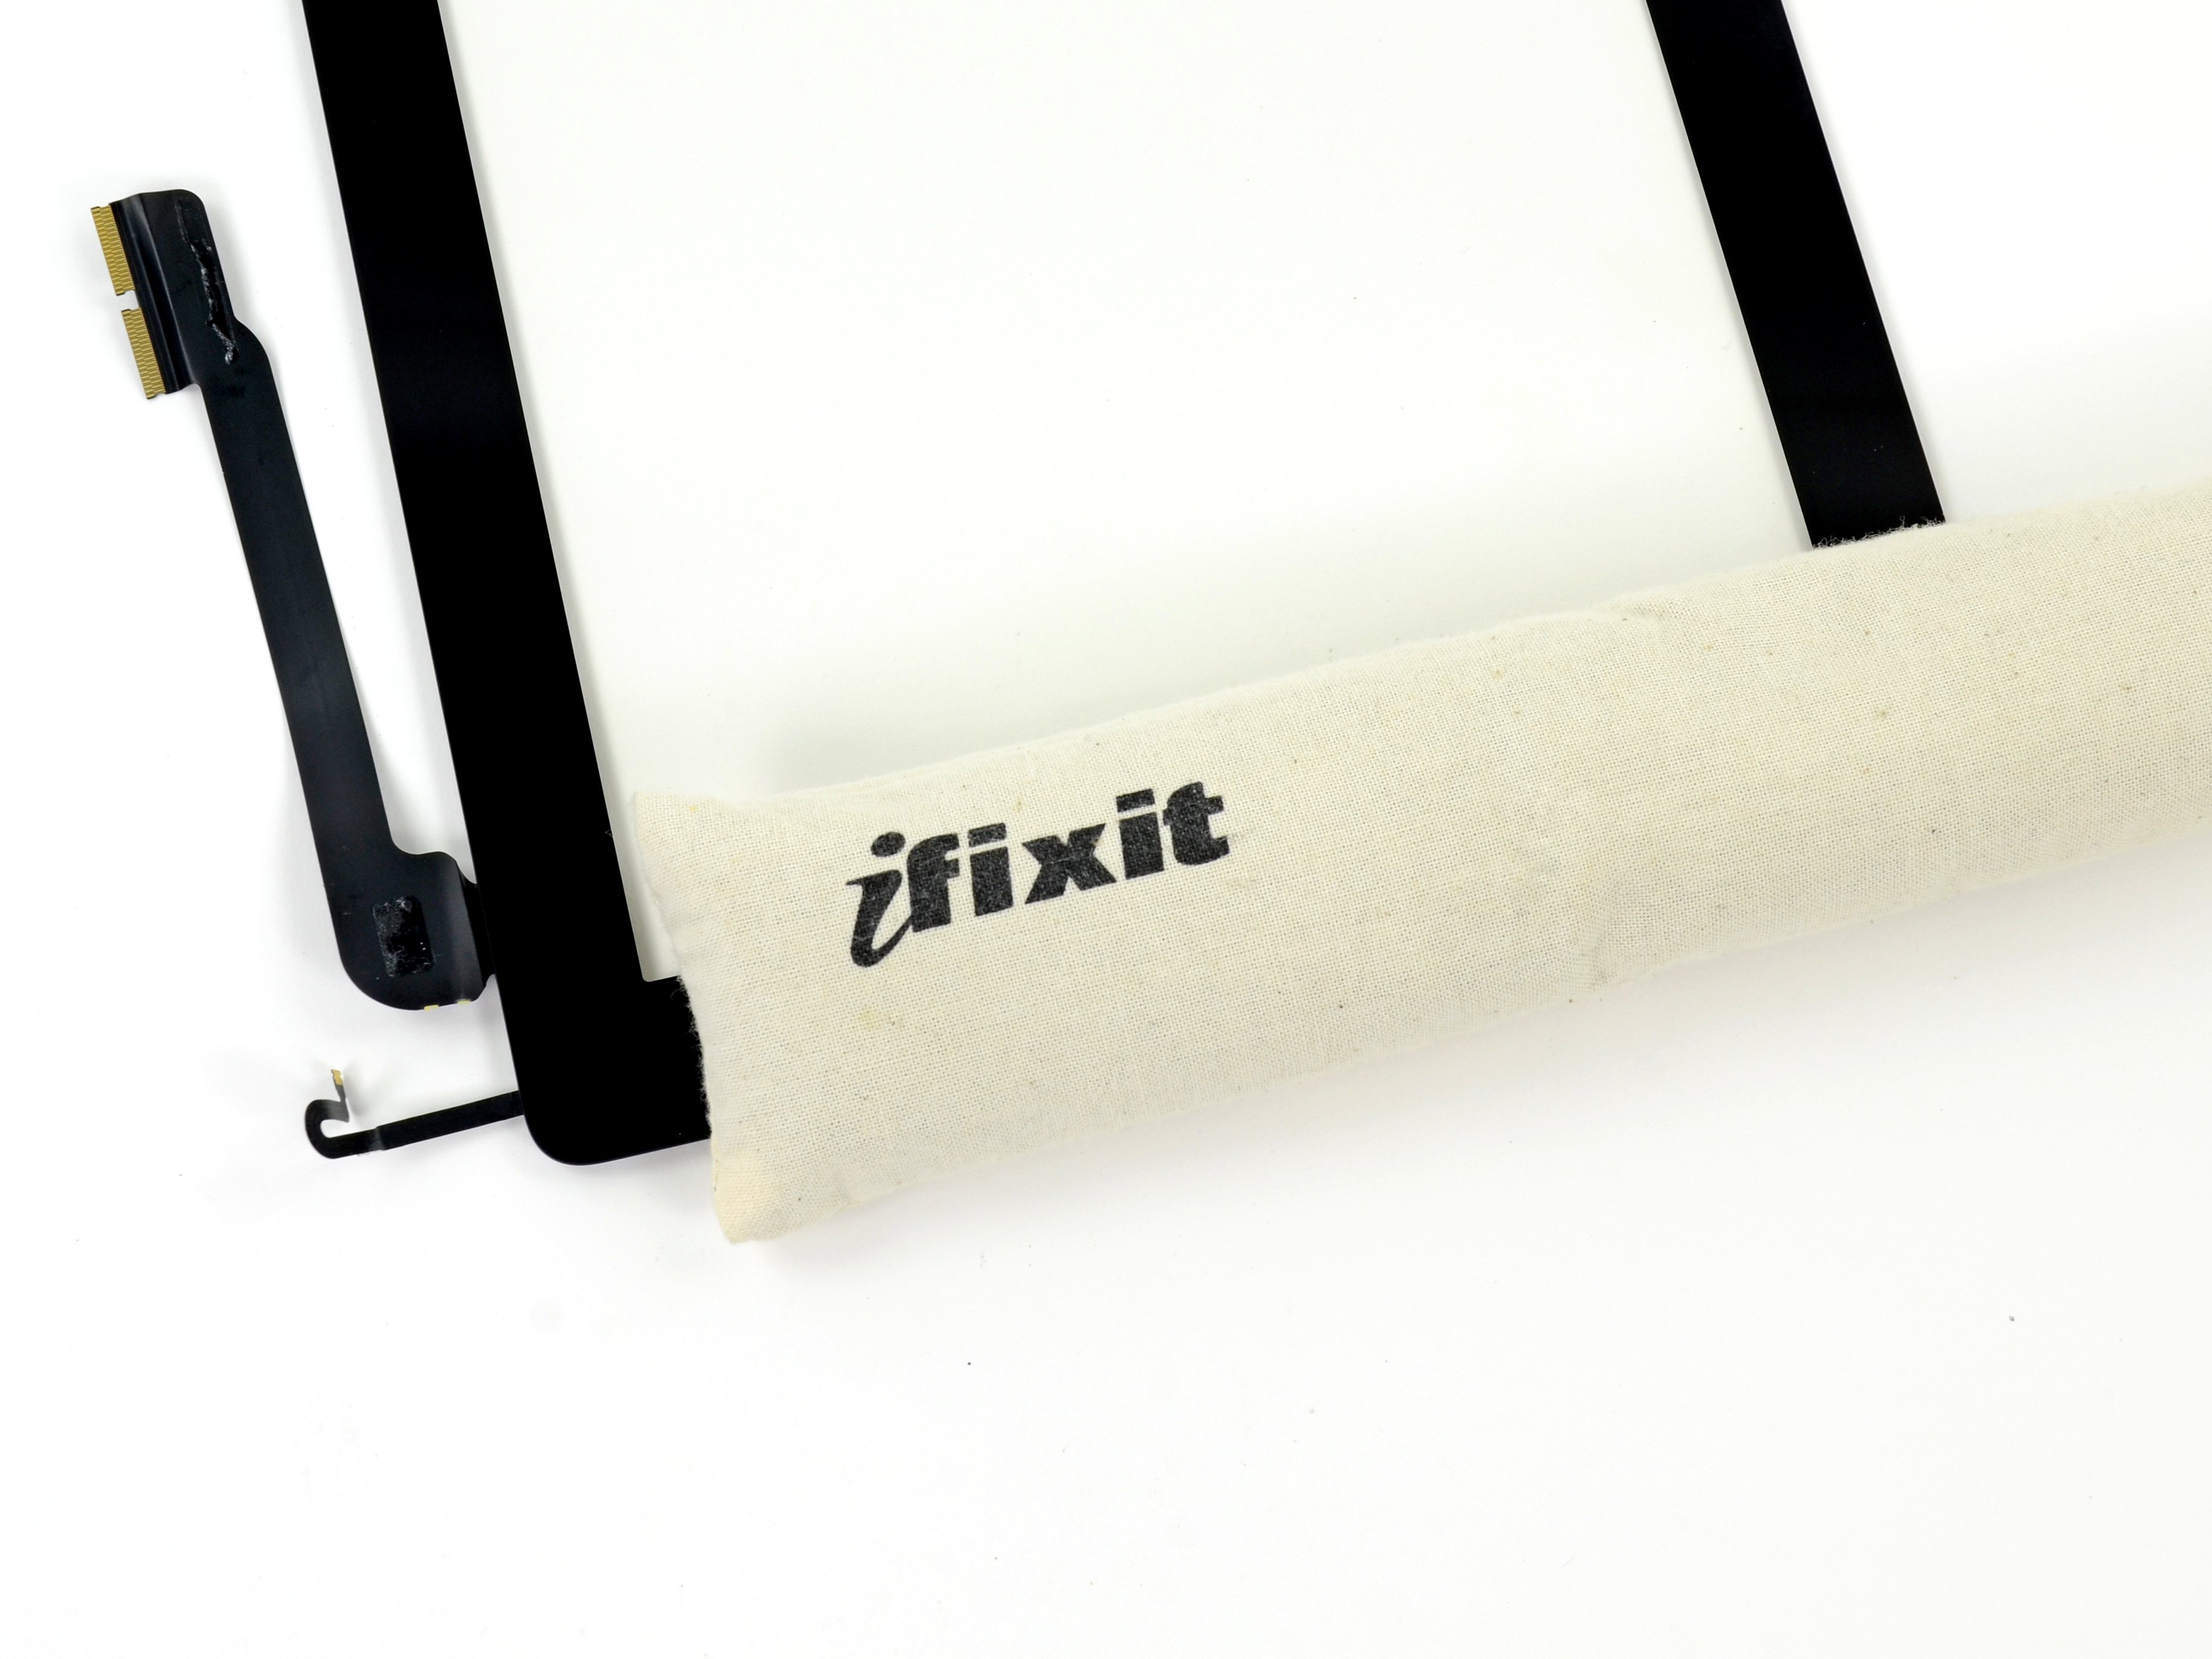
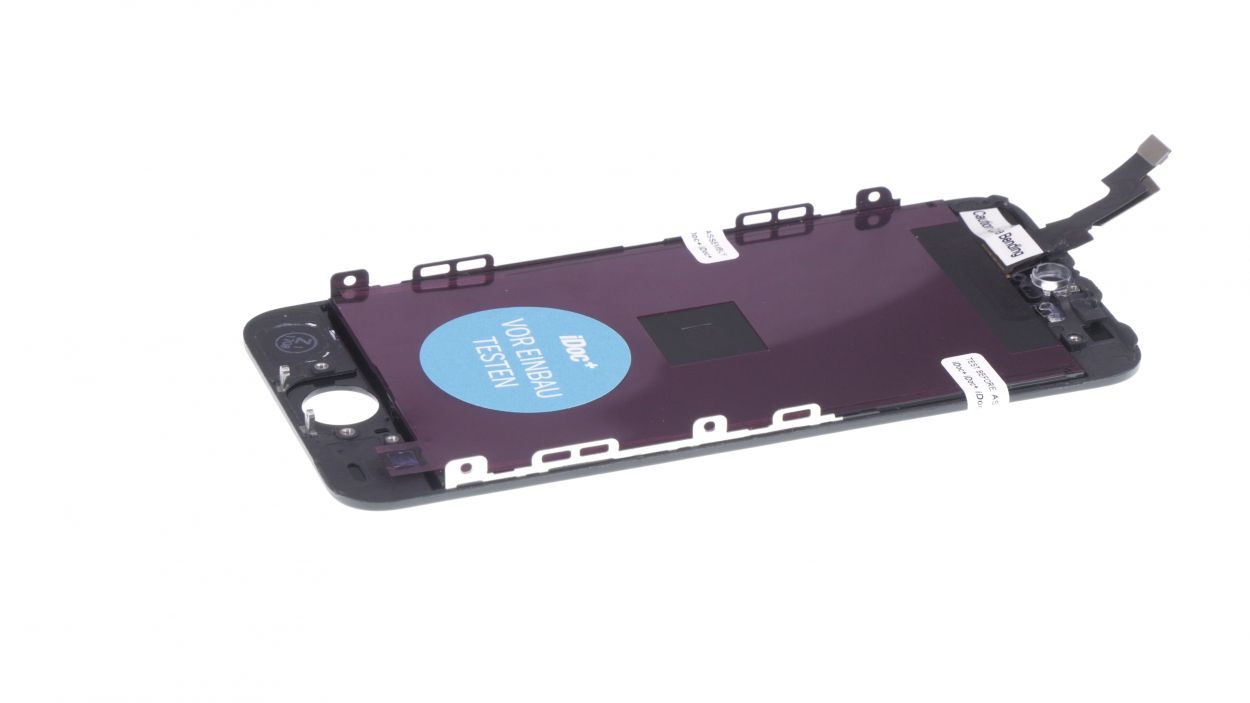
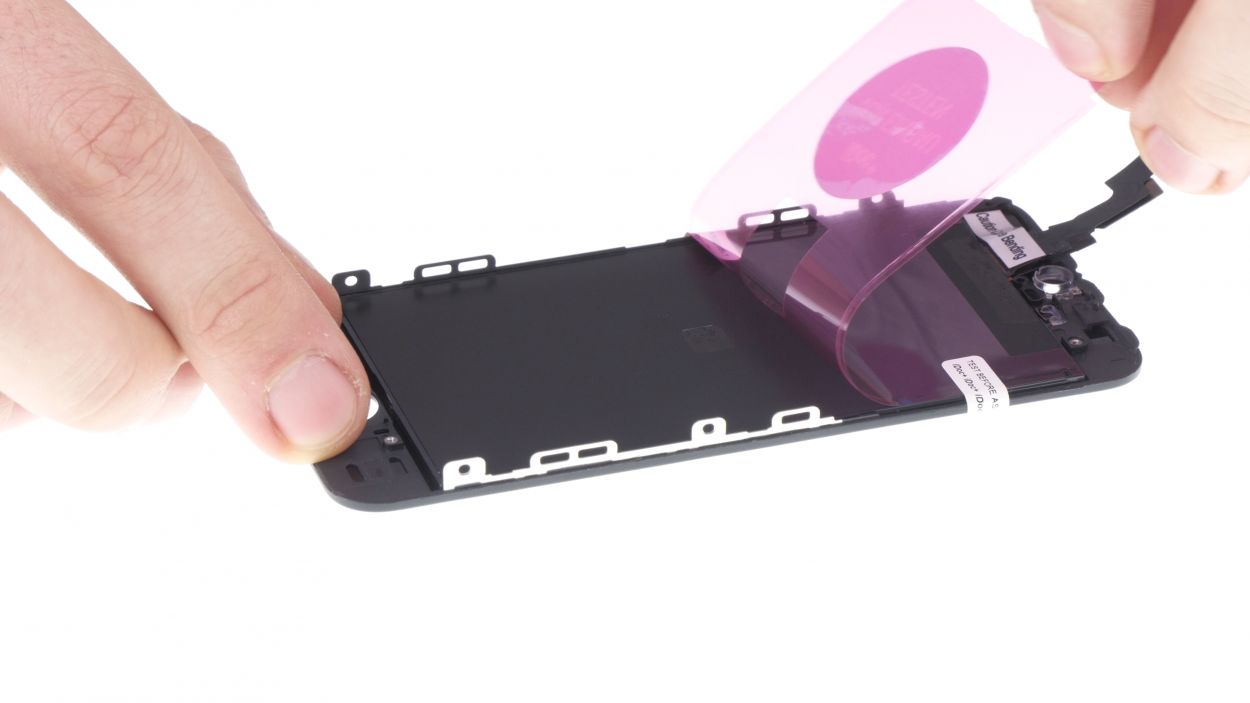
If your new display has a protective film on the back, go ahead and peel it off—like unwrapping a present!
– Not all displays are created equal, and some may come with different features. If you find that your new display is missing some parts, you might need to rescue a few items from your old display before you can install the new one. Here’s what you might need to snag:
– 1. Front camera bracket (it’s just lightly glued in there)
– 2. Proximity sensor bracket (also lightly glued)
– 3. Those handy black gaskets for the earpiece and other bits.
Step 12
4 × 1.1 mm Phillips
1 × 2.5 mm Phillips
– Place the rear panel snugly on the back of your shiny new display and secure it with screws. You’ve got this!
Step 13
2 × 1.2 mm Phillips
1 × Phillips
– Reposition the Home button back to its original spot and give it a gentle press onto the display to ensure the glue sticks like a champ.
– Next, place the silver cover on and secure the Home button with the two Phillips screws. Tighten them up, and you’re one step closer!
– Finally, lay the cable over the hole in the cover plate and fasten it with the Phillips screw. You’re doing great!
Step 14

Make sure to place that flexible flat cable just right! If it’s off, your front camera and proximity sensor might not be ready to roll.
– First, gently press the ambient microphone into its cozy little spot in the rubber to keep it secure.
– Next up, connect the front camera and sensors to their designated brackets, and give them a little push with the spudger to make sure the glue sticks. Remember, getting that flexible flat cable positioned just right is key—otherwise, your front camera and proximity sensor might not be on their A-game!
Step 15
1 × 4.0 mm Phillips
1 × 2.2 mm Phillips
Heads up! Those screws are like a quirky family—none of them are the same length! If you mix them up, one might press against the display glass from the inside and cause some serious damage. Keep them sorted!
– Reposition the earpiece back to its cozy spot on the front camera’s flexible flat cable. Once that’s done, pop the cover back on like a pro!
– Now, grab your trusty Phillips screwdriver and secure those screws. Just a quick tip: make sure the front camera is sitting pretty in the center of the display. A little nudge here and there might do the trick!
Step 16


Front camera flex
LCD
Digitizer
1 × 1.4 mm Phillips
1 × 1.5 mm Phillips
2 × 1.1 mm Phillips
If those display connectors are feeling a bit shy and don’t connect just right, you might see some funky stripes on your screen or your touchscreen could decide to take a break. Let’s keep everything snug and connected!
– Reconnect those connectors! Sometimes getting the display connector to play nice takes a couple of attempts. Just be gentle so you don’t bend anything.
– Once everything is securely connected, fire up your iPhone! Give the LCD, touchscreen, proximity sensor, front camera, and earpiece a quick check. If those display connectors aren’t snug, you might see some funky stripes or parts of the touchscreen acting up.
– Now, pop on the cover and screw it back in place. You’re almost there!
Step 17
2 × 1.5 mm Phillips
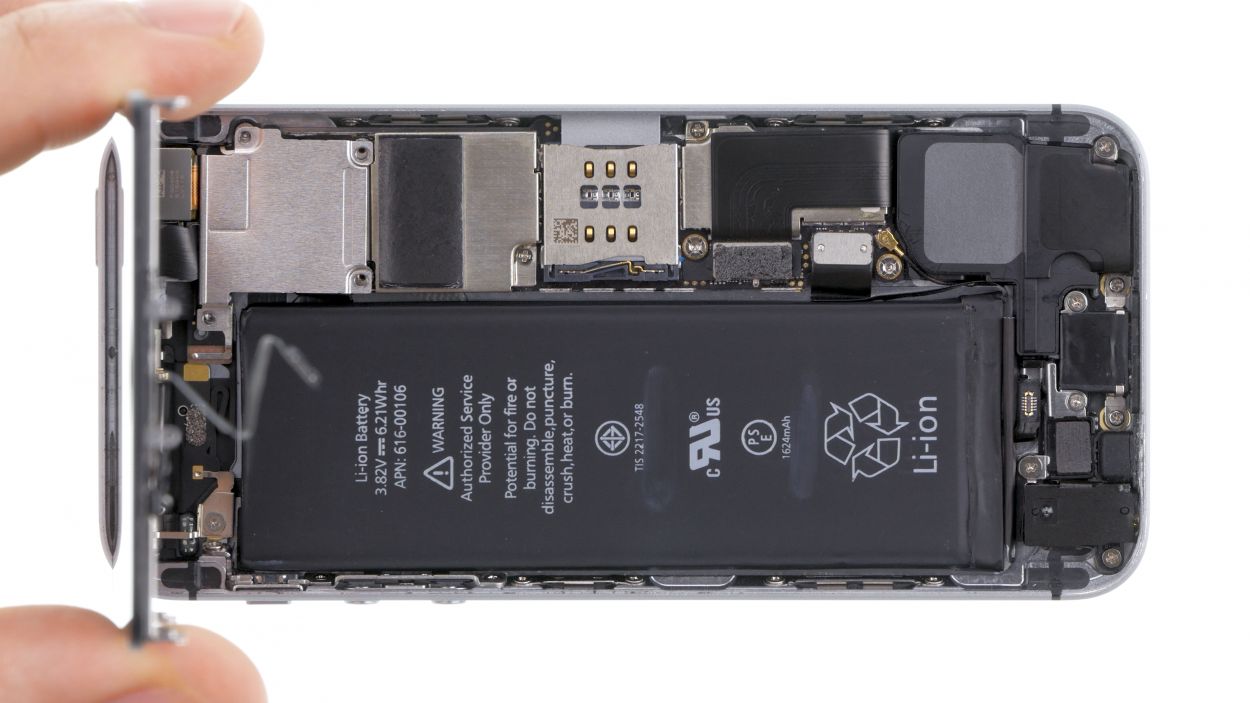
– Reconnect the battery contact to the logic board—let’s get that power flowing again!
– Now, pop the cover back on and secure it with those two Phillips screws. You’re almost at the finish line!
Step 18
– Slide the display into the enclosure at the top edge where the connection cables hang out. Give it a gentle press until you hear that satisfying click!
– Before you can hook your device up to the display, make sure to connect the Home button to the Lightning connector and secure them with the cover. Teamwork makes the dream work!
– Now, press down on the display towards the Home button until it fits snugly into the frame. It should be perfectly flush with the frame, just like a well-fitted puzzle piece.
Step 19
2 × 3.8 mm Pentalobe
– Alright, it’s time to secure those two pentalobe screws at the bottom of the enclosure! Just give them a nice twist, and you’ll be one step closer to a fully functioning iPhone SE!
Step 20