
iPhone X Face ID Not Working Fixed By Replacing Earpiece Flex Cable
Duration: 45 minutes
Steps: 6 Steps
Step 1


Face ID is a team effort that needs the dot projector, infrared camera, and floodlight illuminator all working in sync. Each of these parts is uniquely encrypted, so missing or replacing any one of them will cause Face ID to throw in the towel.
The dot projector and infrared camera can be fixed if they take a hit since their data ties directly to the motherboard. However, the floodlight illuminator lives on the earpiece flex cable, making it a tough nut to crack—if it’s damaged, it can’t be repaired because its data is tricky to access.
- The phone kept rebooting nonstop, which is always frustrating! After some testing, we discovered the culprit was a faulty earpiece flex cable. We swapped in a fresh new one, and voilà, the restart issue was fixed! But, there's a little twist—Face ID stopped working and True Tone went AWOL. Looks like we'll need to tweak a bit more to get everything back on track. If you need help, you can always schedule a repair.
Step 2


- If Face ID isn't working because the earpiece flex cable got replaced or damaged, don’t panic! This issue now has a solution, and you won’t need the original flex cable anymore.
- First things first, we need to jailbreak your iPhone. Plug your phone into your computer, fire up the software, and hit ‘Start’. Your phone will automatically enter recovery mode. Next, manually put the phone into DFU mode. Once that’s done, your jailbreak is good to go!
Step 3
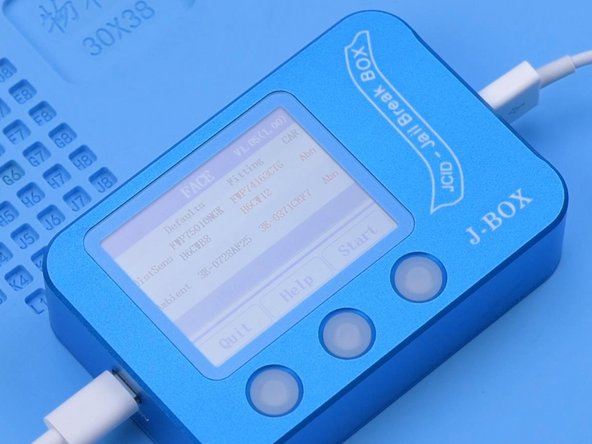
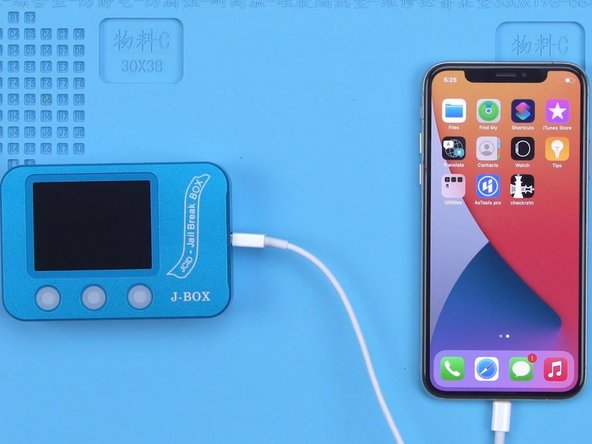
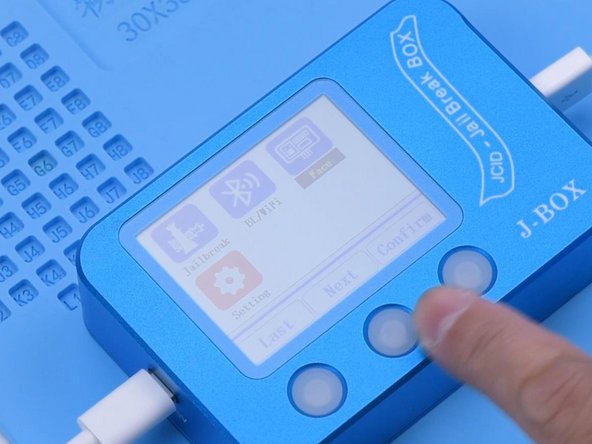
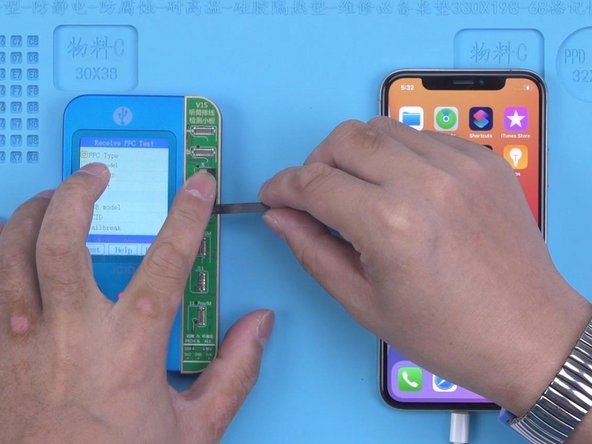
- Time to plug in! Hook up your phone to the J-BOX, then connect the J-BOX to your computer. Hit up the 'Face' option and start reading those data vibes.
- Looks like the distance sensor and ambient light sensor are not quite in sync with the motherboard's data. That's a telltale sign the earpiece flex cable got swapped out, and that's why Face ID's taking a nap.
Step 4
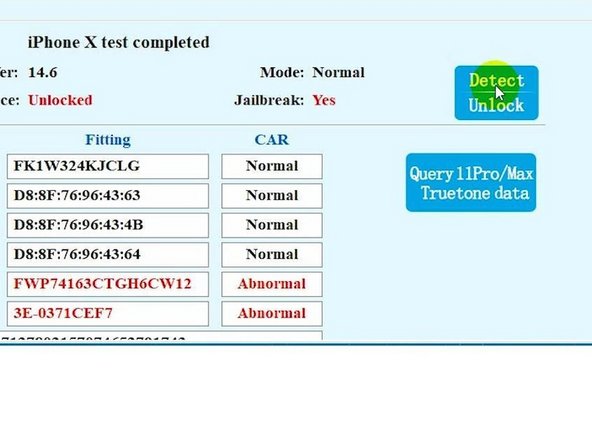
- Kick things off by launching the JCID Repair Assistant. Hit that 'Detect' button and watch the magic unfold as it unlocks automatically.
- Next up, we're going to use the V1S to write the data. Plug in your V1S and your phone to the computer. Grab a shiny new JC earpiece flex cable and connect it to the V1S. You're on the right track!
Step 5

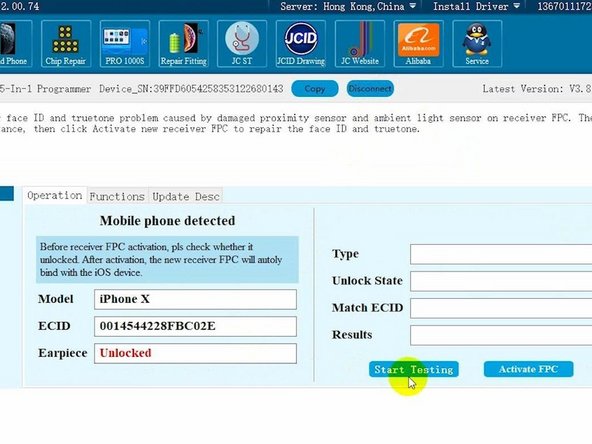
- Fire up the JCID Repair Assistant again. Hit “Connect” and let’s get testing.
- Tap “Activate FPC” and carefully attach the flex cable to your phone.
Step 6
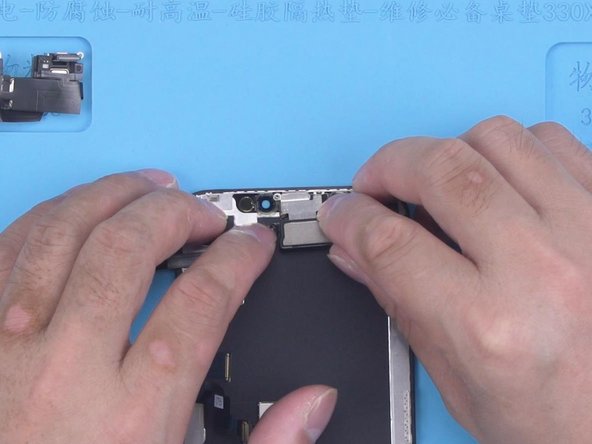

- Alright, first things first, we’re going to pop in the new flex cable with the data written on it. So, take apart the phone and unplug those flex cables. Carefully remove the display assembly and disconnect the earpiece flex cable. Now, just install the fresh earpiece flex cable, easy peasy.
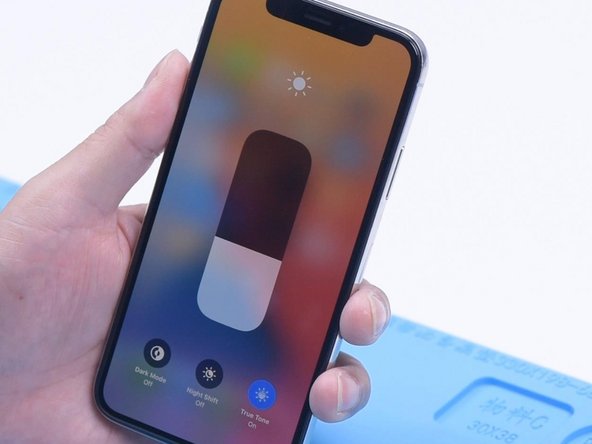
- Next up, reconnect the display assembly and put everything back together. Power the phone on and test it out. You’ll see that True Tone is back and running smoothly. Plus, Face ID is good to go and ready for setup!


