
iPhone X Rear Camera Lens Replacement
Duration: 45 minutes
Steps: 3 Steps
Uh-oh! Looks like the glass lens on your iPhone X’s rear camera has cracked. No worries, though – it’s an easy fix! First, carefully remove the broken glass bits. Then, grab a new lens, clean up the area, and attach the fresh lens using double-sided tape or just a couple of drops of glue. Be extra gentle around the camera – you don’t want to mess with it! For extra protection, pop on some safety glasses to avoid any glass shards getting in your eyes. If you're feeling unsure or want to skip the hassle, you can always schedule a repair.
Step 1
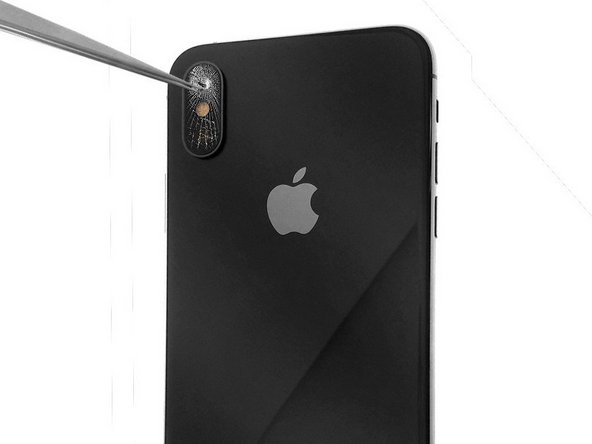

- Carefully take out the shattered glass bits from the camera housing—watch your fingers!
- Clear away the broken glass around the camera lens area, then give the edges a good clean to prep for the next step.
Step 2


Take your time and be super careful here! You definitely don’t want to end up cleaning and reapplying glue because the camera glass got misaligned. Precision is key!
- Let's get that new rear camera glass on there! Use some adhesive or just a couple of drops of clear superglue on the sides of the camera housing to keep it secure.
- Now, grab those precision tweezers and gently place the replacement camera lens right in the designated area. You're doing great!
Step 3

Go ahead and give your rear camera a whirl to see how crisp and clear your photos and videos turn out!
- Gently press down on the camera lens to make sure the glass snugly fits into the camera housing.


