iPhone X Says No Service? Here’s the fix!
Duration: 45 minutes
Steps: 13 Steps
Step 1


Looks like the bonding pad might have been loosely soldered, or we’ve got a glitch in the lower layer. Next up: let’s get that motherboard separated.
- Start by checking out the motherboard for any cosmetic issues. Make sure it’s looking good, with no deformations or water damage.
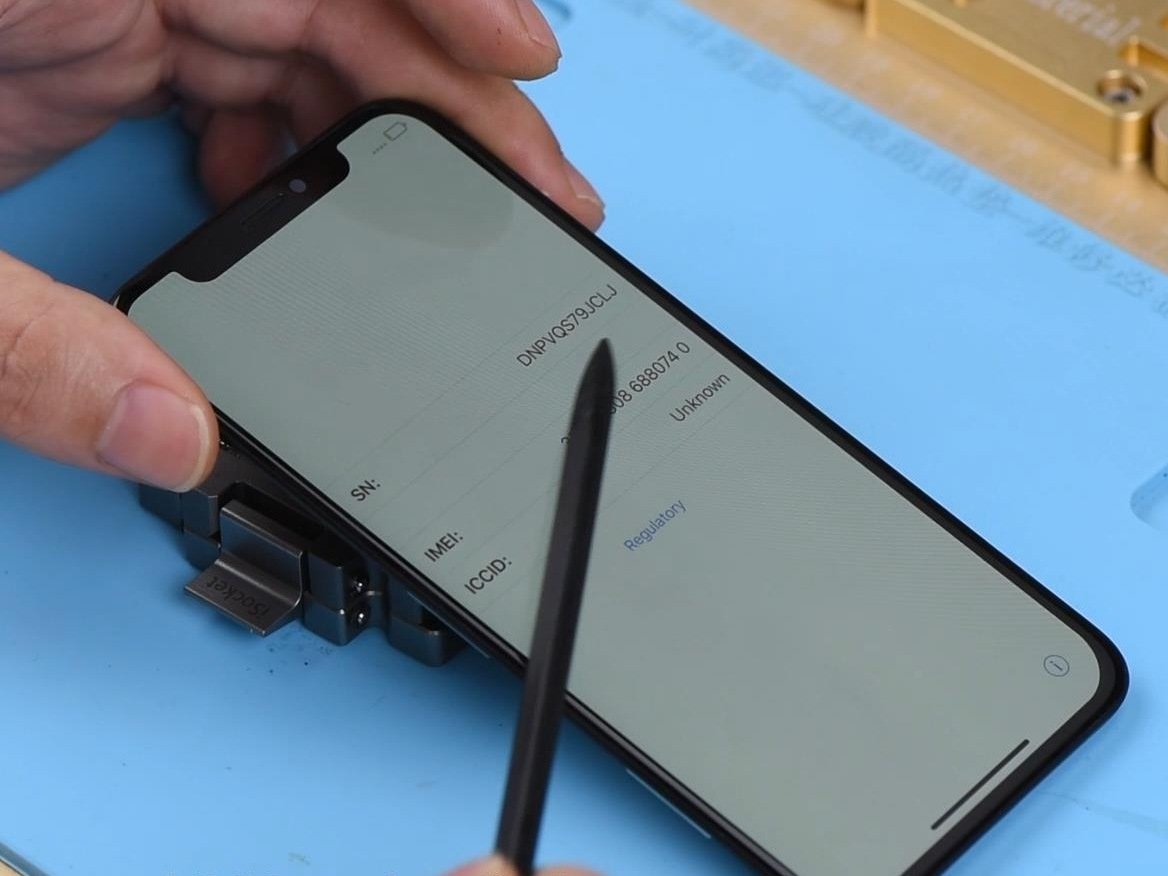
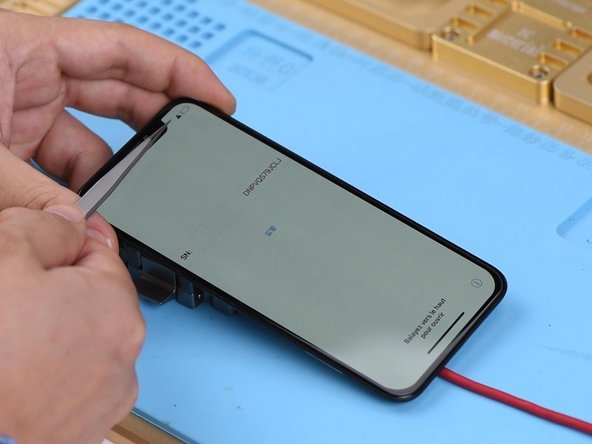
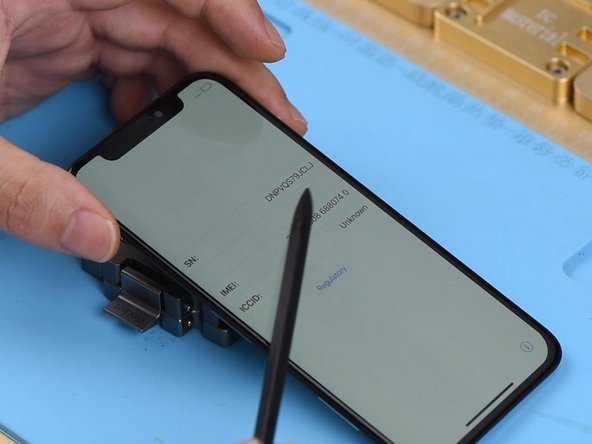
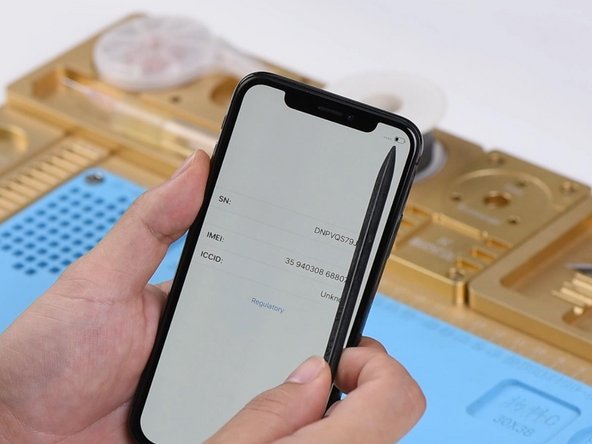
- Now, let’s get the motherboard into place and connect the battery and display assembly. Power up the phone and follow the activation process. Tap the icon at the bottom right corner. The serial number should appear normally on the screen, but if you see ‘No Service’ in the top right corner and no IMEI number on the screen, we might have a little extra work ahead.
Step 2


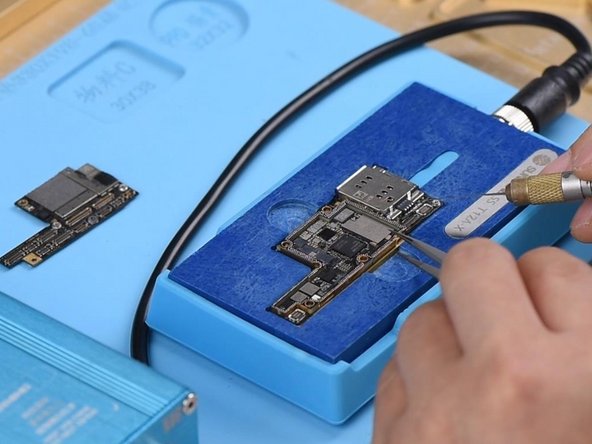
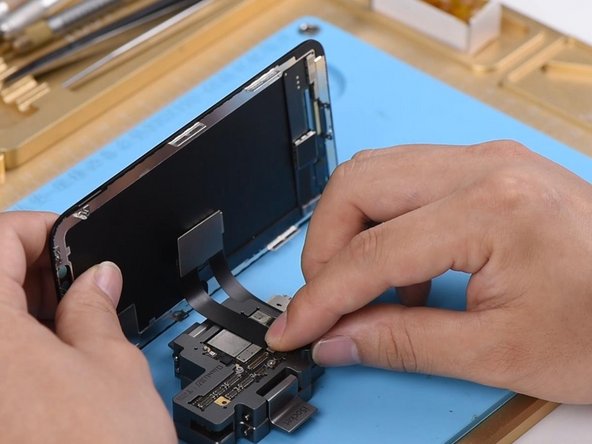
- First things first, pop off the display assembly, disconnect the battery, and carefully lift out the motherboard.
- Next, place that motherboard on the specialized Heating Platform. Power it up and crank the temperature up to a comfy 150℃. We're getting ready to work some magic!
Step 3

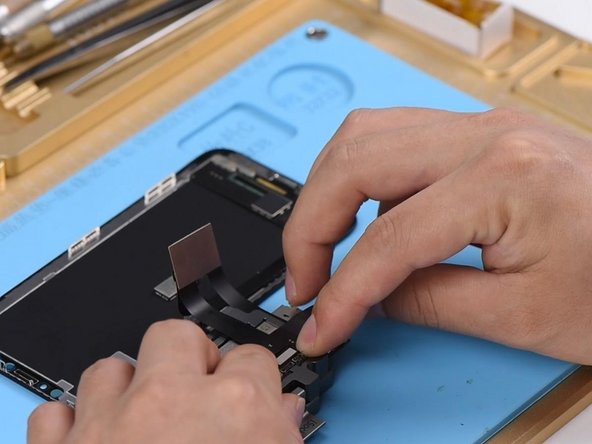
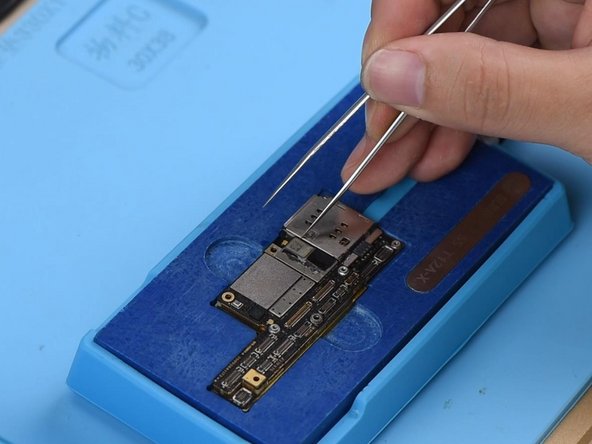
- Once the platform hits a toasty 150℃, grab those tweezers and lift off the top layer like a pro.
- Next, peel the bottom layer off the platform, then go ahead and power down the heating platform.
Step 4
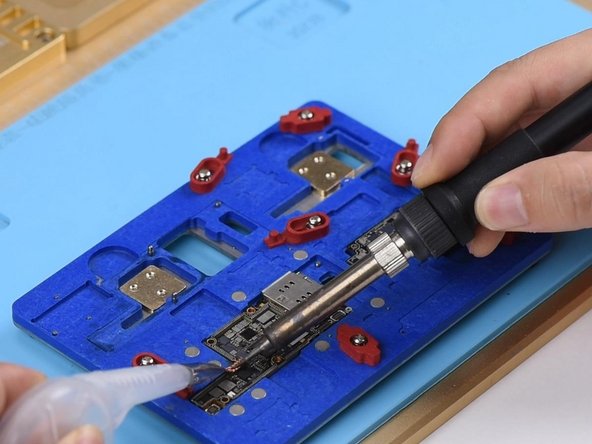

- Let's get those layers together! Start by attaching the upper layer to the lower layer on the PCB Holder.
- Next up, grab your Soldering Iron and crank it up to a cozy 360℃. Give those edges of the upper layer and the bonding pad a little TLC with some rosin-soaked Solder Wick to clean up those pads.
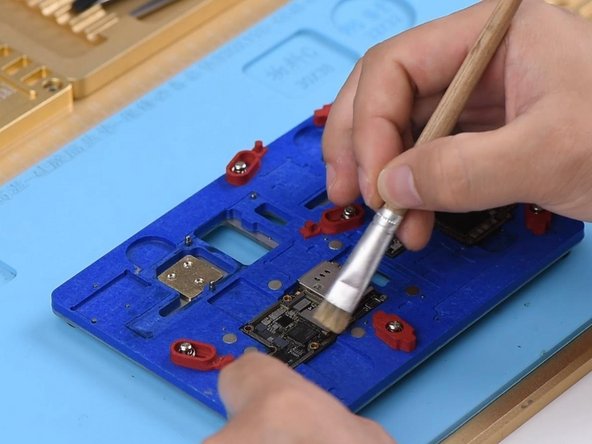
- Once you're done, give everything a good spritz with PCB Cleaner to make it shine!
Step 5

- First, gently separate the upper layer from the lower layer of the PCB Holder. Once they've parted ways, attach both layers to the test fixture like a pro!
- Now, let's connect the display assembly and get things powered up! Link the battery connector to the Power Supplier, then give that power button a friendly press. Your system should respond and recognize your button press like it’s been waiting for this moment!
Step 6


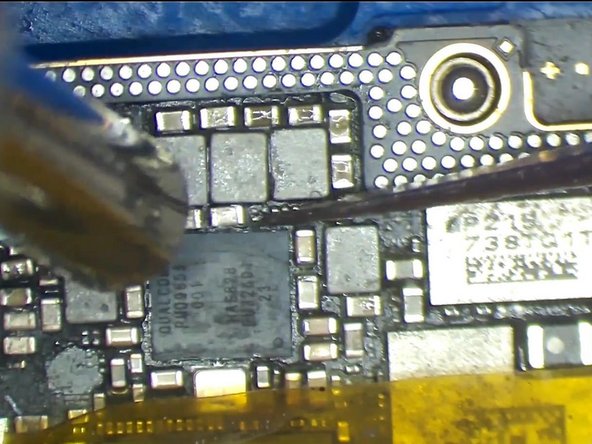
Alright, the bonding pad is definitely not pseudo soldered—so the real troublemaker is lurking in the lower layer. Time to dig a bit deeper there!
Based on what we see, the issue is likely connected to either U_PMIC_E or U_MDM_E components.
- The phone starts up with the activation process. Tap the icon at the bottom right corner. The serial number shows up on the screen just fine, but there’s no IMEI number to be found. Also, you’ll notice a No Service warning hanging out in the top-right corner.
- Next, check the signal-related pins on the bonding pad using diode mode measurement. Everything looks solid here—no issues detected.
- Then, run diode mode checks on the capacitors connected to the power supply circuit of U_PMIC_E. Again, all clear with no problems found.
Step 7
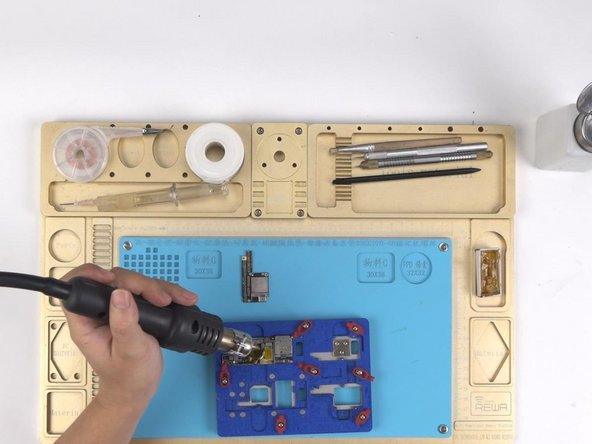

- Let's swap in a fresh U_PMIC_E and check how it performs. First up, slap some High-temperature Tape on U_MDM_E and the WiFi module to keep them safe.
- Use a Hot Air Gun set to 330℃ with airflow level 3 to carefully remove the U_PMIC_E.
Step 8


- Keep slathering on that Solder Paste and Paste Flux onto the bonding pad like it's frosting on a cake!
- Give the bonding pad a little spa treatment with your Soldering Iron set to a toasty 360℃—it'll thank you later.
- Now, let's keep the heat coming! Use that Hot Air Gun at 330℃ and help the bonding pad get squeaky clean with some Solder Wick.
Step 9


- Let’s kick things off by giving that board a good clean with PCB Cleaner afterwards. Nice and tidy!
- You'll notice some pesky black adhesive hanging around the bonding pad of U_PMIC_E. Grab those tweezers and gently remove it before we dive into soldering.
- Once that’s sorted, it’s time to show that bonding pad some love with a bit of Paste Flux. Position your brand new U_PMIC_E just right and get ready to solder it down with a Hot Air Gun set to 330℃ and air flow at 3. You've got this!
- After the soldering magic is done, give everything another clean with PCB Cleaner and don't forget to peel off the High-temperature Tape. Almost there!
Step 10


Heads up! For iPhones running iOS 12, once you swap out the baseband-related IC, you'll need to restore the phone and reprogram the baseband data. It's just part of the process to get everything running smoothly again!
- Place the top and bottom layers onto the test fixture. Hook up the back glass assembly and connect the battery connector to the DC Power Supply.
- Plug the iPhone into your computer using the USB cable. Use iTunes to restore the phone. When finished, unplug the USB cable, power supply, and back glass assembly.
- Next, reinstall the display assembly. Connect the battery connector to the power supply. The phone will then go through the activation process.
- Tap the icon at the bottom right corner. The serial number and IMEI should appear as usual. The signal bars in the top-right corner return to normal. Now we can confirm the No Service issue was caused by U_PMIC_E.
Step 11
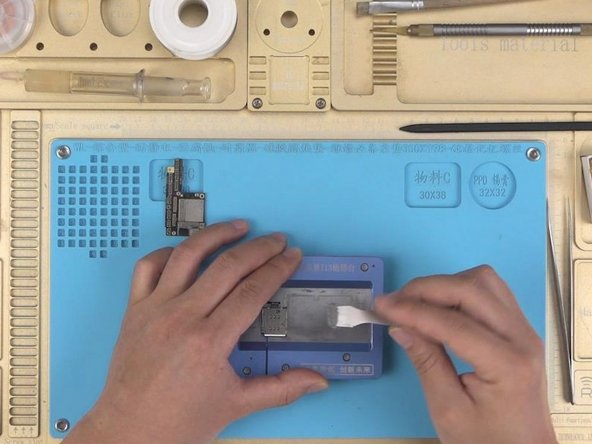

- Alright, time to bring it all together! Start by soldering the two layers. Attach the lower layer to your iPhone X specialized reballing mold.
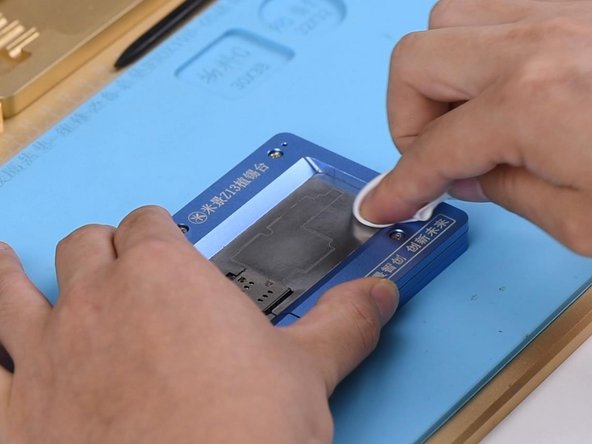
- Next, cover the lower layer with the matching reballing stencil. Make sure it fits snugly.
- Now, grab some low-temp solder paste and spread a thin layer over the stencil. Be careful not to overdo it! Use a lint-free wipe to clean off any excess paste. Once you've finished, gently remove the reballing stencil. You should see an even and smooth layer of solder paste. Perfection!
Step 12

- Place the lower layer carefully onto the heating platform. Power it up and set the temperature to 150℃. As the solder paste starts to melt, you’ll notice the solder balls taking shape. Once done, power off the platform and let the lower layer cool down for 10 minutes.
- Next, apply some BGA Paste Flux to the bonding pad. Take your time—this part is crucial!
- Now, get the upper layer into place and fire up the heating platform.
- Once the platform hits 150℃, keep it heating for another minute. When the time’s up, turn off the platform and let the motherboard cool for 10 minutes.
Step 13

Pro tip: Make sure to reassemble your phone completely once you’ve confirmed the issue is fixed.
- Let's put this phone back together and see how it performs! Powering it on should lead us right into the activation journey. Just tap that little icon in the bottom right corner. You should see the serial number and IMEI number pop up without any issues on the screen. Look up at those signal bars in the upper-right corner—they should be smiling again. Hooray! The No Service problem is all fixed up!


