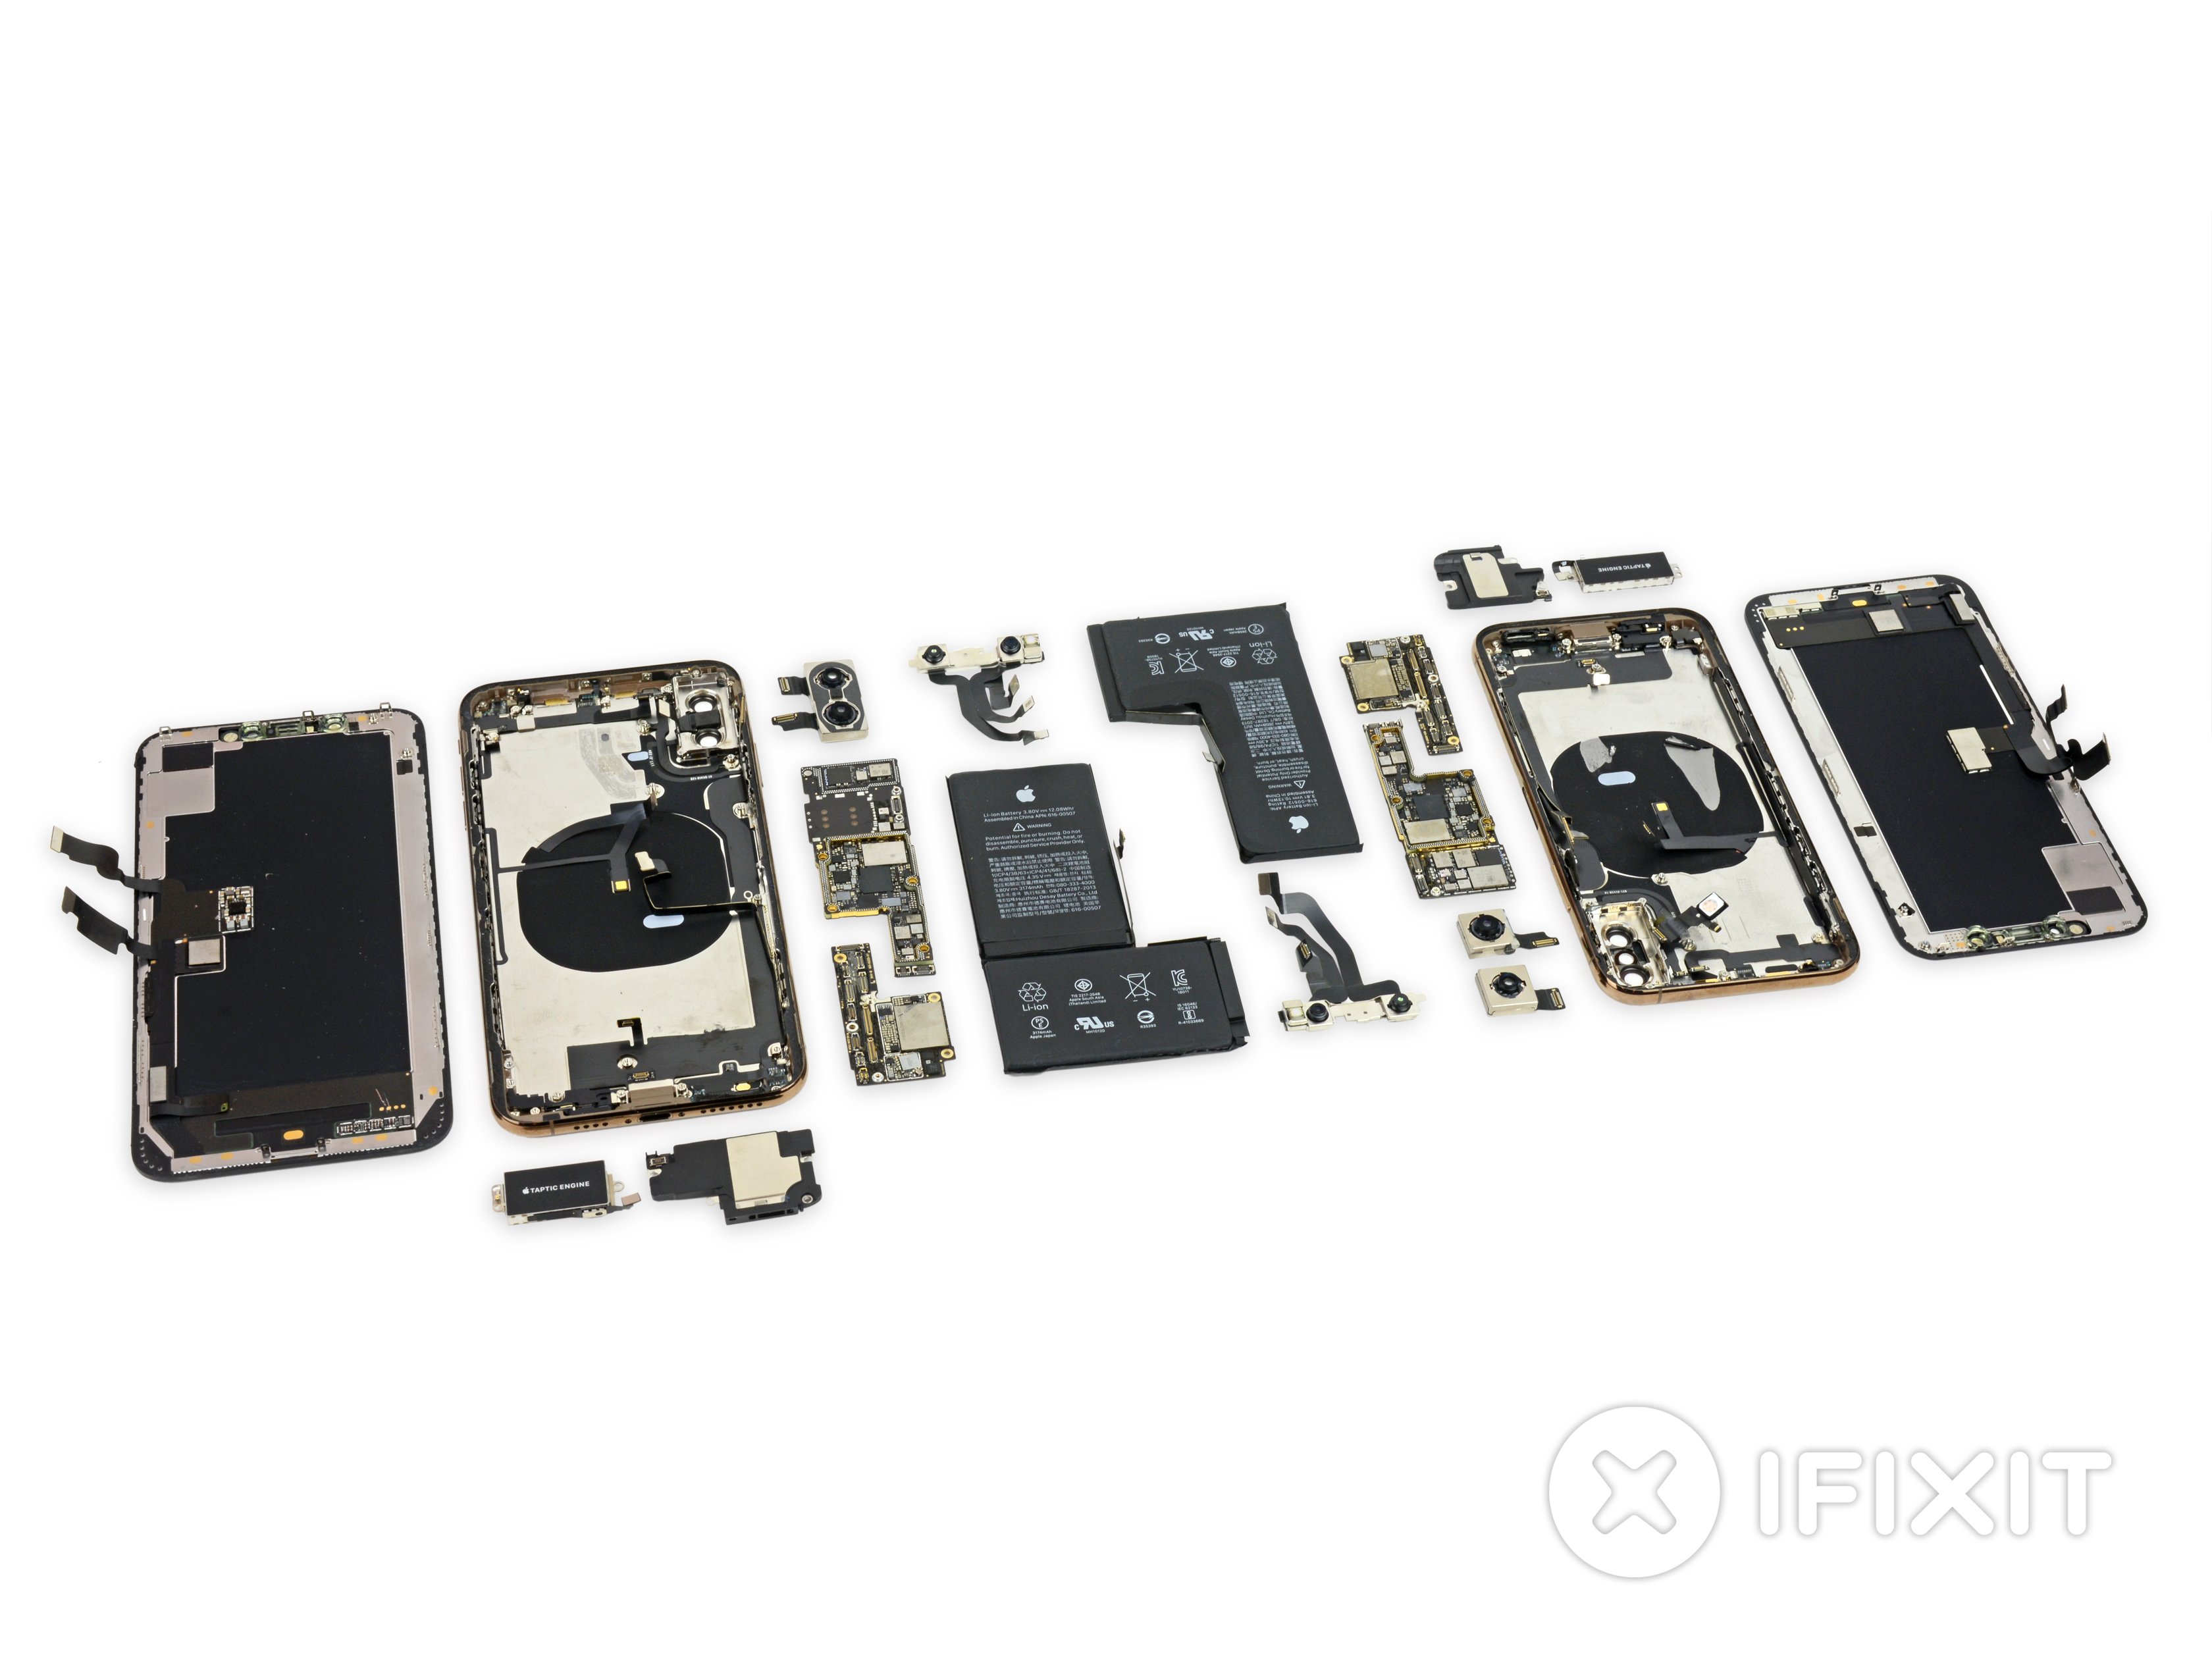
iPhone XS Max Face ID Not Working Fixed – Dot Projector Repair
Duration: 45 minutes
Steps: 8 Steps
When Face ID acts up and tells you to 'Move iPhone a Little Lower/Higher,' it’s usually because the dot projector is damaged — and honestly, that’s a tough nut to crack. But don’t lose hope just yet; there’s finally a way to tackle this issue!
Step 1
- Head over to Settings > Face ID & Passcode > Set Up Face ID. If your iPhone is giving you the message 'move iPhone a little lower/higher' while setting up, don't sweat it!
- Open up the Camera app and tap on Portrait at the bottom. Flip to the front camera. When it spots a face, you should see the lighting effect name ‘Natural Light’ all chill and unchanged. If it keeps telling you to ‘Move farther away’, just give it a little space.
- Typically, when Portrait mode is all set to go, the name of that ‘Natural Light’ effect should light up in yellow. It’s like a little signal saying, 'Hey, I’m ready!'
- If you're not seeing that, it might mean the dot projector or its circuits are acting a bit funky. But no worries, if you're feeling stuck, you can always schedule a repair.
Step 2
- Crack open the phone and carefully remove the display. You’ll spot the dot projector’s been dunked—water damage and a shattered crystal are on the scene.
- Gently tug out the battery adhesive strips, then remove the front camera module.
- Hook up the dot projector flex cable to the repair programmer and tap 'Check'. Result: Fusing.
- Looks like the dot projector flex cable is toast. Time to copy the data from the original flex cable onto a fresh one, and swap out that busted crystal for a solid replacement. If this sounds wild, you can always schedule a repair.
Step 3
Handle the dot projector flex cable with care! A little tip: wrap your hand with a lint-free wiper to keep the front camera safe from any accidental bumps.
- Snip off the bracket holding the infrared camera and dot projector using your trusty Cutting Nipper. Next, drop the front camera, dot projector, and infrared camera into their matching spots on the heating platform.
- Crank up the heat to 110℃ and let the Heating Platform work its magic. When the adhesive feels nice and soft, gently peel away that dot projector flex cable—slow and steady wins the race.
- Nestle the dot projector into the custom rubber mold. Fire up the Soldering Iron to 365℃. Carefully separate the crystal from the flex cable using the blade, like splitting a cookie without losing any crumbs.
Step 4
- Let's get to work! First, we need to transfer the data from the original dot projector flex cable onto a shiny new one. Start by connecting the original dot projector flex cable to the repair programmer. Hit ‘Read’ to grab the data from the original cable, and then click ‘Save’ to keep it safe. Once that’s all set, go ahead and unplug the original cable.
- Now, it’s time to introduce your new dot projector flex cable to the programmer! Connect it and click ‘Open’. Next, select the saved data by clicking ‘Selected’. When you’re ready, hit ‘Burn’ to load that data onto the new cable. Once that’s complete, you can disconnect the new cable. Easy peasy!
Step 5
- Use a grinding tool to carefully grind down the MOSFET right here. Then, warm things up with a Hot Air Gun to gently remove the dot projector module. Keep the heat on with the Hot Air Gun and use tweezers to clean off any leftover bits of the MOSFET.
- Next, apply a bit of medium-temp solder paste to the bonding pad. Give the bonding pad a nice tinning with your Soldering Iron. Grab some 0.02mm Enameled Copper Wire for this part. Heat it up with the Soldering Iron and connect Pin 2 and Pin 3 of the MOSFET using the wire.
Step 6
- Flip that dot projector module over and send any leftover adhesive packing with your sculpture knife. Then give it a thorough scrub-down with Solder Wick, followed by a spa day with PCB Cleaner.
- Line up your BGA reballing stencil like a pro, dab on some medium-temp solder paste, and hit it with the Hot Air Gun to get those solder balls back where they belong.
- Secure the fresh dot projector flex cable in your PCB Holder, slap on a bit of paste flux, line everything up nicely, and solder it on with the Hot Air Gun.
- Let things chill out for two minutes, then connect the new flex cable to your repair programmer. Hit ‘Check’—if everything’s normal and the infrared light is shining, you’re all set! If things get weird, you can always schedule a repair.
Step 7
Heads up: When lining up the crystal with the module, a tiny misstep can throw off Face ID. Take your time and double-check your alignment.
- Put a dab of glue on the dot projector module, then carefully place a known-good crystal in just the right spot.
Step 8
- Stick some double-sided tape on the back of the front camera. Get that dot projector flex cable settled in exactly where it belongs—no wild guesses!
- Heads up: We're using double-sided tape just for testing right now. After you confirm everything works, glue the dot projector module to the flex cable for the real deal.
- Time to put the phone back together and give it a whirl! Go to Settings > Face ID & Passcode > Set Up Face ID. If everything’s working, Face ID sets up without a hitch and you’ll be unlocking your phone with a glance. If you hit a snag, you can always schedule a repair.


