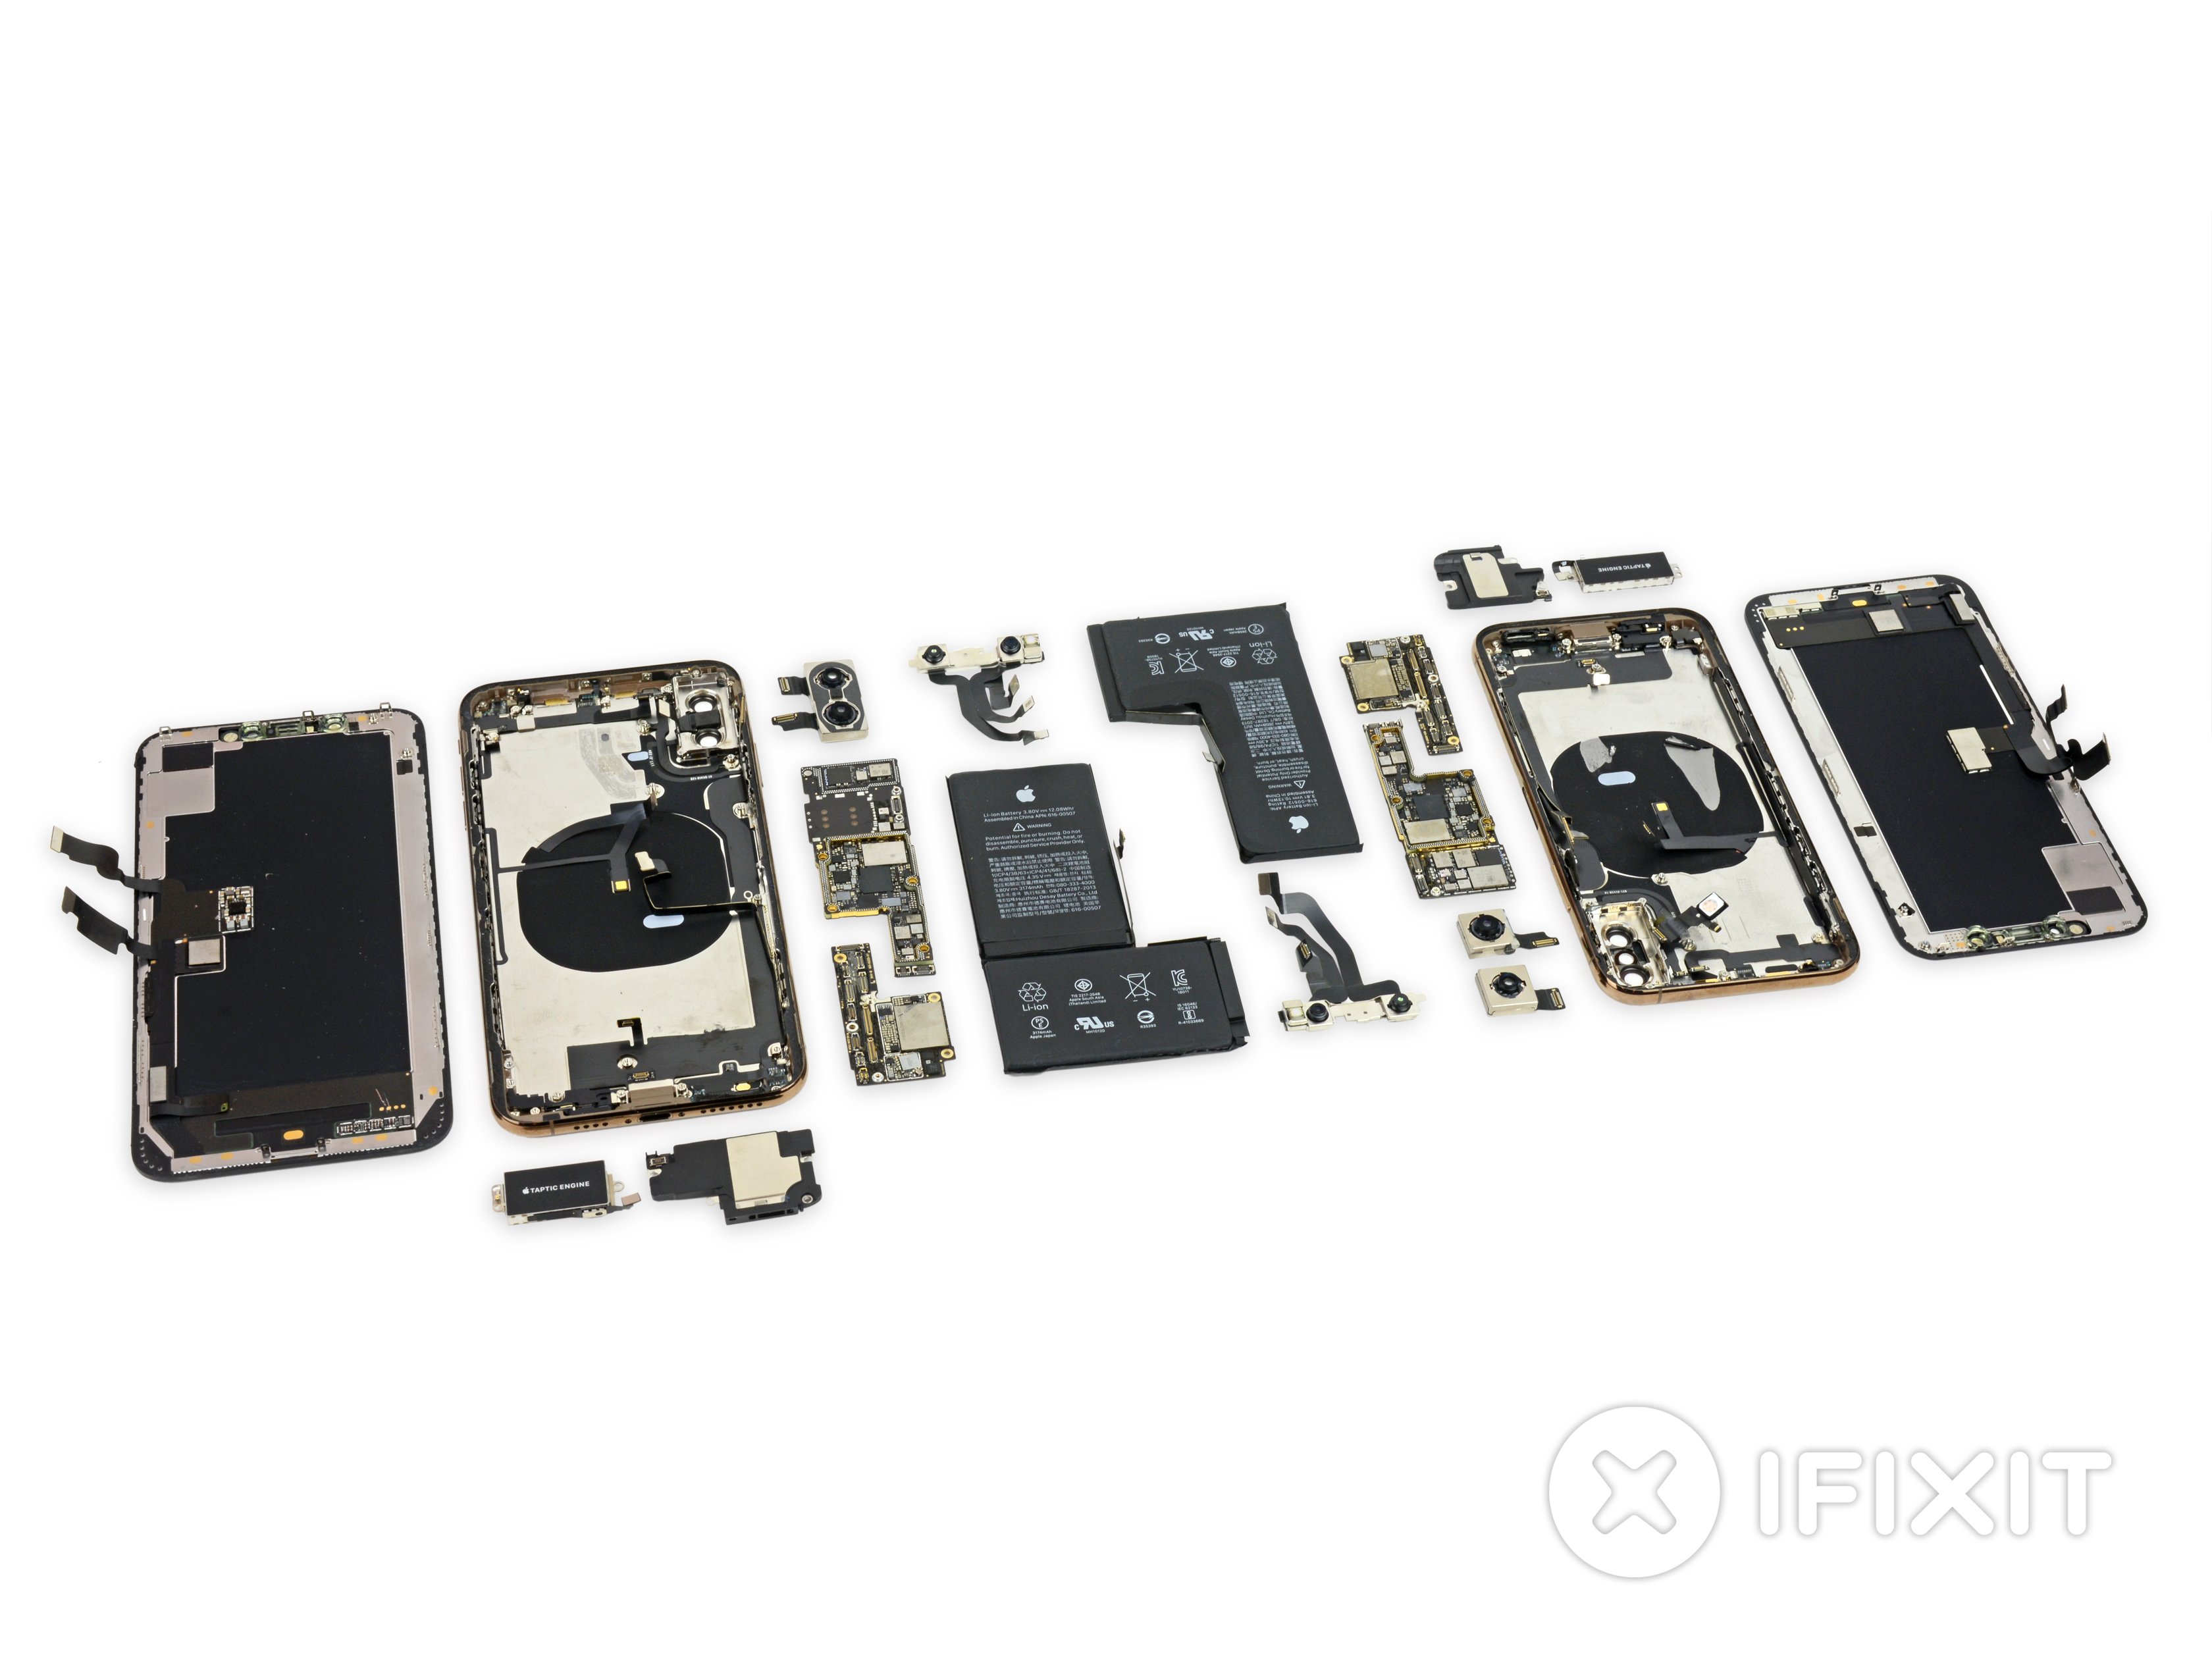
iPhone XS Max Lower Speaker Replacement
Duration: 45 minutes
Steps: 35 Steps
The iPhone XS Max brings the party with its awesome stereo sound, thanks to the combined efforts of the primary loudspeaker and the earpiece speaker. In this guide, we’re focusing on replacing just the primary loudspeaker at the bottom of your phone. If your tunes are sounding a little flat, or if you're dealing with sound issues like distortion or dropouts, this replacement could be just the ticket to get your audio back in action!
Step 1


Heads up! Before diving in, make sure your iPhone battery is below 25% charge. A fully charged lithium-ion battery can get a bit spicy if poked—think fire or explosion. Safety first!
- First things first, let’s power down your iPhone to avoid any surprises during disassembly. Safety first, right?
- Next, grab your trusty pentalobe screwdriver and carefully remove the two 6.9 mm screws located at the bottom edge of your iPhone. Easy peasy!
- Just a heads up: when you open up your iPhone’s display, you might compromise its waterproof seals. So, have those replacement seals on standby before you dive deeper. If you're planning to reassemble without replacements, just be extra cautious about avoiding any liquid exposure.
Step 2


If you push the opening pick in too deep, it might cause damage—mark your pick to keep things safe and sound.
Feel free to mark other corners of the pick with different lengths to keep track of your depth.
Another neat trick: tape a coin onto the pick about 3 mm from the tip to act as a handy stopper.
- Grab your trusty permanent marker and measure about 3 mm from the tip. Mark the opening pick like a pro—it's all about precision!
Step 3


Put on those safety glasses to keep your peepers safe from any sneaky glass bits that might pop loose during the repair!
Got a cracked iPhone screen? Slap some tape over the glass to keep shards in check and save your fingertips from surprise pokes during your repair.
If that suction cup just refuses to stick, you could always go wild and superglue it to the screen.
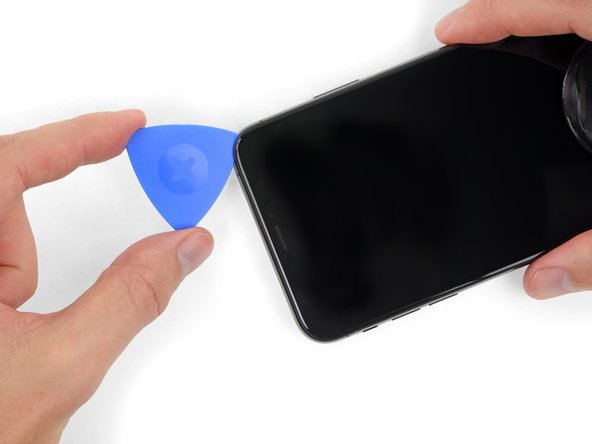
- Place strips of clear packing tape on the iPhone's screen, overlapping them to cover the entire front face. Don't rush, make sure it's well covered.
- If the suction cup isn't sticking as you'd hoped, grab some strong tape (like duct tape), fold it into a handle, and lift the screen that way. It's like making your own super tool.
Step 4


The next few steps will introduce you to the Anti-Clamp, our nifty little gadget that makes opening your device a breeze. If you're not using the Anti-Clamp, feel free to skip ahead three steps for a different technique.
Want to master the Anti-Clamp? Check out our handy guide for all the details!
If you notice that your iPhone's surface is a bit too slippery for the Anti-Clamp to grip, a little tape can do wonders to create that much-needed traction.
- Pull the blue handle back to release the Anti-Clamp’s arms—easy does it!
- Slide those arms over the left or right edge of your iPhone, just like tucking in a shirt.
- Place the suction cups close to the bottom edge of your iPhone—one on the front, one on the back.
- Give the cups a good squeeze to get a solid grip on your device.
Step 5


- Grab the blue handle and pull it forward to lock those arms in place.
- Give the handle a full 360-degree spin clockwise, or keep turning until the suction cups start to stretch a bit.
- Keep an eye on the suction cups — they should stay perfectly aligned. If they start to slip, just loosen them a little and realign the arms before continuing.
Step 6


Give the tool a gentle quarter turn, then chill for a minute before turning again. Slow and steady wins the repair race—let the Anti-Clamp do its thing!
You can also try using a hair dryer, heat gun, or hot plate—just keep in mind that too much heat might harm the display or battery, so take it easy!
If the Anti-Clamp isn't opening up enough, give the spot a little more heat and twist the handle about a quarter turn to get things moving.
- Heat up an iOpener and slide it through the arms of the Anti-Clamp like a pro.
- Fold the iOpener so it rests snugly along the bottom edge of your iPhone.
- Give it about a minute to work its magic and loosen that adhesive, creating a nice little gap to get started.
- Carefully slip an opening pick into the gap between the screen and the plastic bezel—avoid poking the screen directly.
- Feel free to skip the next three steps and keep moving forward.
Tools Used

Step 7

Warming up the bottom edge of your iPhone loosens up that stubborn adhesive, so popping the display open gets way easier.
- Grab a hairdryer, heat gun, or your trusty iOpener and warm up the bottom edge of your iPhone for about a minute—just enough to loosen up that stubborn adhesive underneath.
Tools Used
Step 8


- Slap that suction handle right onto the bottom edge of your phone—just steer clear of the curved glass area.
Tools Used

Step 9


The adhesive holding the display in place is pretty tough, so getting that first gap going will require some muscle. If you're struggling to open it up, try applying a little more heat and gently rocking the screen back and forth to break down the adhesive. Once you have a little space, you can slide your tool in and continue!
- Give that suction cup a confident pull—steady and strong—to open up a little space between the front panel and the back case.
- Slide an opening pick into the gap you just made, aiming for the spot under the screen and the plastic bezel (not the screen itself—your screen will thank you).
Step 10


Keep your pick under 3 mm deep—going further risks poking something important inside.
- Gently slide the opening pick around the lower left corner and up the left side of the iPhone, carefully cutting through the adhesive that’s holding the display in place.
Step 11

Be careful! There are some fragile cables snuggled along the right edge of your iPhone. Avoid inserting your pick here, as it could lead to some unintentional damage to those cables.
Step 12


Be careful not to insert your pick more than 3 mm – you don’t want to accidentally mess up those display cables.
- Slide your pick back into the bottom edge of the iPhone and gently glide it up the right side to keep peeling away that stubborn adhesive. You've got this!
Step 13


Remember, gentle hands are the way to go! If you push too hard, those clips might just say goodbye. So take your time and enjoy the process.
Keep your pick under 3 mm! Going deeper could lead to a little mishap with the front panel sensor array. Let's keep everything intact!
The top edge of the display is held in place with both sticky glue and some stubborn clips.
- Gently slide the opening pick around the top corner of the display while carefully easing or wiggling the display downward toward the Lightning port.
- Next, move the pick to the opposite corner and slice through any leftover adhesive holding the display in place.
Step 14

- Give that little tab on the suction cup a gentle tug to pop it off the front panel.
Step 15


Hold up, don't try to totally separate the display just yet! There are still some delicate ribbon cables hanging on, connecting it to the iPhone's logic board. Be careful as you go.
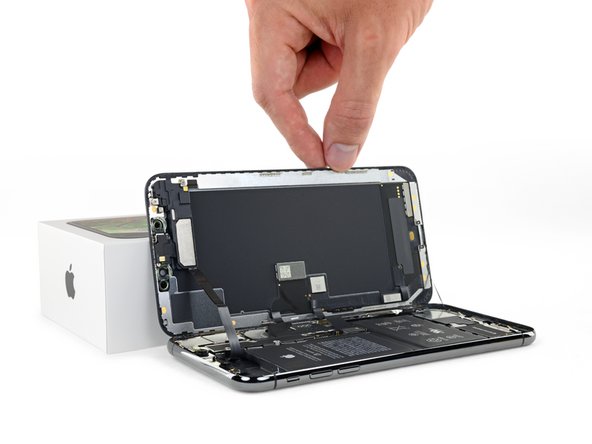
- Open the iPhone by gently swinging the display up from the left side, just like flipping open the back cover of a book.
- Prop the display up against something sturdy to keep it steady while you work on your phone.
- When putting it back together, place the display in position, line up the clips along the top edge, and press down carefully on the top edge before snapping the rest of the display into place. If it doesn’t click easily, double-check the clips around the edges to make sure none are bent or out of place.
Step 16


Keep track of every screw during your repair and make sure each one finds its way back to its original spot—your iPhone will thank you for it!
- Let’s take out the four Y000 screws holding down the logic board cover bracket. Here’s the lineup:
- Two screws, each a slim 1.1 mm
- One screw rocking a 1.5 mm length
- And one tall 3.7 mm screw
Step 17

The bracket might be sticking a bit—give it a gentle but confident lift to pop it free.
- Take off the bracket.
- Now's a perfect time to power up your iPhone and give everything a quick test drive before we seal that display back on. Just remember to switch your iPhone off completely before diving back into the work. You've got this!
Step 18


Be careful not to mess with the black silicone seals around this and other board connections—they're like tiny raincoats for your device, keeping out water and dust.
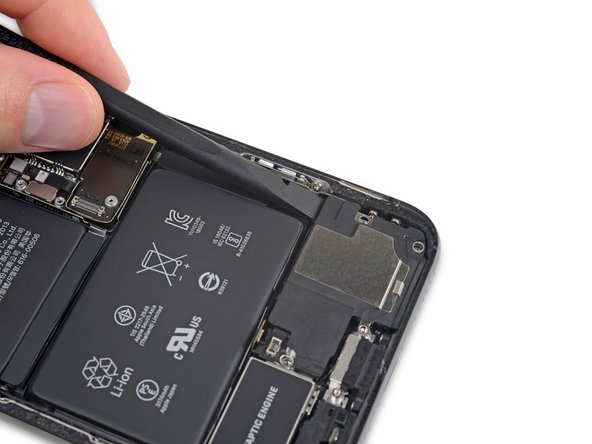
- Grab a spudger or a clean fingernail and gently lift the battery connector out of its cozy socket on the logic board.
- Carefully bend the connector just a little away from the logic board. This will help avoid any accidental power-ups while you're working your magic on the phone.
Tools Used

Step 19


- Let's get those screws out of the way to free the display connector bracket! You'll need to tackle three Y000 screws:
- Two of those sneaky little 1.5 mm screws
- And one crafty 1.1 mm screw
Step 20

- Take off the bracket.
Step 21


- Gently pop the front panel sensor assembly connector loose using the tip of your spudger or just your fingernail—no need to wrestle with it!
Tools Used
Step 22


- Gently use a spudger or even your fingernail to unplug the OLED panel cable connector without causing any harm.
- When reconnecting press-fit connectors like this one, line up one side carefully and press down until you hear a click, then do the same on the other side. Avoid pressing in the middle to keep those delicate pins safe and sound—misalignment can bend pins and cause permanent damage.
Tools Used
Step 23


- Gently lift the digitizer cable connector out of its socket using a spudger or your fingernail—think of it as giving your device a little nudge.
- If your screen decides to ignore your touch after the repair, just unplug the battery and press that connector back in until it clicks. Double-check for any sneaky bits of dust or random debris—they love hiding in sockets!
Tools Used
Step 24


The front panel sensor assembly flex cable is gently secured in place, so give it a little nudge when you're ready to move it.
- Gently lift the cable, letting the adhesive do its dramatic separation thing.
Step 25

- Lift out the display assembly with style.
- If you're feeling fancy during reassembly, this is your chance to swap out the waterproof adhesive around the display edges.
Step 26


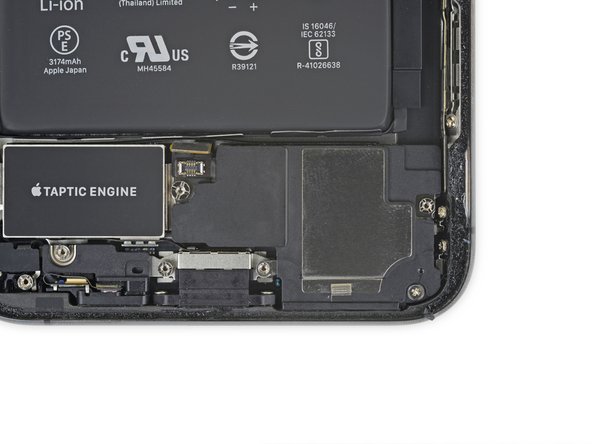
- Take out the five 1.4 mm tri-point Y000 screws holding down the bracket right under the Taptic Engine and main speaker. Keep track of these little guys—they're key!
Step 27


The bracket is just hanging out, barely holding on.
- Carefully lift and wiggle the bracket free—no need to Hulk out, just keep it gentle and avoid bending anything.
- If the sticky stuff is putting up a fight, hit it with a little heat from a hair dryer or heat gun. (Skip the iOpener here; it can mess with the spring contacts up top.)
Tools Used
Step 28


- Take out the 1.3 mm tri-point Y000 screw that’s holding down the speaker connector cover.
Step 29


Handle that battery with kid gloves! We don't want any accidental pokes or punctures while you're working your magic with those tools.
- Slide the speaker connector cover towards the battery, then lift it up to pop it free and remove it.
Step 30


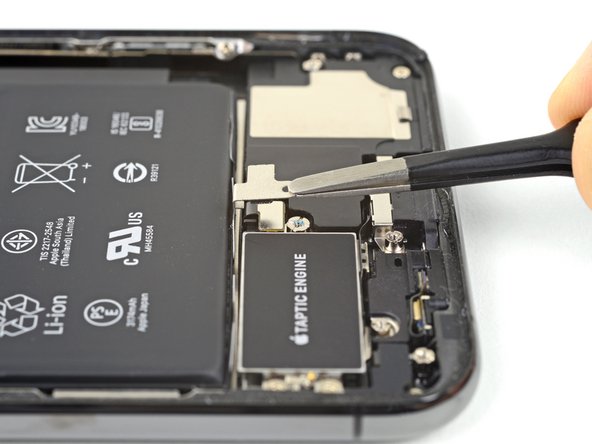
- Gently slide the spudger's tip under the speaker connector and give it a little wiggle to pop it loose. You've got this!
Tools Used
Step 31

In a pinch, a small flathead screwdriver can work wonders—just be careful! A little slip could cause some unwanted damage to the surrounding components. Take it slow and steady!
To tackle those pesky standoff screws, grab an iPhone Standoff bit with a driver handle. It makes life way easier and gets the job done right.
- Time to loosen up those screws holding the speaker in place:
- One 2.7 mm Phillips screw — easy does it!
- One 2.9 mm standoff screw — keep track of this little guy.
- One 3.1 mm standoff screw — last one before the speaker comes free.
Step 32

When you're lifting the speaker, be gentle with the speaker flex cable you just disconnected. If it feels tight, give the cable a little bend toward the battery so the speaker has enough space to pop out without a hitch!
- Slide a spudger gently underneath the top edge of the speaker, near the iPhone case's corner.
- Carefully lift the top edge of the speaker just a little bit—think of it like a gentle nudge.
- When putting the speaker back, double-check the flex cable’s position to make sure it doesn’t sneak under the speaker.
Tools Used
Step 33


If the adhesive is feeling stubborn, gently warm it up a bit to loosen things and make peeling off the bumper strip a breeze.
- As you lift the speaker, grab some tweezers and gently peel away that plastic bumper strip from the top edge of the speaker. Easy does it!
Tools Used

Step 34


- Grip the speaker by its edges and gently wiggle it side-to-side to loosen the adhesive holding it to the bottom of your iPhone.
- Carefully pull the speaker away from the bottom edge of the iPhone until that sticky gasket lets go.
Step 35


- Take a look at your new part and the old one—if there are any bits left behind or sticky stuff on the replacement, now’s the time to sort that out.
- Ready to put things back together? Just follow the steps in reverse.
- When you’re done, don’t let those old parts gather dust—drop your e-waste off with an R2 or e-Stewards certified recycler.
- If something’s gone sideways, the Salvation Repair Answers community has your back for troubleshooting. And if you hit a wall, you can always schedule a repair.