iPhone XS Won’t Turn On with P12 (NAND Programmer for iPhone 6 – iPhone 11 Pro Max)
Duration: 45 minutes
Steps: 9 Steps
Step 1

- Swapping out the NAND chip is a pretty standard move in iPhone repair—whether you’re boosting your storage or rescuing a phone that won’t wake up because the NAND is toast. To get this done, you’ll need a NAND programmer to read and write data to the chip. If you hit a wall, you can always schedule a repair.
Step 2

- Today, we're diving into fixing an iPhone with the handy P12 NAND programmer. This tool is a real game-changer, especially since it works with a huge range of iPhones—from the 6 all the way up to the iPhone 11 Pro Max—and even some iPad models. It doesn’t just stop at NAND read & write; it also tackles WiFi unbinding, making it a solid all-around choice. Plus, no internet connection needed, and the best part? It’s yours to use forever—no subscription required.
Step 3


- Alright, let's tackle an iPhone XS that refuses to power up using the trusty P12. This little guy just won't boot.
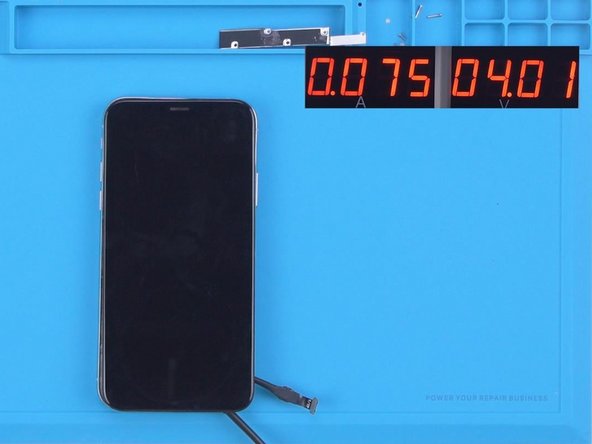
- First, we take the phone apart to dig a bit deeper. Hook up the motherboard to the power cable and notice the boot current is only 75 mA. Looks like the system has some issues.
- Next up, connect the phone to a computer. It automatically goes into DFU mode, but the flashing process stalls at 19%. This confirms the no-power problem is caused by a faulty circuit around the NAND.
Step 4
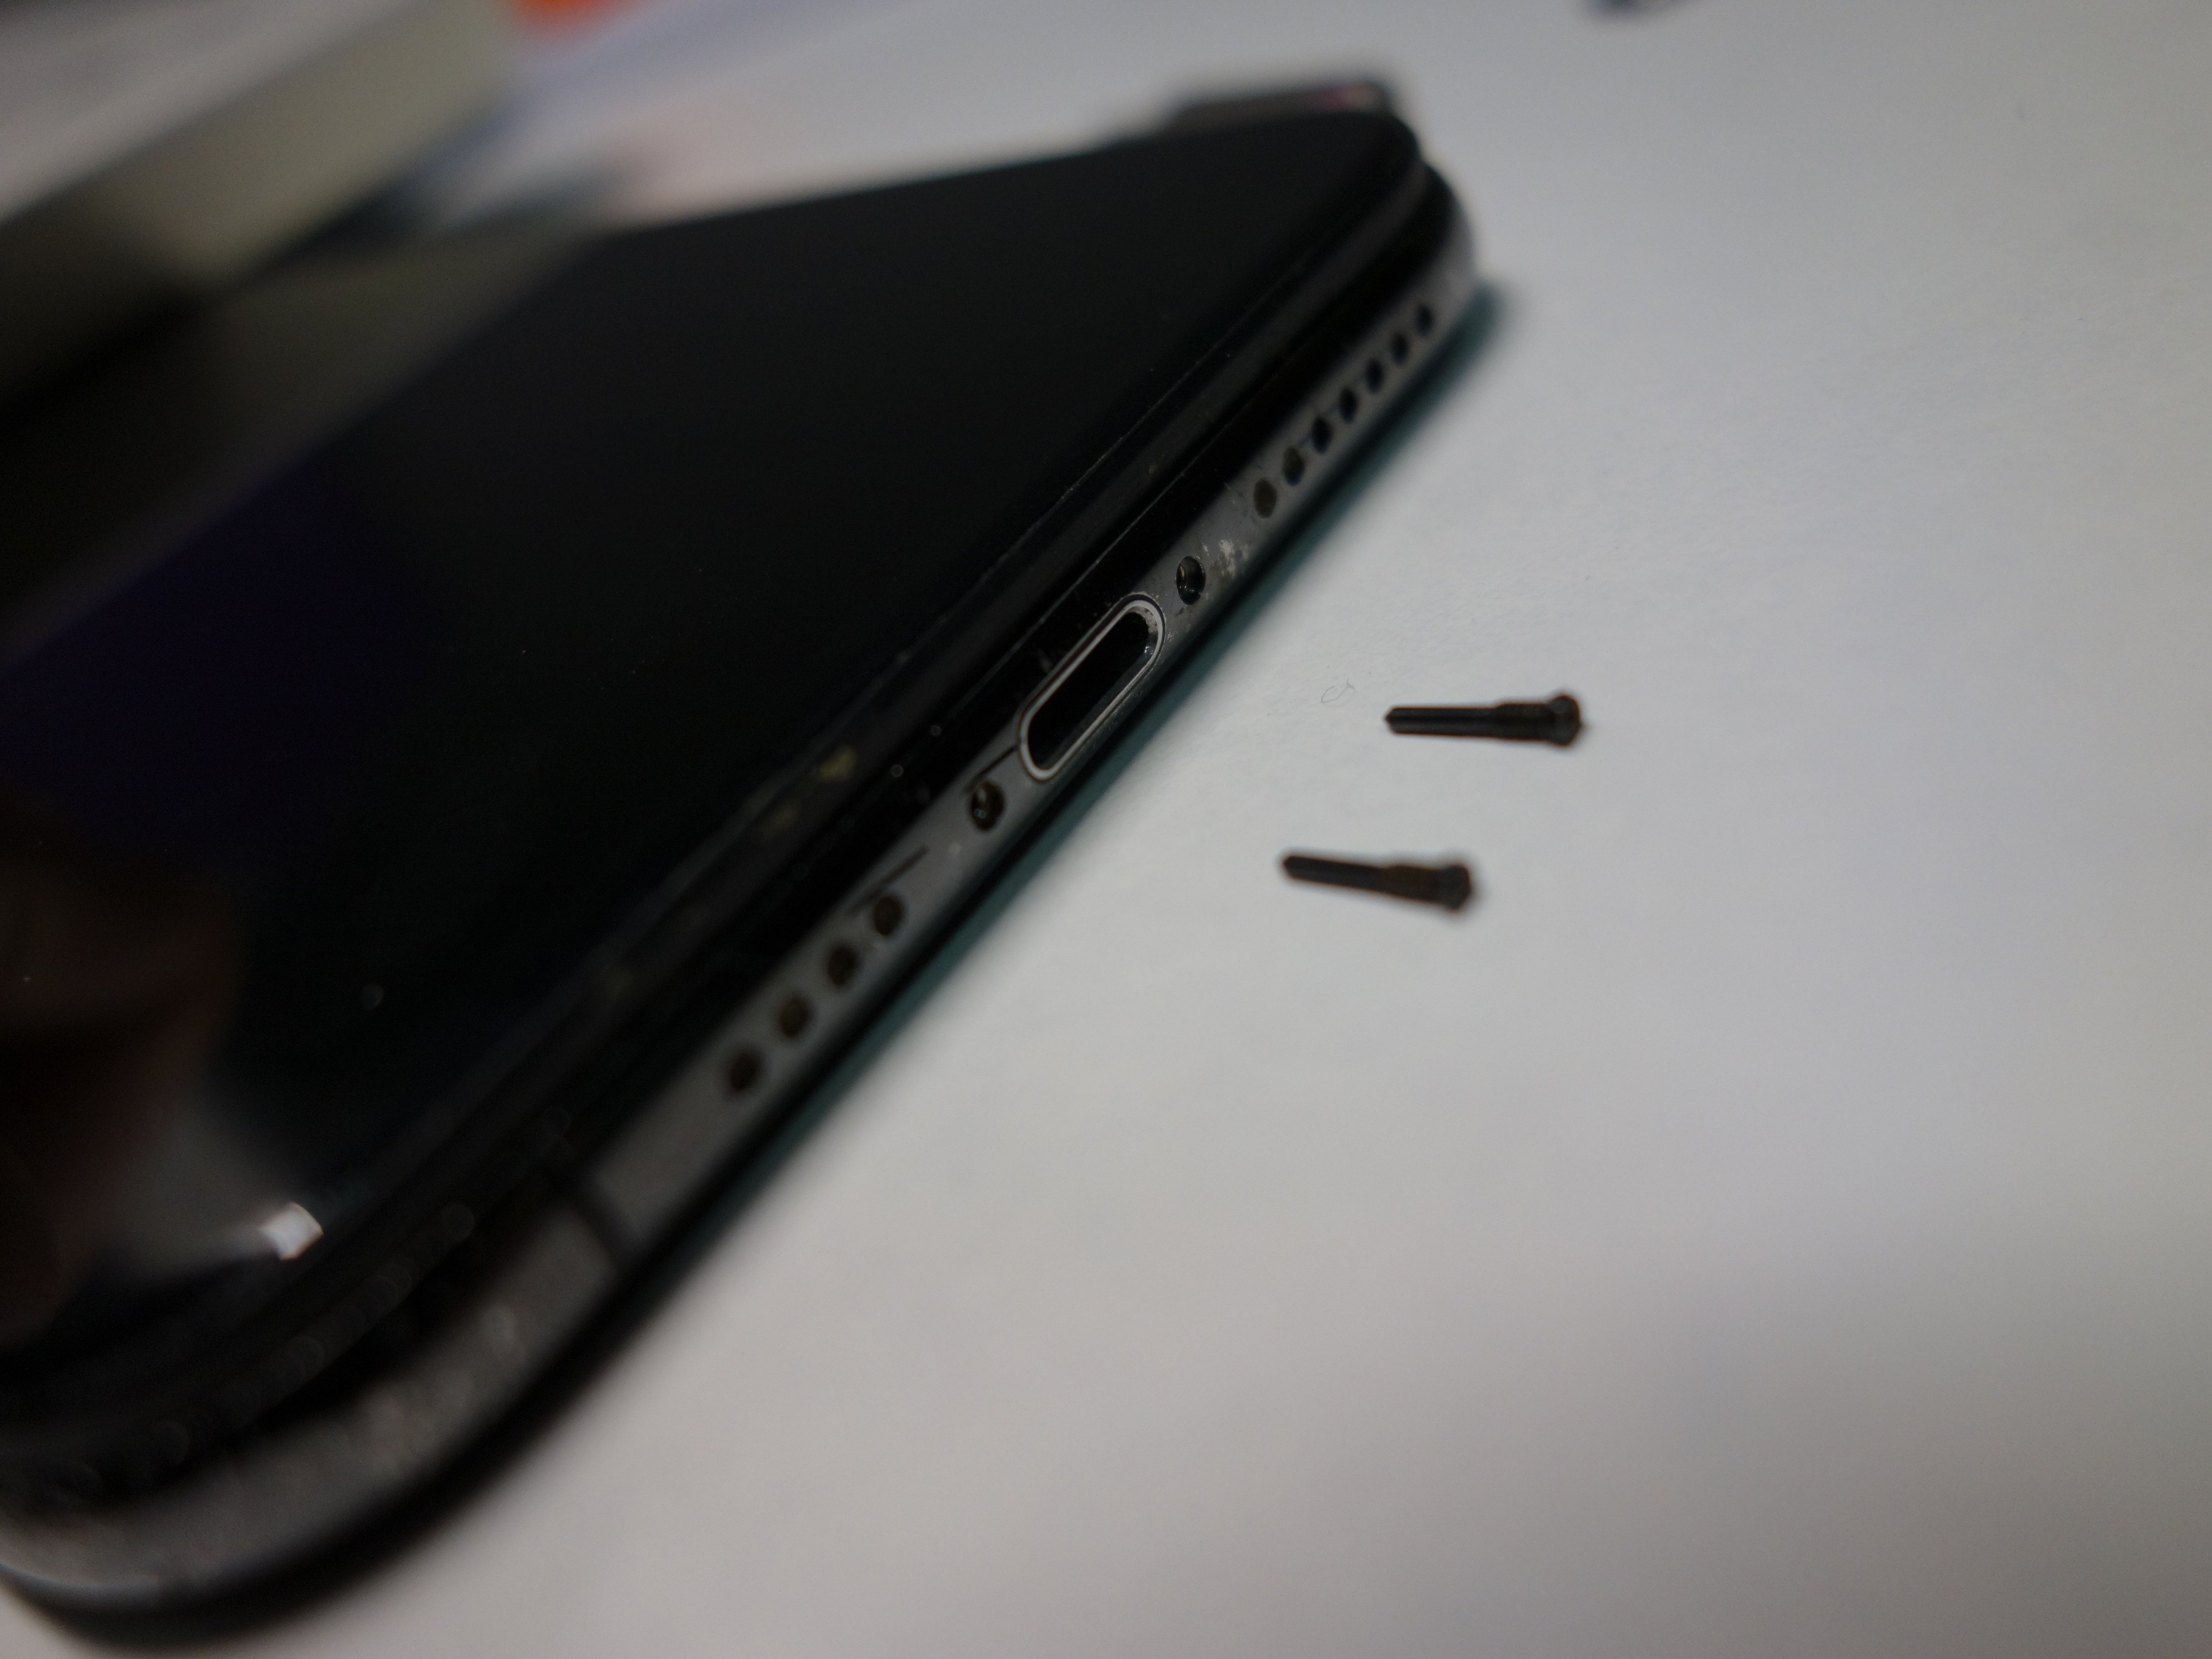
- Time to swap out that NAND! First, power down your device and remove the display, then detach the motherboard. Use some high-temperature tape to protect the motherboard. Grab your Hot Air Gun and gently heat up the black adhesive around the NAND at 280 °C to loosen it up.
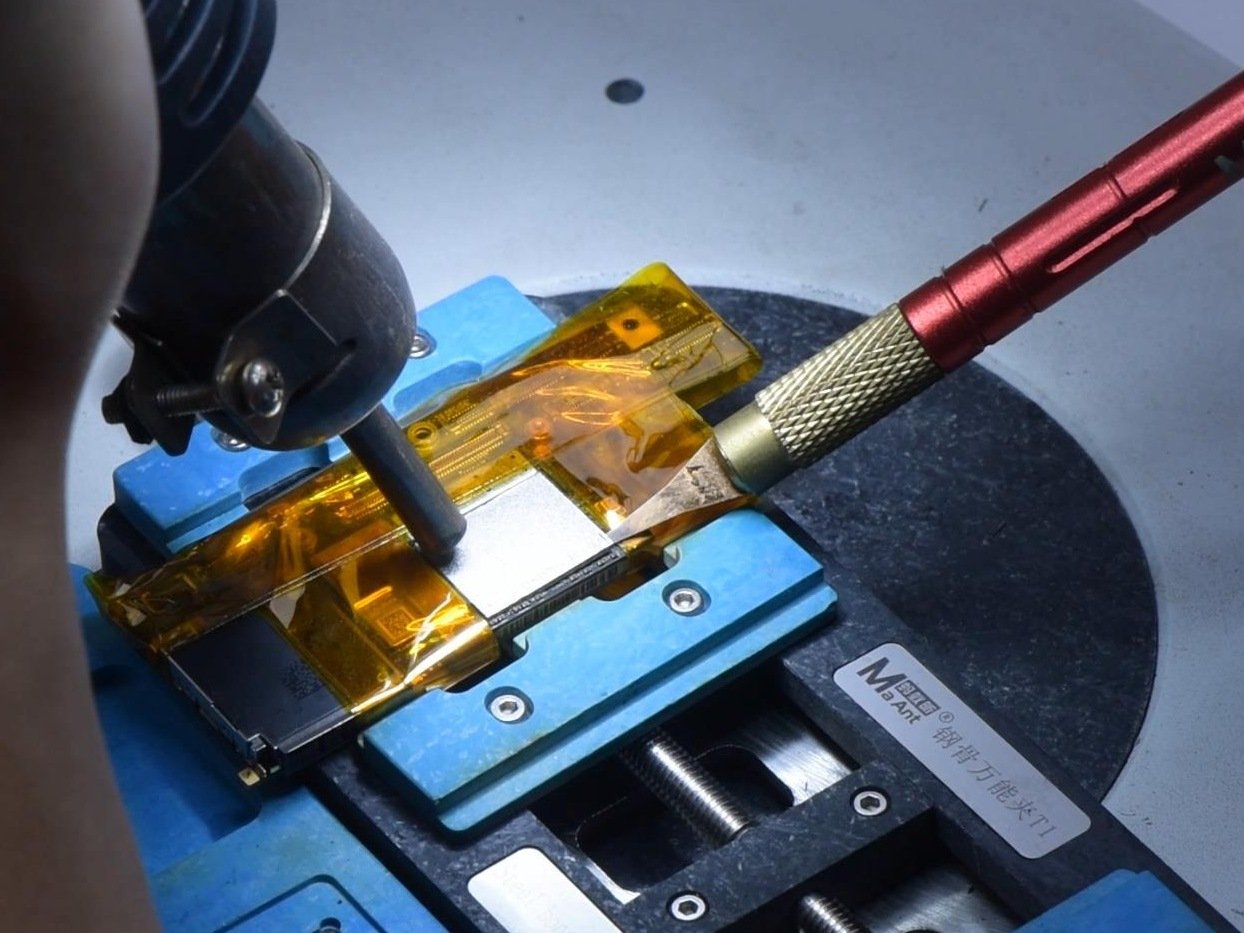
- Now, carefully pry up the NAND with the Hot Air Gun set to 400 °C. Take it slow and steady.
Step 5
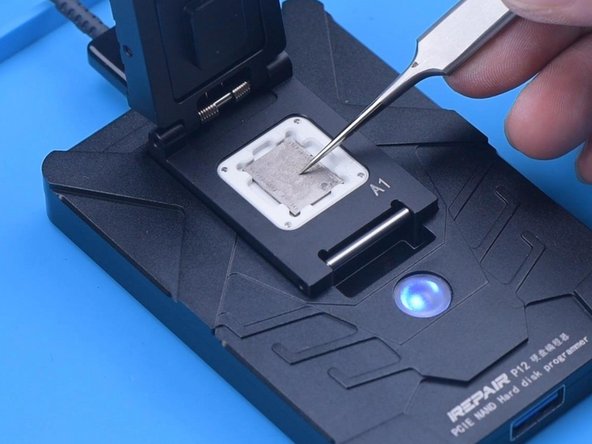
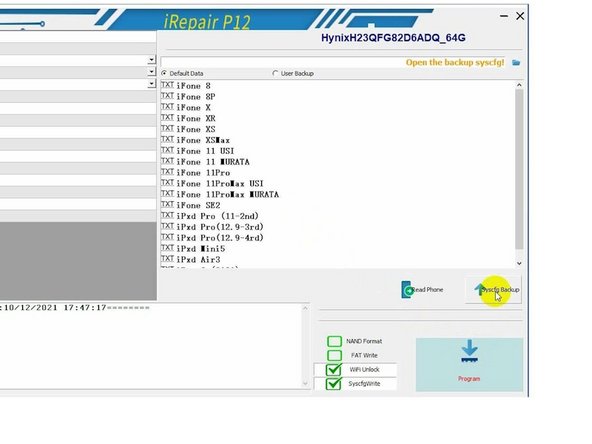
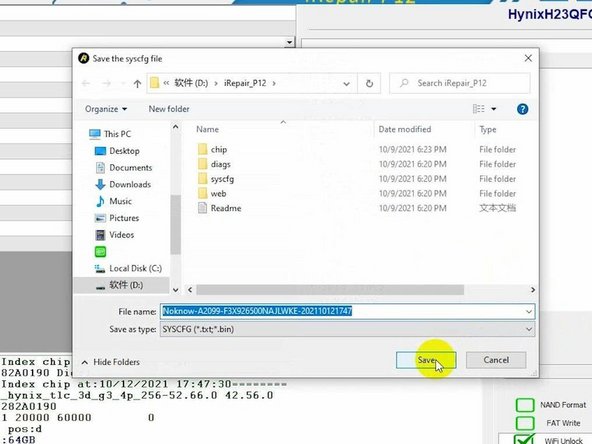
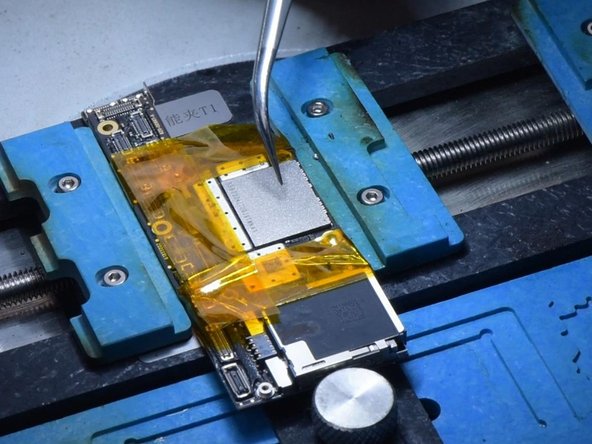
- Time to get that NAND ready! Connect it to P12, and make sure it lines up perfectly with the A1 pin. Once it's all set, hit 'Syscfg Backup' and save the data. Easy peasy!
Step 6
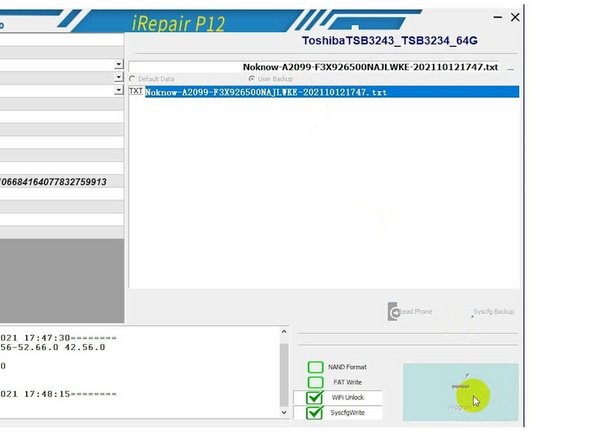

- First off, let's pop out that NAND. Once that's done, grab your shiny new NAND and hook it up to P12. Now for the fun part – select 'User Backup' and give that 'Program' button a friendly tap!
Step 7
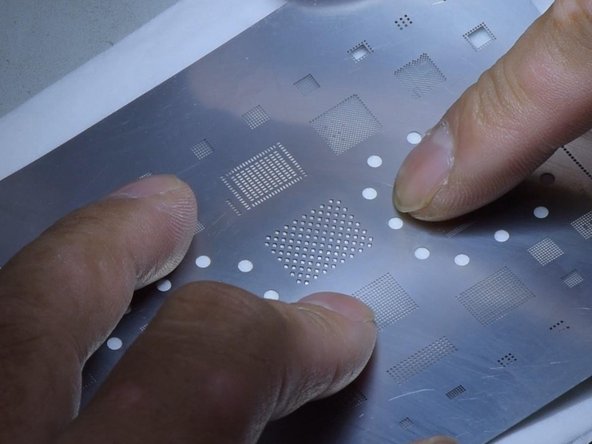
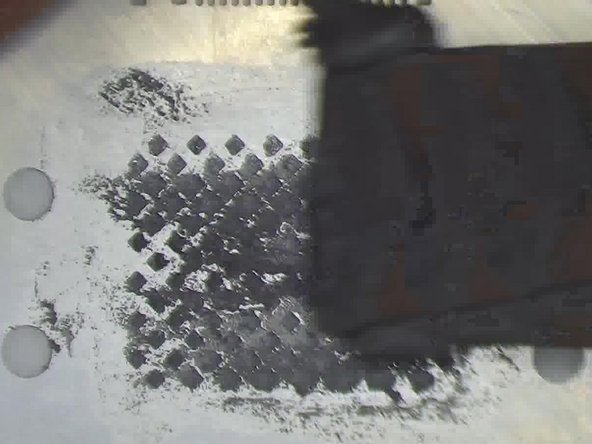
- Alright, time to reball that NAND chip with the new data! First, line up the reballing stencil just right. Then, spread a nice even layer of mid-temp solder paste. Finish it off by heating everything up with a Hot Air Gun set to 340 °C. Let’s get this chip looking sharp!
Step 8
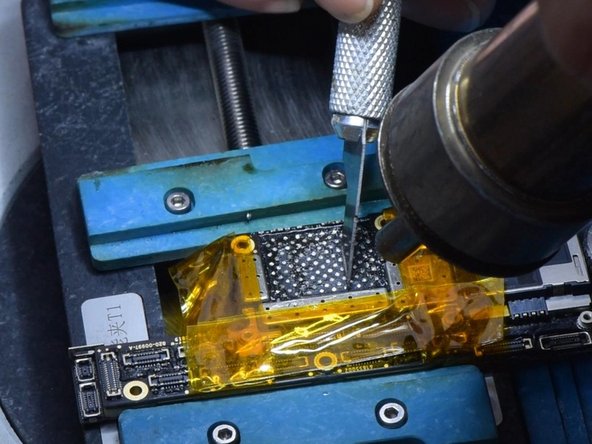
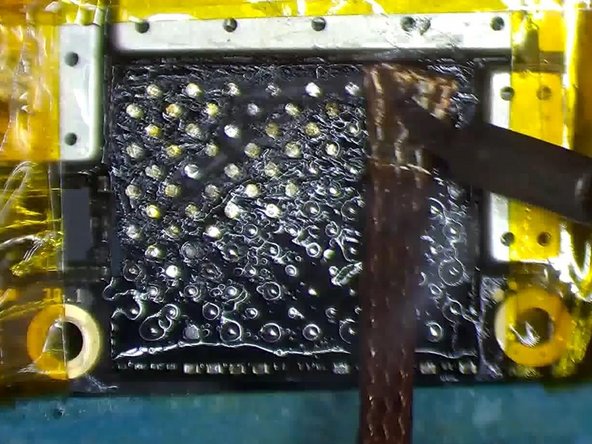
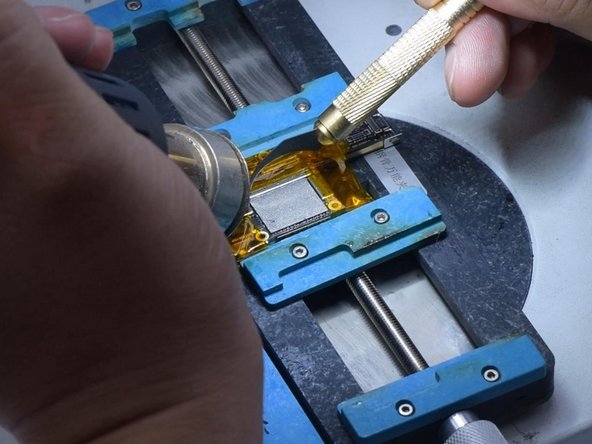
- Before you start soldering the NAND, let's clear off the tin from the bonding pads. Dab some mid-temp solder paste on there using your soldering iron, then tidy up the pads with the soldering iron and solder wick.
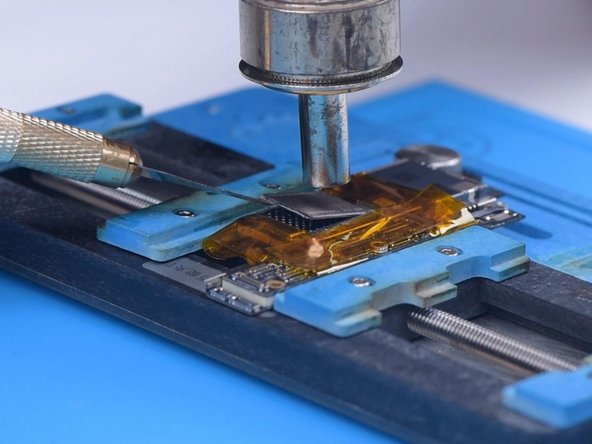
- Next, scrape away the black adhesive from the bonding pads using a sculpture knife. Give the pads a good clean with PCB cleaner. Once they're spotless, add a bit of paste flux, line up the new NAND, and heat things up with a hot air gun at 380 °C to get everything nicely soldered.
Step 9
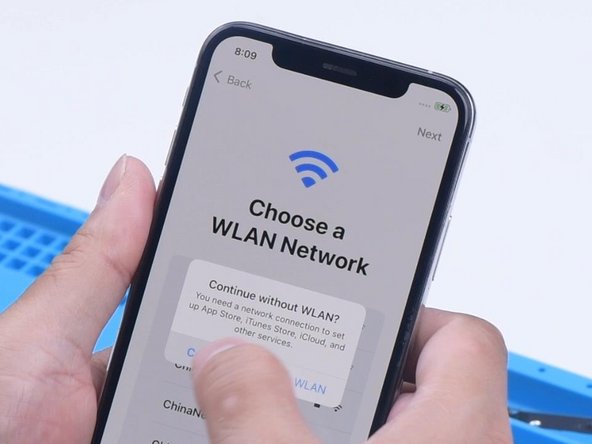
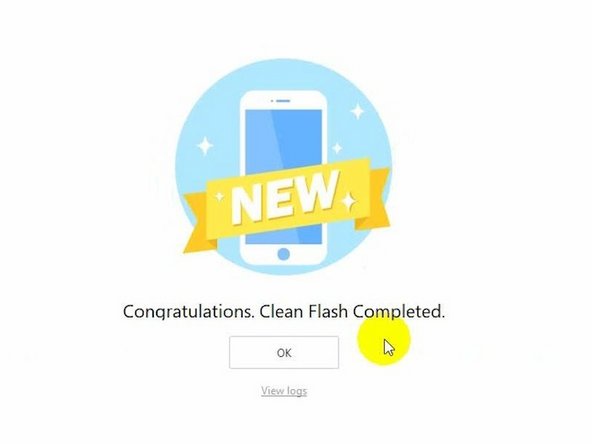
- Next, we carefully install the motherboard. Connect the phone to your computer and start the flashing process. Once it's done, you're all set—flashing complete!
- Power up the phone and voilà! After activation, everything should run smoothly. Time to enjoy your fixed phone!