iPod Nano 1st Generation Teardown
Duration: 45 minutes
Steps: 6 Steps
Get ready to take apart your iPod nano 1st generation with confidence—no accidental breakage here. Follow these steps and you’ll have your nano open and ready for action in no time.
Step 1


– 1. Using a tool like a spudger or knife to carefully pry the outer casing open at the connection point. It should pop right off, but be prepared to use a bit of force.
Step 2

– 2. Take out the circuit board by unscrewing the 3 screws that are holding it in place—just skip the extra screw near the headphone jack, it’s not part of the plan! Some of these screws can be picky, so you might need a specialty screwdriver.
Step 3
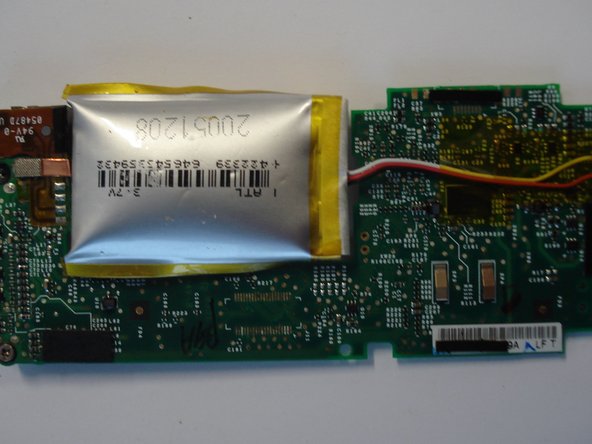

– 3. Gently unplug the wires tucked underneath the motherboard—these connect your clickwheel and screen, so easy does it!
Step 4
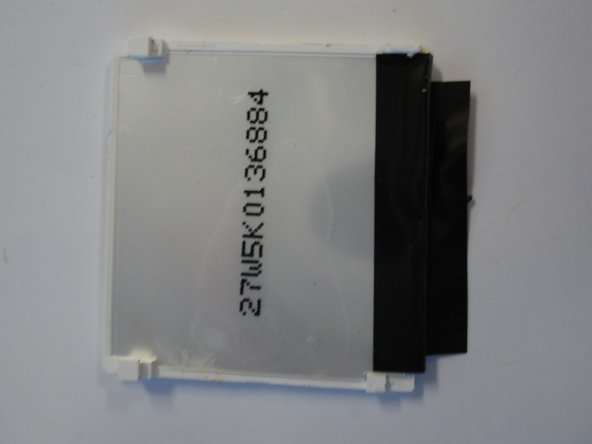
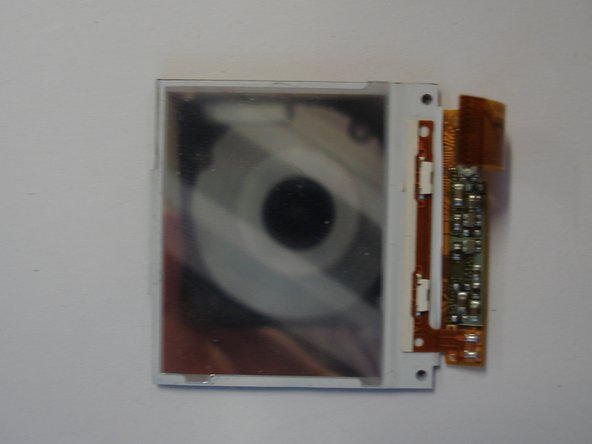

– The screen is made up of 3 sections, each secured with some strong adhesive, so be prepared to use a little force. Start by removing the acrylic backing that holds the screen in place, then move on to the main part of the screen. Finally, carefully peel off the paper-thin cover that’s left.
Step 5
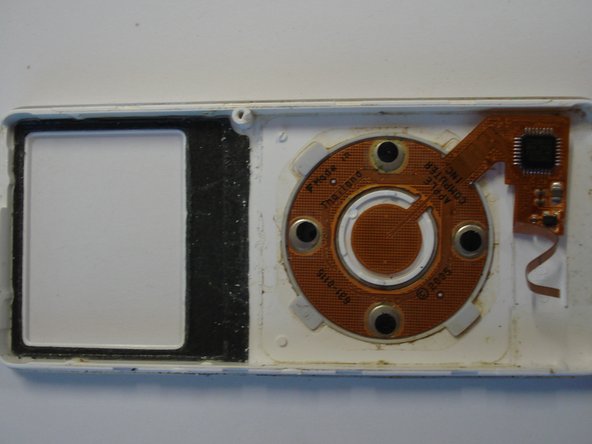

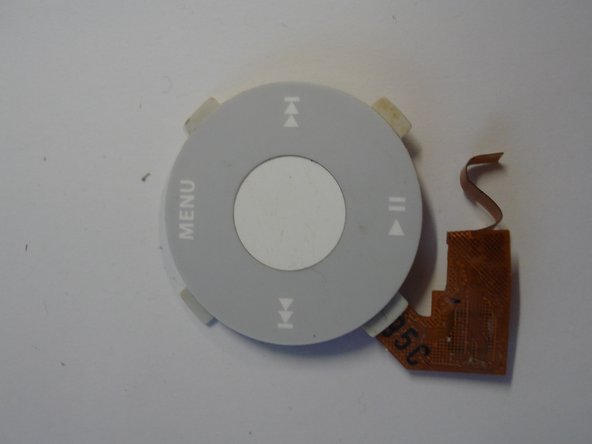
– Removing the touchpad? Easy peasy! There are multiple layers stacked on top of each other, so just carefully peel them away one by one. No need to rush, take your time and it’ll come right off.
Step 6

– 6. That’s it—you’ve got your iPod taken apart! When you’re ready, just reverse the steps to put it back together. If you feel stuck, you can always schedule a repair.