iPod Touch 4th Generation Headphone Jack Replacement
Duration: 45 minutes
Steps: 11 Steps
Time to swap out that pesky headphone jack on your iPod Touch. Follow these straightforward steps to get your audio back in action. If you hit a snag, remember you can always schedule a repair with Salvation Repair to handle the tricky bits. Let’s do this!
Step 1

The front panel of the iPod Touch 4th Generation is held on with some pretty stubborn adhesive. Grab a heat gun to loosen things up—trust us, it’ll make the job way easier.
– Set your heat gun to ‘low’ and start warming up the lower part of the Touch near the home button.
– For an even heat spread, try moving the heat gun in gentle, circular motions. This will help the heat spread out smoothly and evenly over the device.
Tools Used

Step 2


Be careful: the Touch gets really hot. You might want to grab a towel to protect your hands while prying it open.
Don’t even think about trying to pry the plastic bezel and steel rear case apart – it’s just not happening.
If the front panel assembly isn’t budging, give it another round of heat and try prying again—you’ve got this!
– Slip the edge of an iPod opening tool between the front glass and the plastic bezel right by the home button.
– Gently lift the bottom edge of the front panel—don’t get too wild, just enough to pop it up without putting too much stress on the glass.
Step 3

If the adhesive is giving you a hard time, grab a heat gun and warm it up a bit to make it more friendly before you proceed.
– Once you’ve got enough space to grab the bottom edge of the front panel, gently lift it up and away from the device—this will help peel off the adhesive along both the left and right sides.
Tools Used
Step 4


Heads up! The digitizer cable on the 4th generation Touch is still connected until you remove the logic board, so go easy on the front panel—it’s hanging on by a super fragile cable.
And there’s a tiny, short display data cable up top, connected to the logic board. If it doesn’t pop off as you free the top edge, grab your iPod opening tool and carefully disconnect it before swinging the front panel out. Slow and steady wins this race!
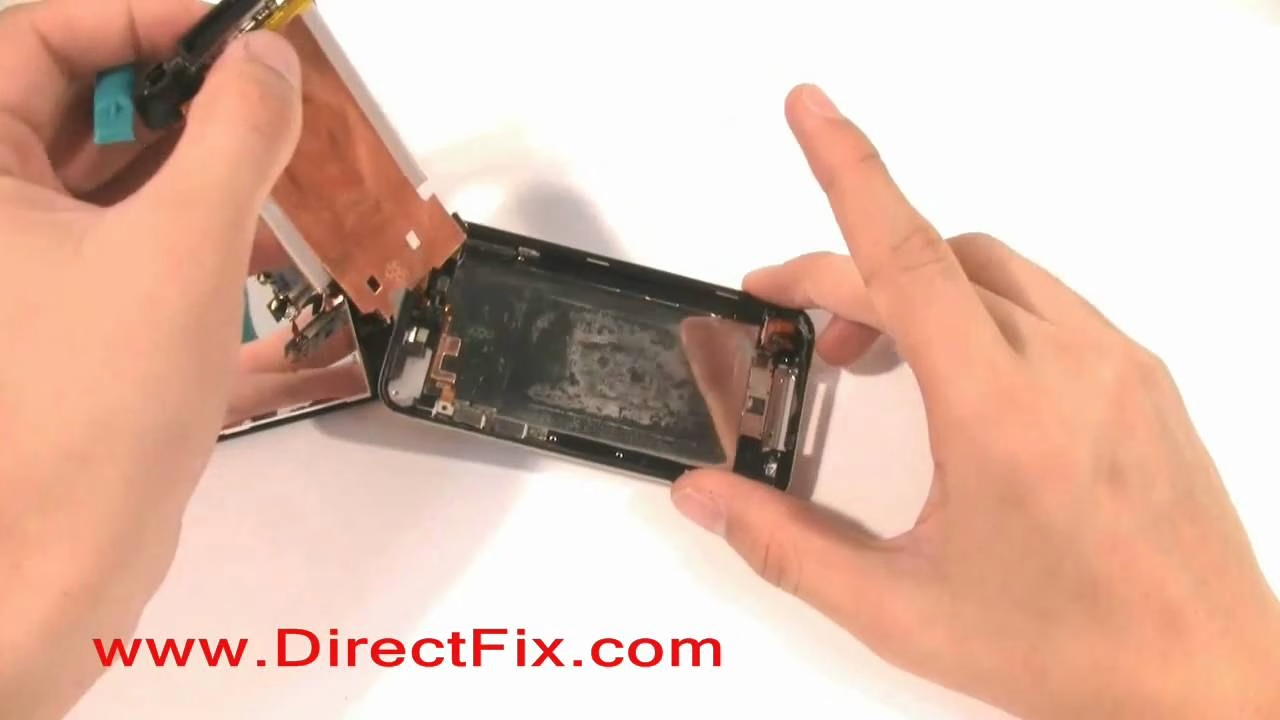
– Gently lift the top of the front panel assembly, carefully peeling it away from the adhesive that’s keeping it snug to the Touch. Just be cautious of that tiny digitizer cable—it’s the lifeline connecting the two parts, so handle it with care!
Step 5

– Start by removing these eight Phillips #00 screws: one 3.5 mm screw, two 3.0 mm screws, one 2.3 mm screw, one 2.4 mm screw, and three 2.0 mm screws. Don’t worry, it’s just a handful—careful not to lose any! If you hit a snag or need a hand, you can always schedule a repair.
Step 6

Check out the tiny spring hanging out by the bezel near the camera (look for the yellow highlight). Don’t let it wander off!
– Grab your trusty opening tool and gently pop up the slim metal shield covering the rear camera.
– Lift the steel shield off the iPod and set it aside.
Step 7


This cable might cling to the plate like glue and tear easily if you’re not gentle. Take your time and handle it with care to avoid any mishaps.
– Wedge the edge of your opening tool under the steel mid plate at the bottom left corner of your device.
– Carefully lift up to loosen the plate from the sticky adhesive holding it to the plastic frame.
– If it’s still stuck to the logic board, give that spot a bit more heat to soften things up, then gently work the opening tool between the plate and logic board to peel them apart.
– Heads up: there’s a thin, delicate ribbon cable hiding underneath. Go slow and gentle here—no sudden moves, or that cable might not make it to the next step!
Step 8


Handle the copper tape connecting the rear-facing camera to the steel mid plane with care — no tearing allowed! Keep those connections intact for a smooth repair.
– Gently rock the steel mid plane to loosen it from the rear case—no need to force it.
– Carefully lift the steel mid plane away from the rear case, then peel off the copper tape that’s attached to the rear-facing camera.
Step 9

– Gently pop the headphone jack connector up from its spot on the logic board using an iPod opening tool.
Step 10

This screw’s hanging out at a perfect right angle—go ahead and unscrew it while keeping your tool at the same 90-degree tilt.
– Unscrew the single 2.6 mm Phillips screw holding the headphone jack assembly in place on the rear case. This should come right off with a little twist of your screwdriver!
Step 11


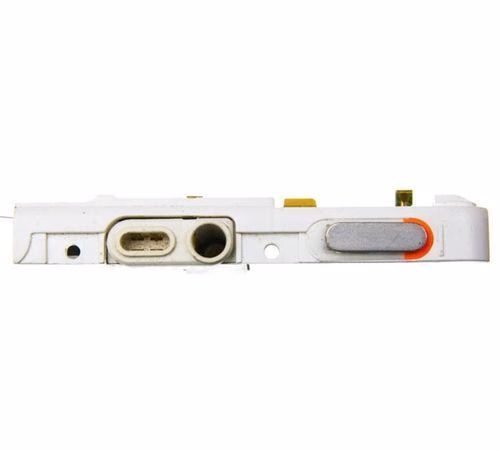
– Grab an iPod opening tool and carefully lift the edge of the headphone jack that’s closest to the battery, just enough to pop it out of its cozy little nook.
– Now, gently pull the headphone jack out of its snug home in the rear case. It should slide out without much fuss.
Success!