iPod Touch 5th Generation 16 GB 2014 Teardown
Duration: 45 minutes
Steps: 9 Steps
Apple has quietly rolled out an updated version of the iPod Touch 5th Generation 16 GB. Curious about what’s new? Join us as we take a close look at the latest addition to the iPod Touch lineup. This teardown is all about showing you what’s inside and how to get to it. If you need help along the way, you can always schedule a repair. Let’s get started!
Step 1


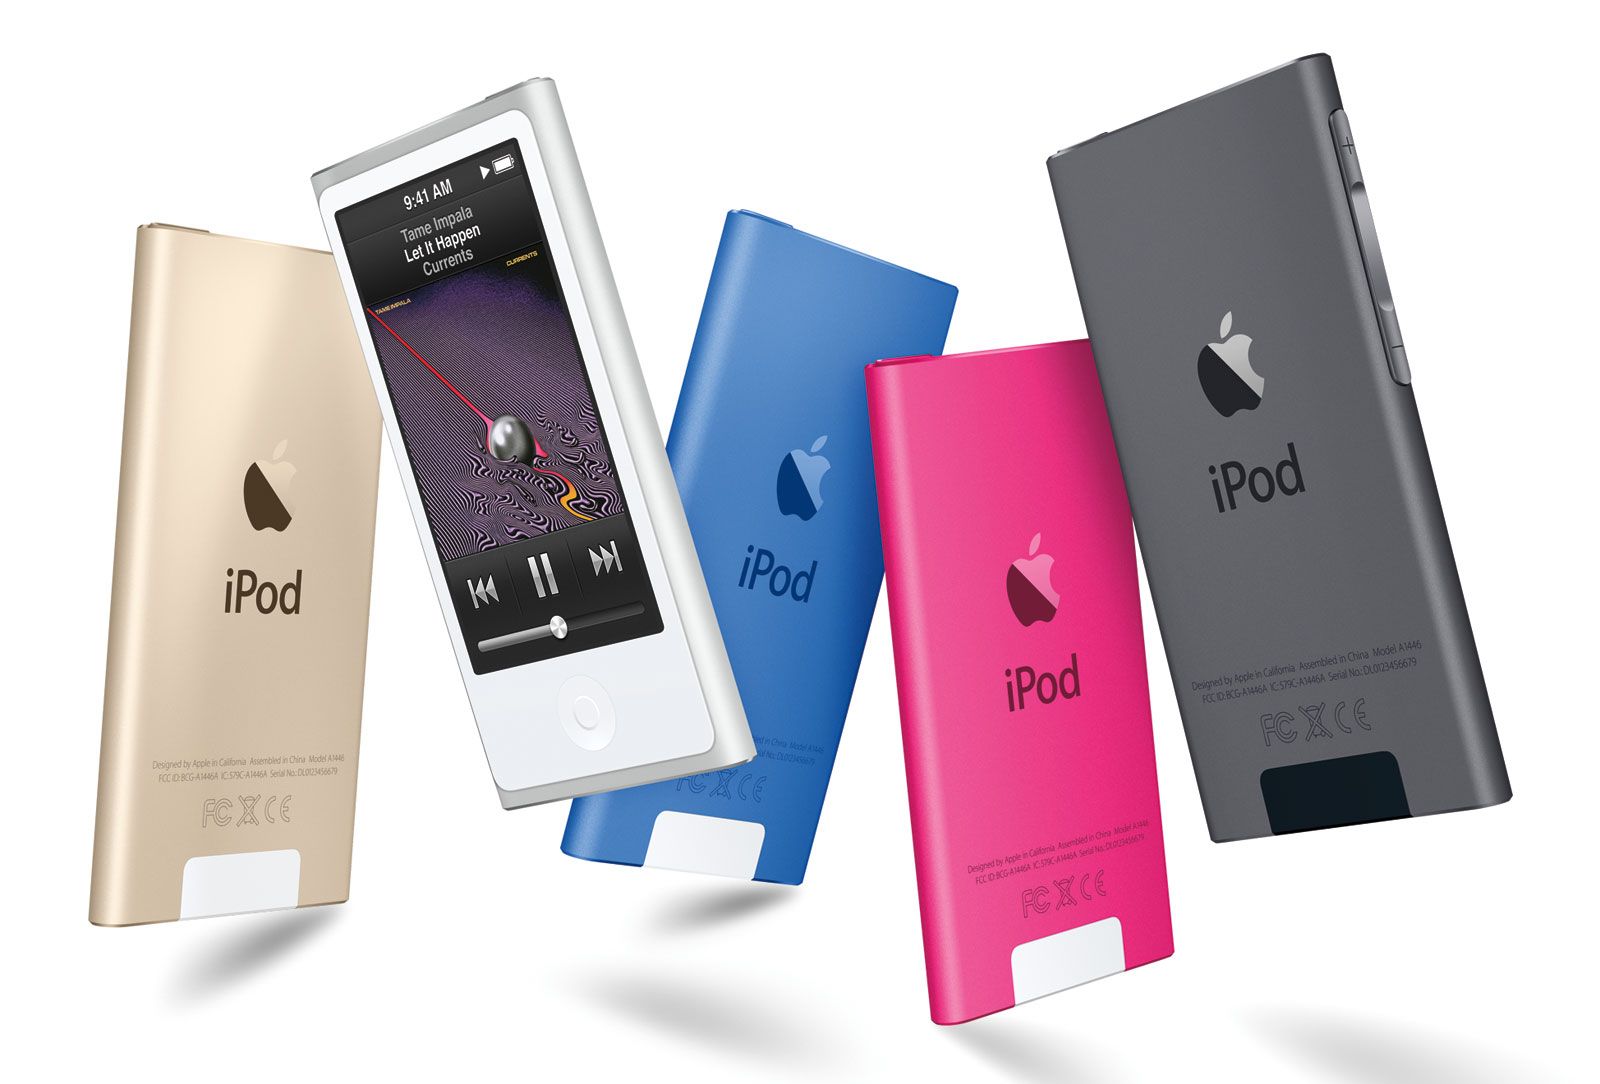
– Say hello to the newly revamped iPod Touch 5th Generation 16 GB model! Now sporting a 5-megapixel iSight camera, it’s all set to hang out with its 32 and 64 GB siblings, looking just as good.
– Here’s a quick peek at what’s packed under the hood:
– 4-inch Retina display with Multi-Touch IPS technology – everything’s sharp, bright, and ready to go.
– 802.11a/b/g/n Wi-Fi (including 2.4GHz and 5GHz options) + Bluetooth 4.0 – you’re always connected, no problem.
– 5-megapixel iSight camera with 1080p recording, LED flash, and a ƒ/2.4 aperture – plus a FaceTime HD camera that shoots 720p video at 30 fps. Perfect for selfies and all your video chats.
– Brand new iPod touch loop – more ways to keep your device on hand.
– Three-axis gyro + accelerometer – for super smooth motion detection.
– 16 GB storage capacity – plenty of space for apps, photos, and music.
Step 2


This model number is more of a nostalgic nod to the good ol’ 5th Gen devices than a true upgrade to the previous 16GB version. It’s like a blast from the past, bringing back that retro vibe!
– The 5th generation 16 GB iPod Touch from 2014 now includes a wrist-strap peg, a feature once reserved for the higher-end Touch models—just keep in mind, the strap itself is sold separately, so you might want to pick one up if you’re into that kind of thing.
– Notice the revised model number stamped on the back: A1421. It’s a little detail that helps identify this particular version of the device.
– Hold on—a quick flashback! We’ve actually seen that same model number before, on other, slightly more premium iPod Touch 5th Generation variants.
Step 3


We love using the iSclack to pop open iPhones, but how does it stack up against the sticky stuff on the iPod Touch? With some heat from the iOpener, the iSclack makes quick work of it—opening this iPod is almost as satisfying as cracking open a pistachio.
– Alright, let’s get this open! Since the usual tricks didn’t do the job, it’s time to grab the iOpener and get things moving.
– …And just like that, we’re inside. This iPod opens up with its classic clam-shell style, revealing the familiar inner parts—no surprises, no pearls, just straightforward repair territory.


Step 4


Left side: an aux port with no tape drama. Right side: a highlight from an iPod Touch 5th Generation guide, showing off some slick tape removal moves.
– Here’s a nice little surprise: The headphone jack is missing the usual tape found in its bigger cousins. This makes your repair a bit smoother!
– That should make your job easier and save Apple a few billionths of a penny. Not a bad deal, right?
– Of course, it’s also possible they just forgot the tape in this unit. Who knows?
Step 5

– Let’s get separating! Take a look at the maze of parts packed into this iPod—it’s like a game of electronic Tetris in here.
– Apple sure loves to see just how many pieces they can squeeze onto one cable inside these iPods.
– This little champion holds onto its title for most tightly-packed device, but don’t worry—we’re here to show it who’s boss.
The logic board, front-facing camera, battery, Lightning connector, headphone jack, speaker, and home button are all joined together as one solid unit, making things a bit more cozy but also tricky when it comes to repair. Tread carefully, or if it gets too tricky, you can always schedule a repair.
Step 6


– Apple didn’t exactly pick this unassuming device to debut a game-changing camera, but here we are.
– In fact, this camera looks pretty similar to what we saw in the other A1421 models. It sports a five-element lens with a hybrid IR filter and a ƒ/2.4 aperture. You can snap 5 MP photos or record 1080p (full HD) video at 30 FPS. Not too shabby, right?
Step 7

– Curious about the chips on the logic board? Here’s what we found:
– Apple A5 dual-core processor, paired with 4 Gb (512 MB) of Elpida Mobile DDR2 RAM, labeled with the B4064B3PM silkscreen mark
– Toshiba THGBX3G7D2KLA0C 128 Gb (16 GB) NAND flash
– Apple 338S1064-B1 dialog power management IC, quite similar to the Apple 338S1131
– Murata 339S0171 Wi-Fi module
– Broadcom BCM5976 touchscreen controller
– 338S1146 Apple/Cirrus Logic audio codec
– STMicroelectronics AGD4 2336 L84DC low-power, three-axis gyroscope
Step 8


– Integrated chips everywhere! Let’s explore the rest of this tasty hardware platter: tucked between the Lightning connector and the headphone jack, you’ll find some interesting components. First up is the Texas Instruments 343S0628 touchscreen controller, essential for responsive display interactions. Next, there’s the STMicroelectronics 8406 DSH 08BIY, which handles some of the device’s power management tasks. We also see the NXP Semiconductors 1608A1 display interface controller, responsible for smooth visuals. And finally, the Apple 338S1077 Cirrus Logic audio codec, giving your device its sound magic. If you need help, you can always schedule a repair.
Step 9


– No shockers here—Salvation Repair rates the iPod Touch 5th Gen 16GB 2014 with a repairability score of 3 out of 10 (with 10 being easiest).
– Getting inside is tricky, but not impossible—just requires a little patience and some clever moves.
– The battery has convenient notches on each side, making it way less of a hassle to pry out of the back case.
– A lot of parts are soldered together, so if something breaks, repairs might be tough or pricey.
– There are zero screws on the outside. Instead, clips and adhesive keep everything shut tight, so opening it up is a bit of a wrestling match.
– Ribbon cables snake over the logic board and plug in underneath, which makes removing the board or disconnecting those cables a real challenge. If you get stuck, you can always schedule a repair.