Jazz UltraTab C1059-HL Battery Replacement
Duration: 45 minutes
Steps: 5 Steps
Get ready to tackle that battery replacement like a pro! This guide will walk you through the steps to smoothly remove and replace your battery in just 20-30 minutes. Follow along carefully, and you’ll have your device up and running with minimal fuss. And remember, if things get tricky, you can always schedule a repair.
Step 1

– Unscrew the four little corner screws—think of it as setting them free from their tiny job!
Step 2


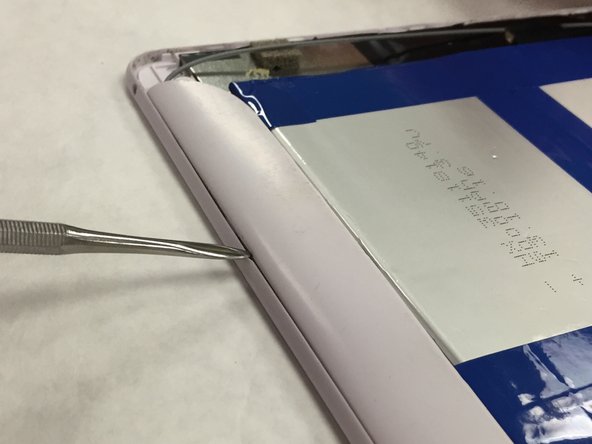
– Let’s get started by using a prying tool to carefully release the back panel from the tablet’s chassis. Work your way around the device, prying at different spots to loosen the clips that hold it in place.
Step 3

– Time to get cozy with that soldering iron! Remove the power cables from the battery, taking care to target the cable shown at the corner of the battery in the picture. Don’t worry, it’s easier than it looks!
Tools Used

Step 4

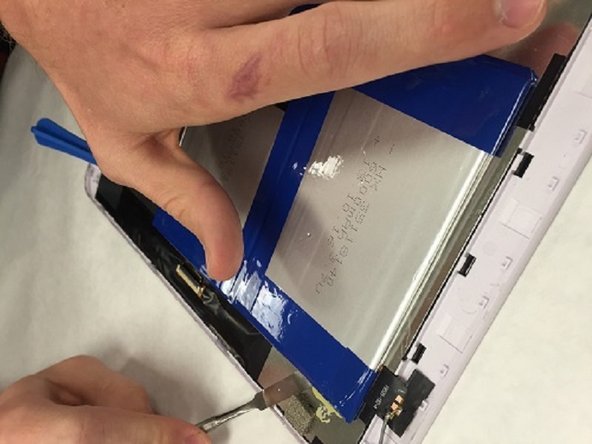
– Grab your trusty tool and ease the battery away from the chassis—it’s clinging on with adhesive, but you’ve got this! Gently work on the side that’s furthest from the motherboard, taking your time to avoid any accidental damage.
Step 5

– Nice work taking out the battery! Now, pop the new battery right into its cozy little spot. Get those supply wires soldered up snugly. Then, reapply the tape right where it belongs. You’re nailing this!
Success!