Jazz UltraTab C1059-HL Camera Replacement
Duration: 45 minutes
Steps: 4 Steps
Get ready to tackle the camera replacement on your Jazz UltraTab! This journey will take around 20-30 minutes. If you stick to the steps outlined here, you’ll make it through smoothly and keep your device in tip-top shape. And remember, if you run into any trouble, feel free to schedule a repair.
Step 1

– Kick things off by unscrewing those pesky screws! You’ll find them hanging out along the top and bottom edges of your device, just waiting for you to give them a little twist.
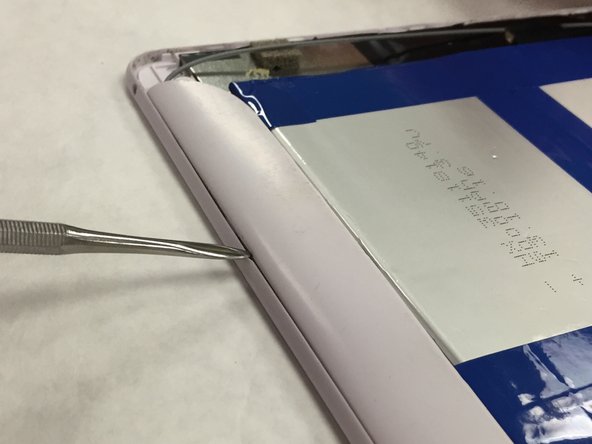
Step 2

– Pop off the back panel of your device using an opening tool. You’ve got this!
Step 3

– After popping off the back panel, flip the device over and let the screen chill face down on the table.
Step 4

– You’ll find two screws holding the camera—go ahead and remove them with confidence!
– Next, gently lift the Touch Screen Digitizer (the black piece)—easy does it!
– Now, slide out the Data Strip like a pro.
– Detach the camera with a bit of finesse, then take it out.
– Pop in the new camera, and put everything back together like a champ. If you need help, you can always schedule a repair.
Success!