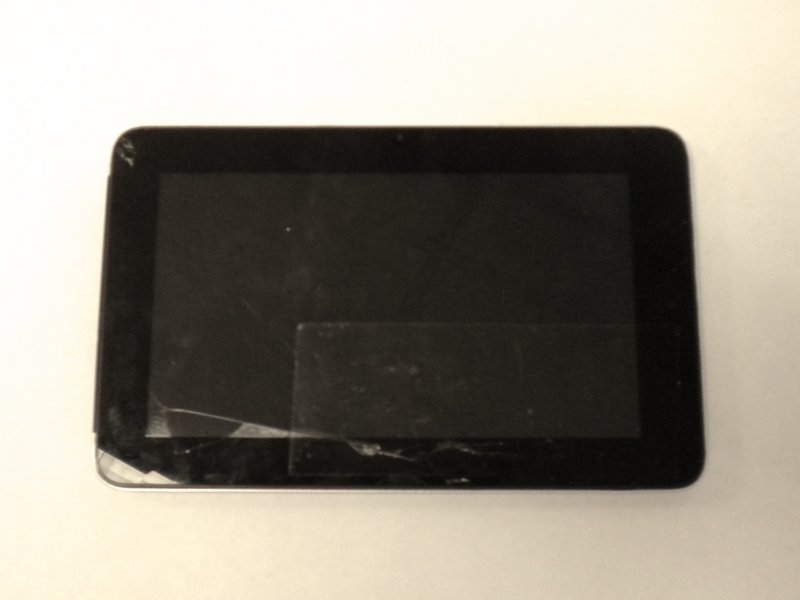
Jazz UltraTab C855 Screen Replacement
Duration: 45 minutes
Steps: 10 Steps
Accidents happen, and before you know it, your device’s display has seen better days. No worries! This guide is here to walk you through swapping out that shattered touchscreen. We’ve crafted a step-by-step process that’s super straightforward, designed to empower you to replace your display right at home. Get ready to tackle tasks like clearing away those pesky broken screen pieces (heat gun, anyone?), unplugging any digitizer cables connected to your function buttons, swapping out the double-sided adhesive, reconnecting your digitizer cables, and finally, giving your new digitizer screen a snug home. And remember, if the going gets tough, you can always schedule a repair.
Step 1
– Grab your trusty Phillips #000 screwdriver and gently twist away those four exterior screws. You’ve got this!
Tools Used
Step 2
– Gently pry off the back case using those trusty blue Plastic Opening Tools. Slide one along the seam until you can lift it gently with your fingers to break it free. Remember, patience is key!
Step 3
– Remove the two pieces of tape securing the ribbon cables to the motherboard.
Step 4
– Take a moment to get cozy, then grab your trusty screwdriver and unscrew those 3 screws hanging out at the top of the motherboard. You’re almost there!
Step 5
– Grab a plastic prying tool and pop open the latch holding the ribbon cable snugly next to the speaker. Easy does it—no need to wrestle!
– Gently slide the ribbon cable out of its connector on the motherboard. You’re a pro now!
Step 6
– Grab your trusty plastic prying tool and gently disconnect the ribbon cable from the motherboard. This cable is linked to the device’s cameras, so be careful!
Step 7
When you’re working with your device, it’s super important to grab an ESD-safe tool to keep everything running smoothly and avoid any unexpected damage. Reach for a trusty black nylon spudger or a plastic opening tool – they’re your best friends when things get tricky.
– Let’s get started by disconnecting the large ribbon cable from the motherboard. To do this, simply unlock the tabs on each side of the connector and gently pull it out. If you’re not sure how, don’t worry – it’s easier than it sounds!
Tools Used
Step 8
Skip this step if you are only removing the motherboard to replace the screen.
During reassembly, we recommend soldering or crimping the wires away from the motherboard contacts. You should avoid soldering directly to the motherboard unless absolutely necessary. To learn more about soldering, check out iFixit’s Soldering Skills Guide
– Trim away the two bundles of wires connected to the motherboard. Make those cuts as close to the board as you can. This way, you’ll have plenty of wire left to hook up to the new board later on.
Step 9
– Time to get your speaker out! Grab your trusty Phillips #000 Screwdriver and unscrew those two little screws holding the speaker in place.
– Once those screws are gone, gently lift the speaker out and set it aside. You’re making progress!
Tools Used
Step 10
Watch out when you’re taking off the screen! A shattered screen can leave you with some sneaky shards of glass.
– Gently wiggle the display free from the nine little white tabs holding it in place — think of it as a dance without stepping on any toes.
– You might also find a piece of tape on one side that needs a little love to peel back for a complete separation. No pressure, just go for it!
Success!


