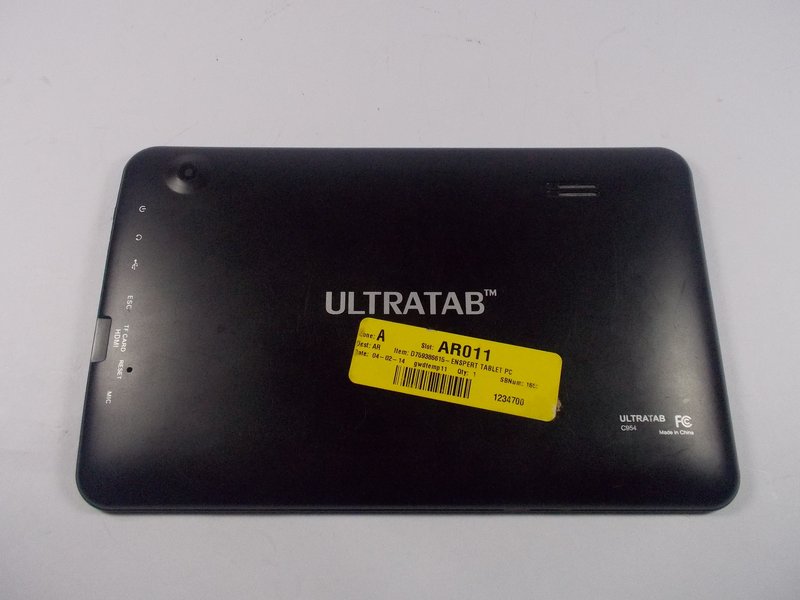
Jazz Ultratab C954 Speaker Replacement
Duration: 45 minutes
Steps: 7 Steps
This repair guide will teach you how to replace the speaker in your Ultratab C954. If you have referred to the prerequisite guide for the back cover removal then start on step 4. If your tablet still has the back cover on steps 1-3 will explain how to remove it. This guide requires the use of a soldering iron, if you do not have experience with a soldering iron please seek assistance.
Step 1


– At the top of your tablet, you’ll spot two tiny 1cm screws keeping that back cover snug. Grab your trusty Phillips head #0 screwdriver and let’s unscrew those little guys!
Step 2

Heads up! The buttons on the top of the tablet run through the back cover. When removing the cover, make sure to slide it up carefully to avoid any button damage. Take your time, and you’re good to go!
– Time to get that back cover off the touchscreen panel! Grab a plastic spudger and gently slip it into the seam. Work your way around the panel, prying it loose bit by bit. You’ll have it off in no time!
Step 3

– Once you’ve popped off the back cover, your tablet should be looking all fresh and ready to roll! Now it’s time to dive into the repair adventure. Grab the corresponding guide to jump into fixing those major components.
– To get the back cover back in action, start by gently sliding it on, making sure those buttons and speaker fit snugly into their designated spots. Then, give the covers a firm press together until you hear that satisfying click of the plastic tabs locking in place.
– With those screens locked and loaded, the grand finale is to reinsert the two 1cm screws at the top of your tablet. And just like that, your tablet is all set for another round of fun!
Step 4

– Alright, time to dig in! With the back cover off, scan the scene and zero in on the speaker and those all-important speaker wires—marked in the red box like a treasure map. Keep your cool, take your time, and let’s get that sound back on track!
Step 5

Careful now! When cutting the wires, aim for a close cut near the motherboard—but without giving it an accidental haircut. Precision is key, and your motherboard will thank you for it!
– The speaker is magnetically attached to the tablet’s screen, so simply cutting the old wires will free it from its old home. Easy as that!
Step 6

Soldering irons can get really hot, and we want to keep those fingers safe! If you’re not sure how to handle one, don’t hesitate to ask for help from someone who knows the ropes.
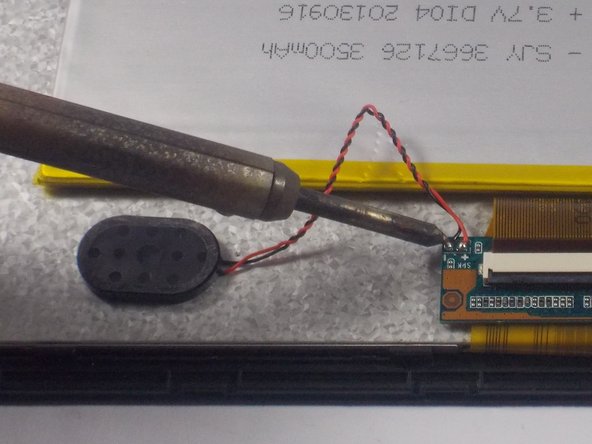
– Pinpoint those positive and negative terminals on the speaker—they’re your new best friends for this project.
– To hook up the shiny new speaker, you’ll need to solder its wires to the motherboard terminals. Here’s the deal: hold the wire against the old solder, use just a dab of new solder, and melt them together with precision. Boom, connection achieved!
– Need a quick crash course on soldering? Salvation Repair’s got you covered—learn to nail those connections like a pro! If it gets too tricky, you can always schedule a repair.
Step 7

– Congrats! Your snazzy new speaker is all set and cozy in the tablet. Time to put it back together! Just hop over to the back cover guide (step 3) and you’ll be good to go.
Success!