
Kurio Xtreme Camera Replacement
Duration: 45 minutes
Steps: 5 Steps
Are the cameras on your Kurio Xtreme feeling a bit under the weather? Don’t worry, we’ve got your back! Whether it’s the front, back, or both that need a little TLC, this guide will walk you through the fun process of swapping them out. Just a heads-up: since these cameras are best buddies, you'll be replacing them both, even if only one has decided to vacation permanently. Let's get to work and bring your device's photography game back to life!
Step 1

- Start by gently peeling back the rubber case from one of the top corners. Keep that momentum going and continue until the cover is completely off. You've got this!
Step 2


Get ready to unscrew! There are two little screws on each side of your device (that’s four in total) just waiting to be removed.
- Grab your trusty Phillips #000 screwdriver and start unscrewing those four 4 mm black screws. You've got this!
Step 3


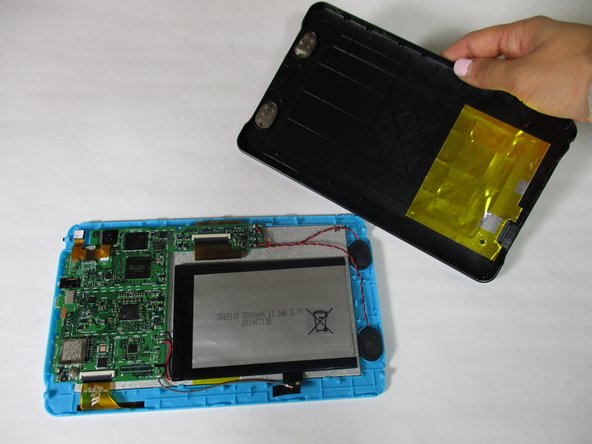
Hey there! Just a friendly reminder: when you're taking off the back cover, watch out for those sneaky plastic clamps lurking around the edges. Keeping them intact will make your life a lot easier!
- Wedge that plastic opening tool right between the snazzy blue front casing and the sleek black back casing.
- Gently glide the tool all around the edges, giving it a little love and attention as you go. You might find yourself going up and down a few times—it's all part of the fun!
- Now, with a careful touch, lift that back panel away from the rest of your device. You're doing great!
Step 4

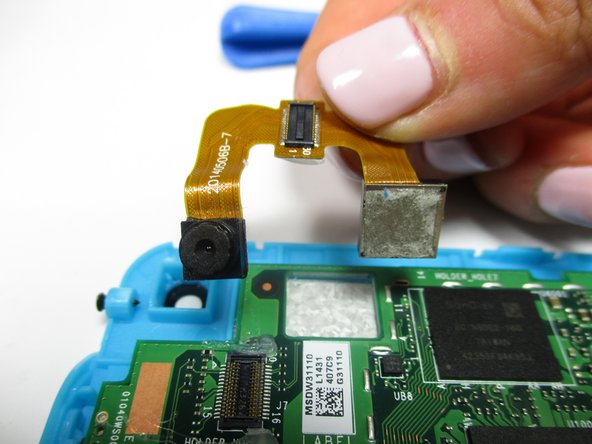
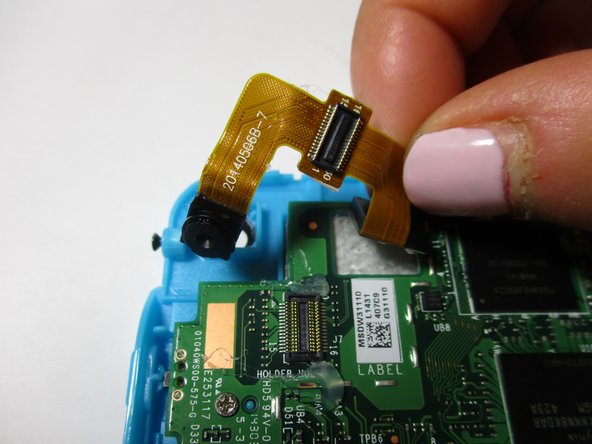
- Gently pry up each side of the flat-topped connector that links the cameras to the motherboard using your trusty plastic opening tool.
Step 5

- Put your device back together by reversing these steps—easy peasy!
- If you hit a snag or want a pro to handle it, you can always schedule a repair.