
LaCrosse Technology 5120 Weather Alarm Clock Teardown
Duration: 45 minutes
Steps: 11 Steps
Step 1


– Check out this stylish clock! Let’s break down what it offers:
– Time & Date displays
– Indoor temp & humidity readouts
– Outdoor temp & humidity readouts
– Projector feature
– Snooze/backlight button
– Battery backup
Step 2


Hold up! Don’t take off the back just yet!
– Alright, let’s dive in! First things first, we need to tackle those back screws. Grab your THIN SHAFTED #1 Phillips Screwdriver and let’s get cracking!
Step 3

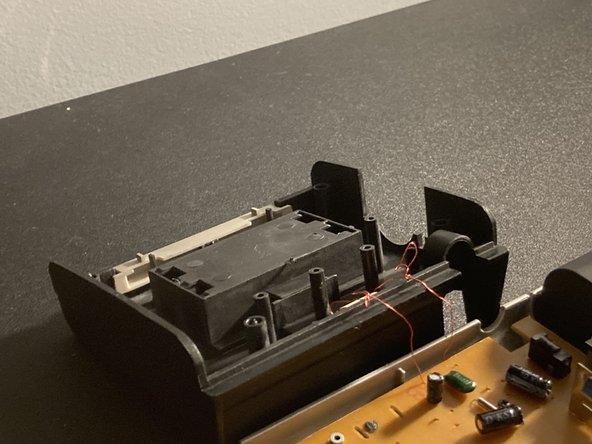
Heads up! There are two delicate red wires connecting the CB to the temperature sensor. Be gentle and don’t force the cover off—patience is key here!
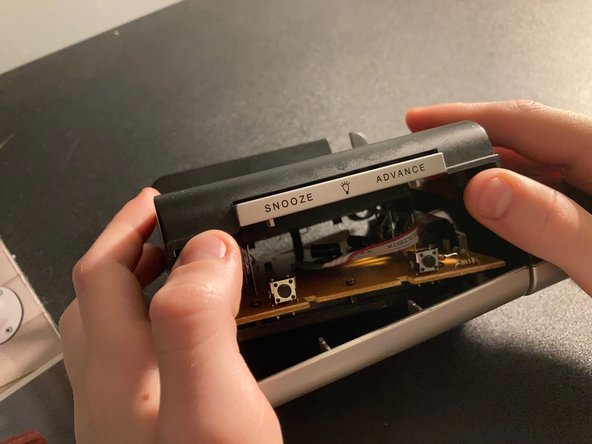
– Alright, time to pop this device open—but let’s keep it chill and gentle!
– Hold the clock by its sides and lift it up. Next, press down on the circuit board, and then carefully remove the cover.
Step 4

– Now that we’ve got it open, let’s check out what’s happening on the inside. First up, take a look at the piezo element, then move on to the temperature and humidity sensor. Don’t forget to inspect the battery terminals for any corrosion or damage. Keep an eye out for a bunch of capacitors—they’re tiny but important! Finally, locate the snooze and backlight buttons to see how they fit into the mix. If you need help along the way, you can always schedule a repair.
Step 5

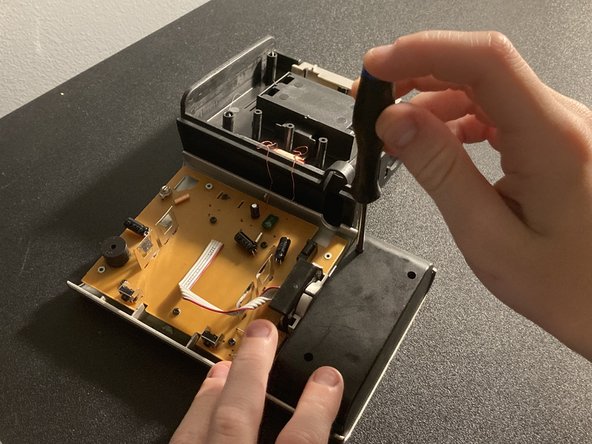
– Grab your trusty THIN SHAFTED #1 Phillips screwdriver and let’s tackle those three screws together!
Step 6

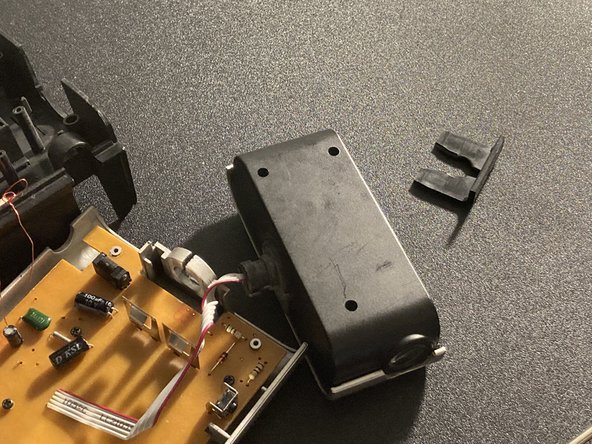
– Start by gently pushing up on the black holder that keeps the projector in place, using your fingers to lift it from the bottom.
– Next, grab a metal opening tool and apply steady medium pressure to the clamp while simultaneously pushing the projector outward to release it.
– And just like that, the projector is free!
Tools Used

Step 7
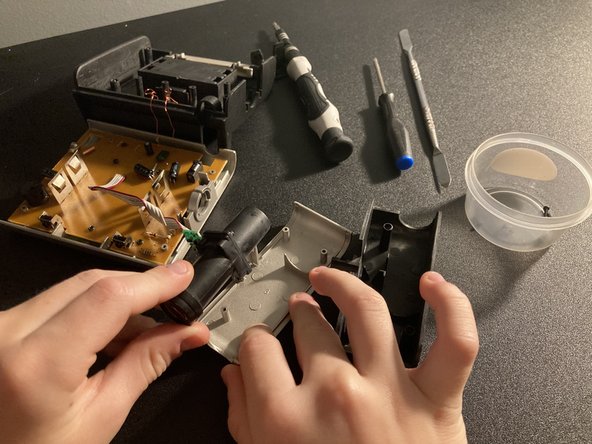
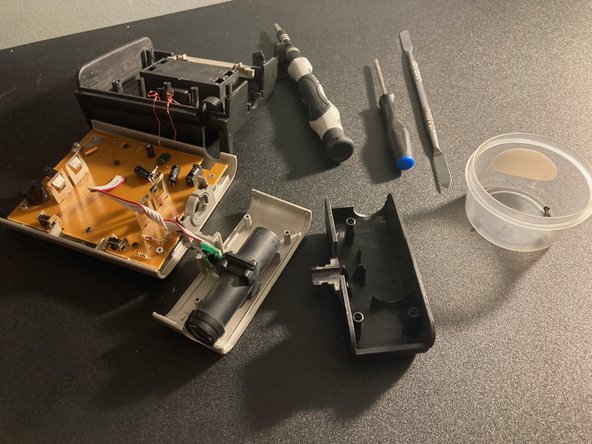

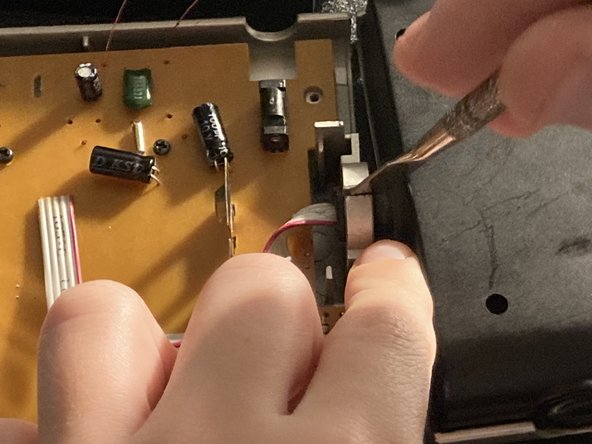
– Gently lift the back cover, giving it a little wiggle to loosen things up.
– Once it’s free, just grab the projector and pull it out smoothly.
Step 8
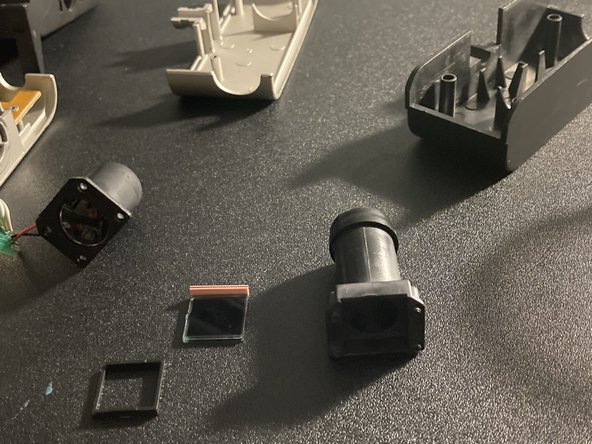

Heads up! Be super careful not to crack the screen – the liquid crystal inside is toxic, and we’d rather you avoid any spills!
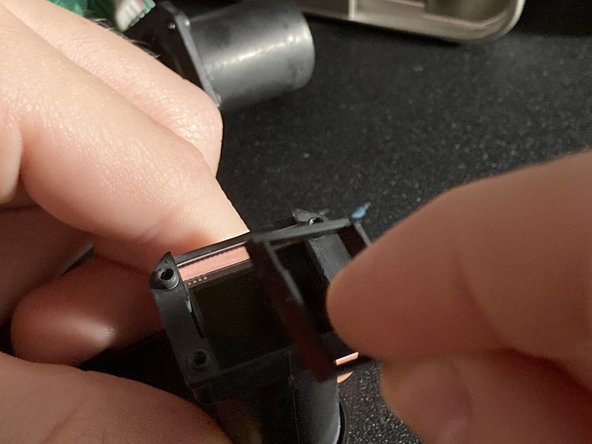
– Grab your trusty Phillips #1 screwdriver (any shaft size works) and unscrew the four screws holding the two halves of the projector together. Time to get that separation going!
– Next up, carefully remove the black plastic square above the screen—don’t rush, it’s a delicate move. Once that’s off, gently lift out the screen. And voilà, the projector is all done!
Tools Used

Step 9

This step is quick because we’re working with just a few photos.
– Start by removing the five screws securing the screen in place. Keep at it, and soon you’ll have the screen ready for the next step. If you need a hand, you can always schedule a repair.
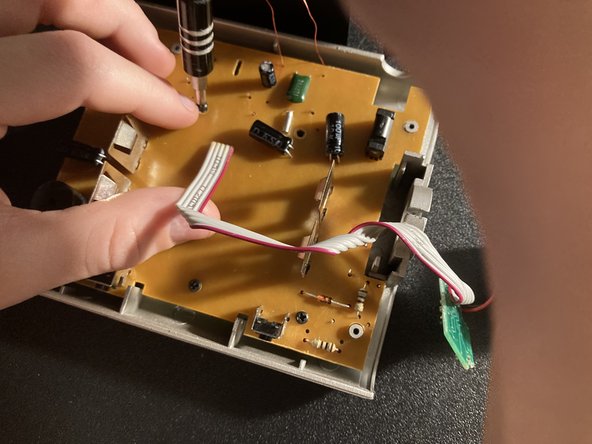
Step 10
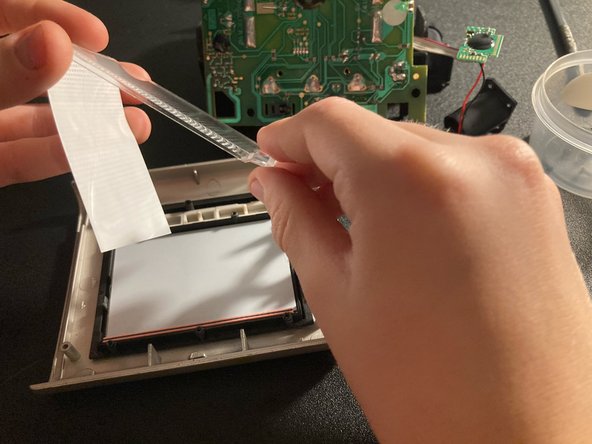


Be super careful not to crack the screen! Inside, there’s some toxic liquid crystal that you definitely don’t want to mess with. Take your time and handle it gently!
– First up, gently lift the CB and carefully detach it from the screen. No rush here!
– Next, take out the backlight filter and distributor—just the essentials, nothing more.
– Now, take your time and carefully remove the screen, buttons, and button frame. Steady hands make all the difference!
Step 11

– And that’s a wrap! You did it—awesome job! Feel free to check out my other guides on the profile. If you run into any bumps along the way or just need a hand, don’t hesitate to schedule a repair. Catch you later!
Success!