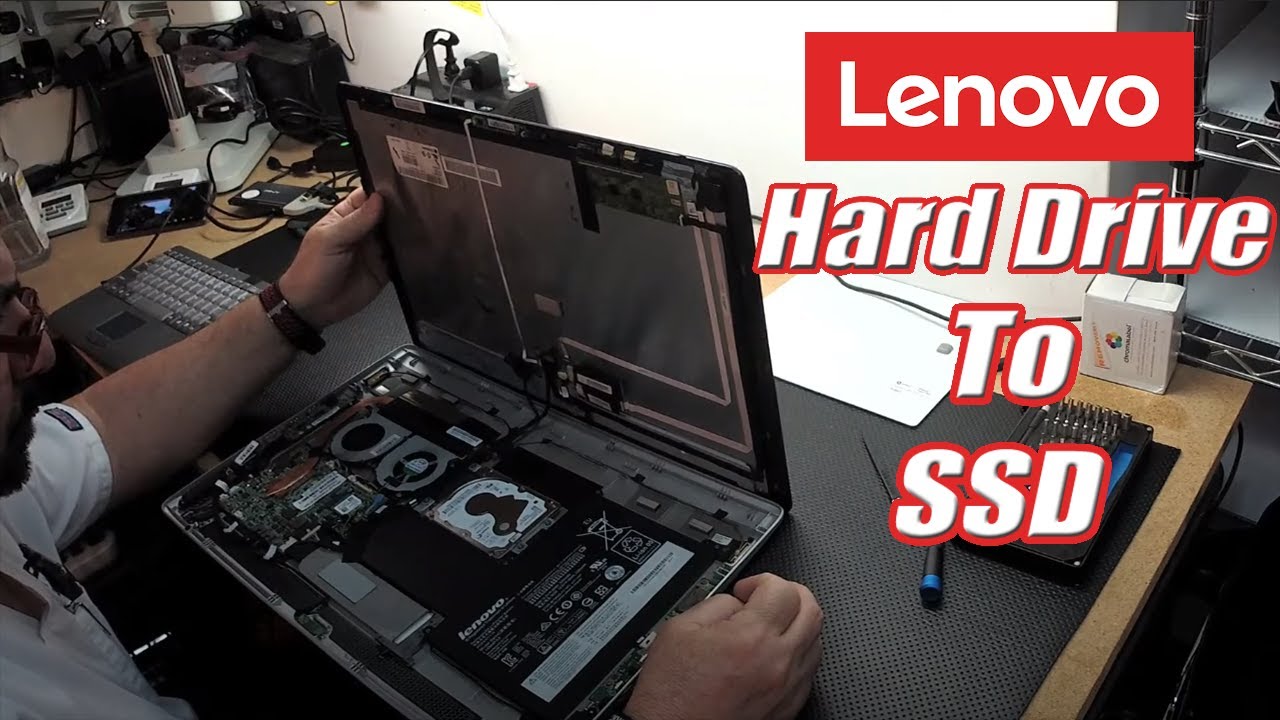
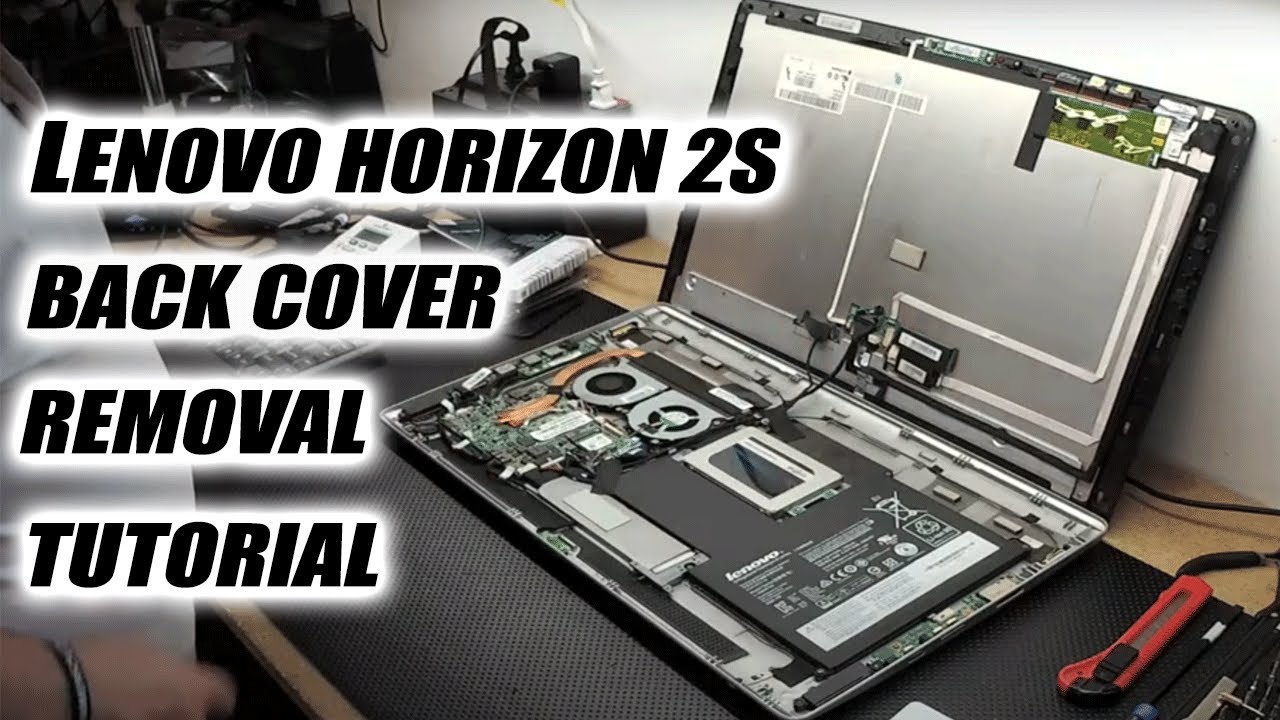
Lenovo Horizon 2s Fan and Heat-sink Replacement
Duration: 45 minutes
Steps: 18 Steps
This guide will walk you through, step by step, how to pop off the back panel like a pro and safely remove the fan and heat-sink from your motherboard. You’ll also get clear instructions on pulling out the battery and hard drive (HDD) to give yourself some elbow room for accessing the fan and heat-sink.
Step 1


– Turn the device over so that the back cover is facing up.
– Grab your plastic opening tool and gently pry off the plastic piece shown in the image. Take your time, and once it’s loose, carefully remove it from the case.
Step 2


– Get a grip on that rubber boot on the right side of the rear case and gently pry it off with your fingers – it’s like removing a stubborn sticker, but easier, we promise!
– Now, grab your trusty Phillips #1 screwdriver and remove the screw that’s hiding under the rubber boot. It’s like a little treasure, and you get to be the treasure hunter!
Step 3

– Time to get this repair started! Use your trusty plastic opening tool to gently pry the display screen forward, separating it from the rear casing. Take your time and work your way around the edges until it comes loose.
Step 4

– Grab your plastic opening tool and gently work your way around the edges of the screen, prying it loose bit by bit until it pops free from the back casing.
Step 5


– Before you go all in and separate the screen from the rear casing, take a moment to gently disconnect those two little wires snugly attached to each side of the device. This will let you smoothly pull the rear casing away from the screen without any fuss!
Step 6

– Grab your trusty Philips #1 screwdriver and gently unscrew the four M2-6mm screws marked in the picture. Take your time, no need to rush!
Step 7

– Gently lift the hard drive, which is still hooked up to the boot, out of the back casing.
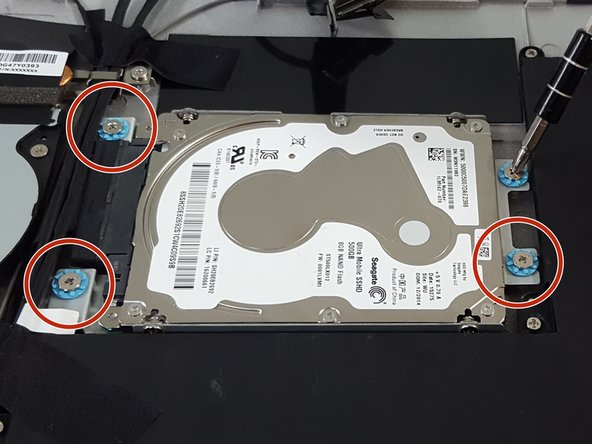
Step 8


– Alright, the hard drive is free from the rear casing, but it’s not quite out of the woods yet! Now, we need to separate the hard drive from its boot. Grab your trusty number one Philips screwdriver and carefully unscrew the four M2-6mm screws marked in the image. Take it slow and steady, and you’ll be all set!
Step 9

– Now that the screws are out of the way, you can carefully lift the hard-drive out of its metal housing. Take your time and be gentle – you’re making great progress!
Step 10

– Gently and slowly use your fingers to disconnect the wire from the motherboard, just like you’re delicately unwrapping a gift. Take your time and be careful!
Step 11


– Grab your Philips screwdriver with a #1 head and gently remove the six M2-6mm screws highlighted in the photo. Take your time—no rush, you got this!
Step 12

– Gently lift the battery out of the back casing, like you’re picking up a fragile treasure. Handle with care!
Step 13

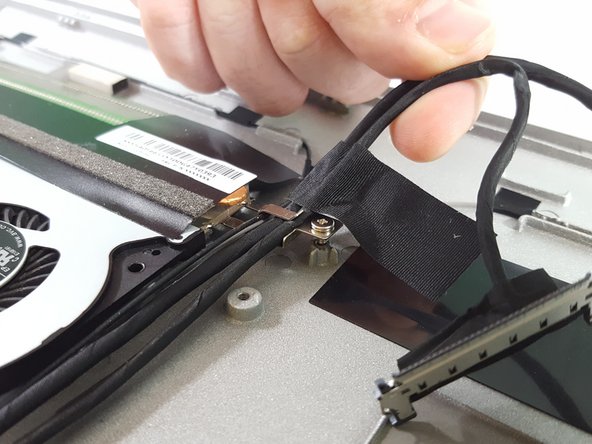
– Grab your trusty Phillips screwdriver with the number one head and gently unscrew the M2-6mm wire fastener. This will release the wires shown in the picture from the rear casing. Take your time and remember, patience is key!
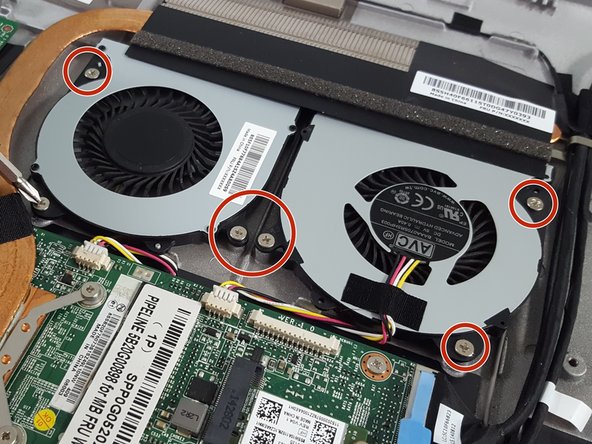
Step 14

– Let’s get started by removing the four M2 6mm screws circled in the picture. Grab your trusty Phillips screwdriver with the number one head and carefully unscrew them.
Step 15

– Once you’ve unscrewed everything, gently lift the heat sink off the CPU on the motherboard. You’ve got this!
Step 16

– Let’s get started by removing the six M2 6mm screws around the fans. Grab your trusty Phillips #1 screwdriver and get to work – it’s time to take apart your device. Simply unscrew each of the six screws as shown, and you’ll be one step closer to a successful repair. If you’re feeling stuck, don’t worry – we’ve got you covered. Take a deep breath and let’s move forward.
Tools Used

Step 17

– Gently unplug those power cables connecting the fans to the motherboard. You’ve got this!
Step 18

– Gently lift the fans out of the casing, taking care not to rush it.
Success!