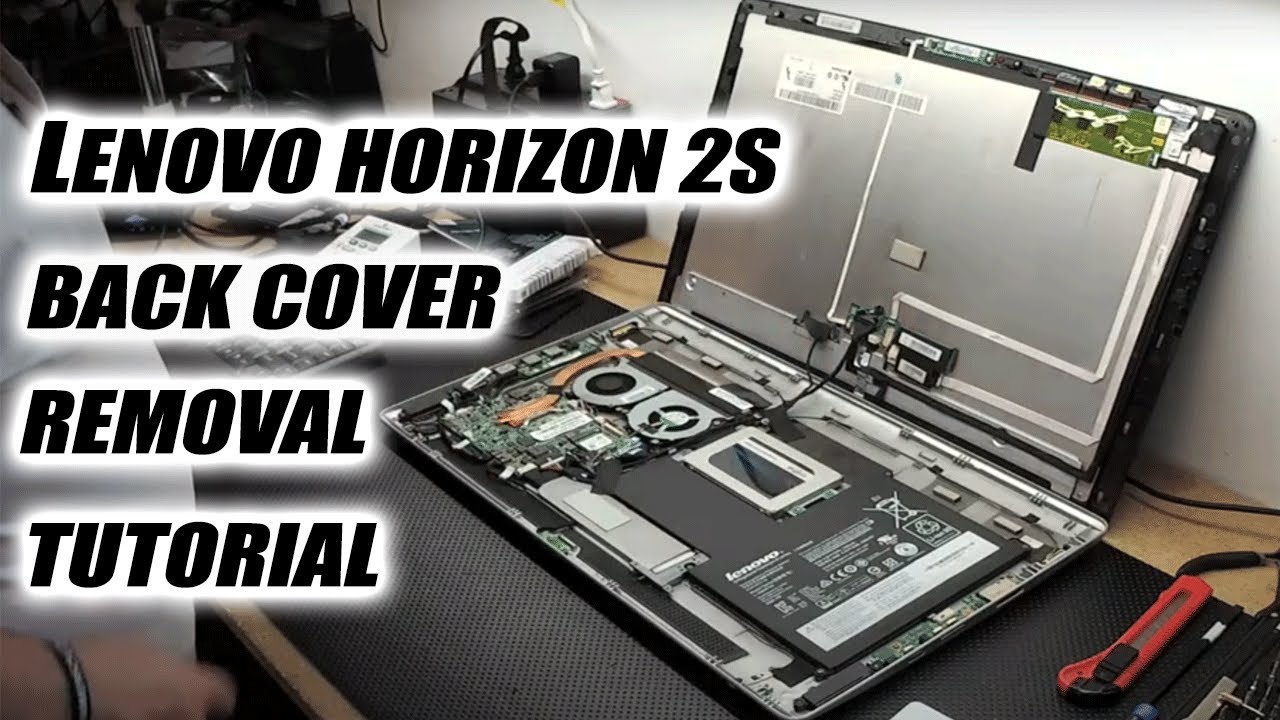
Lenovo Horizon 2s Rear Case Replacement
Duration: 45 minutes
Steps: 5 Steps
Get ready to dive in and tackle that rear case! It’s there to keep all those precious inner parts safe and sound. This guide will walk you through each step to help you access those internal components like a pro. If you find yourself stuck, remember, you can always schedule a repair.
Step 1


– Turn the device over so the rear case is facing up—time to get down to business!
– Grab your trusty plastic opening tool and gently work your way around the plastic piece shown in the image. Ease it out little by little until it’s completely free from the case. No need to rush—steady hands win the race!
Step 2


– Gently use your fingers to pop off the rubber boot from the right side of the rear case. Easy peasy!
– Grab that Phillips #1 screwdriver and take out the screw hiding right beneath the rubber boot. You’ve got this!
Step 3

– Time to get this device cracked open! Use your trusty plastic opening tool to gently pry the display screen forward, separating it from the rear casing. Take your time, it’s easier than it looks!
Step 4

– Grab your trusty plastic opening tool and work your way around the edges of the screen with gentle prying action. Keep at it until the screen makes its grand exit from the rear casing—no stress, just finesse!
Step 5


– Before you go all in and separate that screen from the back of your device, take a moment to gently disconnect those two wires on either side. Trust us, it’ll make sliding the rear casing off so much easier!
Success!