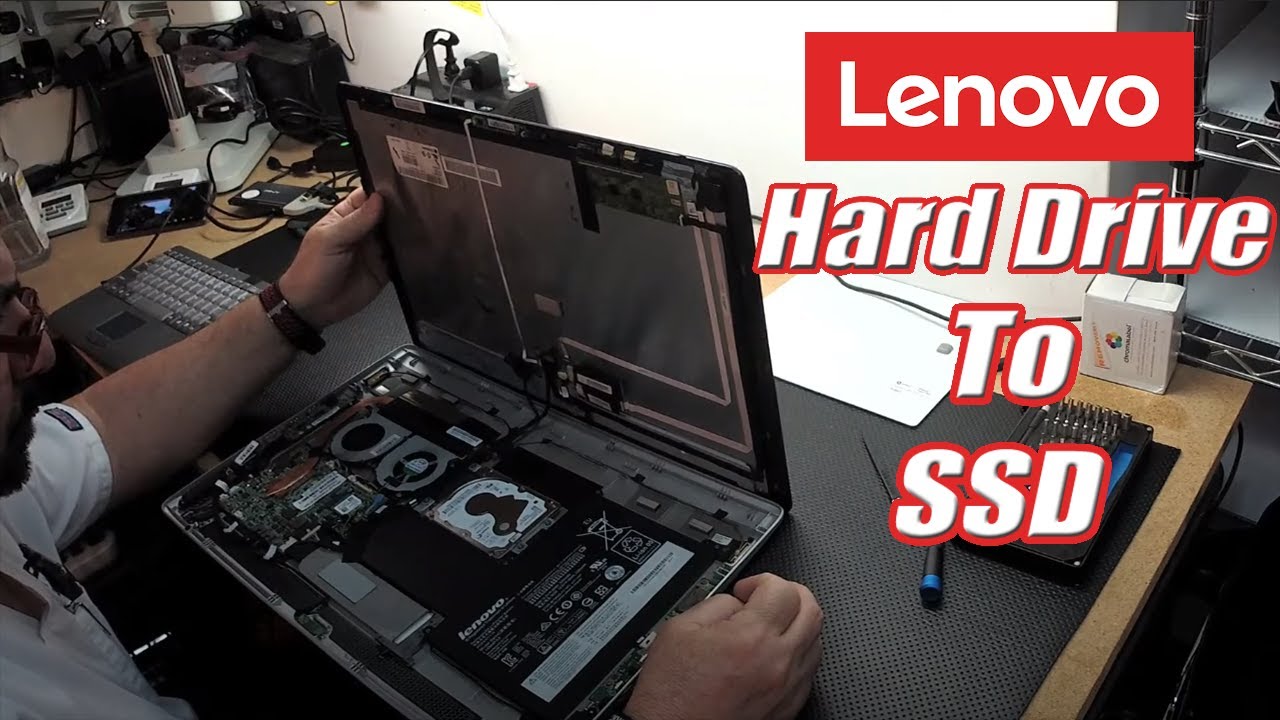
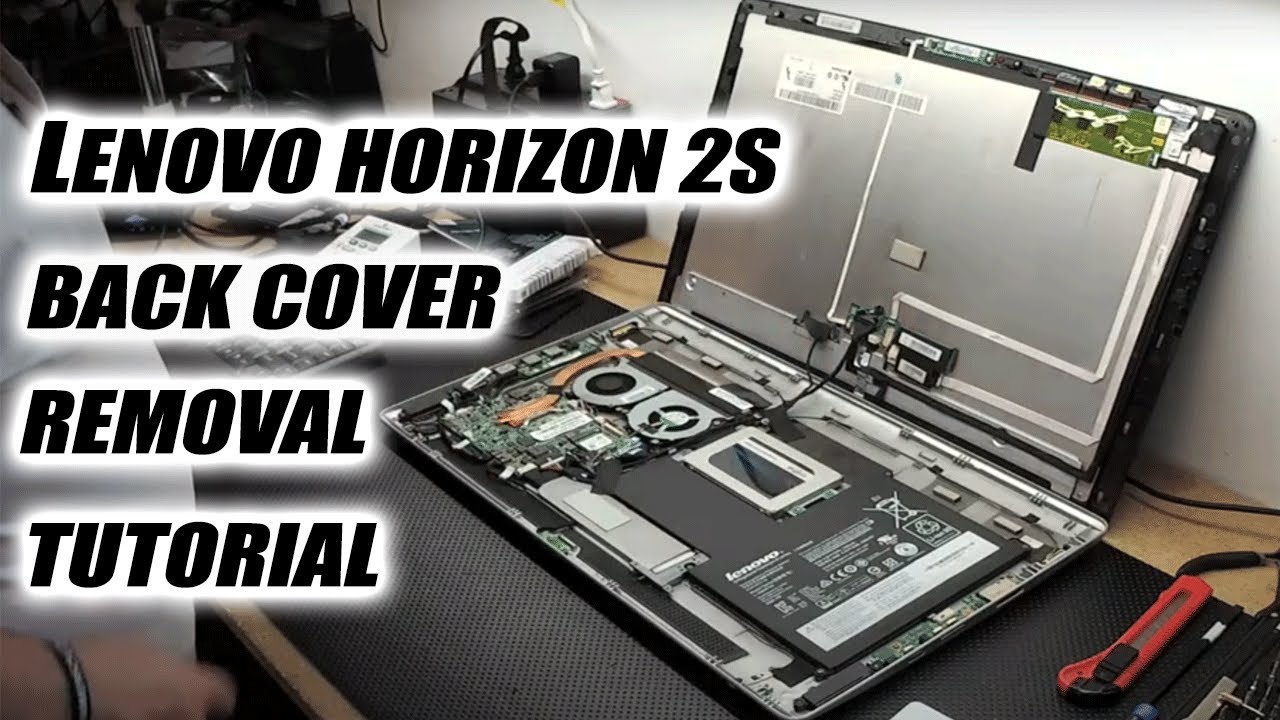
Lenovo Horizon 2s Speaker Replacement
Duration: 45 minutes
Steps: 8 Steps
Ready to give your two-in-one tablet a sound makeover? This guide will walk you through swapping out those faulty speakers with ease. Plus, we’ll show you how to carefully detach the back panel, keeping those delicate interior components safe and sound. Let’s get to it! If you need help, you can always schedule a repair.
Step 1


– Turn your device over so the back is facing up, ready for action!
– Grab your trusty plastic opening tool and gently pry up the plastic piece shown in the picture until it’s completely free from the case. You’ve got this!
Step 2


– With a gentle touch, slide your fingers to lift off the rubber boot on the right side of the back cover—it’s just a little shy!
– Grab your Phillips #1 screwdriver and tackle the screw hiding right beneath that rubber boot. You’ve got this!
Step 3

– Grab your trusty plastic opening tool and gently nudge the display screen forward, just enough to pop it free from the back casing. No need to rush, take your time – the screen will separate smoothly.
Step 4

– Grab that trusty plastic opening tool and gently work your way around the edges of the screen. Keep prying until the screen pops free from the rear casing like a champ!
Step 5


– Before you get too cozy with separating the screen from the back casing, take a moment to gently disconnect those two little wires hanging out on either side of your device. This step will make it a breeze to fully part the rear casing from the screen.
Step 6
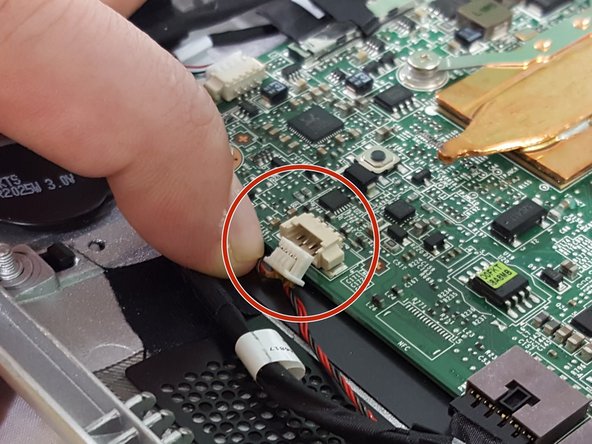

– First things first, find those snazzy black and red wires that are all tangled up, connecting the two tiny black speakers to the motherboard. You’ll spot them in the picture, so give it a good look!
– Gently unplug that wire from the motherboard by pulling it out with care. No need to be rough – we’re not in a tug-of-war here!
Step 7
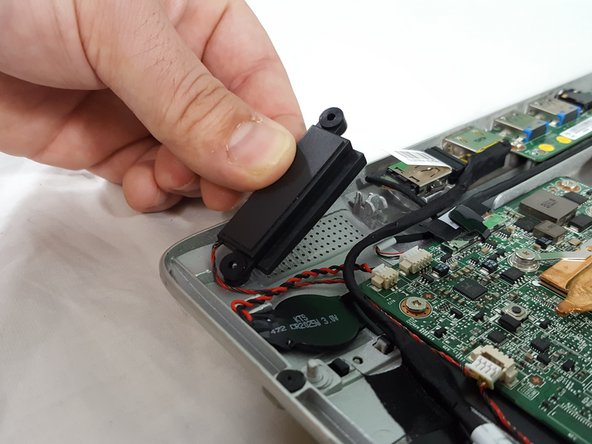


– First, track down those sneaky speakers located at the bottom of your device.
– Next, take a peek at the speakers – you’ll notice they’re connected by two knobs, one on each side. Gently lift the speakers to release them from the tablet. Easy peasy!
Step 8

– Now, just put everything back together by retracing your steps. If you hit any bumps along the way, remember, you can always schedule a repair for a helping hand!
–
Success!