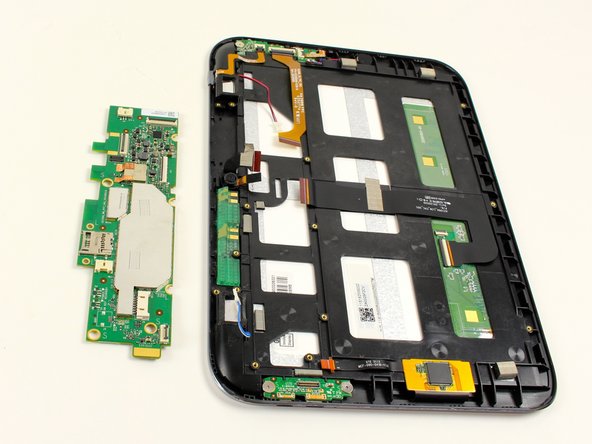
Lenovo IdeaTab A2109 System Board Replacement Guide
Duration: 45 minutes
Steps: 10 Steps
Ready to swap out the system board? Let’s get down to business and make it happen step by step. Stick with us, and your device will be up and running again in no time!
Step 1
– Flip your tablet over and check out the speakers near the top of the back cover.
– You’ll notice a small groove running along the top of the device’s plastic cover.
– Grab your plastic opening tool and gently slide it under the center of the cover. Once it’s in, give it a gentle push upwards and the cover should pop right off!
Step 2
Hey there! If there’s an SD card in there, let’s pop it out.
– Take out those two 3mm black Philips #00 screws like a pro—easy peasy!
Step 4
The screw in the top right corner is hiding under a cheerful yellow ribbon. Gently lift the ribbon without disconnecting it, and then go ahead and unscrew that little guy!
– Unscrew those seven black 3mm Phillips #00 screws. Easy peasy!
Step 5
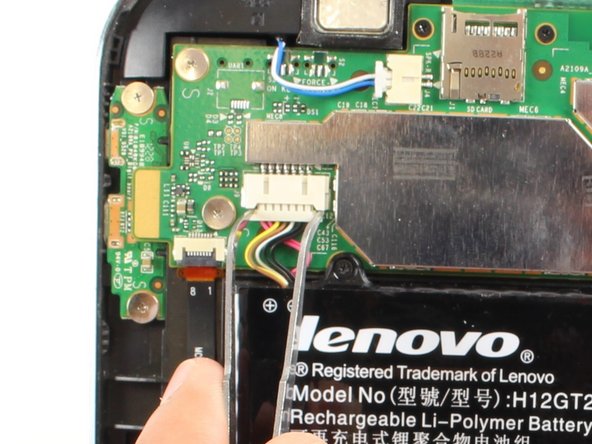
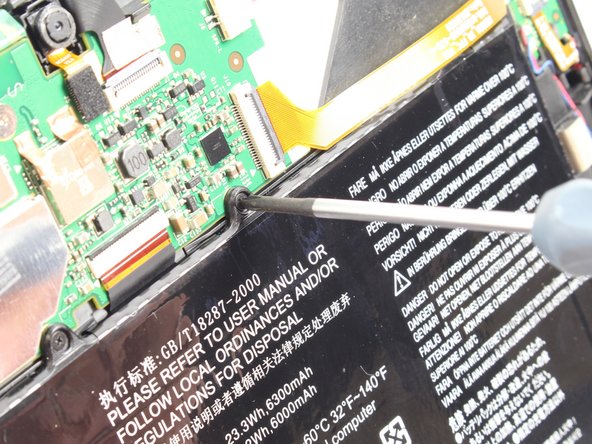
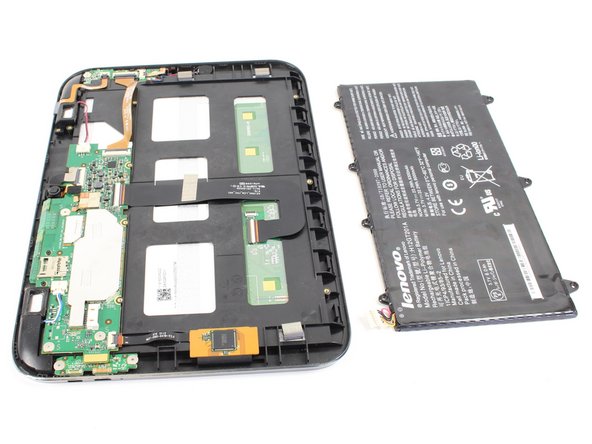
– Alright, now’s the time to pop out that battery! Whether you’re swapping it for a fresh one or diving deeper into the device, you’ve got this.
Step 6
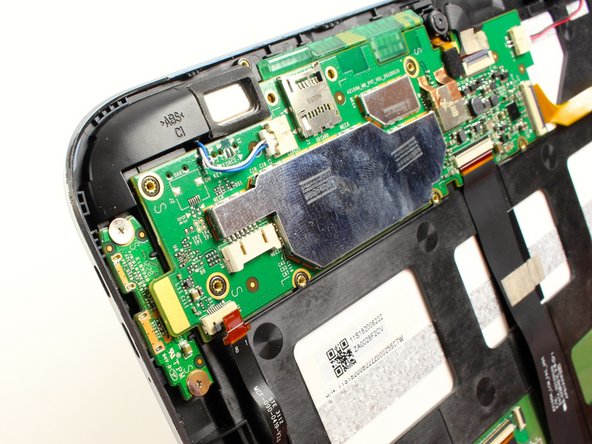
– Take out the two black 3mm Phillips #00 screws.
– Unscrew the three silver 1.8 mm Phillips #00 screws.
Step 8
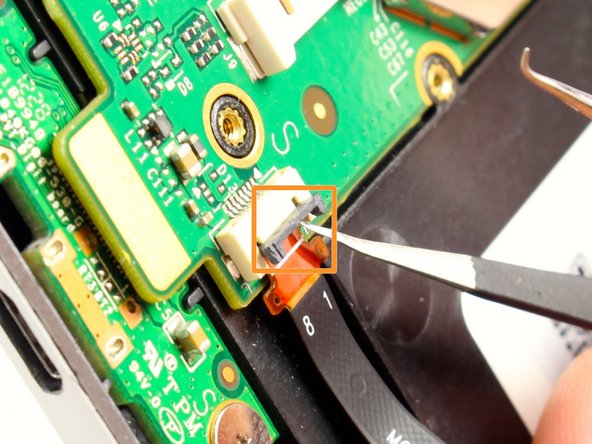
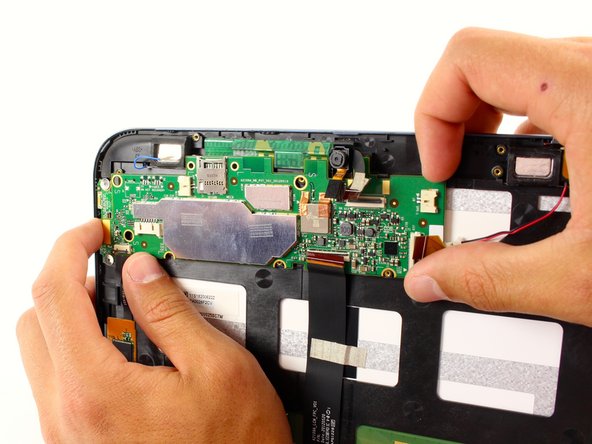
– Gently pinch those two speaker connectors with your trusty tweezers and slide them out from the cozy embrace of the system board housing. You’ve got this!
Tools Used
Step 10
– To put your device back together, just work through these steps in reverse. If things get tricky, you can always schedule a repair. You’ve got this!
– Cancel: Didn’t finish? No worries, you can try again anytime.
– Success! Another repair job well done.
Success!


