Lenovo Ideatab S6000 Motherboard Replacement
Duration: 45 minutes
Steps: 17 Steps
Time to get to the heart of the matter – literally! Removing the motherboard is a crucial step in giving your device a brand new lease on life. In this step, we’ll walk you through the process of carefully extracting the motherboard from your device. Don’t worry, it’s easier than it sounds, and with a little patience, you’ll be a pro in no time. If you need help, you can always schedule a repair.
Step 1

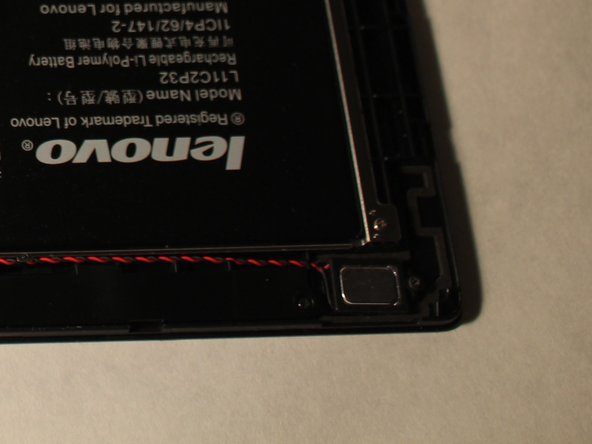
These screens are glued on pretty tightly, so take your time with this step to get it just right. You’ve got this!
– Let’s get started by gently prying the speaker screens loose with a plastic opening tool. If they’re being stubborn, don’t worry! A little extra help from some tweezers or a craft knife should do the trick.
Step 2

– Now it’s time to get screwing – literally! Remove the screws from both spots that were covered up. This is a breeze, and you’re one step closer to fixing your device!
Step 3

Trust me, using a metal tool here is a one-way ticket to trouble. Grab a plastic tool instead and keep things safe and smooth!
Take it slow and steady as you work your way around the device to gently pry off the backing. A little patience goes a long way!
– Work your way around the casing with the spudger, gently prying the screen away from the backing. You’ll know you’re making progress when you hear a soft popping sound as each lock tab disengages.
– Keep going until all the tabs are released – it’s like a little puzzle, and you’re the master solver!
Tools Used

Step 4

– Peel off the plastic covering the battery cable. It’s like unwrapping a present, just with fewer ribbons and more tech!
Step 5


– Grab the plug and gently rock it back and forth while pulling on both sides – think of it as a little wiggle dance to loosen it up. Use a plastic opening tool or your fingers, whichever feels more comfortable for you.
Step 6

– To get that battery out, just grab the little tab and give it a gentle pull upwards.
– Remember, the battery is stuck in there with some adhesive love. So, give it a firm but friendly tug from the tab, and it should pop right out after a bit of effort!
Step 7

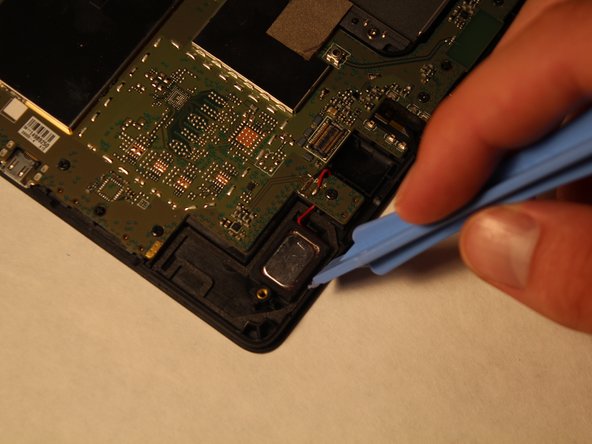
– Time to get those speakers out! They’re stuck to the tablet with some strong glue, so be prepared for a bit of a fight. You’ll need to pry them loose, making sure to get your tool all the way under the speakers for maximum leverage.
– Don’t be shy – really work your way under those speakers to loosen them up. It may take some effort, but with a bit of patience and elbow grease, you’ll have them out in no time.
Step 8

Skip this step if you’re not swapping out the speakers – it’s not on your to-do list!
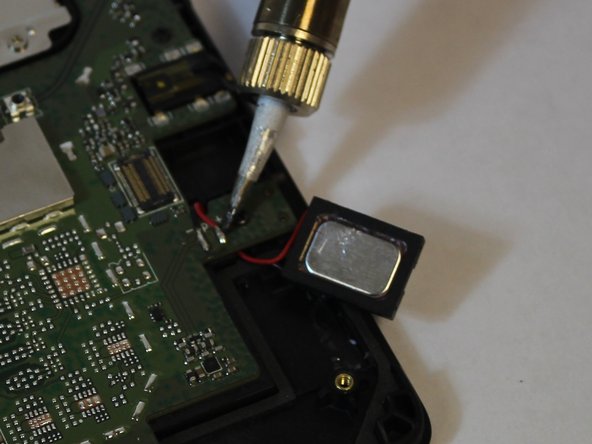
Keep track of those red and black wires, and make sure you know where they go. If you need help, you can always schedule a repair
– To remove the wires, gently heat up the solder where the wires are connected to the board and carefully pull the wires free. A little heat, a little patience, and you’ll be all set!
– Now, let’s hook up those new speakers! Simply solder the wires onto the board and make sure they’re snug. You got this!
Step 9

– Grab your trusty spudger and gently work it under the vibration motor. Give it a careful lift—think of it like convincing a stubborn friend to leave a comfy chair. Slow and steady wins the race!
Tools Used
Step 10

– Take out those 3.16mm screws marked in red—they’ve had their moment to shine!
Step 11

– Gently lift the ribbon cables using the plastic opening tool to ease them out. A little tug in the right direction and they’ll pop right up.
Step 12

– Give that black tab a little flip upwards to set those cables free, and don’t forget to use your trusty plastic opening tool to help out.
Step 13

– Gently peel off that piece of tape by giving it a little tug with your fingers. You’ve got this!
Step 14

– Gently peel away the tape using your trusty plastic opening tool for a smooth exit.
Step 15

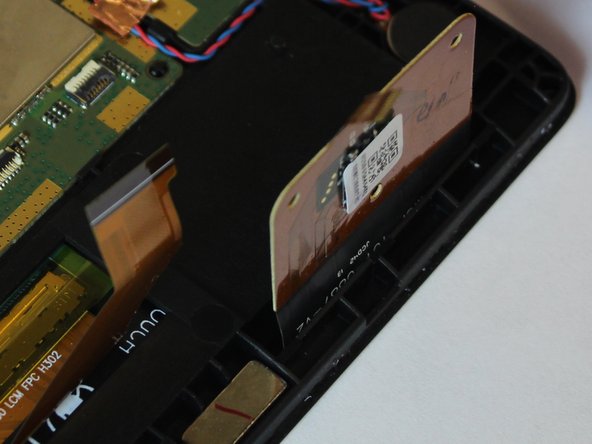
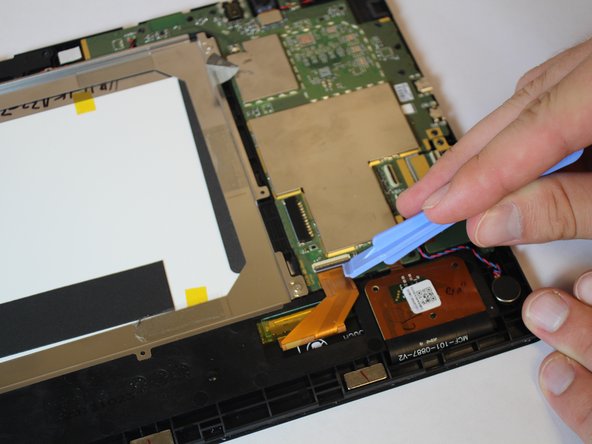
– Time to set this connector free! Unlike its flip-up friends, this one needs a gentle tug to release the connector cable.
– Now, let’s get that tab lifted. Just pull it up with your fingers – easy peasy!
Step 16

– Gently pop up the cables attached to the tab with your trusty spudger tool. Easy does it—these little guys just need a lift!
Tools Used
Step 17

– Gently lift the tablet’s motherboard with your hands to free it from the device.
Success!