Lenovo Miix 2 Front Facing Camera Replacement
Duration: 45 minutes
Steps: 13 Steps
Ready to give your tablet a little facelift? This guide walks you through the steps to remove the front camera like a pro. No magic tricks, just straightforward instructions to help you swap it out with ease. Grab your tools, take a deep breath, and let’s get started!
Step 1


You’ll need to put some muscle into it, but go easy—pry carefully to keep those clasps and internals in one piece. No need to turn this into a battle!
– Pop off the back cover by slipping a nylon or metal spudger into the small gap by the volume button. Gently glide the tool along the edge to unhook those sneaky internal clips. Take your time—no need to rush!
Tools Used


Step 2


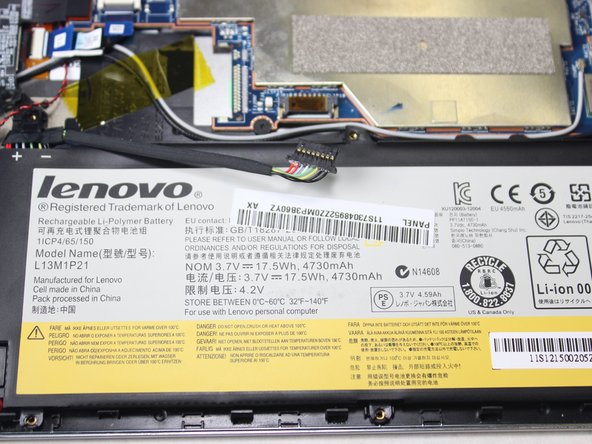
– Grab your Phillips #0 screwdriver and carefully remove the six 3mm screws around the battery dock. Take your time—these little screws can be tricky, but you’ve got this!
Step 3

– Grab your plastic spudger and gently wiggle each side of the battery connector in and out of its cozy little home on the motherboard a couple of times. You’re doing great!
Tools Used
Step 4


– Gently pry the battery loose using your fingers or a trusty plastic opening tool. You’ve got this!
Step 5
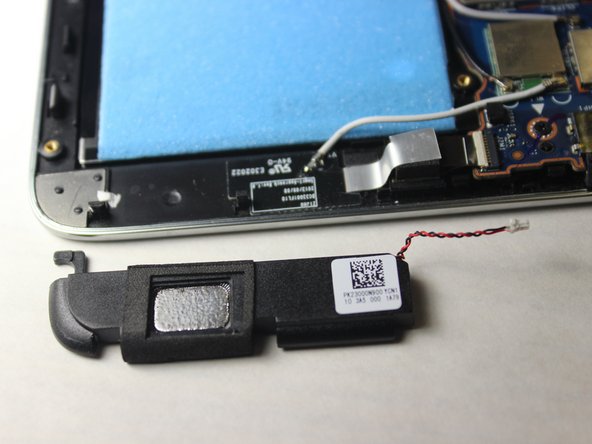

Give the speaker a gentle nudge to the left so it slides over, then lift it straight up and out.
– Gently grab the red and black connector cable with your trusty tweezers and give it a light pull to the left. It should come off the motherboard without too much force. Take your time and be careful, you’ve got this!
Tools Used

Step 6

– Find the LCD cable connector and, using a spudger, lift it straight up with a confident yet gentle motion—like you’re coaxing it out for a stroll.
Tools Used
Step 7

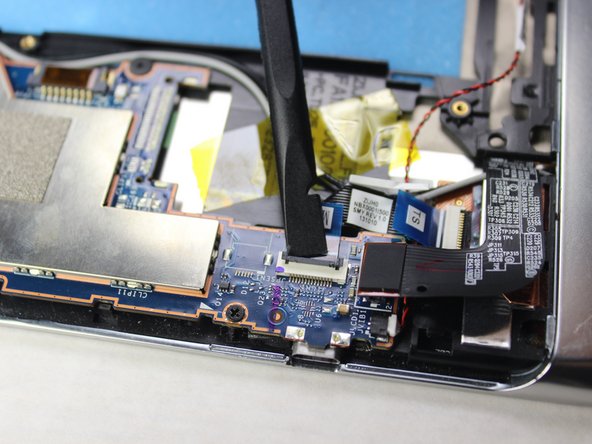

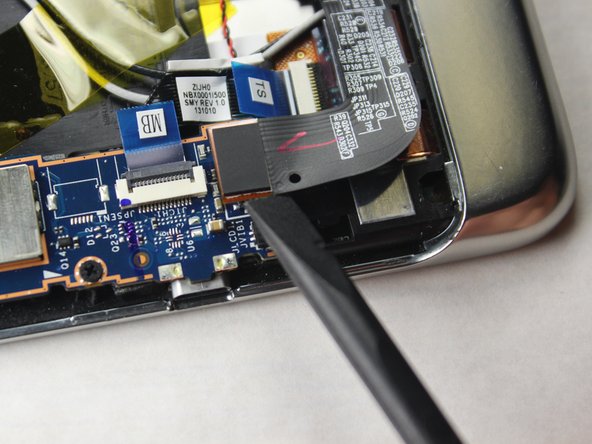
Once you’ve popped up the hinge, the ribbon cable should slide out with zero resistance—no wrestling required.
Connector flaps come in all sorts of colors, so don’t let that throw you off.
– Let’s get started by removing those 5 ribbon cables. Take the tip of your spudger and gently flip up the retaining flap – remember to lift on the hinge, not the connector itself. Then, carefully pull out the cable from the connector. You got this!
Tools Used
Step 8

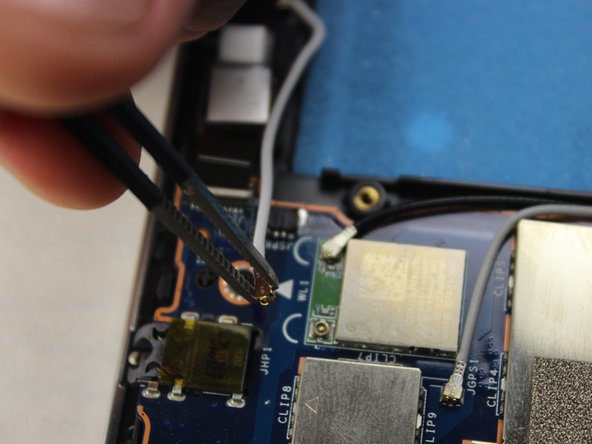
We’ve found that gently lifting and giving a little twist works like a charm. It’s the best move for this step!
– Gently lift up and pop off the 3 antenna cables with your tweezers—just a little wiggle does the trick!
Tools Used
Step 9

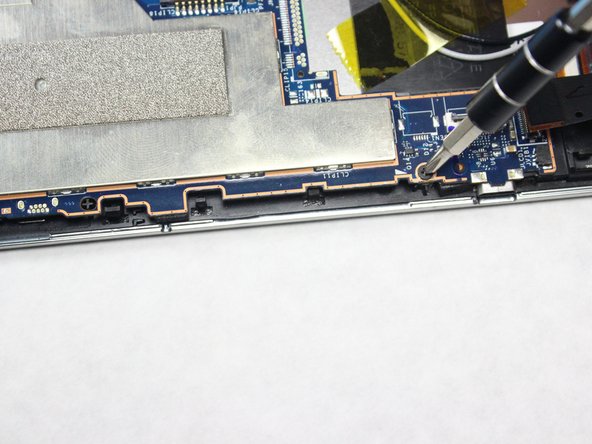
– Get ready to tackle those 4 tiny 1.6mm screws using your trusty J0 screwdriver!
Step 10
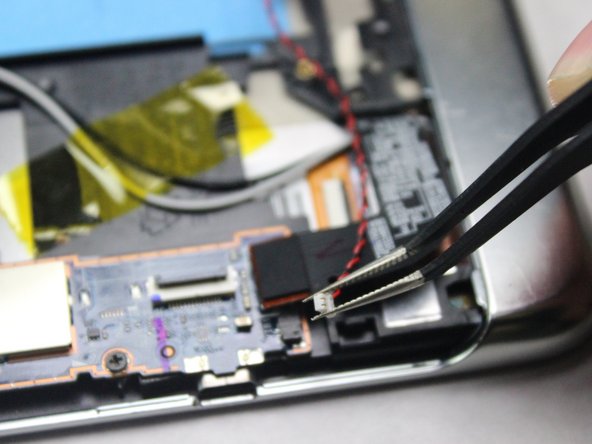

– Grab your tweezers and give that red and black cable connector a gentle tug to the right—no need to wrestle it, just a smooth move and you’re golden.
Tools Used
Step 11

– Gently pry the motherboard out of its cozy spot in the tablet’s case. Take your time, it’s a delicate process, but you’ve got this!

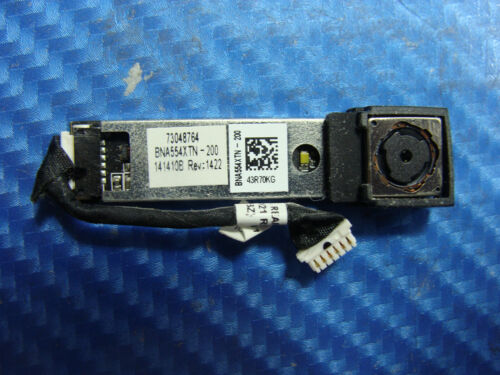
Step 13

– Gently lift the camera with tweezers—like you’re handling a rare gem—until it pops free.
Tools Used
Success!