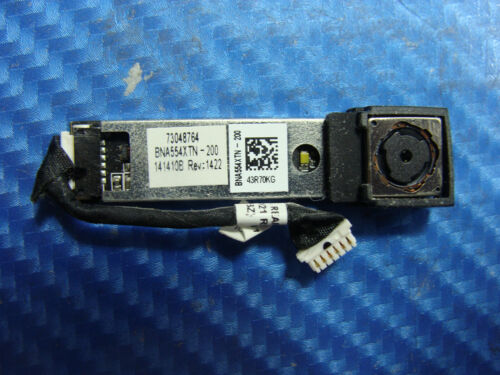
Lenovo Miix 2 Rear Camera Replacement
Duration: 45 minutes
Steps: 12 Steps
Ready to swap out the Miix 2’s rear camera? Follow these steps to pop out the old one and make room for a shiny new replacement—no sweat.
Step 1


Now it’s time to apply some elbow grease – use a decent amount of force, but be gentle enough to avoid damaging those pesky clasps or the internal goodies.
– Pop off the back cover by gently slipping a nylon or metal spudger into the tiny gap near the volume button. Glide the tool along the edge to unclip the back—think of it like unzipping a jacket, but for your tablet.
Tools Used


Step 2


– Grab your Phillips #0 screwdriver and remove the six 3mm screws around the battery dock. Keep track of those screws—they love to roll away!
Step 3

– Time to get that battery connector out of its cozy socket on the motherboard. Use a plastic spudger to gently push each side of the connector back and forth a few times, easing it out of its home.
Tools Used
Step 4


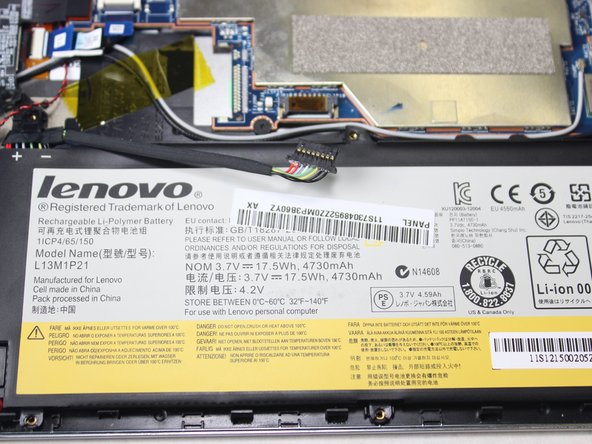
– Lift out the battery by gently prying it up with your fingers or a plastic opening tool.
Step 5
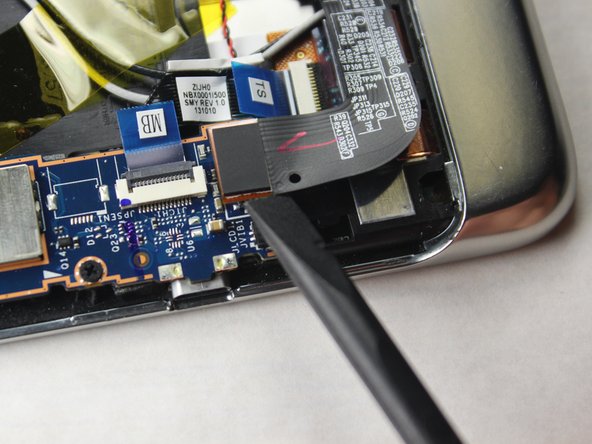

– Find the LCD cable connector and carefully lift it straight up using your spudger—nice and easy does it!
Tools Used
Step 6

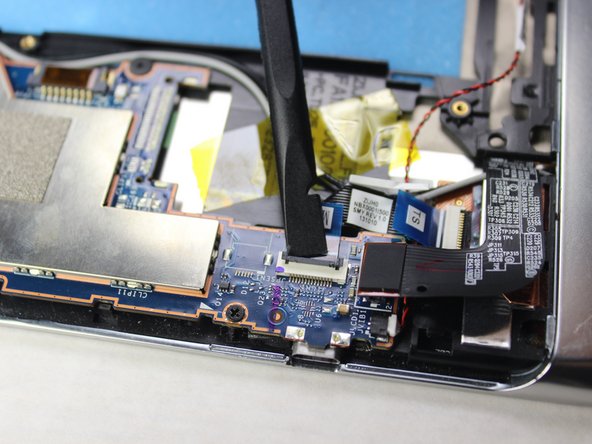

Once you lift the hinge, the ribbon cable will practically free itself—no force needed!
Flaps and connectors come in a variety of colors, so don’t be surprised if you get a little unexpected flair in your repair.
– Time to tackle those 5 ribbon cables! Use the tip of your spudger to gently flip up each retaining flap—lift from the hinge side, not the connector. Once the flap is up, slide the cable out nice and easy.
Tools Used
Step 7

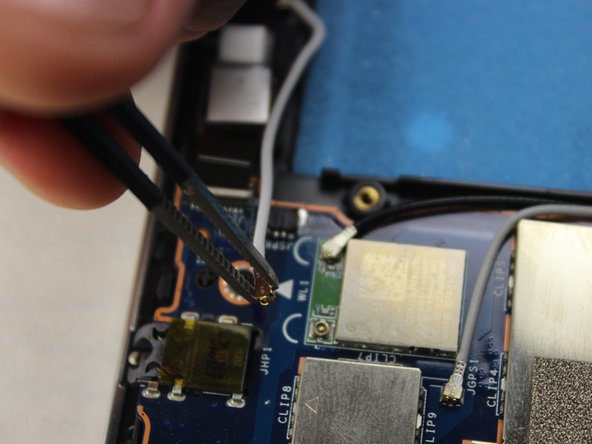
A little lift with a gentle twist usually does the trick.
– Time to get those antenna cables out! Use your trusty tweezers to carefully pull up on each of the 3 cables, one by one. Take your time and gently coax them out.
Tools Used

Step 8

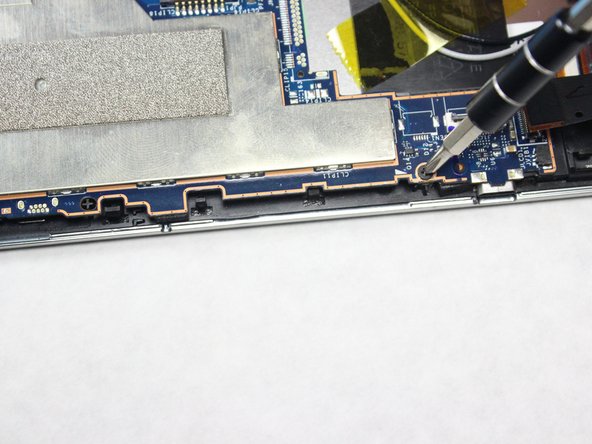
– Unscrew the four 1.6mm screws using a J0 screwdriver. You’ve got this!
Step 9
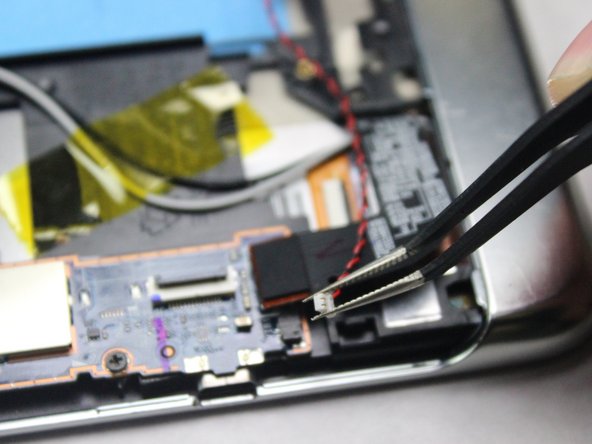

– Carefully detach the red and black cable with those trusty tweezers by gently nudging the connector to the right. You’ve got this!
Tools Used
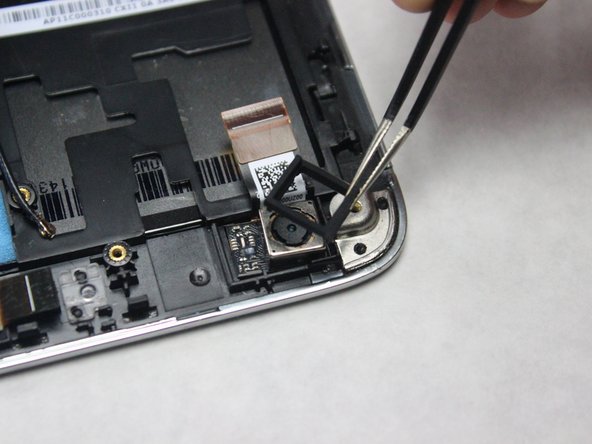
Step 10

– Gently lift the motherboard out of the tablet’s case like you’re removing a VIP from a limo—steady hands, no rush.

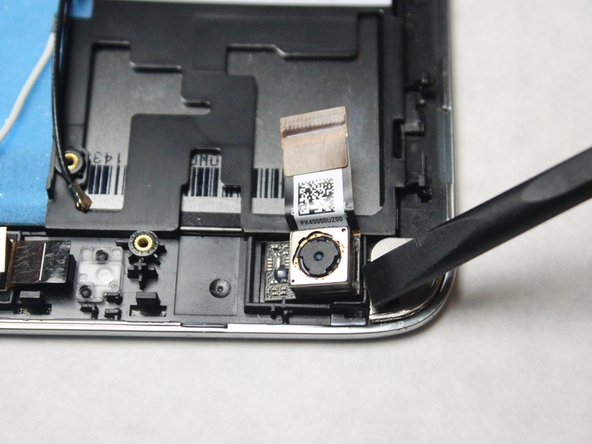
Step 12

– Ready to wrap it up? Just put everything back together by reversing these steps—you’ve got this!
– If you need help, you can always schedule a repair
Tools Used
Success!