Lenovo Tab 2 A7-20F Battery Replacement
Duration: 45 minutes
Steps: 4 Steps
Ready to give your Lenovo Tab 2 A7-20F a new spark? This step-by-step guide shows you how to swap out the battery. Before you start, make sure your device is completely powered off and unplugged. Dry hands are a must, and touch something metal to get rid of any static electricity before you dive in. This will help keep your device’s electronics safe and sound.
Step 1


– Grab your trusty metal spudger and gently work it into the seam of the case—pick any spot that feels right. Ease the tool around the edges, taking your time, until the case pops open. Patience is your friend here!
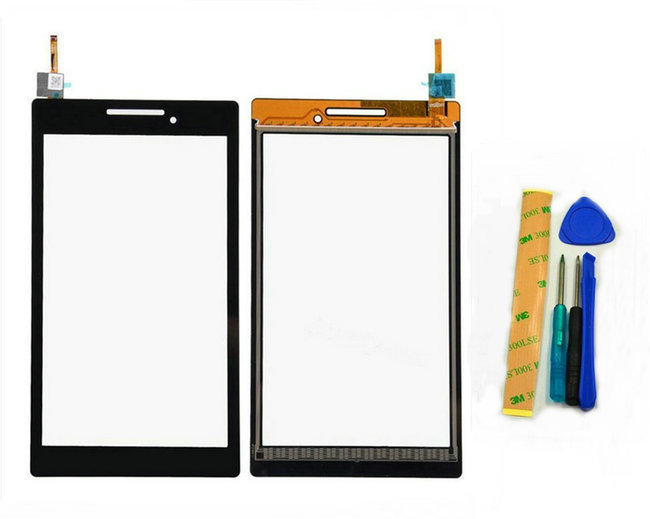
Tools Used


Step 2


The battery is linked to the motherboard by a delicate wire you see here.
– Carefully lift up the yellow tape—it’s like peeling back the wrapper on a mystery snack. Beneath it, you’ll find the connector waiting for you to work your magic.
Step 3

– Carefully lift the connector away from the motherboard. You’ve got this!
Step 4


Inside the case, you’ll find some trusty double-sided tape holding things together.
– To wrap things up, simply reverse the steps you followed to take your device apart. Easy peasy!
– You’ve made it through the tough part, and now it’s time to put everything back together. If you need help or have any questions, you can always schedule a repair
Tools Used
Success!