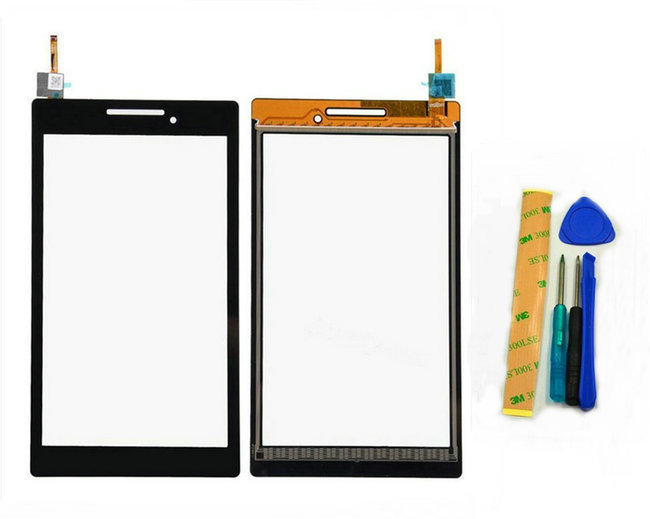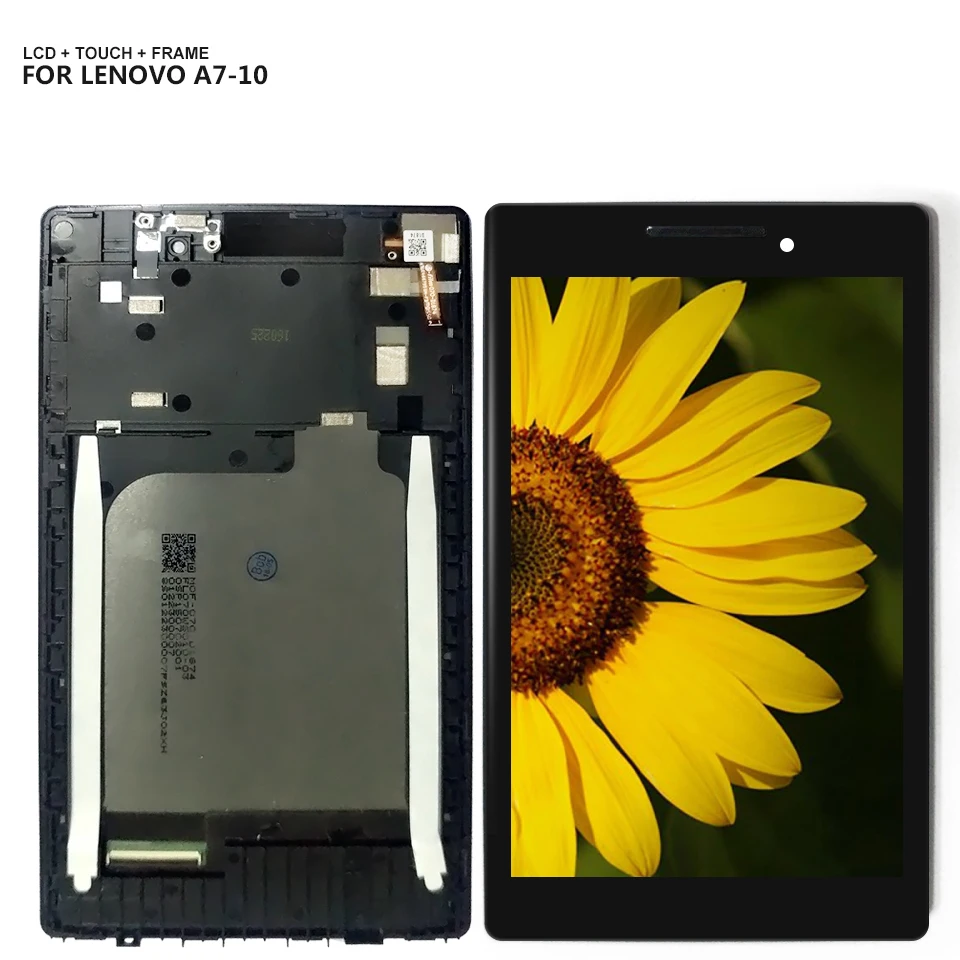
Lenovo Tab 2 A7-20F Front Glass Replacement
Duration: 45 minutes
Steps: 11 Steps
If you don’t have a heat gun, take it slow and extra careful—prying the screen off the case can easily scratch the digitizer since you’re working right up against the display.
Step 1


– Pick a starting spot along the seam of the case, then gently work the metal spudger in. Ease your way around the edge, prying slowly and patiently, until the case starts to open up.
Tools Used


Step 2


The motherboard and battery are joined by a slender wire, just like the one you see here.
– Gently lift the yellow tape to reveal the connector underneath.
Step 3

– Carefully release the connector from the motherboard by giving it a gentle tug upwards. You got this!
Step 4


Inside the case, you’ll find some handy double-sided tape.
– Time to get this repair started! Use your trusty spudger tool to gently loosen the adhesive from the double-sided tape – it’s like freeing the battery from its sticky prison.
– Next, carefully separate the battery from the case. You’re making great progress!
Tools Used
Step 5


”Start with the plastic tools before reaching for the metal ones; they’re like the gentle giants of the repair world, keeping your motherboard safe and sound!”
– Grab a trusty plastic opening tool or some tweezers and peel away any tape—it’s like unwrapping a tiny tech gift.
– Gently pop the electrical connectors free by lifting the clip holding them in place—you’re basically a tech whisperer at this point!
Step 6


Heads up: these screws are tiny and love to disappear. The black strip at the top of the motherboard is actually the speaker, and its magnetic surface is perfect for keeping those little guys in place while you work.
– Unscrew the three 2.0mm screws with your trusty Phillips #00 screwdriver bit. Easy does it – you’re almost there!
Tools Used

Step 7


These wires connect to parts that need a gentle lift from their spots at the base of the case—grab your trusty tweezers and work your magic!
You’ll spot two snazzy twisted wire pairs running along the left and right edges of the case.
– Grab a trusty plastic opening tool or some tweezers and gently pry away those twisted pairs that are snugly held by the retaining tabs. You got this!
Tools Used

Step 8


Alright, you’ve tackled the twisted pairs, but hold up! There’s one last strip to remove. It’s hanging out on the side of the motherboard and is responsible for handling your volume and power inputs. Let’s get it done!
– Carefully nudge the motherboard up starting from the right side. When you get to the last strip, give it a gentle tug to free it from the case.
– Completely lift the motherboard out of the back panel—just like a pro!
Step 9


You’ll find the camera lens hanging out at the top left corner of the back panel, just waiting to capture those picture-perfect moments!
– Start by using your trusty plastic opening tool to carefully pry up the camera lens from the left side – just slide it into the gap and gently lift away.
– Next, locate the metal tape that’s holding the camera lens in place and remove it to fully release the lens from the panel.
Step 10


Hey there! Just a friendly reminder: since the digitizer is snug against the adhesive, be extra careful not to scratch the screen with the spudger if you’re not swapping out that part.
Right beneath the top section where the Lenovo logo hangs out, there’s a copper strip with adhesive on both sides. The easiest way to sneak under that strip is to start from the bottom and work your way up.
Up next, we’ll be unveiling the copper strip. Stay tuned!
– Grab your heat gun and gently warm up the adhesive around the edges of the screen (that’s the solid black part).
– Next, take your spudger tools and carefully slip them under the screen to ease it away from the case, bit by bit.

Step 11


The first photo highlights the strip that sits at the top of the screen.
– To get your device back in action, simply reverse the steps you followed to get here.
– If you need help or want some extra guidance, you can always schedule a repair
Success!