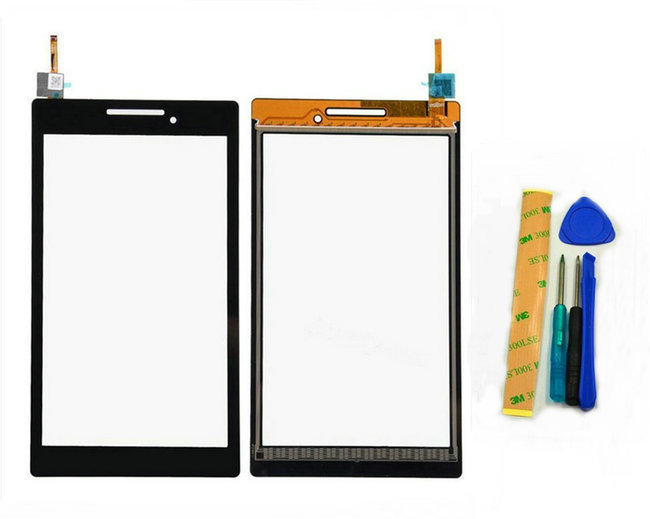
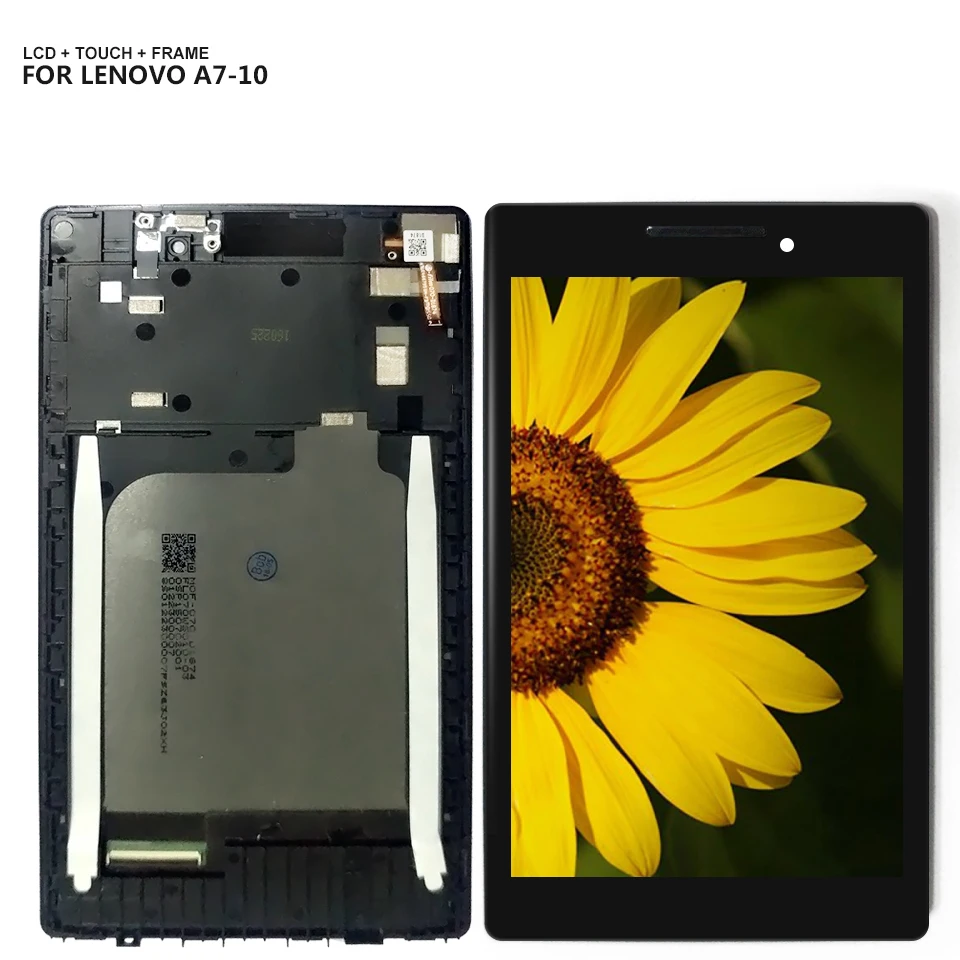
Lenovo Tab 2 A7-20F Motherboard Replacement
Duration: 45 minutes
Steps: 8 Steps
Get ready to dive into the exciting world of motherboard replacements! This guide walks you through the whole process step by step, and guess what? You don’t need to be a tech wizard to pull it off. Let’s get that device back in action!
Step 1
– Begin at any spot along the edge of the case and gently use the metal spudger to pry it open. Take your time as you work your way around the perimeter until the case starts to separate.
Tools Used
Step 2
The battery is linked to the motherboard by the slim wire shown here. It’s a delicate connection, so be gentle while handling it!
– Gently lift the yellow tape to reveal the connector underneath. Nice and easy—no need to rush!
Step 3
– Carefully lift the connector from the motherboard by giving it a gentle tug upwards.
Step 4
Heads up! There’s some double-sided tape hanging out inside the case.
– Grab that spudger tool and gently ease the adhesive away from the double-sided tape. You got this!
– Now, it’s time to carefully detach the battery from the case. Take your time and be gentle!
Tools Used
Step 5
”Start with those plastic tools, they’re your best buddies! Metal ones can be a bit rough on the motherboard, and we definitely don’t want that!”
– Let’s get started by removing any tape that’s holding things together – grab a plastic opening tool or a trusty tweezer and gently pry it away.
– Next, carefully unplug the electrical connectors by releasing the clip that’s keeping them in place. Easy does it!
Step 6
Keep an eye on those teeny-tiny screws – they can vanish in a snap! Luckily, the magnetic strip at the top of the motherboard (that’s the speaker, btw) is a great place to stash them while you work. Just pop them on there and they’ll stick around until you need them again.
– Unscrew the trio of 2.0mm screws with your trusty Phillips #00 Screwdriver bit—you’re doing great!
Tools Used
Step 7
These wires are connected to components that you’ll want to gently lift out of their cozy spots at the bottom of the case with your trusty tweezers. Take your time – they can be a little finicky!
On each side of the case, you’ll spot a pair of twisted wires. One on the left, one on the right—just like a mini cable duo waiting to be tamed!
– Time to get those twisted pairs out of there! Use a plastic opening tool or some trusty tweezers to gently release them from the retaining tabs.
Tools Used
Step 8
Alright, you’re almost there! There’s just one more strip to remove. It’s hanging out on the side of the motherboard, and it’s the one that handles your volume and power inputs. Just a little more to go!
– To get your device up and running again, just work your way back through these steps in reverse – nice and easy! If you need help or get stuck, you can always schedule a repair with Salvation Repair.
–
Success!


