Lenovo Tablet WIFI GPS Replacement Guide
Duration: 45 minutes
Steps: 12 Steps
Follow this guide to swap out the WIFI/GPS antenna. It’s a straightforward process, just take your time and be careful with the connections. If you run into any trouble, you can always schedule a repair for some expert help. Let’s get that signal strong again!
Step 1
– Check out the back of the tablet and find the speakers chilling at the top of the rear cover.
– There’s a smaller groove running across the top of the device in the plastic cover.
– Slide the plastic opening tool under the center of the cover as shown, then give it a nudge, and the cover will pop off.
Step 2
Pop out that SD card if it’s chillin’ in there!
– Pop out those two stealthy 3mm Phillips #00 screws.
Step 4
The top right corner screw is chilling beneath a yellow ribbon. Gently lift the ribbon without disconnecting it and unscrew the screw.
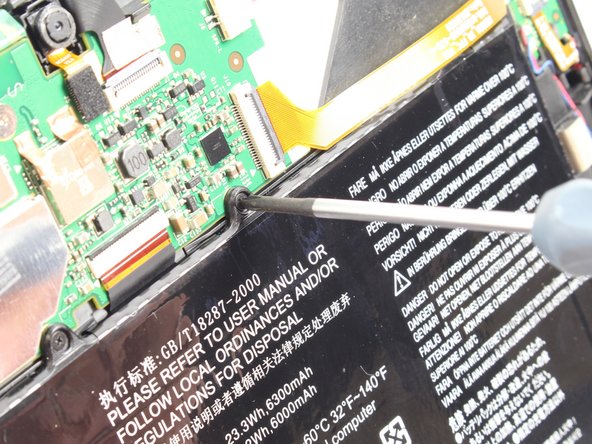
– Unscrew those seven black 3mm Phillips #00 screws like a pro! You’ve got this!
Step 5
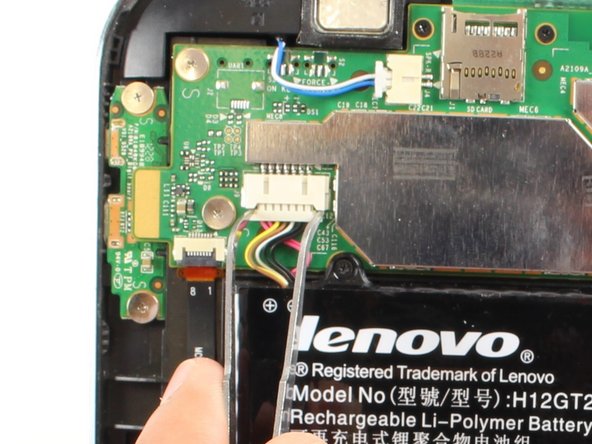
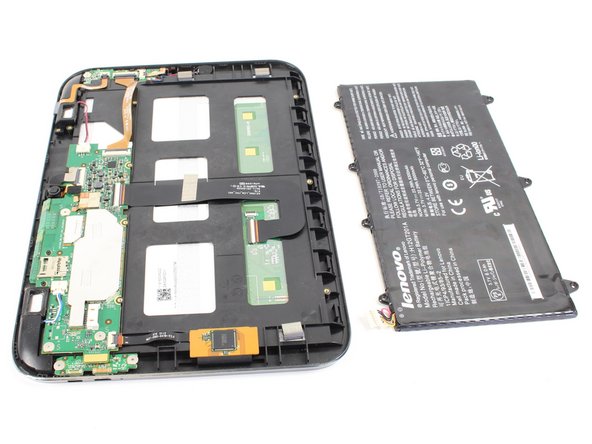
– Now it’s time to remove the battery – either to swap it out for a new one or to keep disassembling your device. You’re making great progress!
Step 6
– Pop out those two black 3mm Phillips #00 screws.
– Twist out the trio of silver 1.8mm Phillips #00 screws.
Step 8
– Grab your trusty tweezers and gently pinch the two speaker connectors. Give them a little wiggle and slide them out from the system board housing—easy does it!
Tools Used
Step 10
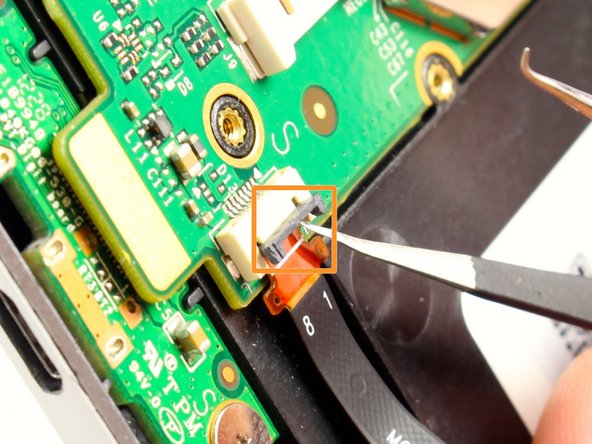
– Unplug the HDMI connection from the system board.
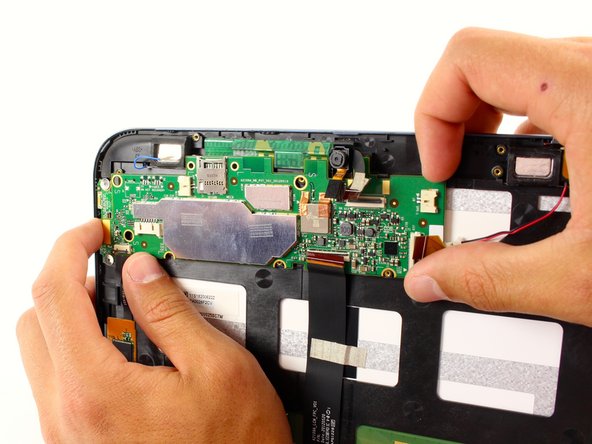
– Use a plastic opening tool to lift the system board. You’ll hear a pop when it loosens.
– Slide the system board out from the housing tab in the upper right corner.
– Gently pull the board away from the tab, and it will pop out.
Step 11
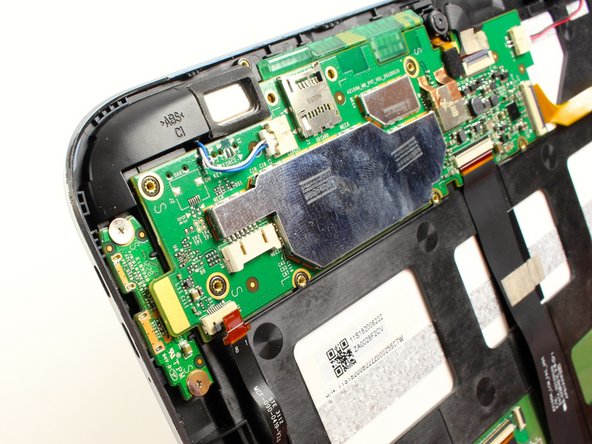
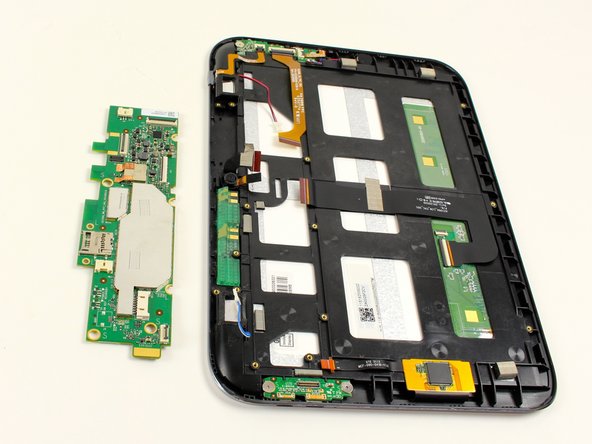
– After you’ve successfully taken out the system board, you’ll be all set to get to the WIFI/GPS antenna.
Step 12
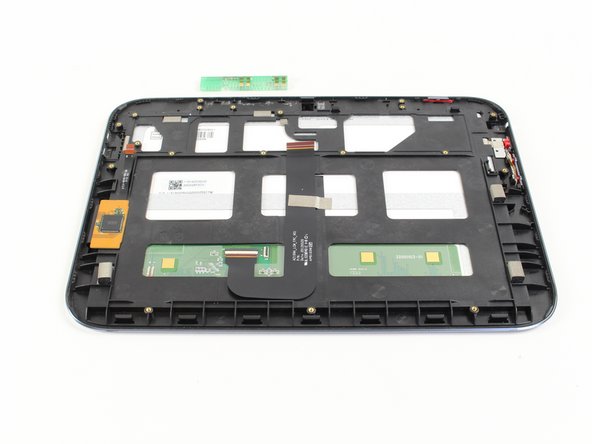
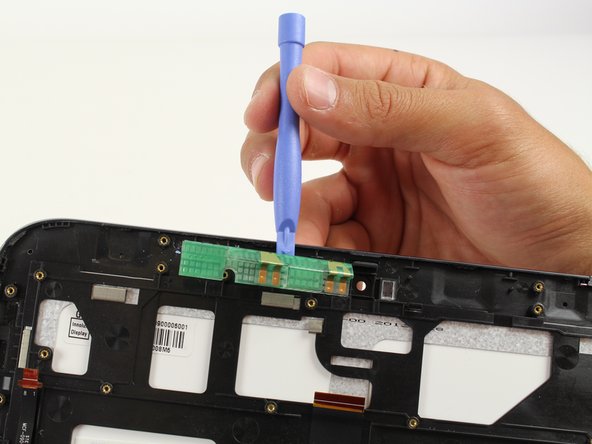
The antenna is held in place by some sticky adhesive, so you might need to give it a little extra love and gentle wiggling to get it off.
– Now that you’ve tackled the assembly, just retrace your steps and put everything back together like a pro!
– If you hit a snag, remember, you can always schedule a repair for some extra support.
– You’ve got this!
Success!


