Lenovo Thinkpad E585 Hard Drive Replacement
Duration: 45 minutes
Steps: 6 Steps
Step 1

– Unscrew those highlighted screws like a pro.
– Gently pop off the back cover and set it aside for later.
Step 2


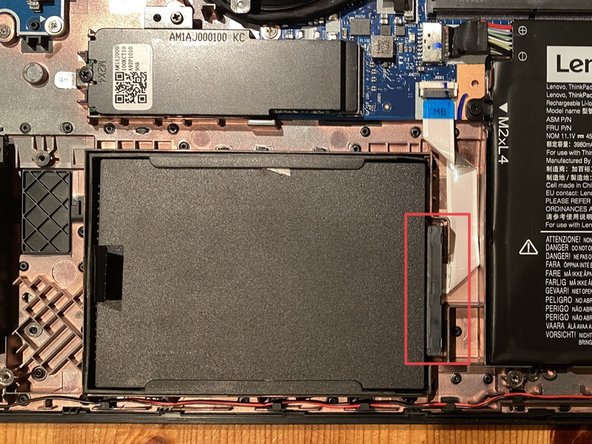
– Give that pull tab a gentle tug. If it’s being stubborn, give it a little more oomph.
– Once you’ve pulled the Hard Drive Dummy out, go ahead and detach the Connector.
Step 3


– After the second step, you should be looking at a laptop with the mounting hardware and dummy removed – nice job!
– Now, gently tug on the side until it comes off – it’s like a little puzzle, and you’re doing great!
Step 4

– Place your hard drive in the middle of the mounting hardware, lining up the sides with the holes on the drive. Make sure the pull tab is facing up.
– Now, give it a gentle push to secure it in place.
Step 5

– Time to connect the connector! Just line it up and snap it in place.
– Now, gently press down on the ribbon cable to make sure it sticks securely to the underside. A little push goes a long way!
Step 6

– Give the hard drive a little lineup with its slot, then press on the spot marked to pop it into place.
Success!