Lenovo ThinkPad T16 Gen 3 Webcam and Microphone Module Replacement
Duration: 45 minutes
Steps: 12 Steps
Ready to swap out that webcam and microphone on your Lenovo ThinkPad T16 Gen 3? This step-by-step guide is here to help you out! If your camera or mic suddenly ghosts you—think error messages about missing devices, or a camera light that’s on but nobody’s home—this is your cue. Folks on Windows 10 or 11 might want to try a quick troubleshooting guide before diving in. This laptop sometimes comes with a fancy IR camera alongside the standard one; we’ll walk through the IR camera replacement, but the process is the same for both. If you’re thinking of upgrading to an IR setup, be aware that you’ll need a new bezel and cable, but those steps aren’t included here. Before you start, make sure to disable the internal battery for safety. Let’s get your webcam and mic back in action!
Step 1

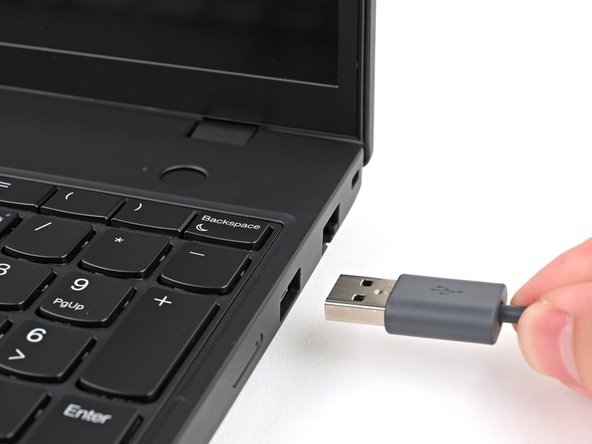
– Power down your laptop completely (no sneaky sleep mode here!) and unplug all cables. We’re going for a full reset before we dive in!
Step 2


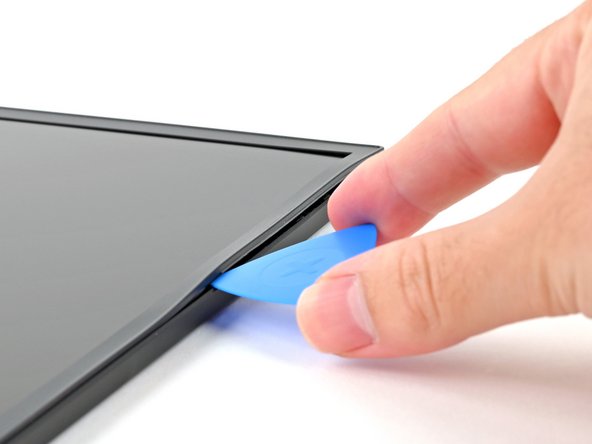
– Slide the tip of your opening pick down at an angle between the bezel and the screen assembly, right around the top right corner.
– Now, gently flatten the pick so it lies parallel with the screen and slip the tip beneath the bezel.
Step 3

Keep your pick just at the edge—going too deep could poke the display where it hurts!
No clips on your bezel? No worries! This guide is still your friend, but just a heads-up: adhesive-only bezels can be a bit fragile. They’re made to stick, not to stick around for round two. So, take it slow and handle with care. If you need help, you can always schedule a repair.
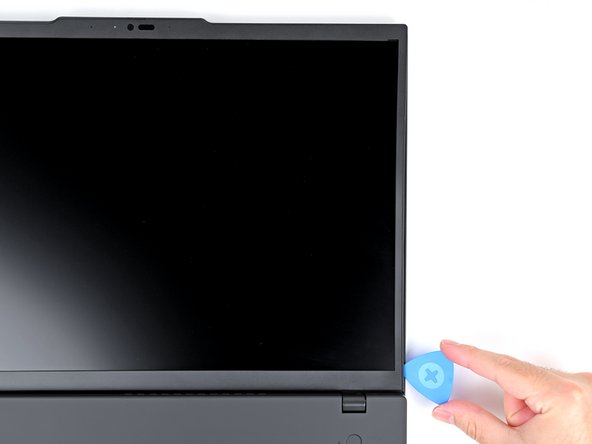
– Gently slide your opening pick along the right edge to loosen the bezel clips. Keep it steady, and you’ll have it free in no time. If you hit any snags, remember you can always schedule a repair with Salvation Repair to get expert help.
Step 4


– Start by slipping your opening pick in near the top right corner.
– Gently slide it around the corner, unhooking the frame clips as you go—just stop before you reach the webcam.
– Now, carefully pull out the opening pick.
Step 5


– Insert your pick to the left of the webcam, then gently slide it toward the top left corner. Follow that path down the left edge to unlock the last of the clips. Keep it smooth, you’ve got this!
Step 6
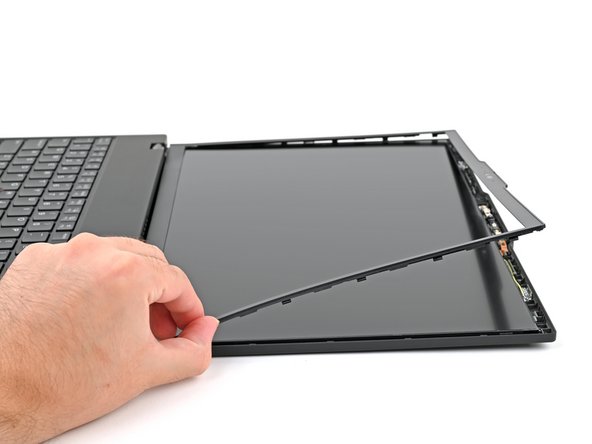

– Carefully lift the bezel along the right, top, and left edges to make sure all the clips are fully disengaged. Keep a gentle touch to avoid any cracks or snaps. If you need help, you can always schedule a repair.
Step 7


Double-check that you’re lifting the bezel off the bottom edge—not the protective film from the screen. If the film tries to tag along, gently smooth it back down before you keep going with the bezel.
The bottom edge of the bezel is hanging on tight with some tough adhesive and a few stubborn clips.
If the adhesive is putting up a fight, grab your opening pick and gently work it along the edge—just steer clear of the film. Still stuck? A little heat from an iOpener or hair dryer along the bottom edge can help loosen things up.
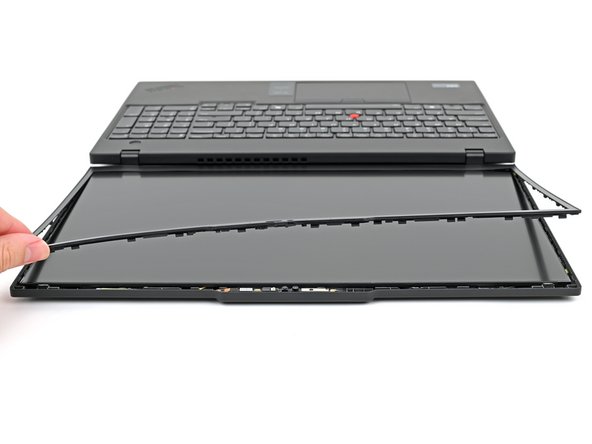
– Gently use your fingers to lift the bottom edge of the bezel away from the protective film on the display. Take it slow and steady – no need to rush!
Step 8


– Once the adhesive has fully let go, gently lift the bottom edge of the bezel straight up to pop out its clips. Keep it steady and careful—you’re almost there! If you need a hand, you can always schedule a repair.
Step 9

– First things first, carefully remove the bezel. No rush, take your time to avoid any mishaps!
– When it’s time to put that bezel back on or swap it out for a fresh one, you’ll need some adhesive. If the new bezel doesn’t come with it, grab some thin double-sided tape. Use the 5mm strips along the bottom and the 1mm strips around the top and sides. Oh, and don’t forget to clean off any leftover adhesive from the old one before you stick the new one on!
Step 10


– Gently slide the flat end of a spudger or your clean fingernail underneath the left side of the camera module.
– Carefully lift the module just enough to get a good grip with your fingers.
Tools Used

Step 11
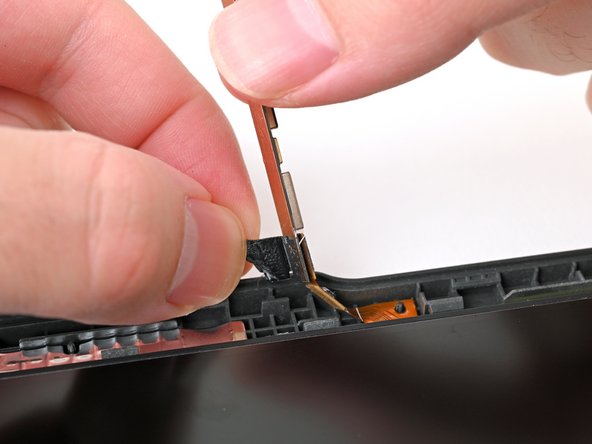

– Gently use your fingernail or the tip of a spudger to lift the edge of the black tape that’s keeping the camera connector in place.
– Carefully unwind the tape all the way.
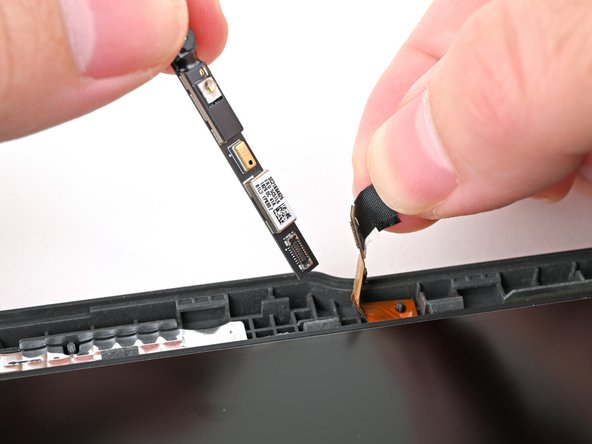
– Now, take your fingernail or the flat side of the spudger and slide it under the camera module press connector. Give it a gentle lift to disconnect it from the board.
– When putting things back together, connect the press connector first, then stick the tape back in place.
Tools Used
Step 12

– Take a quick look at your new part and the old one—if anything looks different, you might need to move over small bits or peel off any stickers before popping it in.
– Putting things back together? Just work through these steps backwards and you’ll be up and running.
– Don’t forget to recycle your old parts at a certified e-waste center.
– If things didn’t go quite as planned, try some troubleshooting or connect with our Answers community for advice.
– Still stuck? You can always schedule a repair with us!
Success!