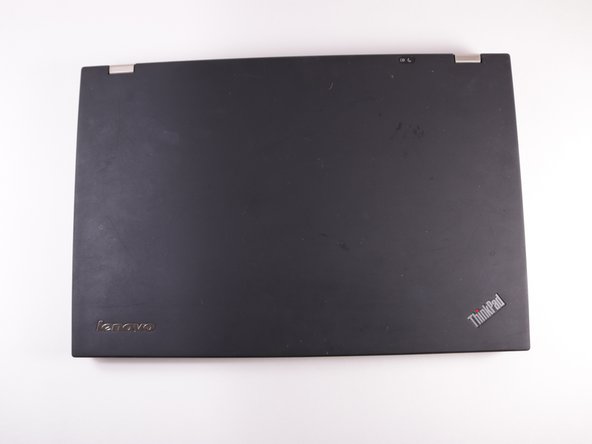
Lenovo ThinkPad T420s Hard Disk Drive Replacement
Duration: 45 minutes
Steps: 5 Steps
Get ready to dive into the fun world of tech repair! Today, we’re tackling the replacement of the hard disk drive (HDD) in the Lenovo ThinkPad T420s—just a friendly reminder, this guide isn’t for the T420 model, so make sure you’re in the right place! Before we start, back up any data you want to keep from the hard drive you’re swapping out. And remember, safety first—unplug and power off your device to avoid any mishaps. A powered-on device could lead to some serious damage to your laptop and HDD. Grab your trusty small screwdriver (we recommend a Philips #0) and your brand-new hard drive or solid-state drive, and let’s make this swap happen like pros! If things get tricky along the way, don’t hesitate to schedule a repair for expert assistance.
Step 1
– Flip your laptop over so we can get started on this adventure!
Step 2
– Grab your trusty Phillips #0 screwdriver and get ready to tackle that hard drive compartment! It’s hanging out at the bottom right of your device, and all it needs is a little love—unscrew and remove that pesky screw to keep things moving smoothly.
Tools Used
Step 3
– Gently lift the hard drive compartment cover upwards and out by tugging on the edge near the screw hole. You’ve got this!
Step 4
– Gently slide the hard drive out from its cozy little home in the hard drive compartment. Give it a friendly nudge if it seems a bit stubborn!
Step 5
Slide those red rails back onto the new hard drive you’re installing—it’s like giving it a warm hug of support.
– Pop off those red rails from both sides of the hard drive—no sweat!
Success!


