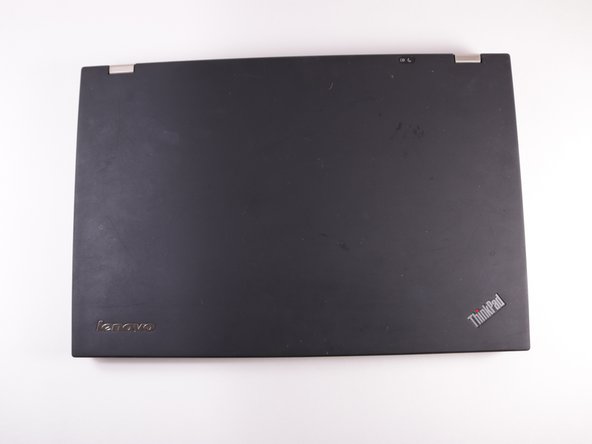
Lenovo ThinkPad T420s Power Jack Replacement
Duration: 45 minutes
Steps: 16 Steps
If your laptop is acting a bit moody and refusing to charge, don’t fret! You can easily swap out the power jack with the help of this guide. Let’s get that device powered up and ready to roll!
Step 1
– Turn your laptop over so the bottom is facing up. It’s like prepping for a chill spa day—but for your device!
– Take off the memory panel by unscrewing two black 5mm screws using a Phillips #0. Don’t forget to give those screws a little cheer on their way out—they’re the MVPs of this operation!
– Lift off the memory panel gently, like you’re uncovering buried treasure. Voila!
Step 2
– Grab your trusty Phillips #0 screwdriver and unscrew those two 5mm screws like a pro!
– Flip the laptop over with a flourish, open it up, and you’re on your way!
Tools Used
Step 3
When lifting the keyboard, make sure not to lift it all the way off just yet. There’s still a cable keeping it connected to the laptop, so take it easy and be gentle.
The prime spot to apply some gentle pressure is right on the keyboard’s frame near the power button.
– Gently press down on the keyboard and slide it towards the screen. This will cause the bottom of the keyboard to pop out of the casing.
– Now, grab your trusty metal spudger and carefully lift and slide the keyboard out.
Tools Used
Step 4
– Gently lift the tab at the end of the orange cable’s ribbon connection to release it. Easy as pie!
Step 5
2.5 x 5 mm screws have just enough extra oomph compared to the 5 mm screws to make them a bit bigger.
– Let’s get those thirteen pesky 5 mm screws out of there using your trusty Phillips #0 screwdriver!
– Next up, say goodbye to the two 2.5 X 5 mm screws hiding at the back of your laptop.
– Now, grab that same screwdriver and tackle the lone 3 mm screw on the back of the laptop. You’re doing great!
Tools Used
Step 6
– Pop off the black and gray antenna cable connectors chilling in the memory panel on the back of your laptop.
– Carefully peel away any plastic wraps covering the blue, white, and tan wires.
Step 7
– Turn your laptop back over and guide all those wires from the last step to the top side. You’ve got this!
Step 8
– Carefully unscrew the three 5mm screws that are keeping the palm rest casing snug and secure using a Phillips #0 screwdriver. You’ve got this!
Step 9
– Disconnect the trio of red, white, and blue wires—consider it your patriotic power move!
Step 10
– Gently lift the black retaining flap that’s holding the purple ribbon cable, then carefully slide it out. Easy does it!
Step 11
Be gentle when sliding the casing out, as some parts are still attached under the screen. You might need to wiggle it a bit, but don’t push too hard – we want to avoid any damage!
– Gently lift the top casing and slide it right out like a smooth operator.
Step 12
– Disconnect those two sleek black cables that are linking the screen to the motherboard—easy peasy, you’re rocking this!
Step 13
– Flip your laptop over so the back is facing you. Ready to dive in?
– Use a nylon or metal spudger to carefully peel off any black stickers hiding the screws. Time to uncover the goods!
– Grab your Phillips #0 screwdriver and remove the two 7mm screws. You’ve got this!
Tools Used
Step 14
– Gently grip the sides of the LCD screen unit and lift it upward with care. You’ve got this!
Step 15
Once you’ve unscrewed that pesky little screw, the power jack should pop right up, ready for action!
– Unscrew that little 3mm screw chillin’ next to the power jack using a Phillips #0 screwdriver. You’ve got this!
Step 16
– Gently lift the power jack, then slide it to the right to pop it out with ease.
Success!


