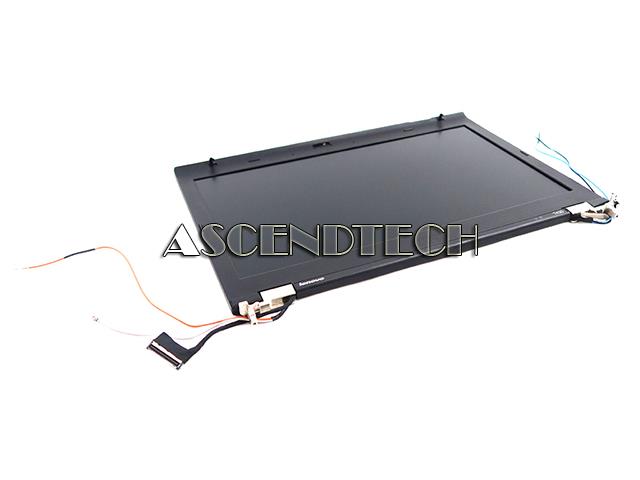
Lenovo Thinkpad T430 CPU Replacement
Duration: 45 minutes
Steps: 10 Steps
Step 1
– Flip that laptop over so the bottom is looking up at you.
– Slide the battery unlock lever to the right—give it a little nudge!
– Gently coax the battery out from its cozy spot in the device.
Step 2
– Grab your trusty Phillips #000 screwdriver and take out those two screws holding the RAM door snugly in place.
– Now, gently remove the back panel to reveal the exciting insides.
Tools Used
Step 3
– Unscrew those two screws in the middle panel using a trusty Phillips #000 screwdriver. You’re doing great—keep it up!
Tools Used
Step 4
Ease up on that ribbon cable – it’s not a tug-of-war! Disconnect it before you take the keyboard out completely, or you might leave your device a little worse for wear. Keep it cool and take your time!
– Flip your laptop over and pop the lid open, like you’re unveiling a surprise gift.
– Gently nudge the keyboard forward from the space bar, applying enough pressure to lift it up—channel your inner keyboard whisperer.
– Carefully unplug and disconnect the ribbon cable, treating it like the delicate treasure it is.
Step 5
– Now it’s time to flip the device back over and get to work on the underside. Start by removing the six screws that hold the palm rest in place. This is a straightforward step, but make sure to keep track of those screws so they don’t get lost.
Step 6
– Turn your device over and let’s get to work! Unscrew those two screws that are keeping the palm rest snugly in place. You’ve got this!
Step 7
Be gentle with the ribbon band—pulling too hard can cause some serious damage. Before separating the palm rest from the device, make sure the ribbon band underneath the keyboard is fully disconnected. Take it slow and steady, and you’ll be good to go!
– First, tilt that device 45 degrees upward – the top should be facing you. This will give you access to the sneaky clips holding the palm rest in place.
– Now it’s time to get a little handy. Use a Jimmy to carefully unclip the palm rest from the device’s body. Don’t worry, it’s easier than it sounds.
– Starting from the hinge, gently lift the palm rest away from the device’s body. Just before you completely remove it, don’t forget to unclip the ribbon cable hiding underneath the mouse pad. You’re doing great!
Tools Used
Step 8
– Head back to the front of your device and get ready for some speaker action!
– Unscrew the screws that are keeping each speaker snug on the left and right sides. Let’s get those out of there!
– Gently lift the speakers away from the device body like you’re taking a treasure out of a chest!
Step 9
– First, let’s get that heat sink out of the way – remove the four screws holding it in place, nice and easy.
– Next up, carefully unplug the fan cable, making sure not to touch any of the surrounding components.
– Now, gently lift the heat sink from the body of the device, taking care not to damage any of the delicate parts underneath.
Step 10
Be super careful when you’re handling the processor! Touching those contacts could spell trouble for your device. When you’re ready to take it out, make sure to keep it safe and sound in a cozy spot.
– Ready to piece your device back together? Just follow the steps in reverse order, and you’ll be back in action in no time! If you hit a snag, no worries—you can always schedule a repair.
–
Success!


