Lenovo ThinkPad T520 HDD/SSD Replacement
Duration: 45 minutes
Steps: 4 Steps
Join me as we dive into the exciting world of replacing the HDD/SSD on the ThinkPad T520! It’s easier than pie, and I’m here to guide you through each step. So roll up your sleeves, and let’s get started on giving your machine a shiny new drive!
Step 1


– Shut down your laptop and unplug any cables. Time for a little break from all the tech!
– Flip the laptop over, let’s get this party started on the bottom side.
Step 2


– Give that lock a gentle slide with your fingers and watch it move to the unlocked spot like magic!
– Next up, carefully lift the battery out of its cozy little home.
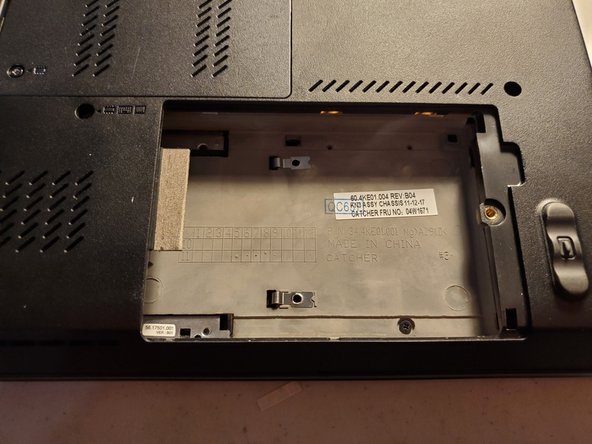
Step 3


– Unscrew that lone screw keeping the plastic cover in place.
– Gently lift off the plastic cover from your laptop.
Step 4

– Ready to rebuild your gadget? Just follow the steps backwards, and you’ll be back in business in no time! If you hit a snag, remember, you can always schedule a repair for a helping hand.
–
Success!

