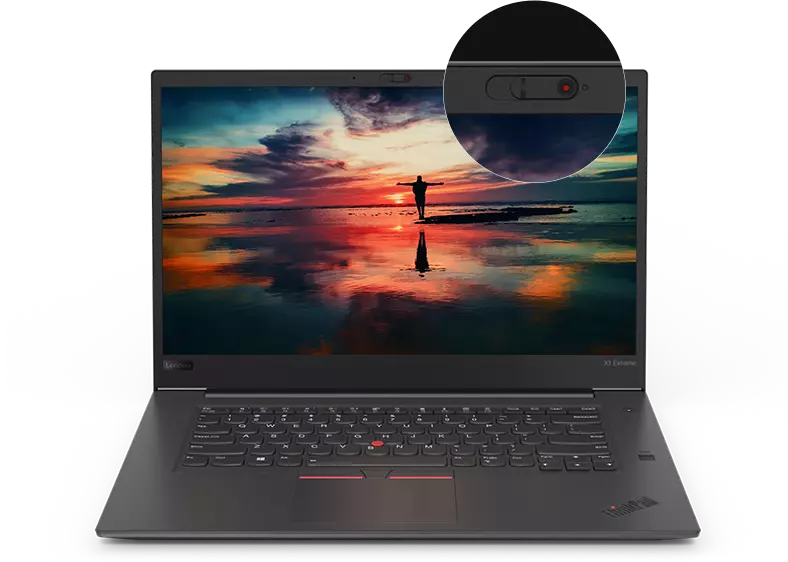
Lenovo ThinkPad X1 Extreme Display Replacement
Duration: 45 minutes
Steps: 9 Steps
Ready to tackle the display replacement on your Lenovo ThinkPad X1 Extreme Generation 1? Let’s do this! The display is your window into the digital world, so keeping it in tip-top shape is essential. To get started, you’ll want to power down your device. First up, you’ll need to remove the battery—safety first! Next, gently take off the hinge covering, followed by the display cover. Finally, detach the display from the motherboard like a pro. Remember, if you run into any tricky spots, you can always schedule a repair for some expert help!
Step 1


Before you dive in, make sure to power off your device and unplug it—safety first, champ!
These screws will loosen up but won’t jump ship—they’re clutching the cover tight. No need to yank them out, just let them do their thing.
– Flip the laptop over so the bottom faces up, with the trackpad chillin’ closest to you.
– Grab your Phillips #00 screwdriver and unscrew those seven captive screws—easy does it!
– Slide a trusty blue opening pick into the gap between the bottom panel and the chassis, then pop off one clip on each side like a pro.
– Lift off that back cover and voilà—you’re in!
Tools Used

Step 2

– Grab your trusty Phillips #00 screwdriver and get ready to tackle those four 4 mm screws sitting pretty above the battery. Let’s get this show on the road!
Step 3

– Gently lift the speaker modules from their cozy little pegs on either side of the battery, and unravel that cable gracefully from the front of the battery.
– Set those speaker modules aside in their chill zone.
Step 4


– Grab your trusty tweezers and carefully peel off the plastic cover from the connector—you’re doing awesome!
– Use a spudger or even your fingernail (yep, it works!) to lift the battery straight up from the motherboard. You’ve got this!
Tools Used

Step 5

– Gently lift the battery out of the frame, set it free, and say goodbye as you remove it from the device.
Step 6

– Slide off the hinge cover of your computer like a pro using the opening tool and your trusty fingers—nice and easy.
Step 7

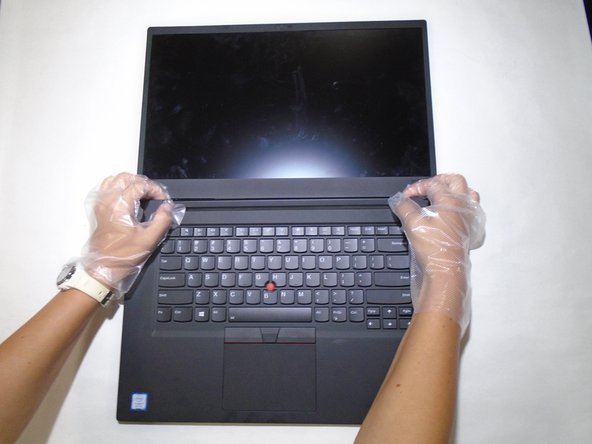
– Gently pop up the display cover using your handy tool—slow and steady wins this race!
Step 8

– Grab your trusty spudger and gently pop open the retaining flap on that cable connector. You’ve got this!
Step 9

– Slide the wire out from the retaining flap through the hinge. Easy does it—you’re on a roll!
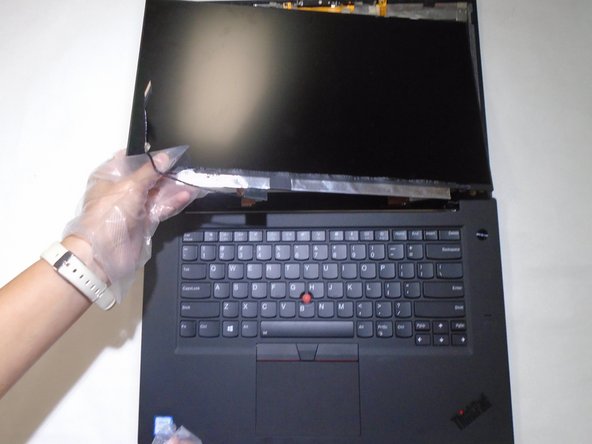
– Carefully lift the display off the laptop. You’ve got this, tech wizard!
Success!