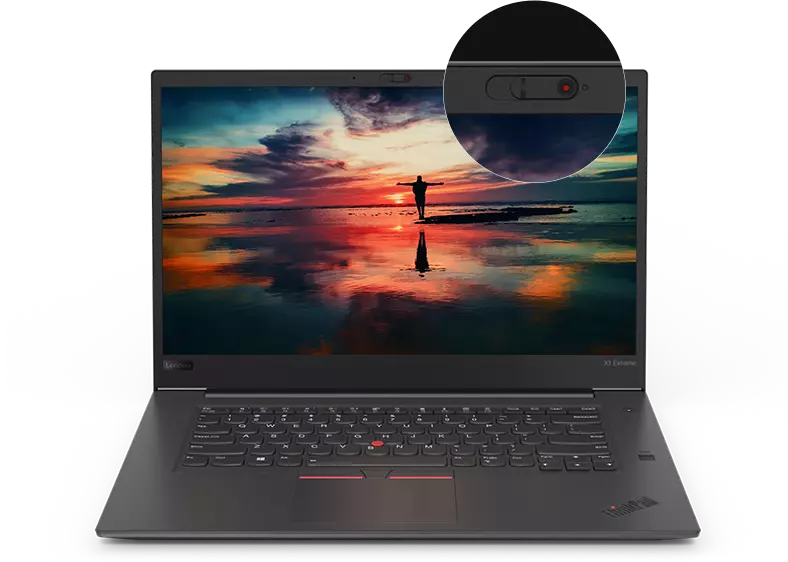
Lenovo ThinkPad X1 Gen 1 Extreme Battery Replacement
Duration: 45 minutes
Steps: 5 Steps
Got charging issues, overheating, or your Lenovo ThinkPad X1 Gen 1 Extreme (model number 20MF-000LUS) can’t hold its charge? No worries, it’s time to give your laptop a boost by replacing the battery pack. A well-functioning battery should keep your computer powered for up to 15 hours and juice up to 80% capacity in just an hour. But when it’s faulty, it won’t charge properly and loses power faster than you’d expect. Before diving into the repair, check out the troubleshooting page for the Lenovo ThinkPad Gen 1 Extreme—you might find an easy fix that doesn’t require a replacement. Remember, swollen lithium-ion batteries can be hazardous, so read the linked safety page before you start. Disconnect your computer from any power source and shut it down completely. Handle the battery carefully during removal, as even a minor slip-up could leave your computer out of action. If you need help, you can always schedule a repair.
Step 1


Make sure to shut down and unplug your device—give it a little nap before you dive in!
These screws will loosen up but won’t jump ship—they’re clutching the cover tight. No need to yank them out, just let them do their thing.
– Flip the laptop upside down, with the trackpad facing you—welcome to the underworld of tech!
– Grab your Phillips #00 screwdriver and unscrew all seven captive screws. No slacking now, every screw counts!
– Take a blue opening pick, slide it into the gap between the bottom panel and the chassis, and pop off the clip on each side. It’s like opening a treasure chest, but cooler.
– Lift off the back cover gently. Voilà, the laptop’s secrets are now yours!
Tools Used

Step 2

– Grab your trusty Phillips #00 screwdriver and get ready to tackle those four 4 mm screws sitting pretty above the battery. Let’s get this show on the road!
Step 3

– Pop the speaker modules on either side of the battery free from their pegs and unroll the cable snaking around the front of the battery.
– Shift those speaker modules off to the side and out of your way.
Step 4


– Grab those tweezers like a pro and gently lift off the plastic cover from the connector—easy does it!
– Use a spudger or your trusty fingernail to carefully pop the battery straight up from the motherboard—no superhero strength needed!
Tools Used

Step 5

– Put your device back together by reversing the steps you just completed—easy peasy!
– Got some tech trash? Drop it off at an R2 or e-Stewards certified recycler to keep it chill for the planet.
– Repair not quite working out? Try tightening things up with some troubleshooting tips, or our Answers community has your back.
– Need an extra hand? You can always schedule a repair!
Success!