Lenovo Thinkpad X201 Tablet LCD Replacement
Duration: 45 minutes
Steps: 8 Steps
Ready to give your Lenovo Thinkpad X201 Tablet a fresh start? This step-by-step repair guide will walk you through the process of swapping out that tired old screen for a brand-new one. No confusing jargon, no stress—just clear, straightforward instructions to help you get the job done. Take it one step at a time, and before you know it, your tablet will be looking sharp again!
Step 1

– To get things rolling, simply slide that nifty lock button on the back of your computer from the locked position to the unlocked one. You’ve got this!
Step 2

– Now, just keep it unlocked and gently slide that battery pack right out!
Step 3

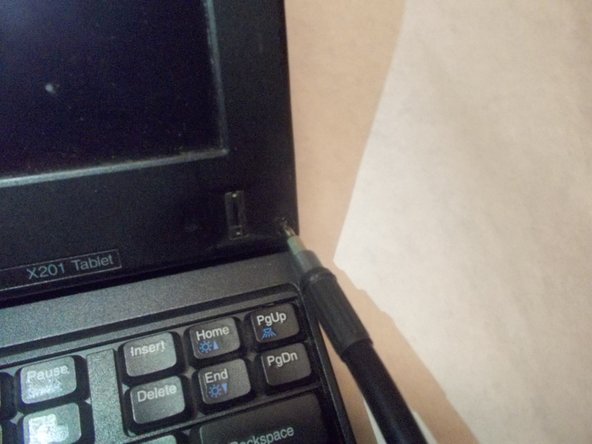
– pop off all the screw covers hanging out above the hinges
Step 4

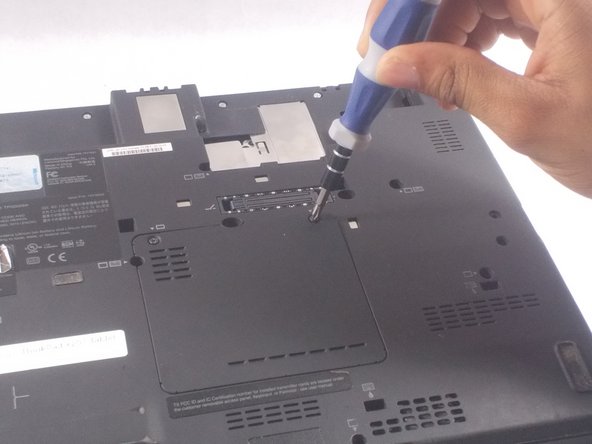
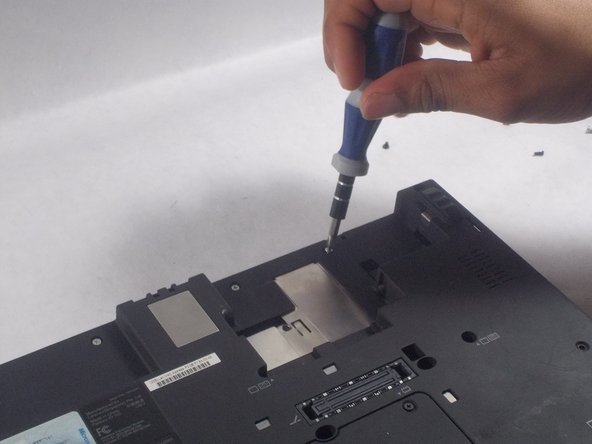
– Get ready to unscrew those little screws holding the front of the LCD screen in place! Grab your trusty screwdriver and let’s do this!
Step 5


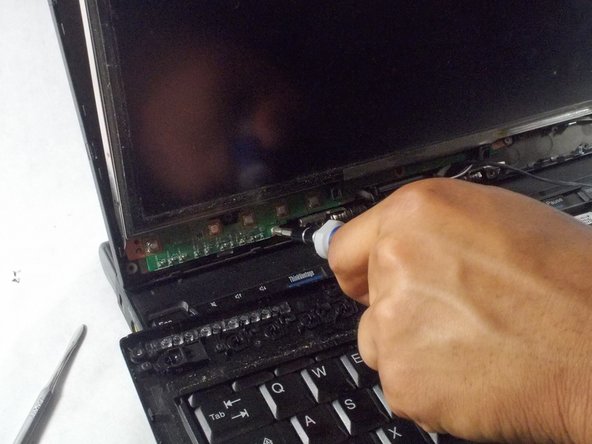
– Let’s get those extra two screws out from around the bezel, and don’t forget to tackle that lone screw in the center of the logic board. You’ve got this!
Step 6


– With a gentle touch, use a flat head screwdriver to carefully lift the LCD cover. Swing it over the signal cable close to the LCD hinges, making sure to navigate around all four corners with ease!
Step 7

– Keep removing the screens in front of the LCD cover, and double-check that you’ve unscrewed every screw from the front before moving on.
Step 8

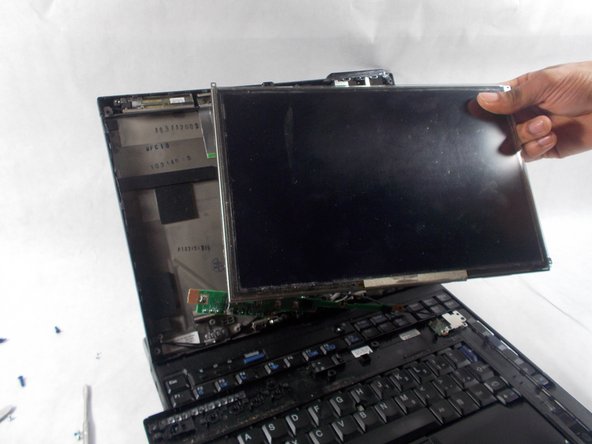
– After you’ve successfully unscrewed all those pesky screws, it’s time to gently lift the LCD Display like you’re peeling off a sticker. Take it slow and steady, and you’ll be just fine!
Success!


