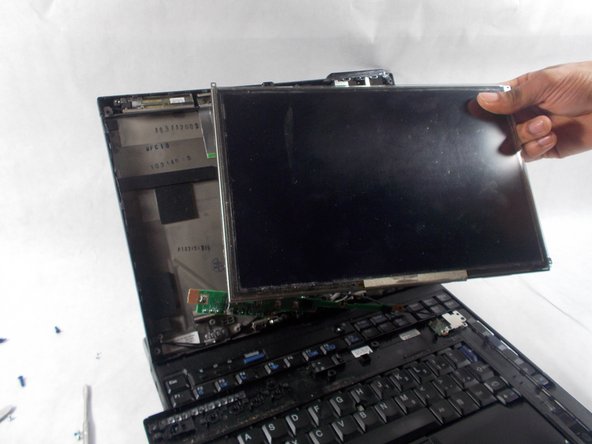
Lenovo Thinkpad X201 Tablet RAM Replacement
Duration: 45 minutes
Steps: 5 Steps
Time to free up some space! Follow this guide to carefully pop out the RAM from your device. It’s easier than it sounds, just take your time and follow the steps. Need help? If things get tricky, you can always schedule a repair.
Step 1
– Let’s get started by removing the battery. To do this, simply slide the switch forward – easy peasy!
– Need a little extra help with battery removal? Check out our battery replacement guide for some extra guidance.
Step 2
– Spot the RAM! It’s that little square piece on the back. Grab your diamond head screwdriver and take out all the screws holding it in place.
– There are just two screws to deal with—they’re highlighted for you.
– You’ll need a JIS J00 driver for these screws.
Step 3
– Gently nudge each switch on the edges of the RAM components to the side.
– Once you’ve pushed both sides, the RAM chip should naturally lift up. It’s like a little pop-up surprise!
Step 4
– Give those sides a little push, and watch as the RAM chip pops up like it’s ready for a high-five!
– Now, with a gentle tug, remove the RAM and you’re one step closer to greatness!
Step 5
– Pop out the RAM from the device like a pro.
Success!


