Lenovo YOGA 730-15IKB Speaker Replacement
Duration: 45 minutes
Steps: 7 Steps
Get ready to pump up the volume on your Lenovo YOGA 730-15IKB! To replace the speakers, first make sure it’s not a software issue – check that the volume isn’t muted and the audio driver is installed. If everything looks good, let’s dive into this step-by-step repair guide. If you need help along the way, don’t worry, you can always schedule a repair.
Step 1


Power down your computer and unplug the charger—it’s time to get hands-on, but safety first!
– Flip the laptop over to get a good look at its underside.
– Take out the ten 7mm T5 Torx screws, one by one.
Step 2


– Gently lift the bottom cover using your trusty opening tool.
– Begin at the front edge and glide along the sides like a pro.
Step 3

– Gently lift the bottom cover up and away from those trusty back hinges. You’ve got this!
Step 4
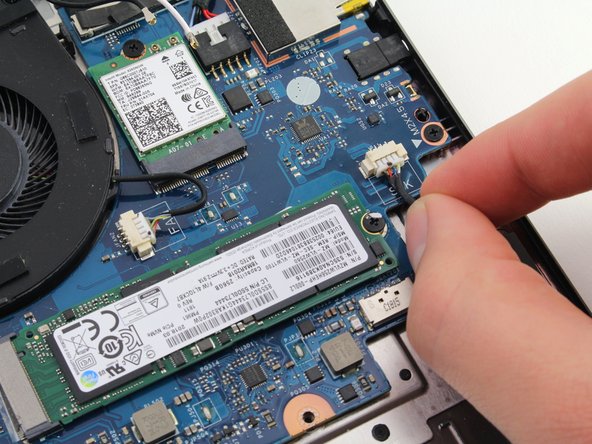
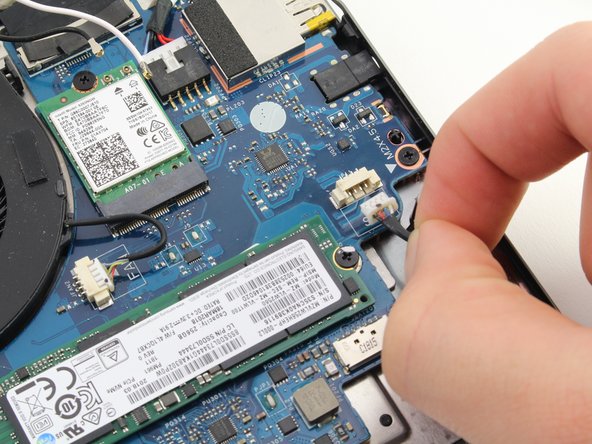

Feel free to use those handy white tabs on the connector to gently nudge the cable loose.
– Give that speaker cable a gentle pull toward the front of the laptop to set it free.
Step 5

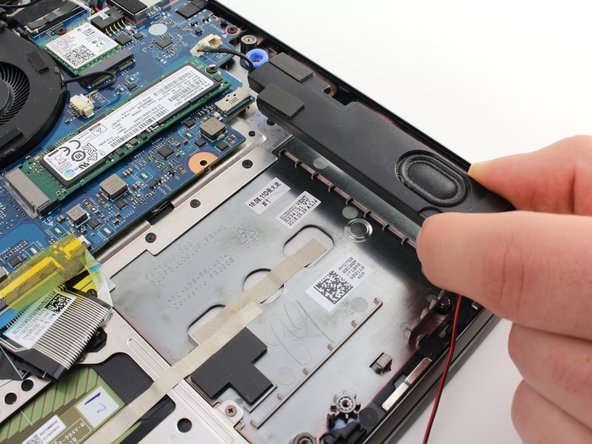
When you flip the laptop upside down, you’ll notice the left speaker hanging out on the right-hand side. It’s like it’s got its own quirky sense of direction!
– Time to get that left speaker out! Gently pull it up to detach it from the chassis. Easy does it!
– Not so fast! Don’t completely remove the left speaker just yet. Take a look and notice that it’s still connected to the right speaker by a wire. We’ll get to that in a minute.
Step 6

– Gently free the red and black wire from its cozy hooks near the front of the laptop. It’s time for that wire to stretch its legs!
Step 7


– Time to get that left speaker out! Gently pull it upwards to release it from the chassis.
Success!