Lenovo YOGA 730-15IKB Touchpad Replacement
Duration: 45 minutes
Steps: 9 Steps
Ready to revive your Lenovo YOGA 730-15IKB? Let’s replace that touchpad and get you back to smooth scrolling and tactile clicking! The touchpad sits right up front, just below the keyboard, and it’s your portal to pointer perfection. If your touchpad has stopped clicking or just refuses to play nice, it’s likely time for a swap. Grab the right part for your style: 5T60Q96439 for dark gray or 5T60Q96460 for silver. Let’s make it happen!
Step 1


Before diving in, make sure to power down your device and unplug that charger. Safety first, my friend!
– Flip that laptop belly-side up, so you’re staring at its underside—time to show it some love!
– Using a T5 Torx screwdriver, carefully unscrew and set aside those ten 7mm screws like a pro!
Step 2


– Slide your opening tool under the bottom cover and gently pop it loose.
– Start from the front edge and work your way around the sides—slow and steady wins this race!
Step 3

– Lift the bottom cover and gently pull it away from the back hinges.
Step 4

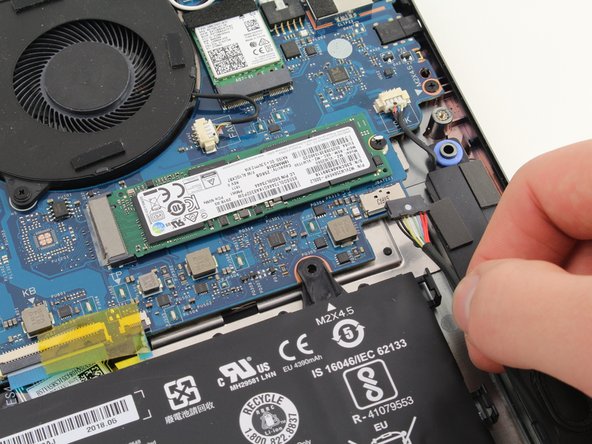
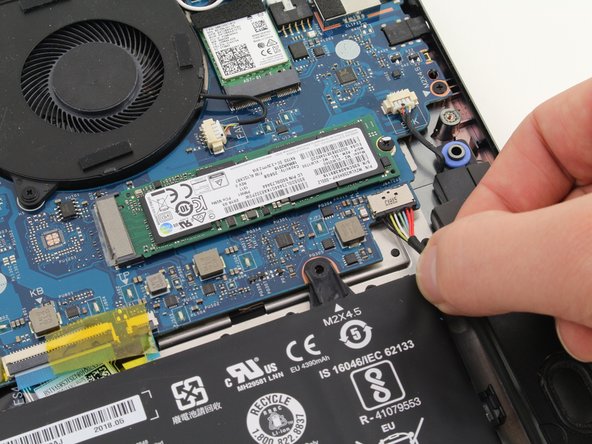
Gently pull parallel to the battery instead of yanking it straight up!
Gently unplug the cable, as those tiny eight wires on the connector are super delicate and need a little extra love.
– Gently detach the battery from the motherboard by carefully pulling on the battery cable with your fingers or a pair of tweezers. You’ve got this!
Step 5


– Take out the four 4mm Phillips #1 screws that are holding the battery in place—show those screws who’s boss!
Step 6

Hey, heads up! Treat the battery like the VIP it is. Don’t touch the terminal unless you want a shocking experience. And whatever you do, don’t poke or puncture it—you really don’t want to see it go up in flames.
– Gently lift the battery out of its cozy chassis spot.
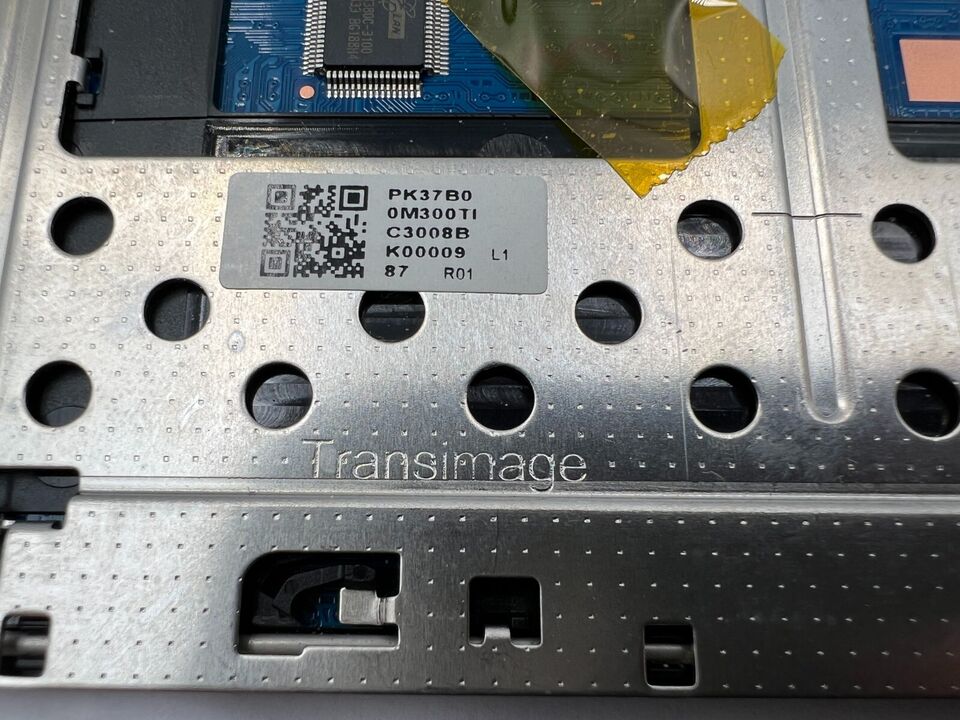
Step 7
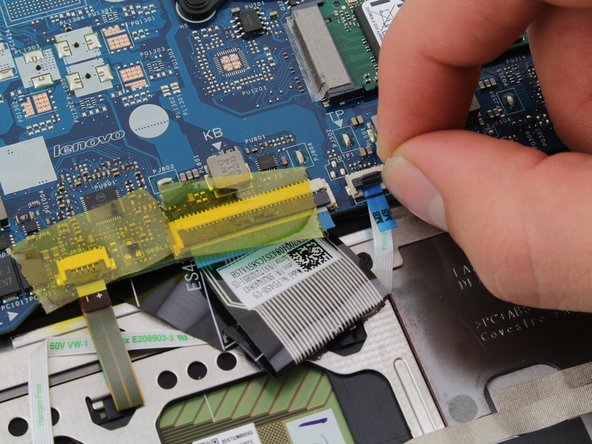


The touchpad hooks up to the front edge of the motherboard with a ribbon cable—simple yet essential!
– Gently tug on the black tab on the touchpad cable connector—it’s like opening a tiny door to tech success!
– With a little nudge, the ribbon cable should slide out of the connector as smooth as butter.
Step 8

Some of these screws might be playing hide and seek under other ribbon cables.
– Time to get unscrewed—take out those six tiny 2mm Phillips #000 screws.
Step 9
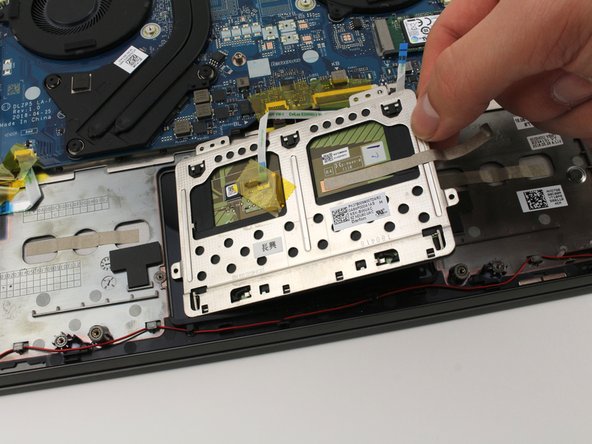

– Time to get this touchpad outta here! Gently pull up on the top edge of the touchpad, near the motherboard. Keep lifting until it’s completely out of the chassis. You got this!
Success!